
I wrote a couple of months ago about how Mike and I had added on to our garden shed so that we could store all the lumber that Mike has collected over the years. When we were putting boards away, we found a BUNCH of little boards that are really only big enough to make cutting boards/charcuterie boards out of.
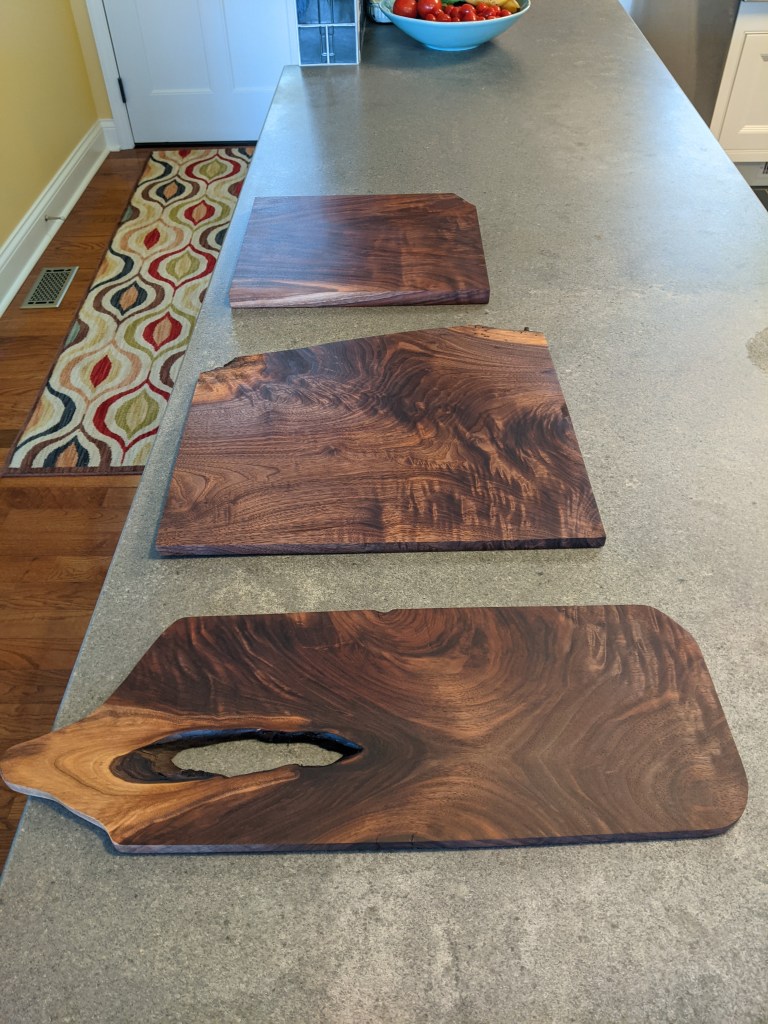
Mike pulled a few out a week ago. Yesterday was a gorgeous sunny day, so he was able to take the belt sander to them to get them relatively flat. These are all black walnut and have a crazy grain to them which makes them gorgeous, but also kind of warpy. Two of them are also pretty thin, which doesn’t help.
We had another gorgeous day, so I did the final sanding on them with 220 grit sandpaper. Then I wet them down to raise the grain, and sanded them again. I wiped them with a dry towel to remove all the dust, and coated them well with mineral oil and recoated them until they would not soak up any more oil.
They turned out great!
If you need to refresh a cutting board, sand it with progressively finer sand papers–starting with 120, then 150, then 220. Wet the board to raise the grain. Let it dry and sand it once more with 220 grit. Wipe thoroughly with a dry terry towel. Coat well with mineral oil and let sit for 15 minutes. If any areas look “dry”, add some more mineral oil to them. Let sit another 15 minutes. Wipe thoroughly with dry paper towels.
Cutting boards should never soak in a sink, and absolutely shouldn’t go in the dishwasher (shudder).

Those turned out gorgeous!
LikeLiked by 1 person