
We have been slowly chipping away at the projects in the basement. I thought when my husband took a week and a half off of work that we would make a lot of progress, but he ended up spending that time cutting wood for the beams, molding, and furring strips for the basement ceiling and then installing most of the furring strips. Last weekend, my husband finished installing the outlets on the big block wall and removing a couple of outlets that he had installed for the television.

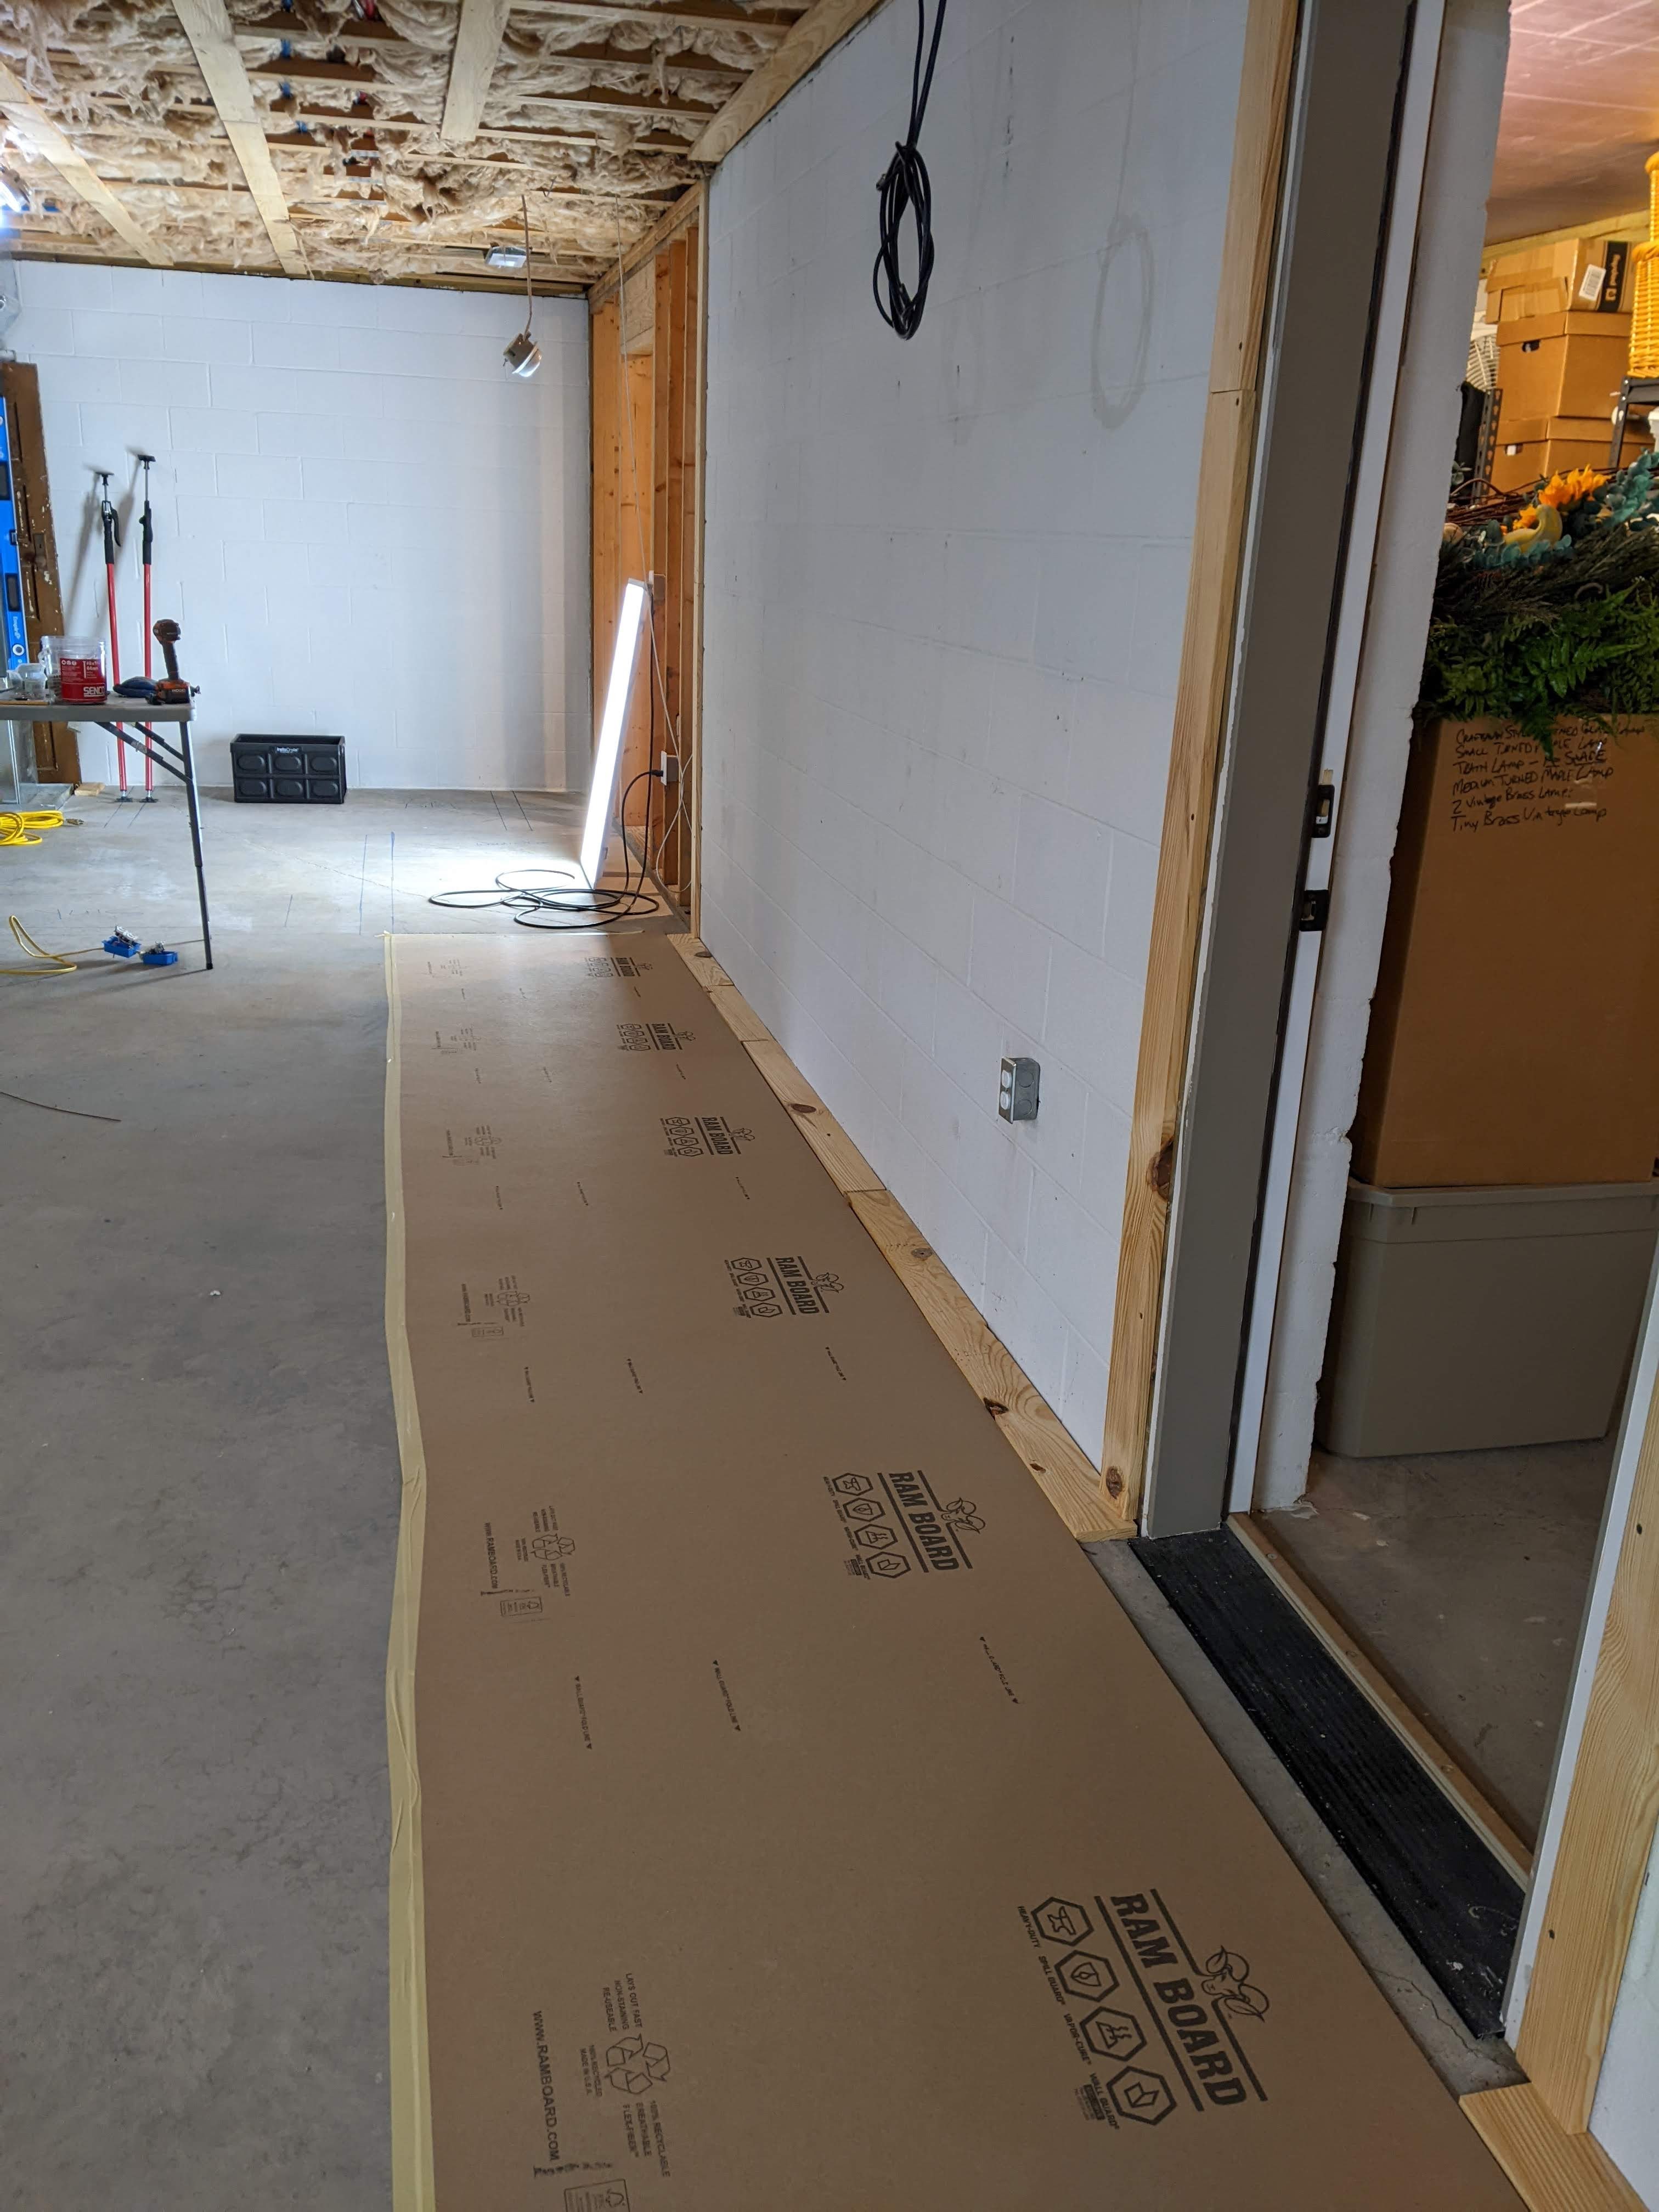
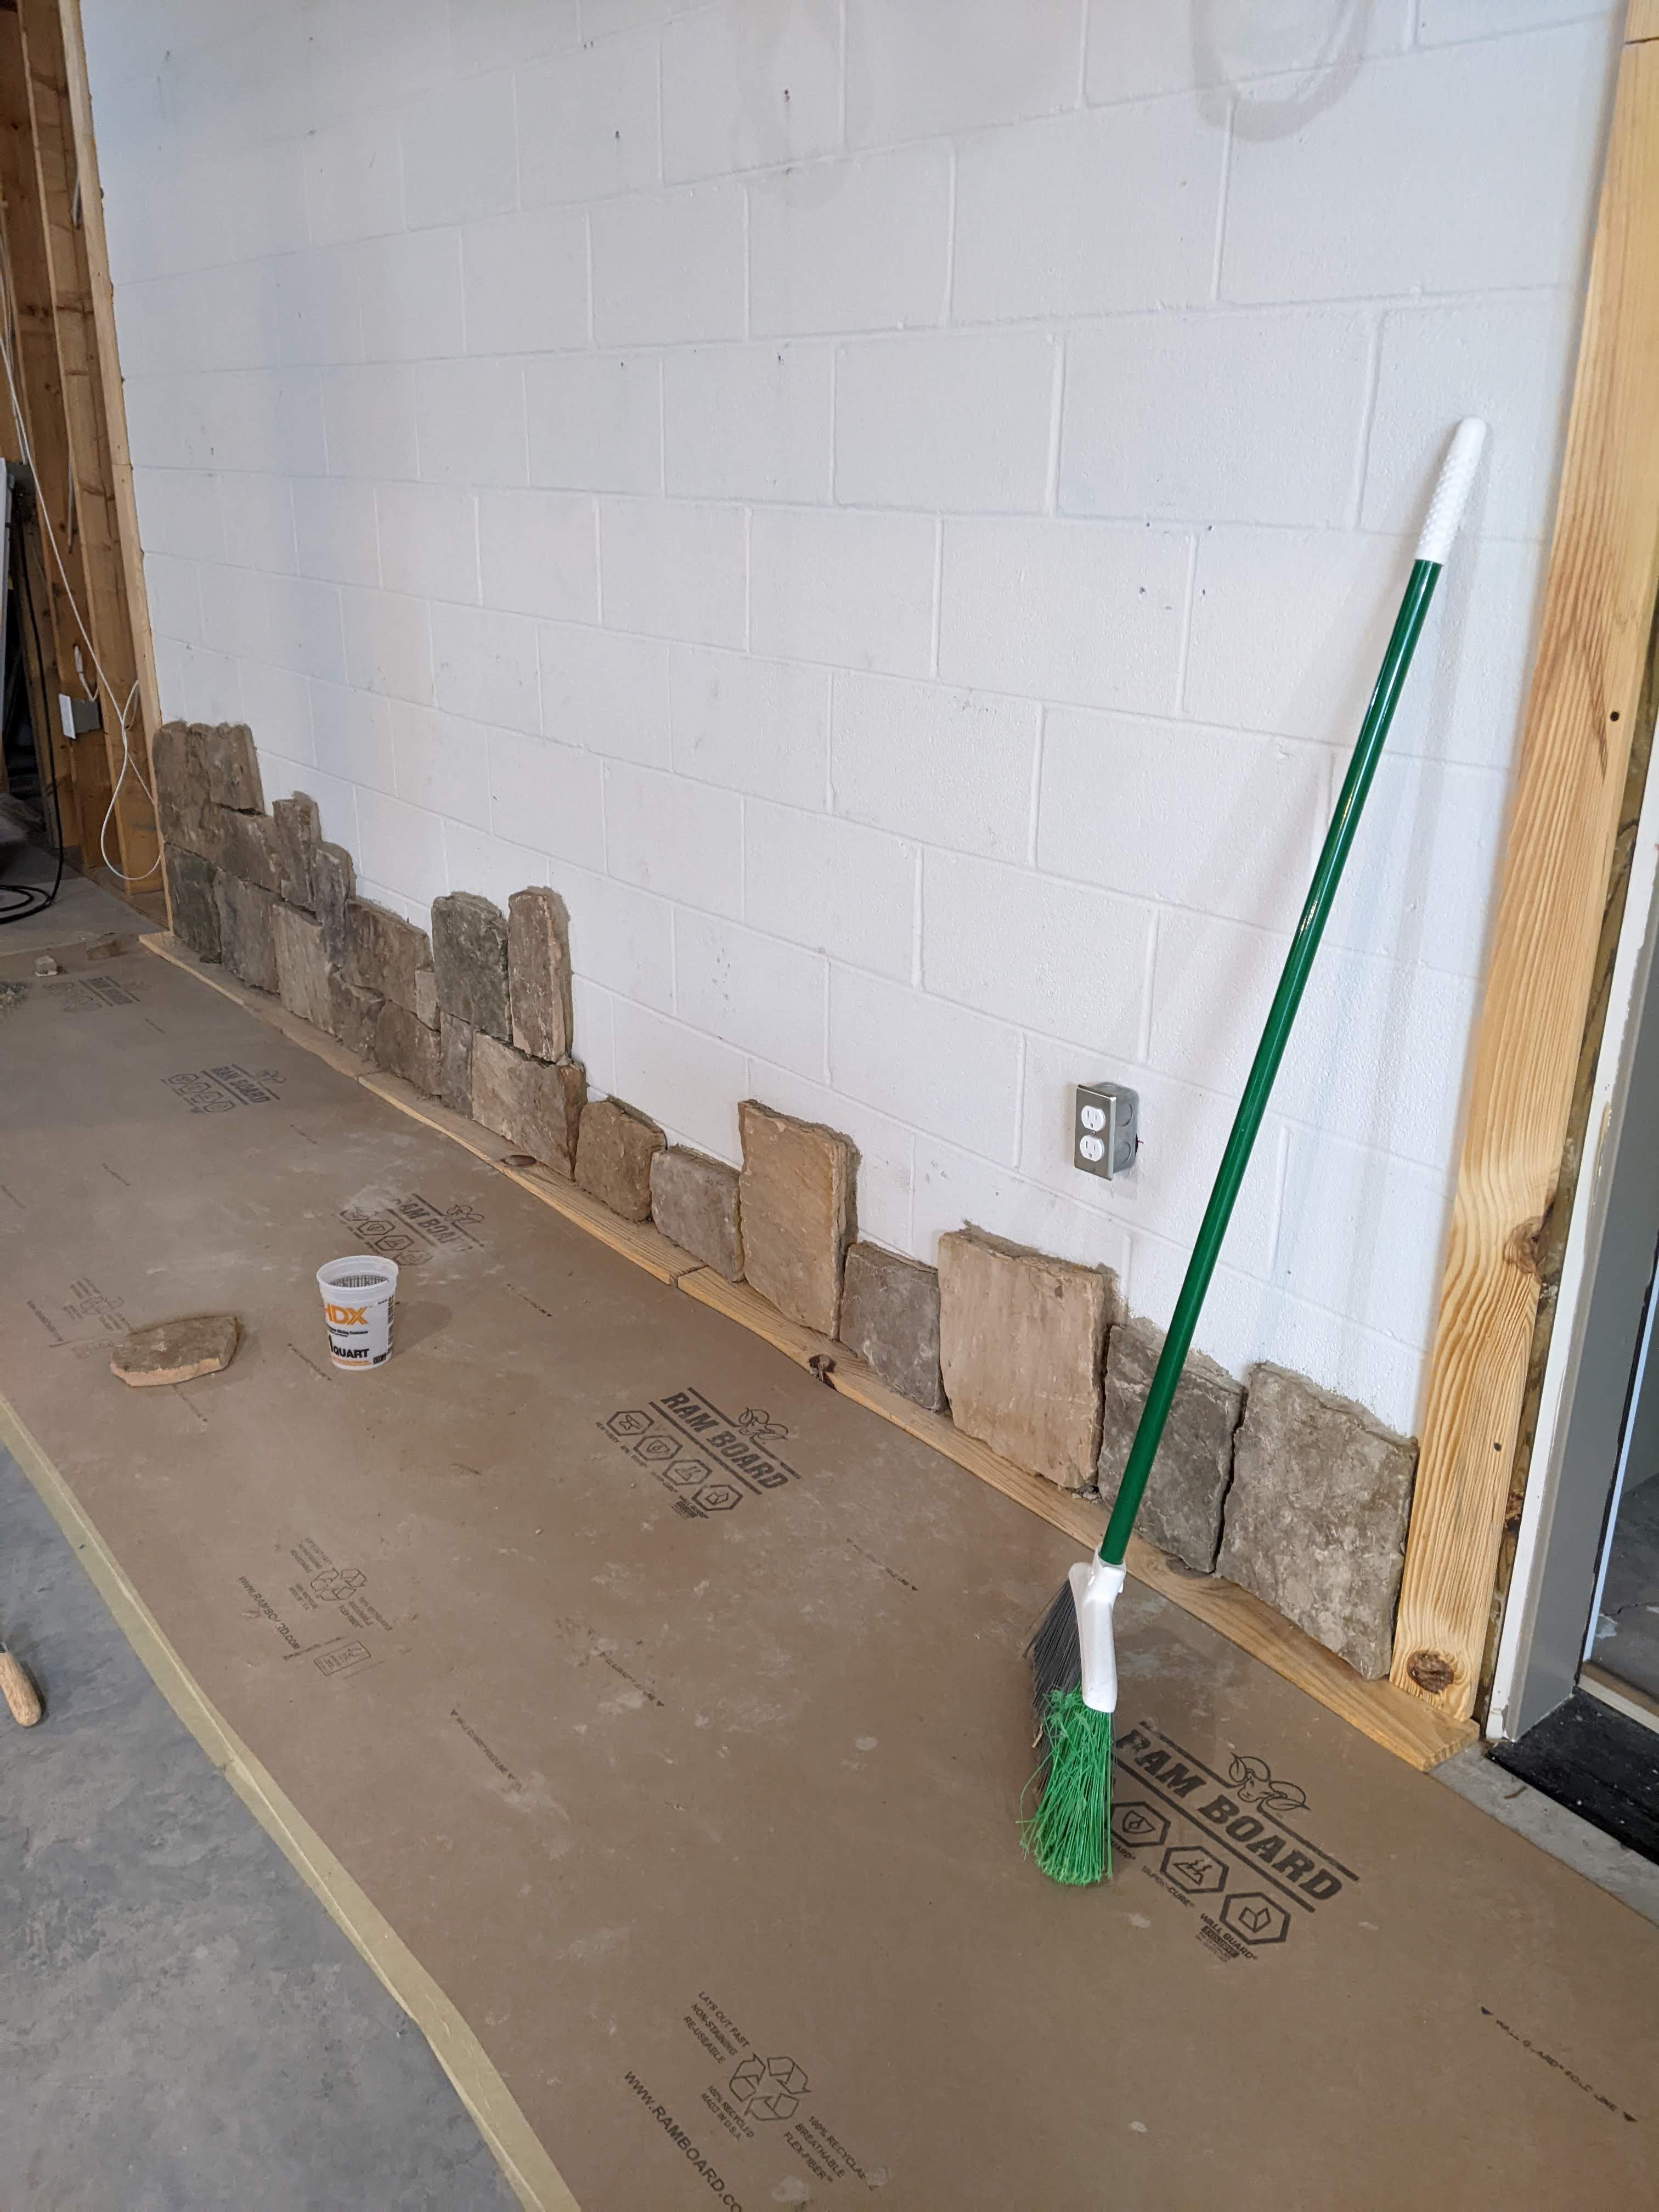
We jointed and planed some pine boards so that they were all the same thickness to use as spacers at the bottom of the rock and for door mouldings that will eventually be installed. I put down Ram board to keep the floor from getting covered with specks of mortar.
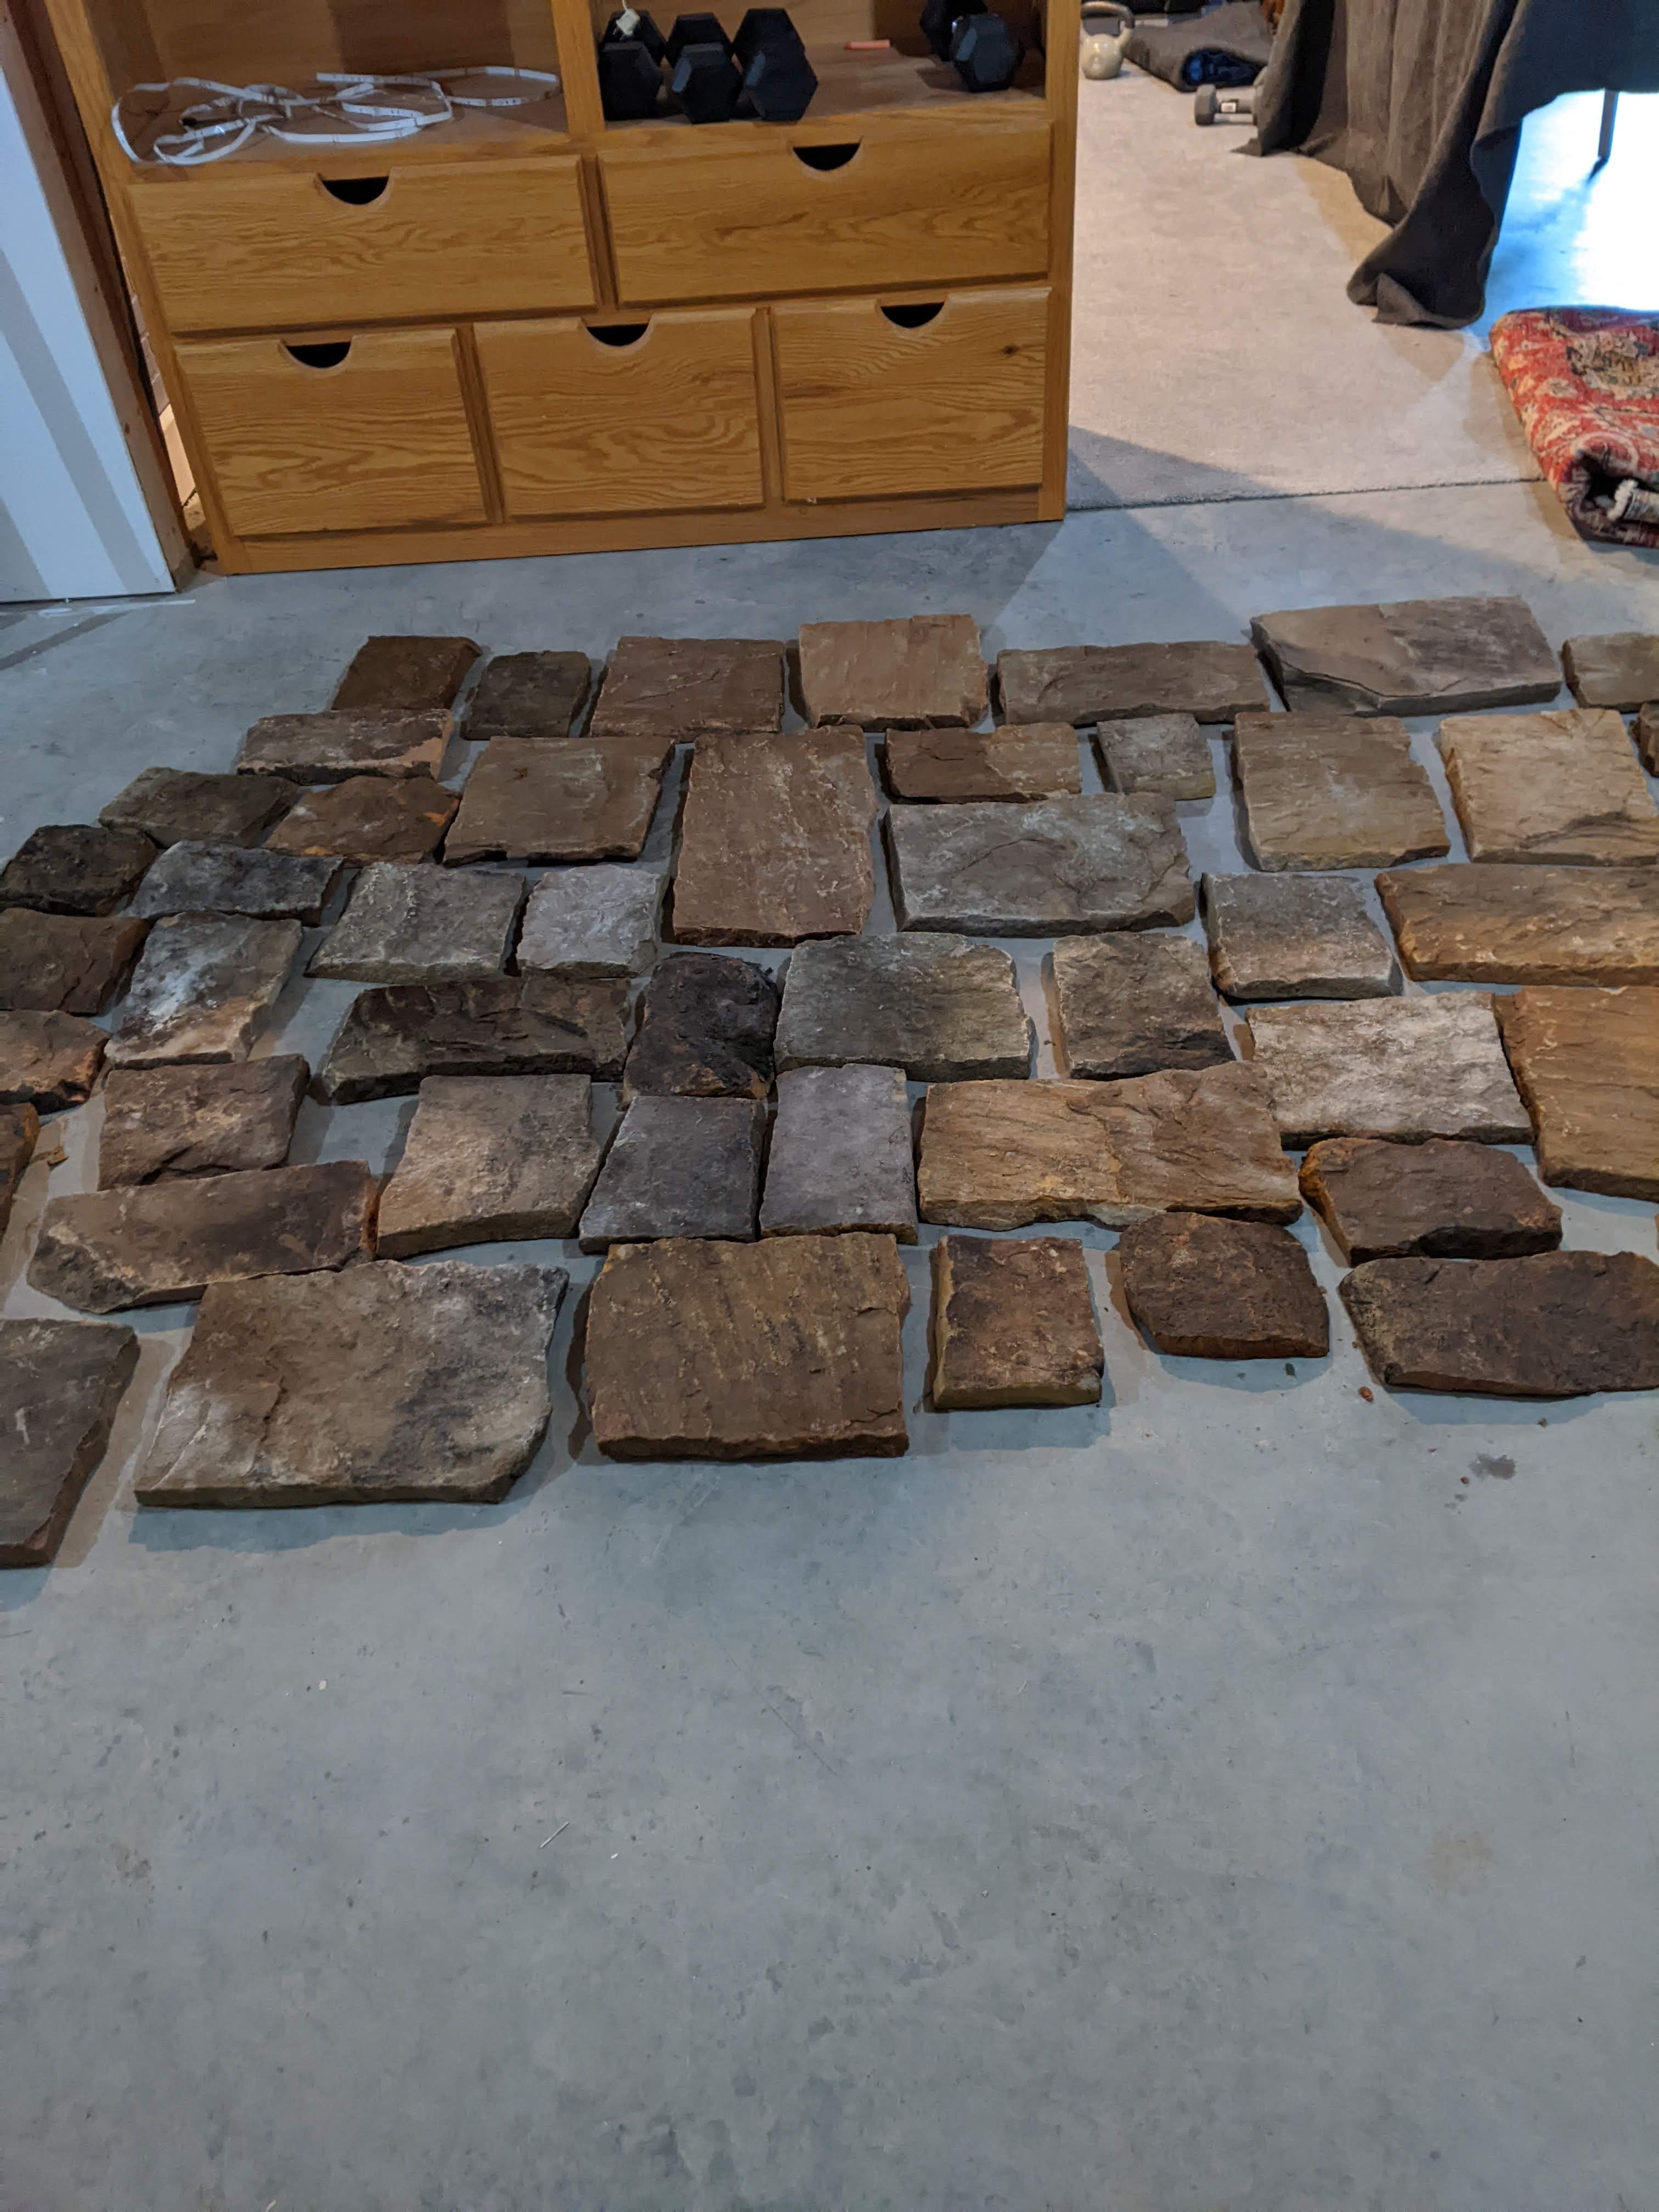
Once this prep work was complete, I took the wire netting off of the top of the pallet of stone veneer and washed it off and brought it in. This is three layers worth to give us a good variety of colors and shapes and sizes.
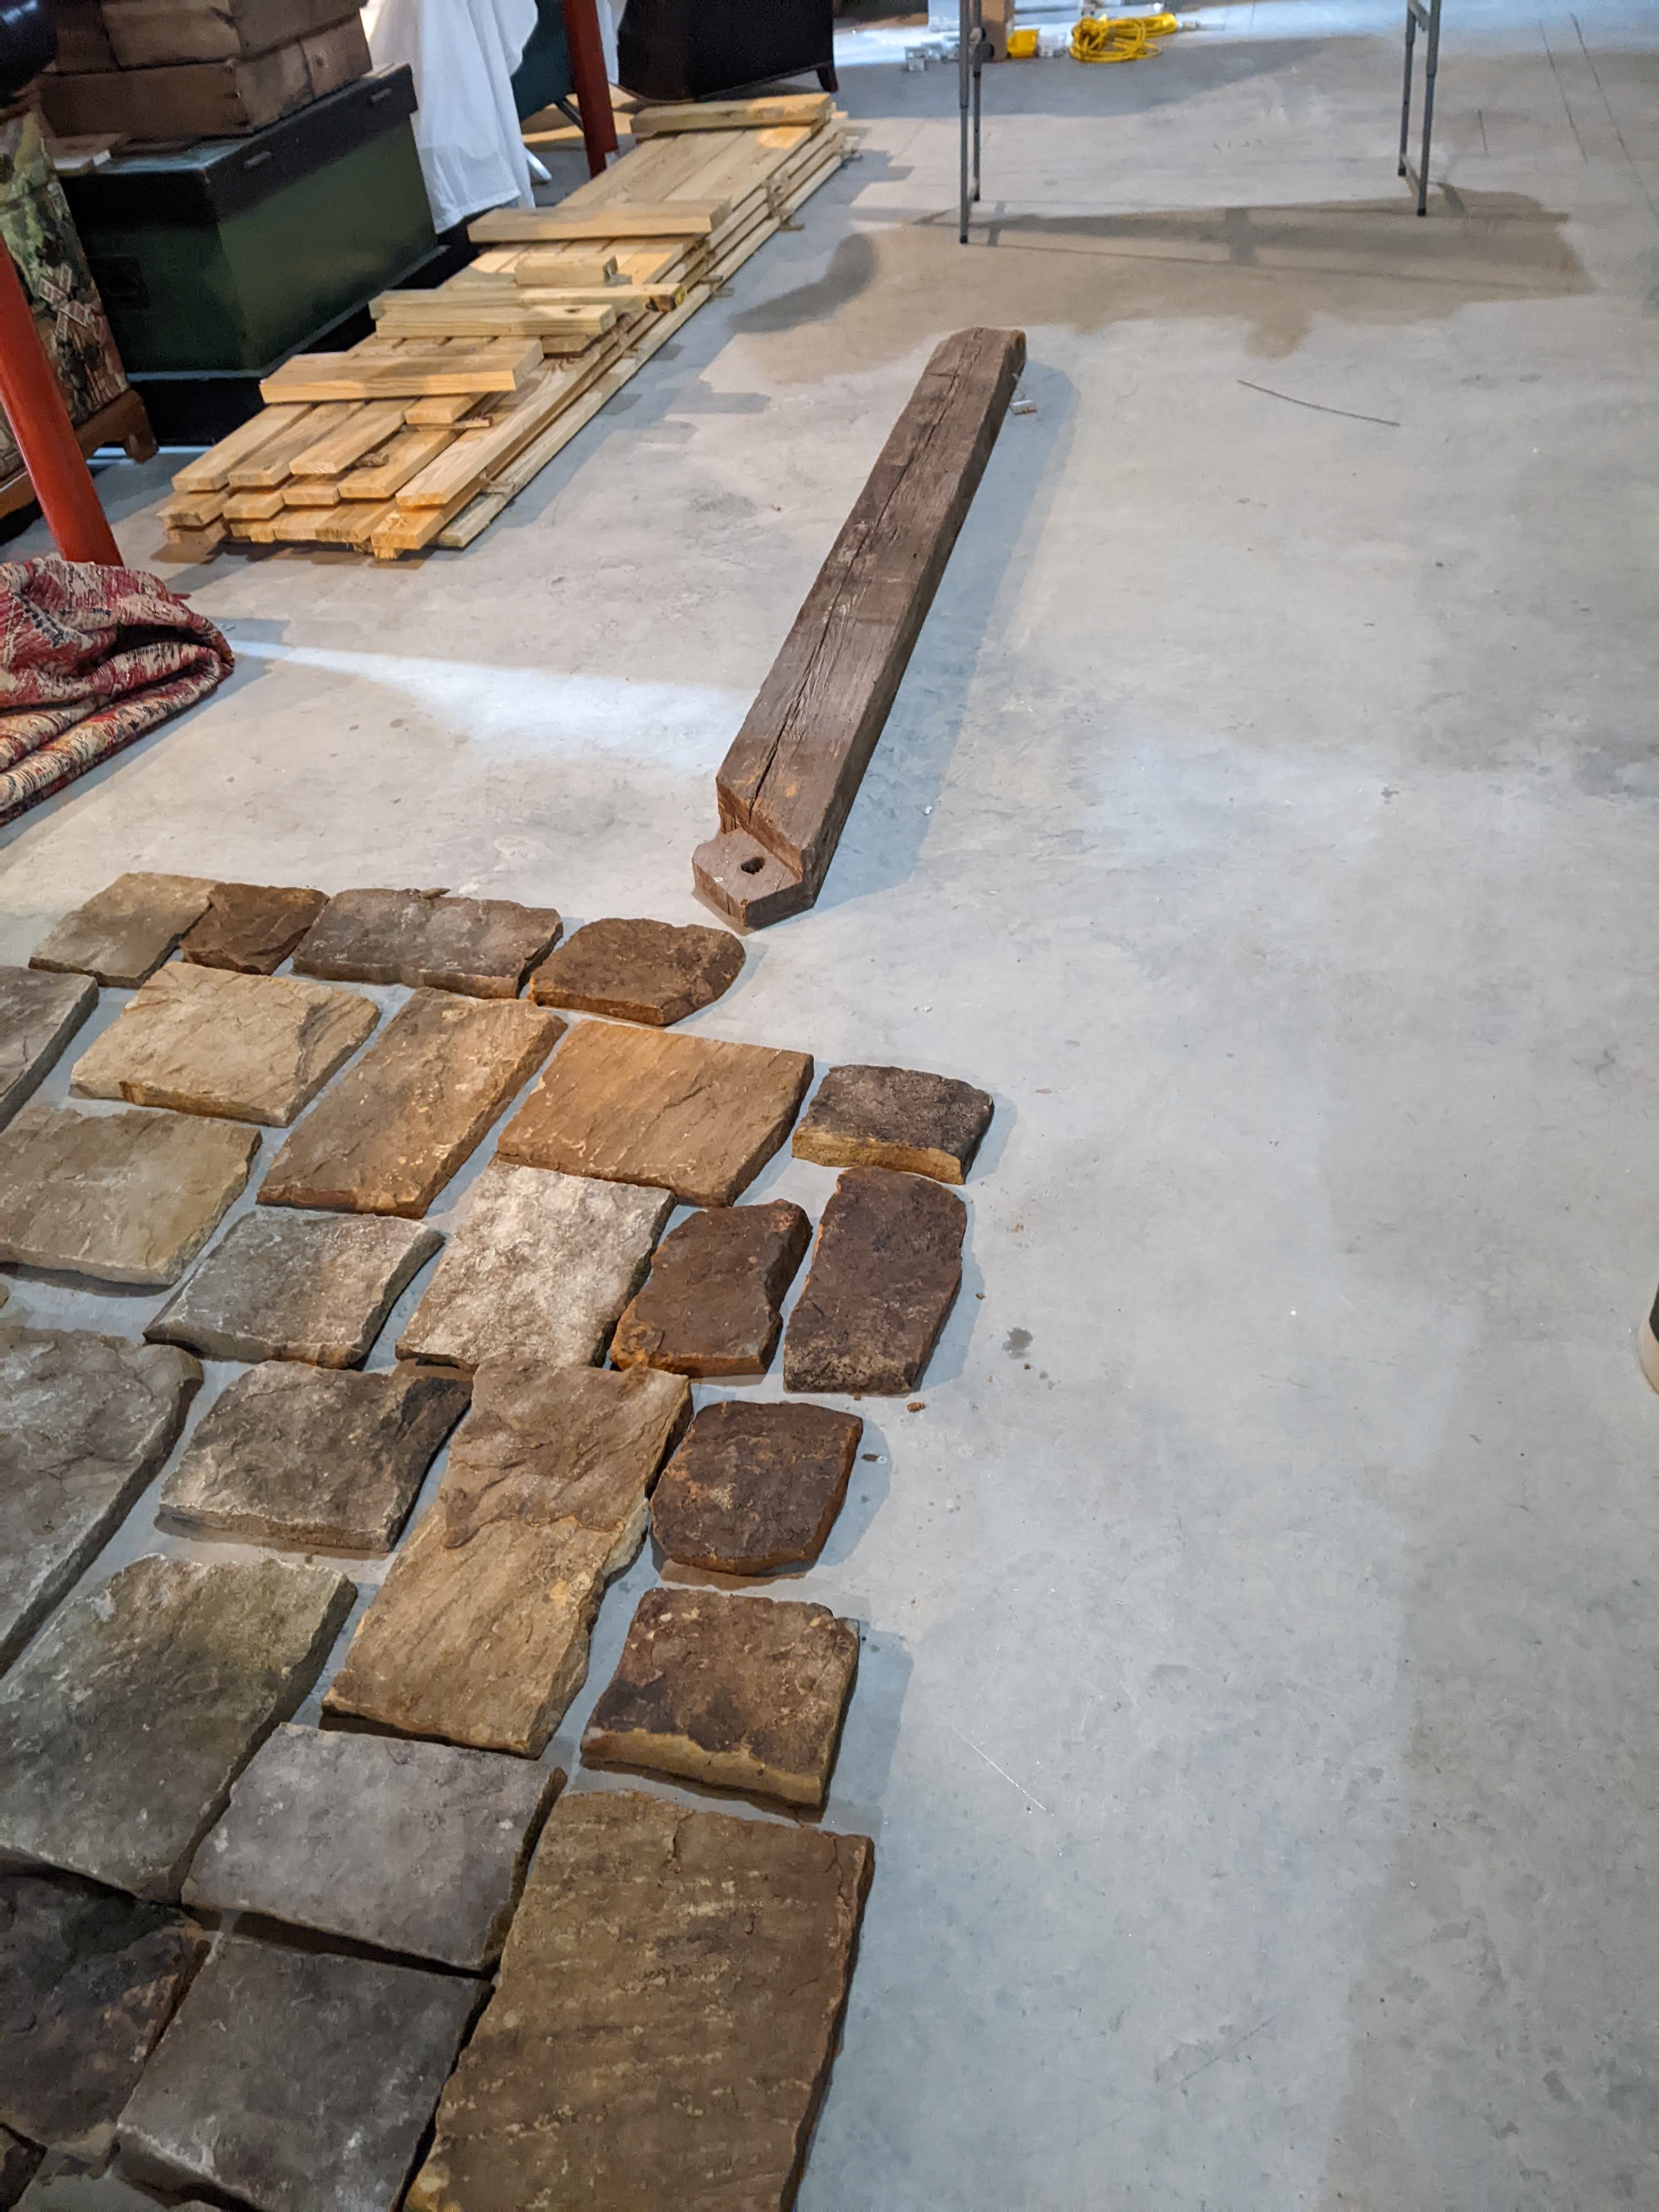
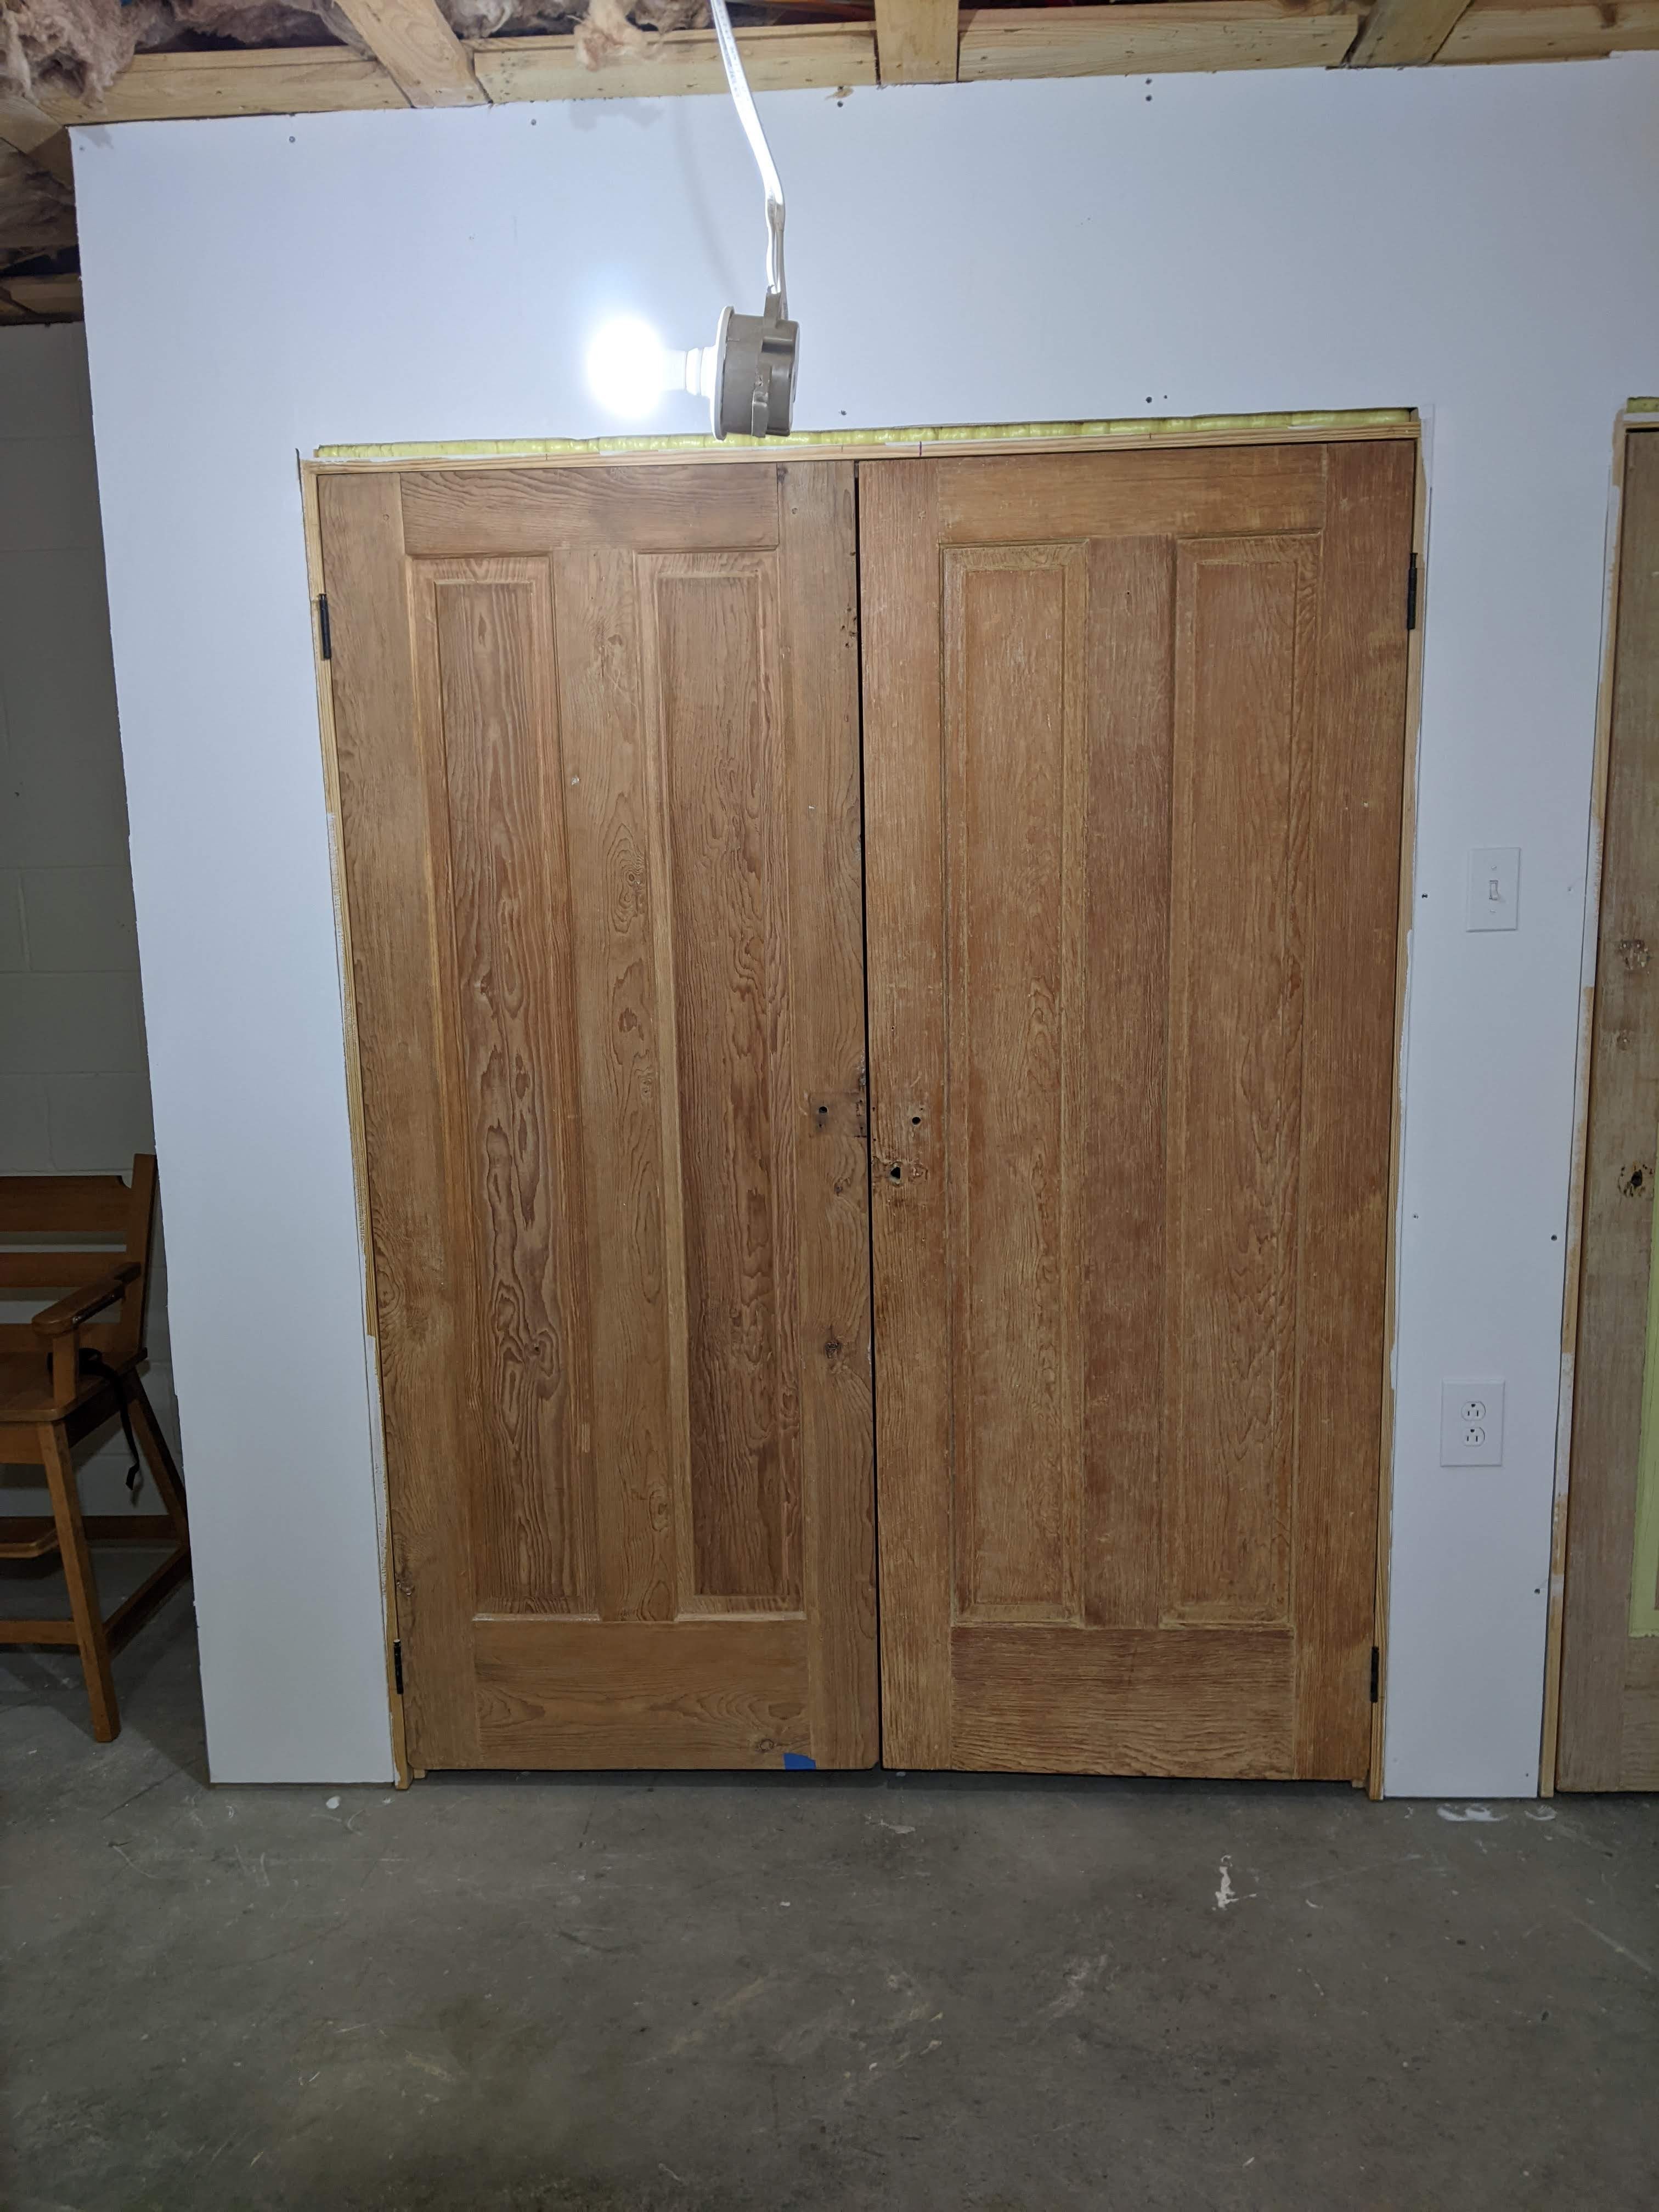
We decided that we are going to use the old barn beam as a lintel above the storm shelter door and above the closet doors by the wood stove. The color of the beam looks fantastic with the stone.
We are using Type S mortar mix to apply the stone. What we have learned is that we need to mix it to the consistency we like and let it sit for 15 minutes and then test it and mix in more water so it isn’t too dry to work with. We are back buttering the stone veneer with about 1/2″ of mortar and sticking it to the wall. (When we get to the closets, we’ll have to apply metal lath and a scratch coat.) We worked on it for about an hour on Sunday and we got this far:
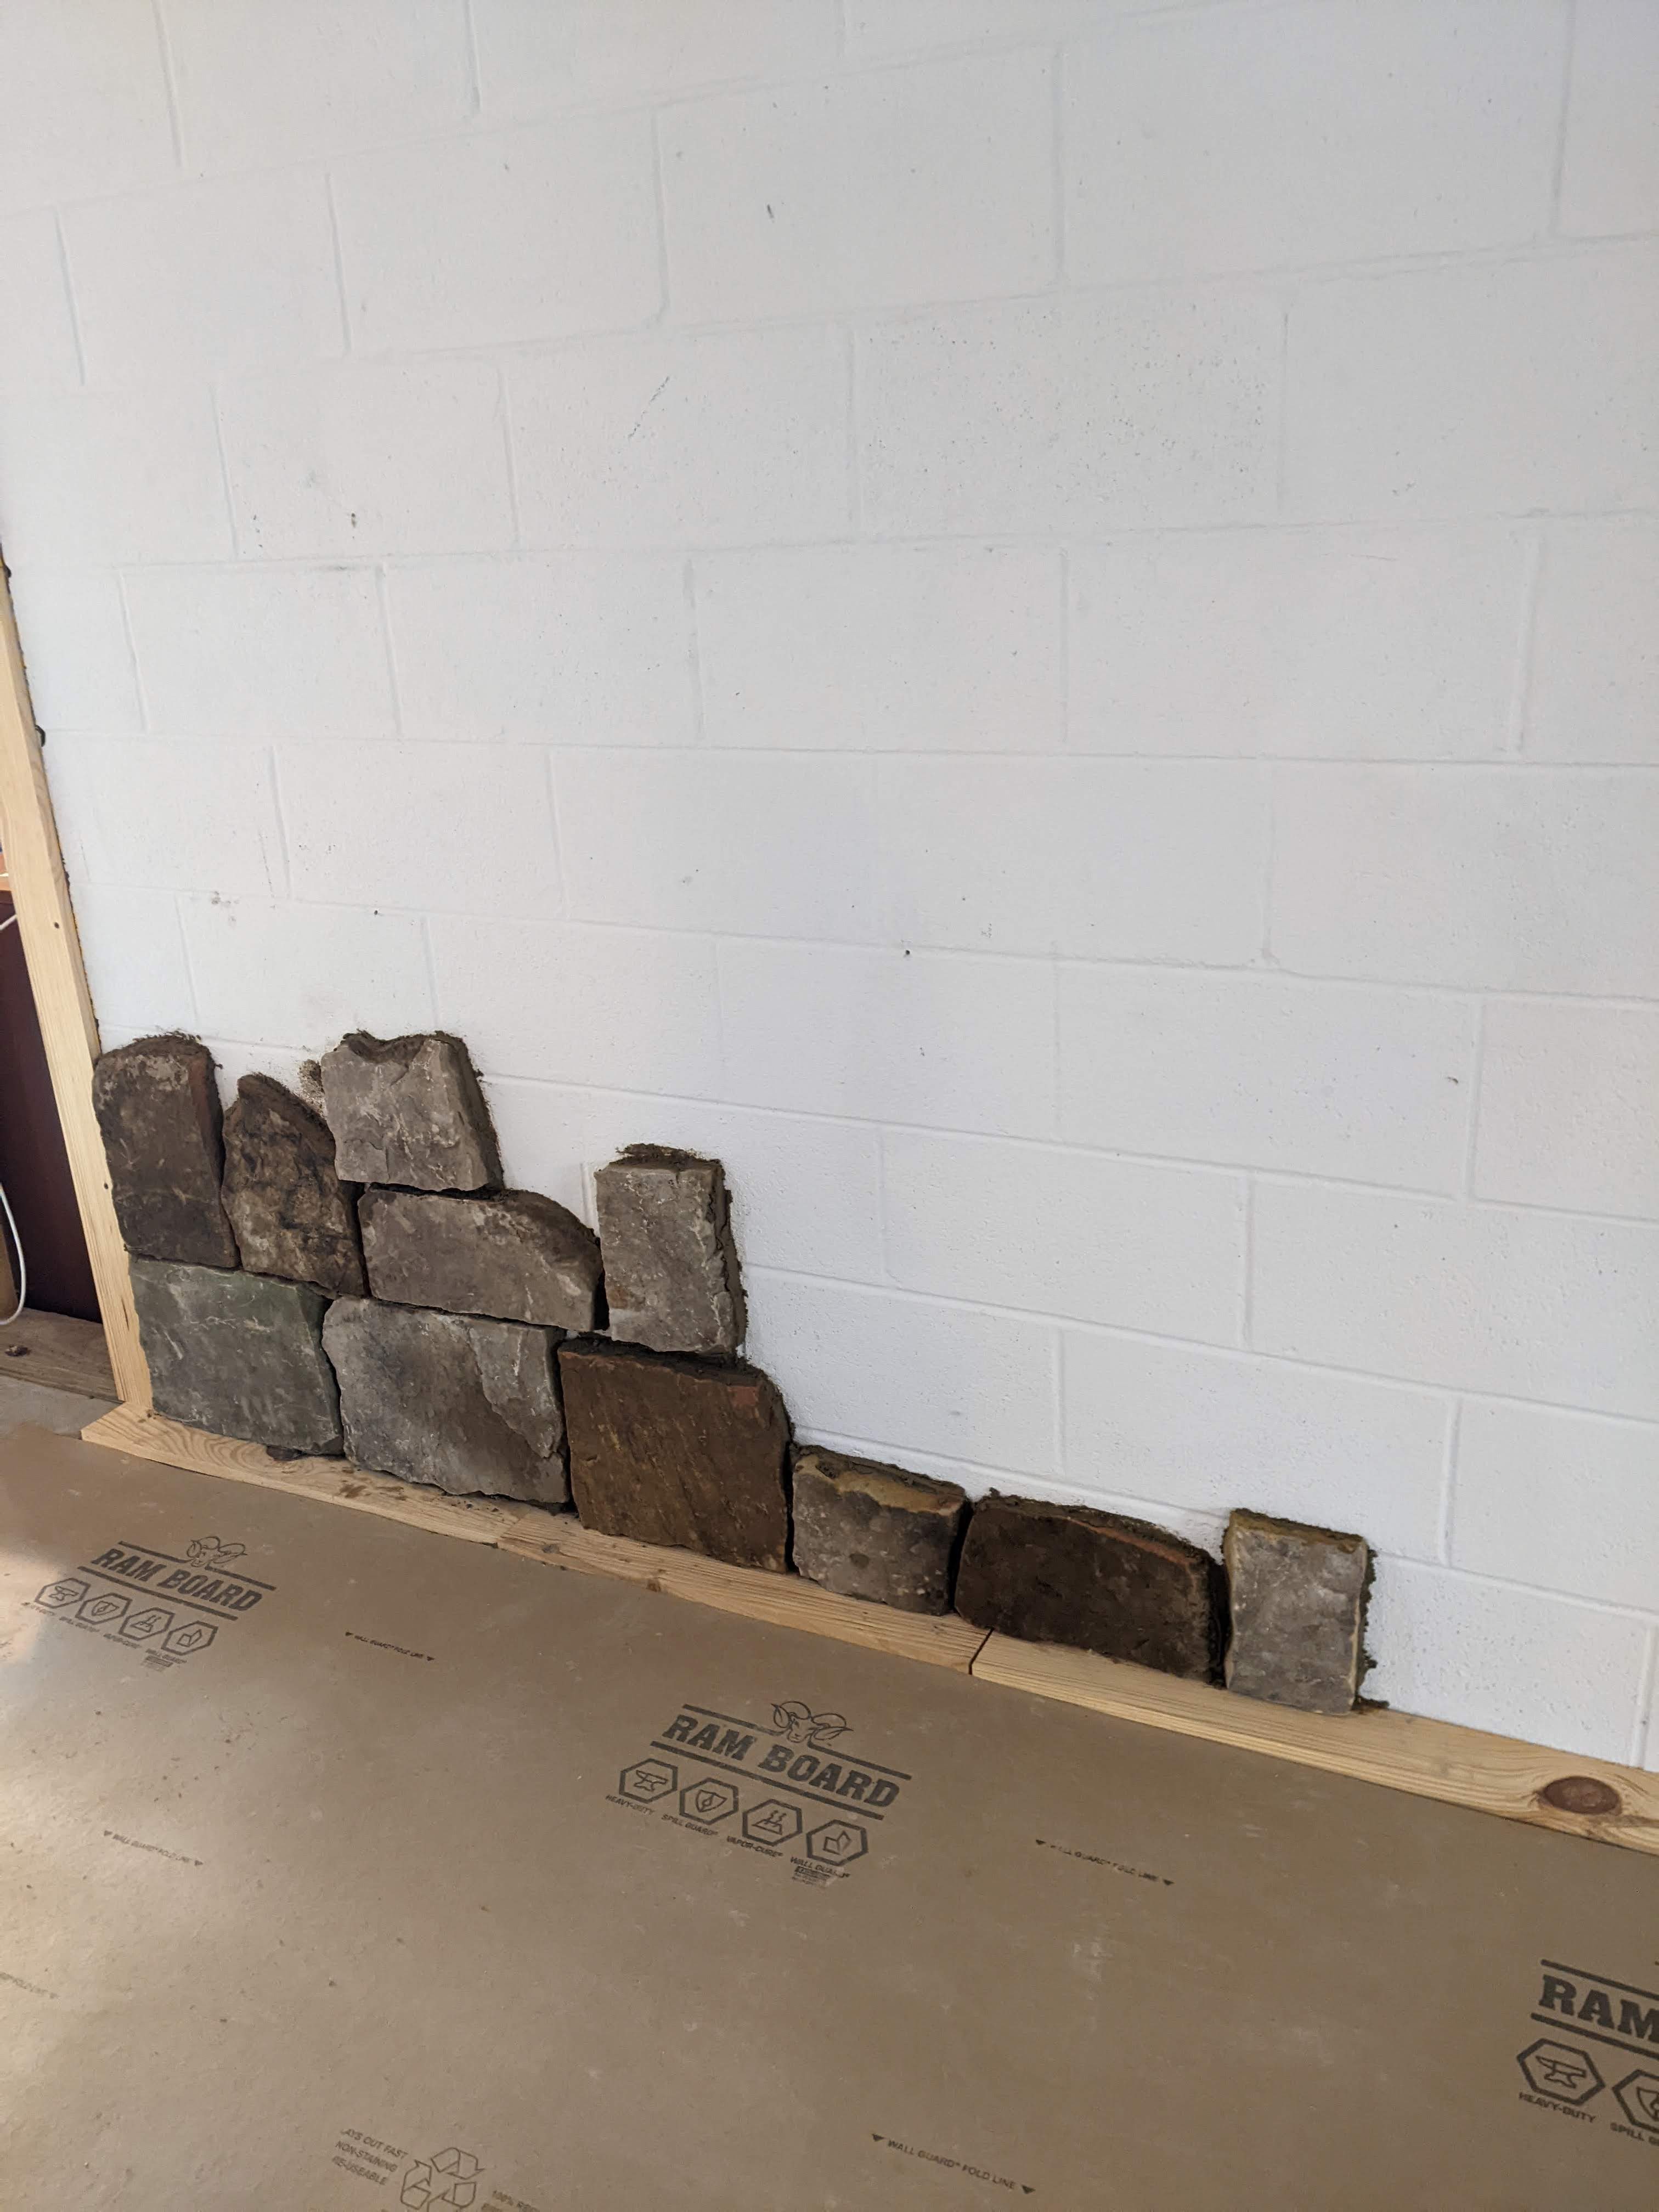
We decided to stop there and see how well it stuck before we started putting up a lot more. Everything seemed to work and we put up more on Monday night. Before we go too much further, we are going to install the hardware to hang the Howling Cow Farm sign and the dart board. My husband is also planning to go ahead and install the beams on the ceiling so that the stone will butt up to them.
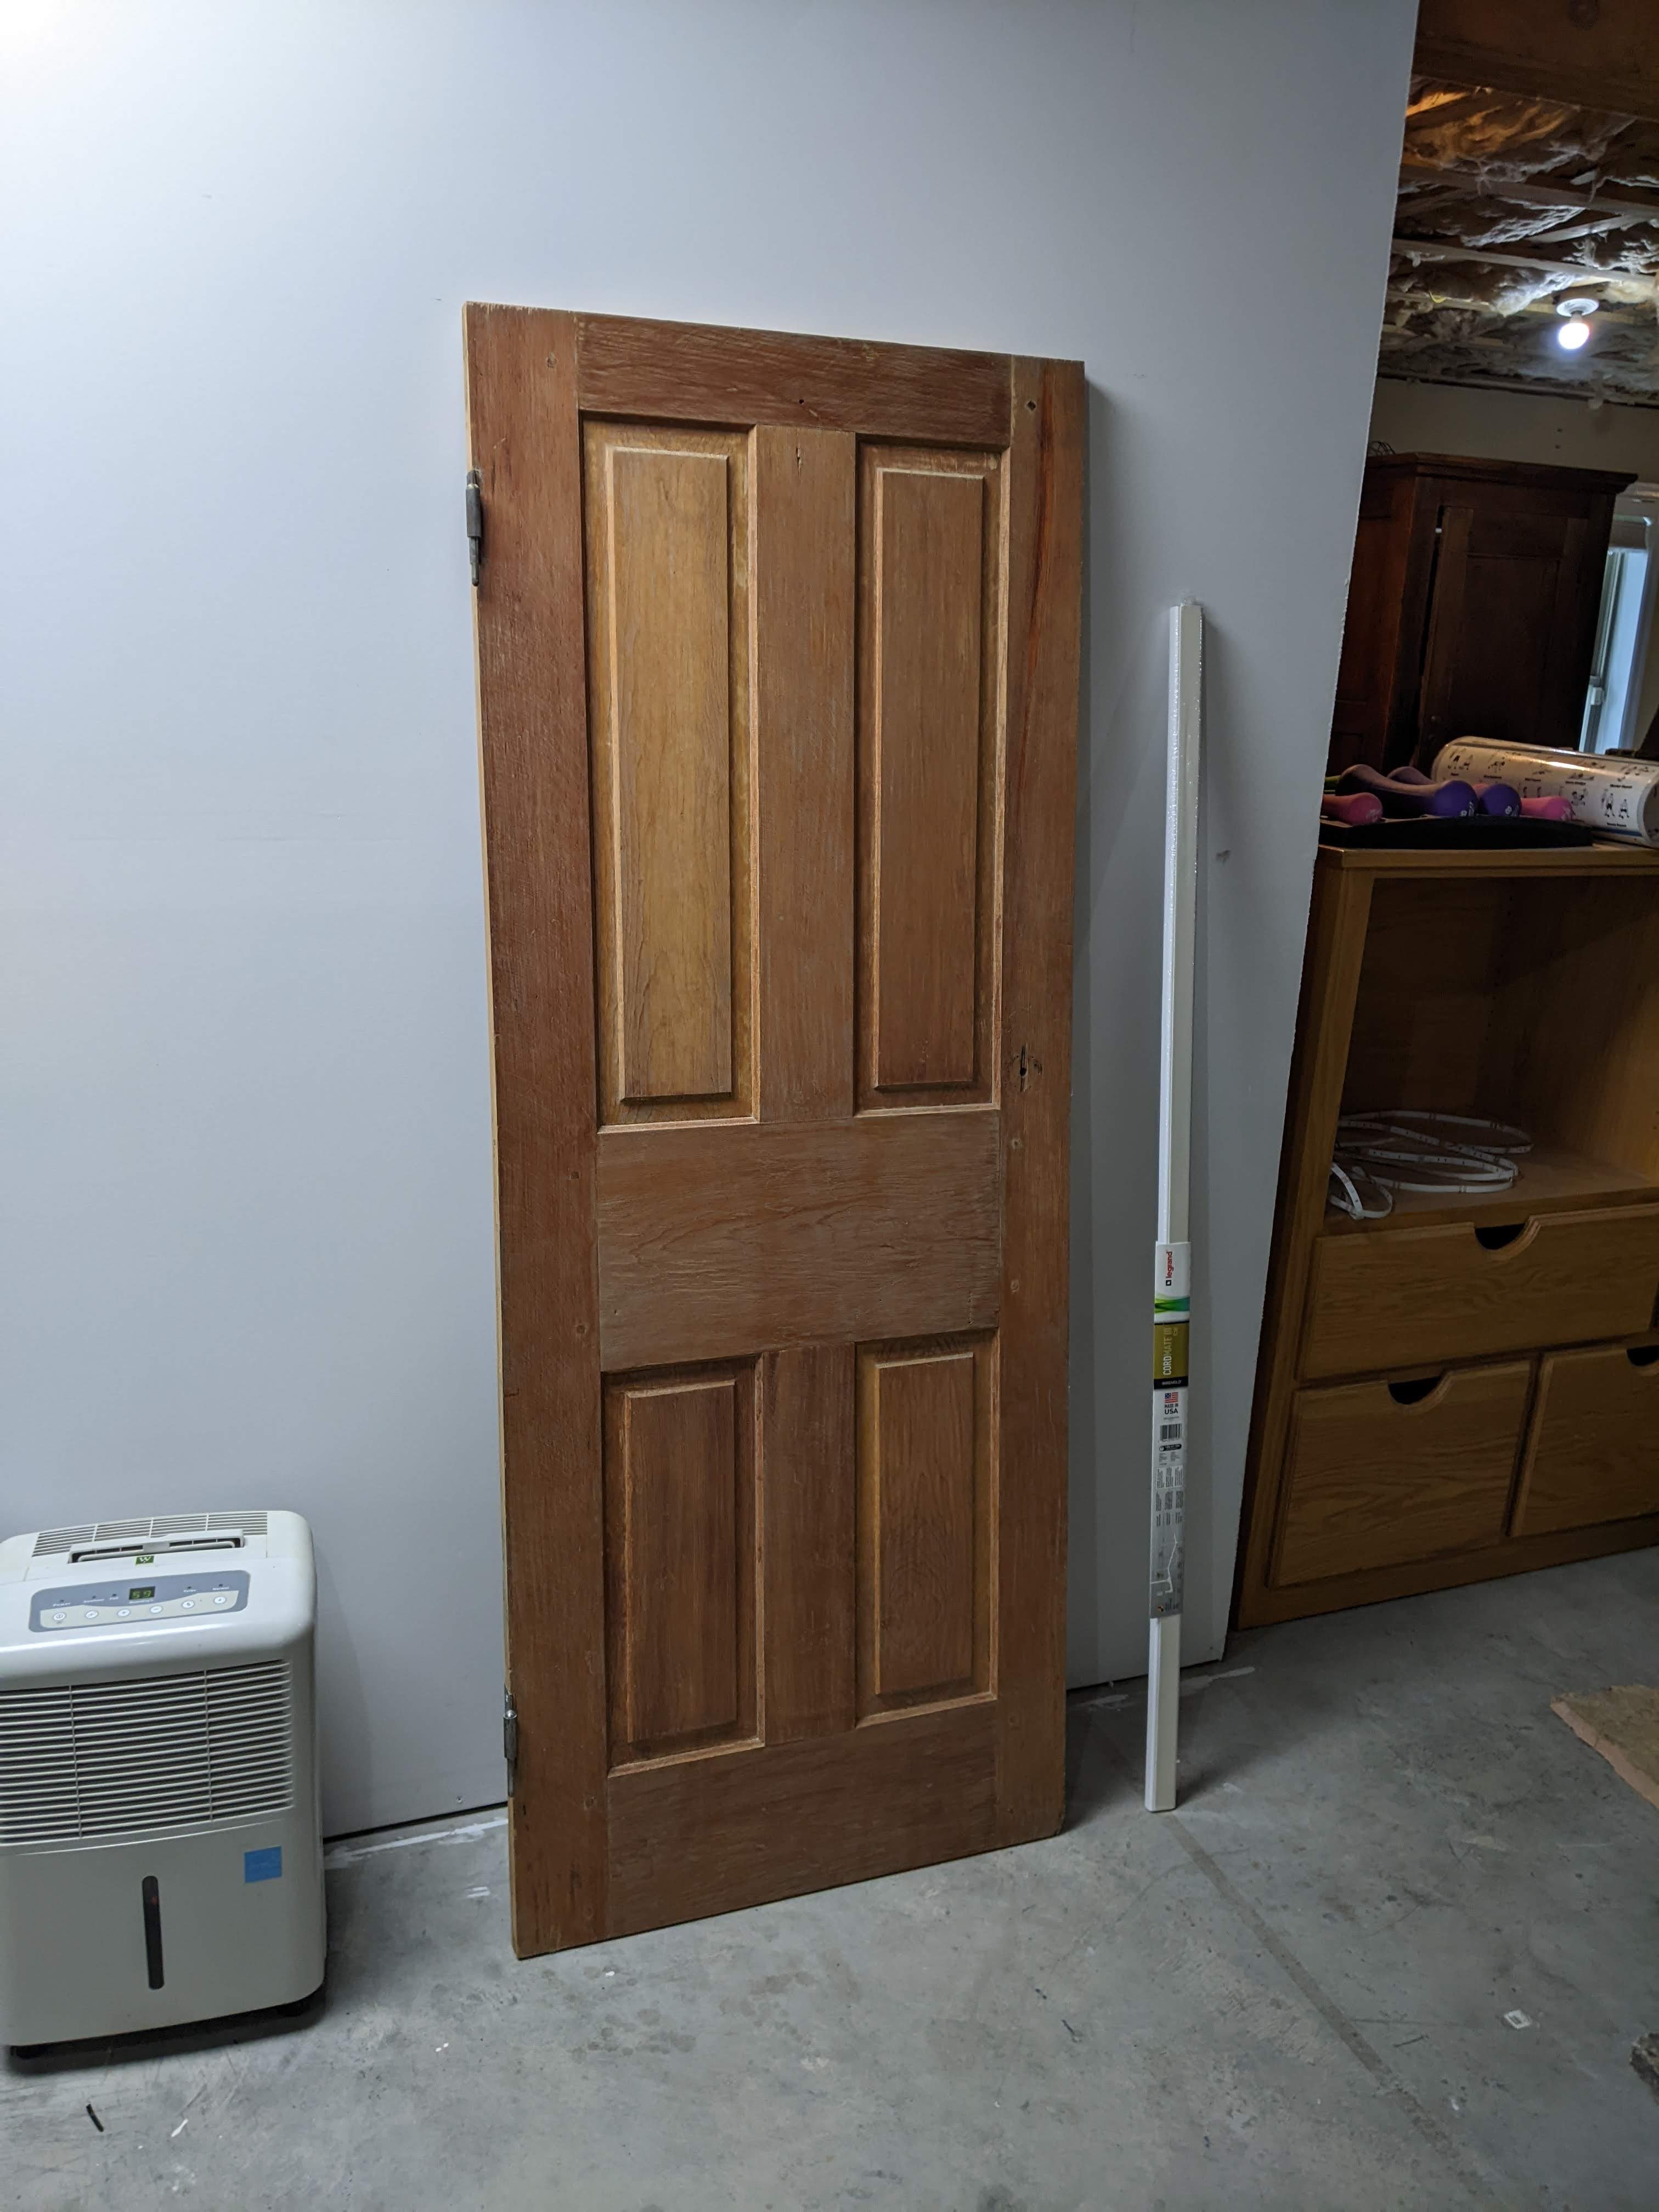
I have also been working on the closet doors trying to get them cleaned and ready to sand, and finish and install hardware. In earlier posts, I mentioned that I thought that the doors were about 150 years old. The bottom coat of material is really thick and chalky and difficult to remove. On top of that is a varnish type material. After working with several doors, I think that they may have been grain painted to look like mahogany, walnut, or oak instead of white pine. We are going to leave them natural and we’re going to use a lacquer so that the finish doesn’t yellow over time. It’s good that we had two doors that were such a close match to use for this closet.
I will start working on this final closet door next week. It still has quite a lot of that bottom coat of material on it.
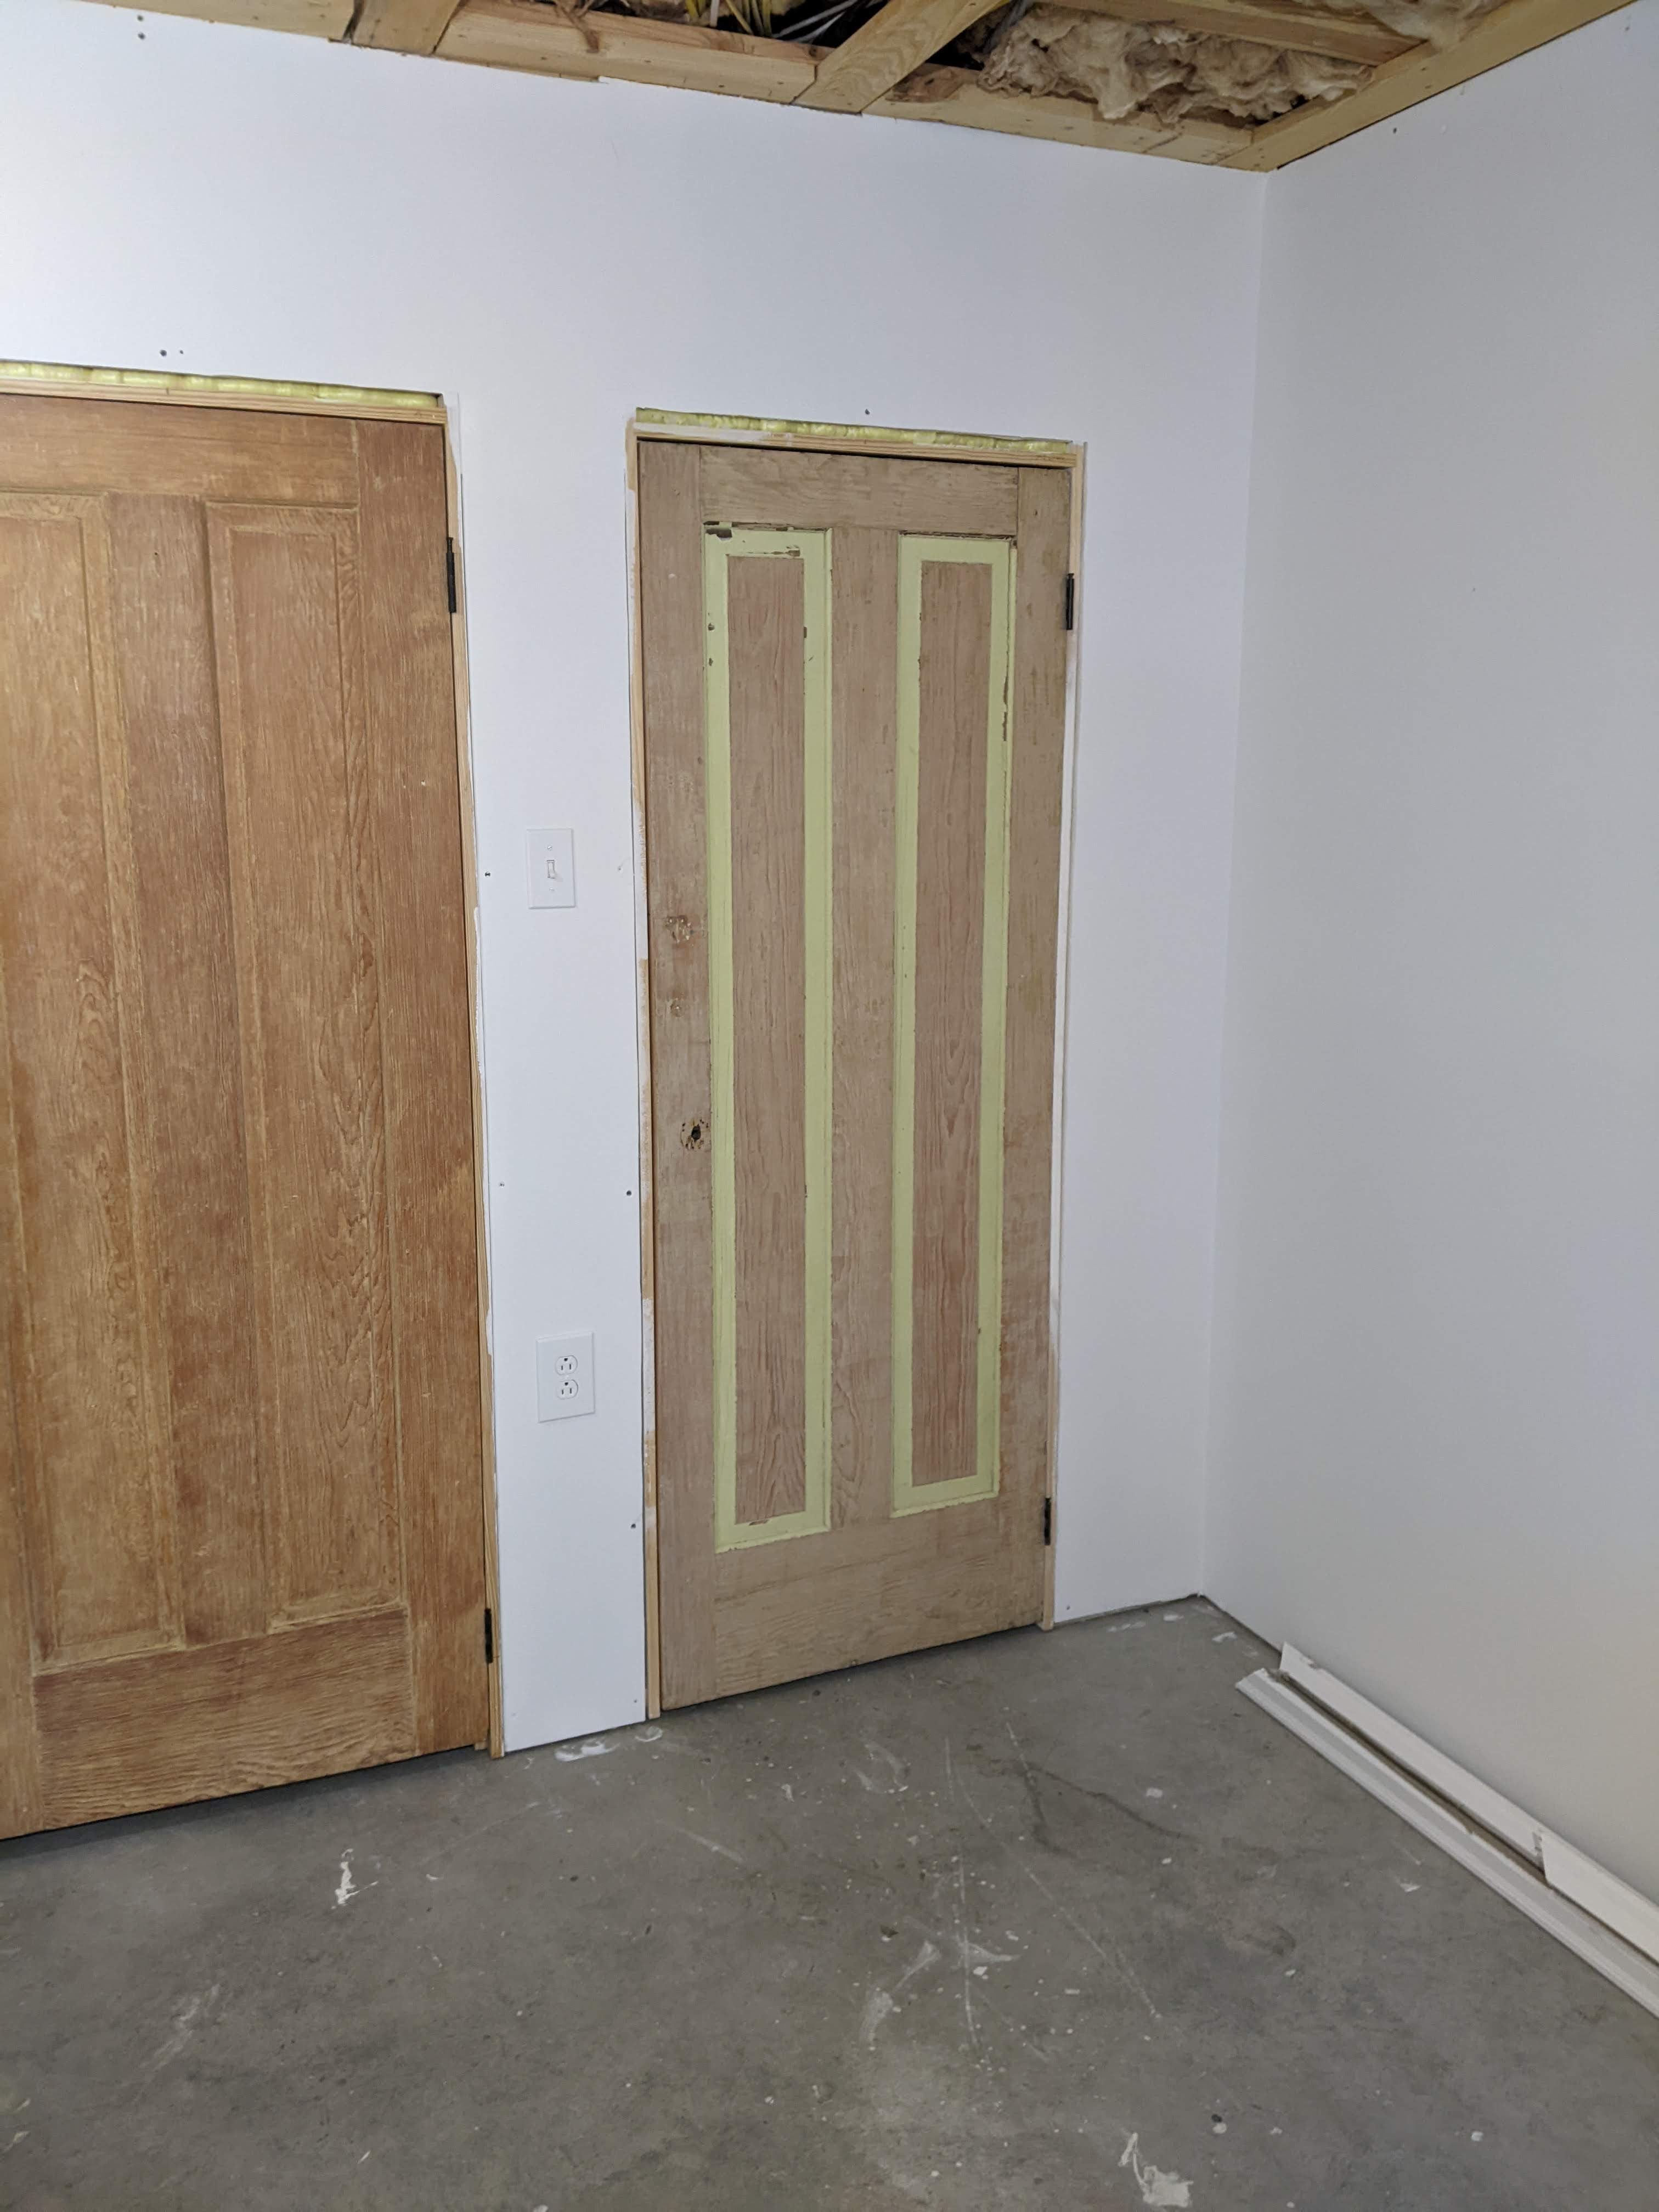
I also finished the other door for the closets by the wood stove. It’s such a cutie little door. Once we finish the big block wall with stone, then we’ll install both the doors and start the process of applying stone to the closet walls.
I really wish that everything was moving faster than it is, but we have such a specific look in mind that we don’t really have a choice to to do a lot of the work ourselves.

Little by little, day by day and the task will be completed
LikeLiked by 1 person