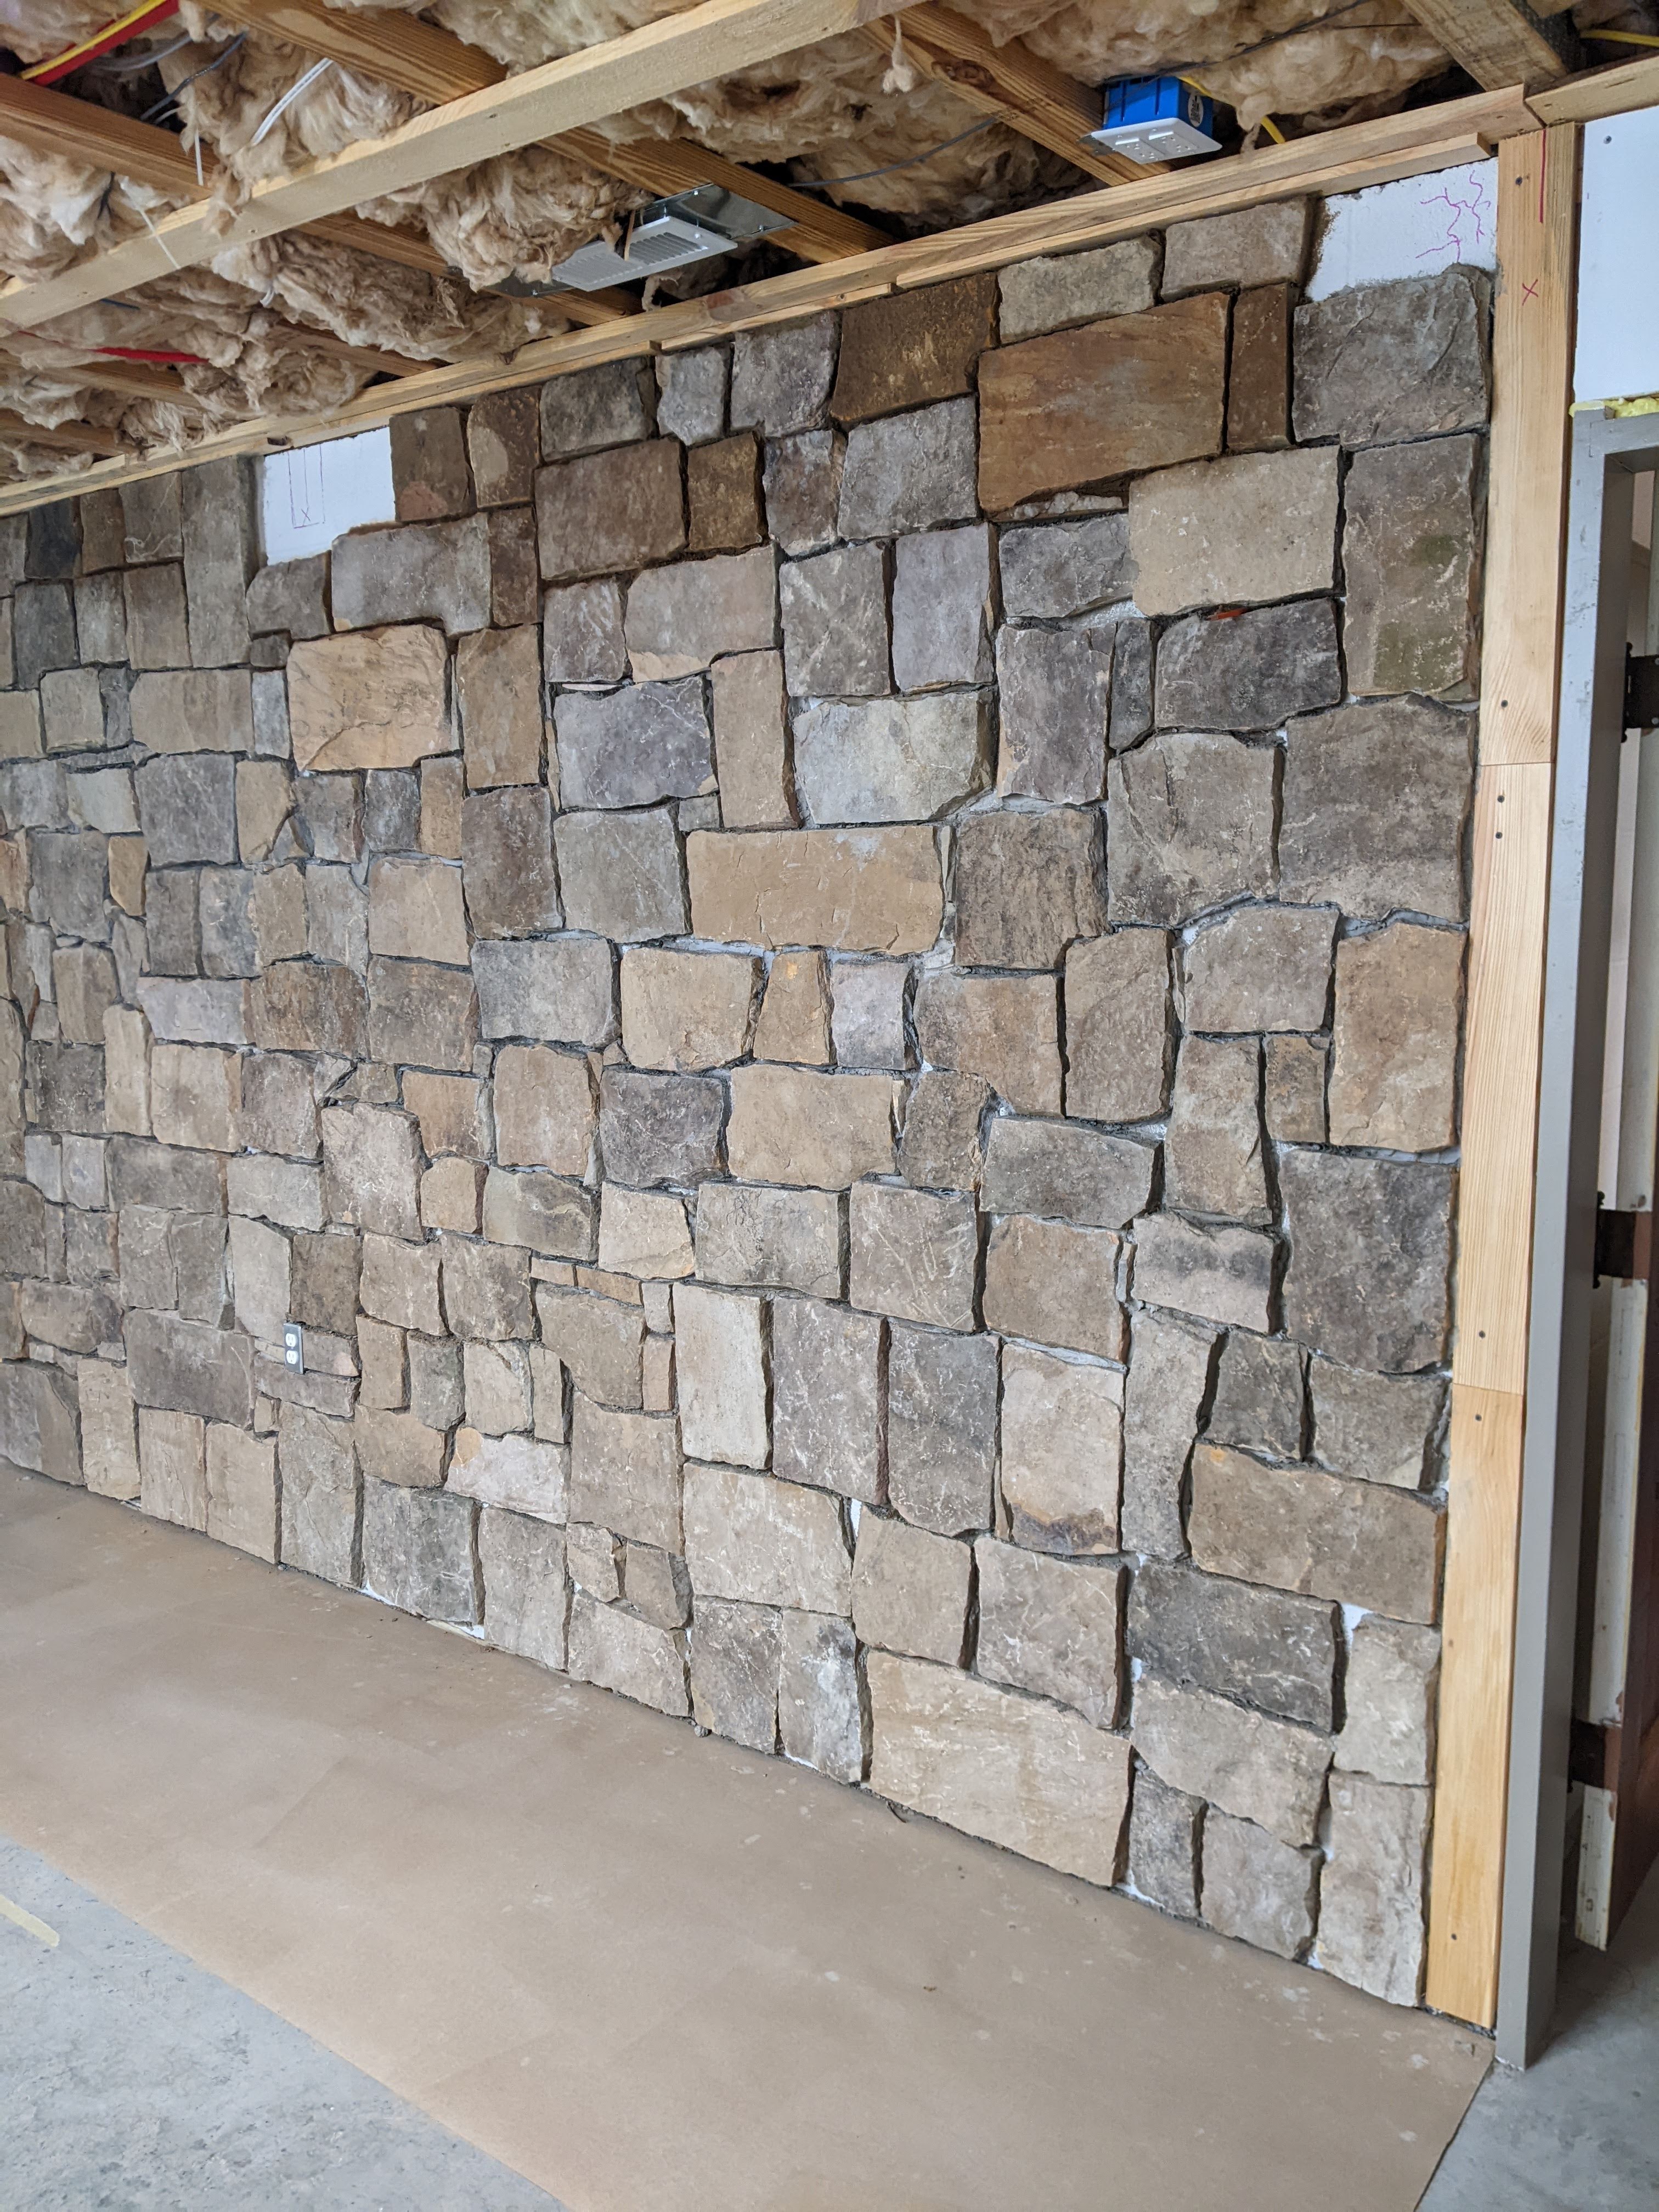
We are nearly finished with the giant block wall that we’re covering with stone veneer. And we’ve learned a few things that I’m going to share here.
First, there are not many YouTube videos for doing what we did. Secondly, we probably started with the hardest project of this type because of how large the wall is, and real stone is significantly heavier than manufactured stone, so getting it to “stick” is tricky. Third, the YouTubers are a bunch of damn liars.
First thing we learned was that, although everyone will tell you to use Type S mortar mix, you can’t actually get real stone to stick to a vertical wall with it. It’s like making a sandcastle on the back of the stone and trying to stick it to the wall. We learned that you need to use a 6:1 ratio of Type S mortar and Type N mortar.

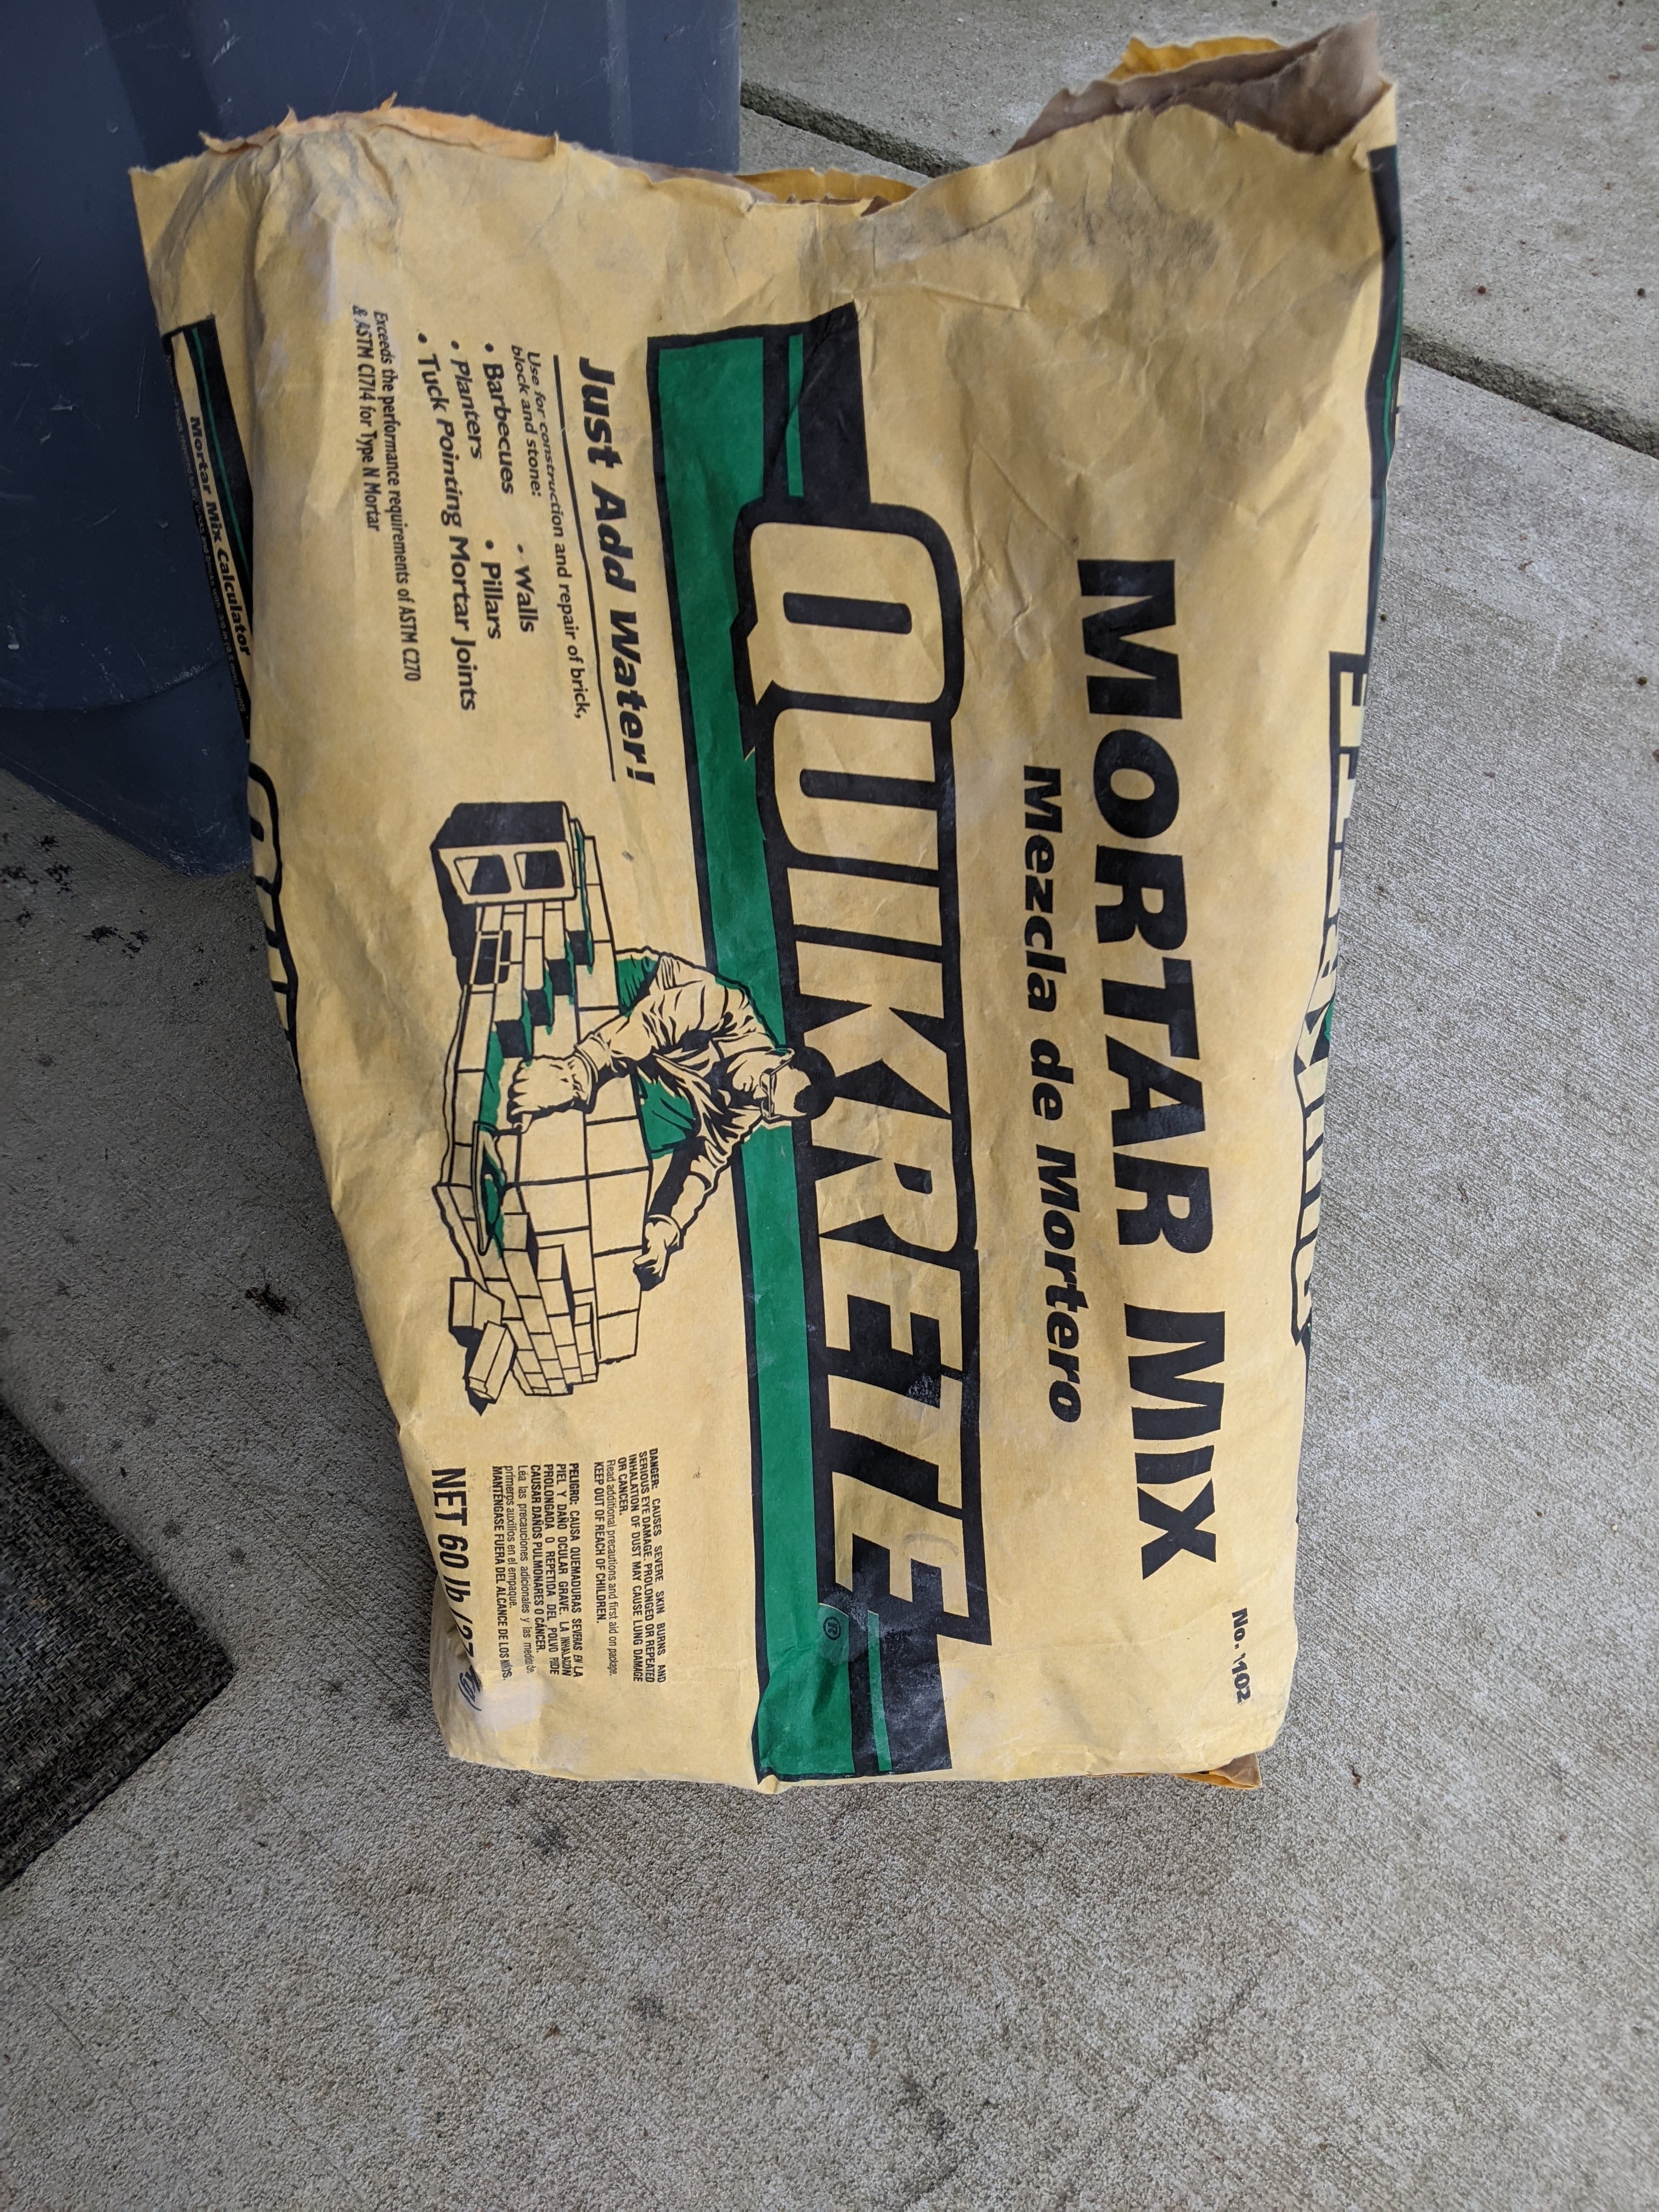
We bought the Type S at Lowes and the Type N at Home Depot. We also tried mixing portland cement with the Type S, but didn’t like that solution.
They will tell you that you to wet your stone with a spray bottle. That was way too fussy/cumbersome for us, so we got a bucket of water and a sponge and washed them. (Because we used natural stone, some of it was really dirty.) Wetting the stone will keep the stone from absorbing all the water from the mortar which causes it to dry too quickly.
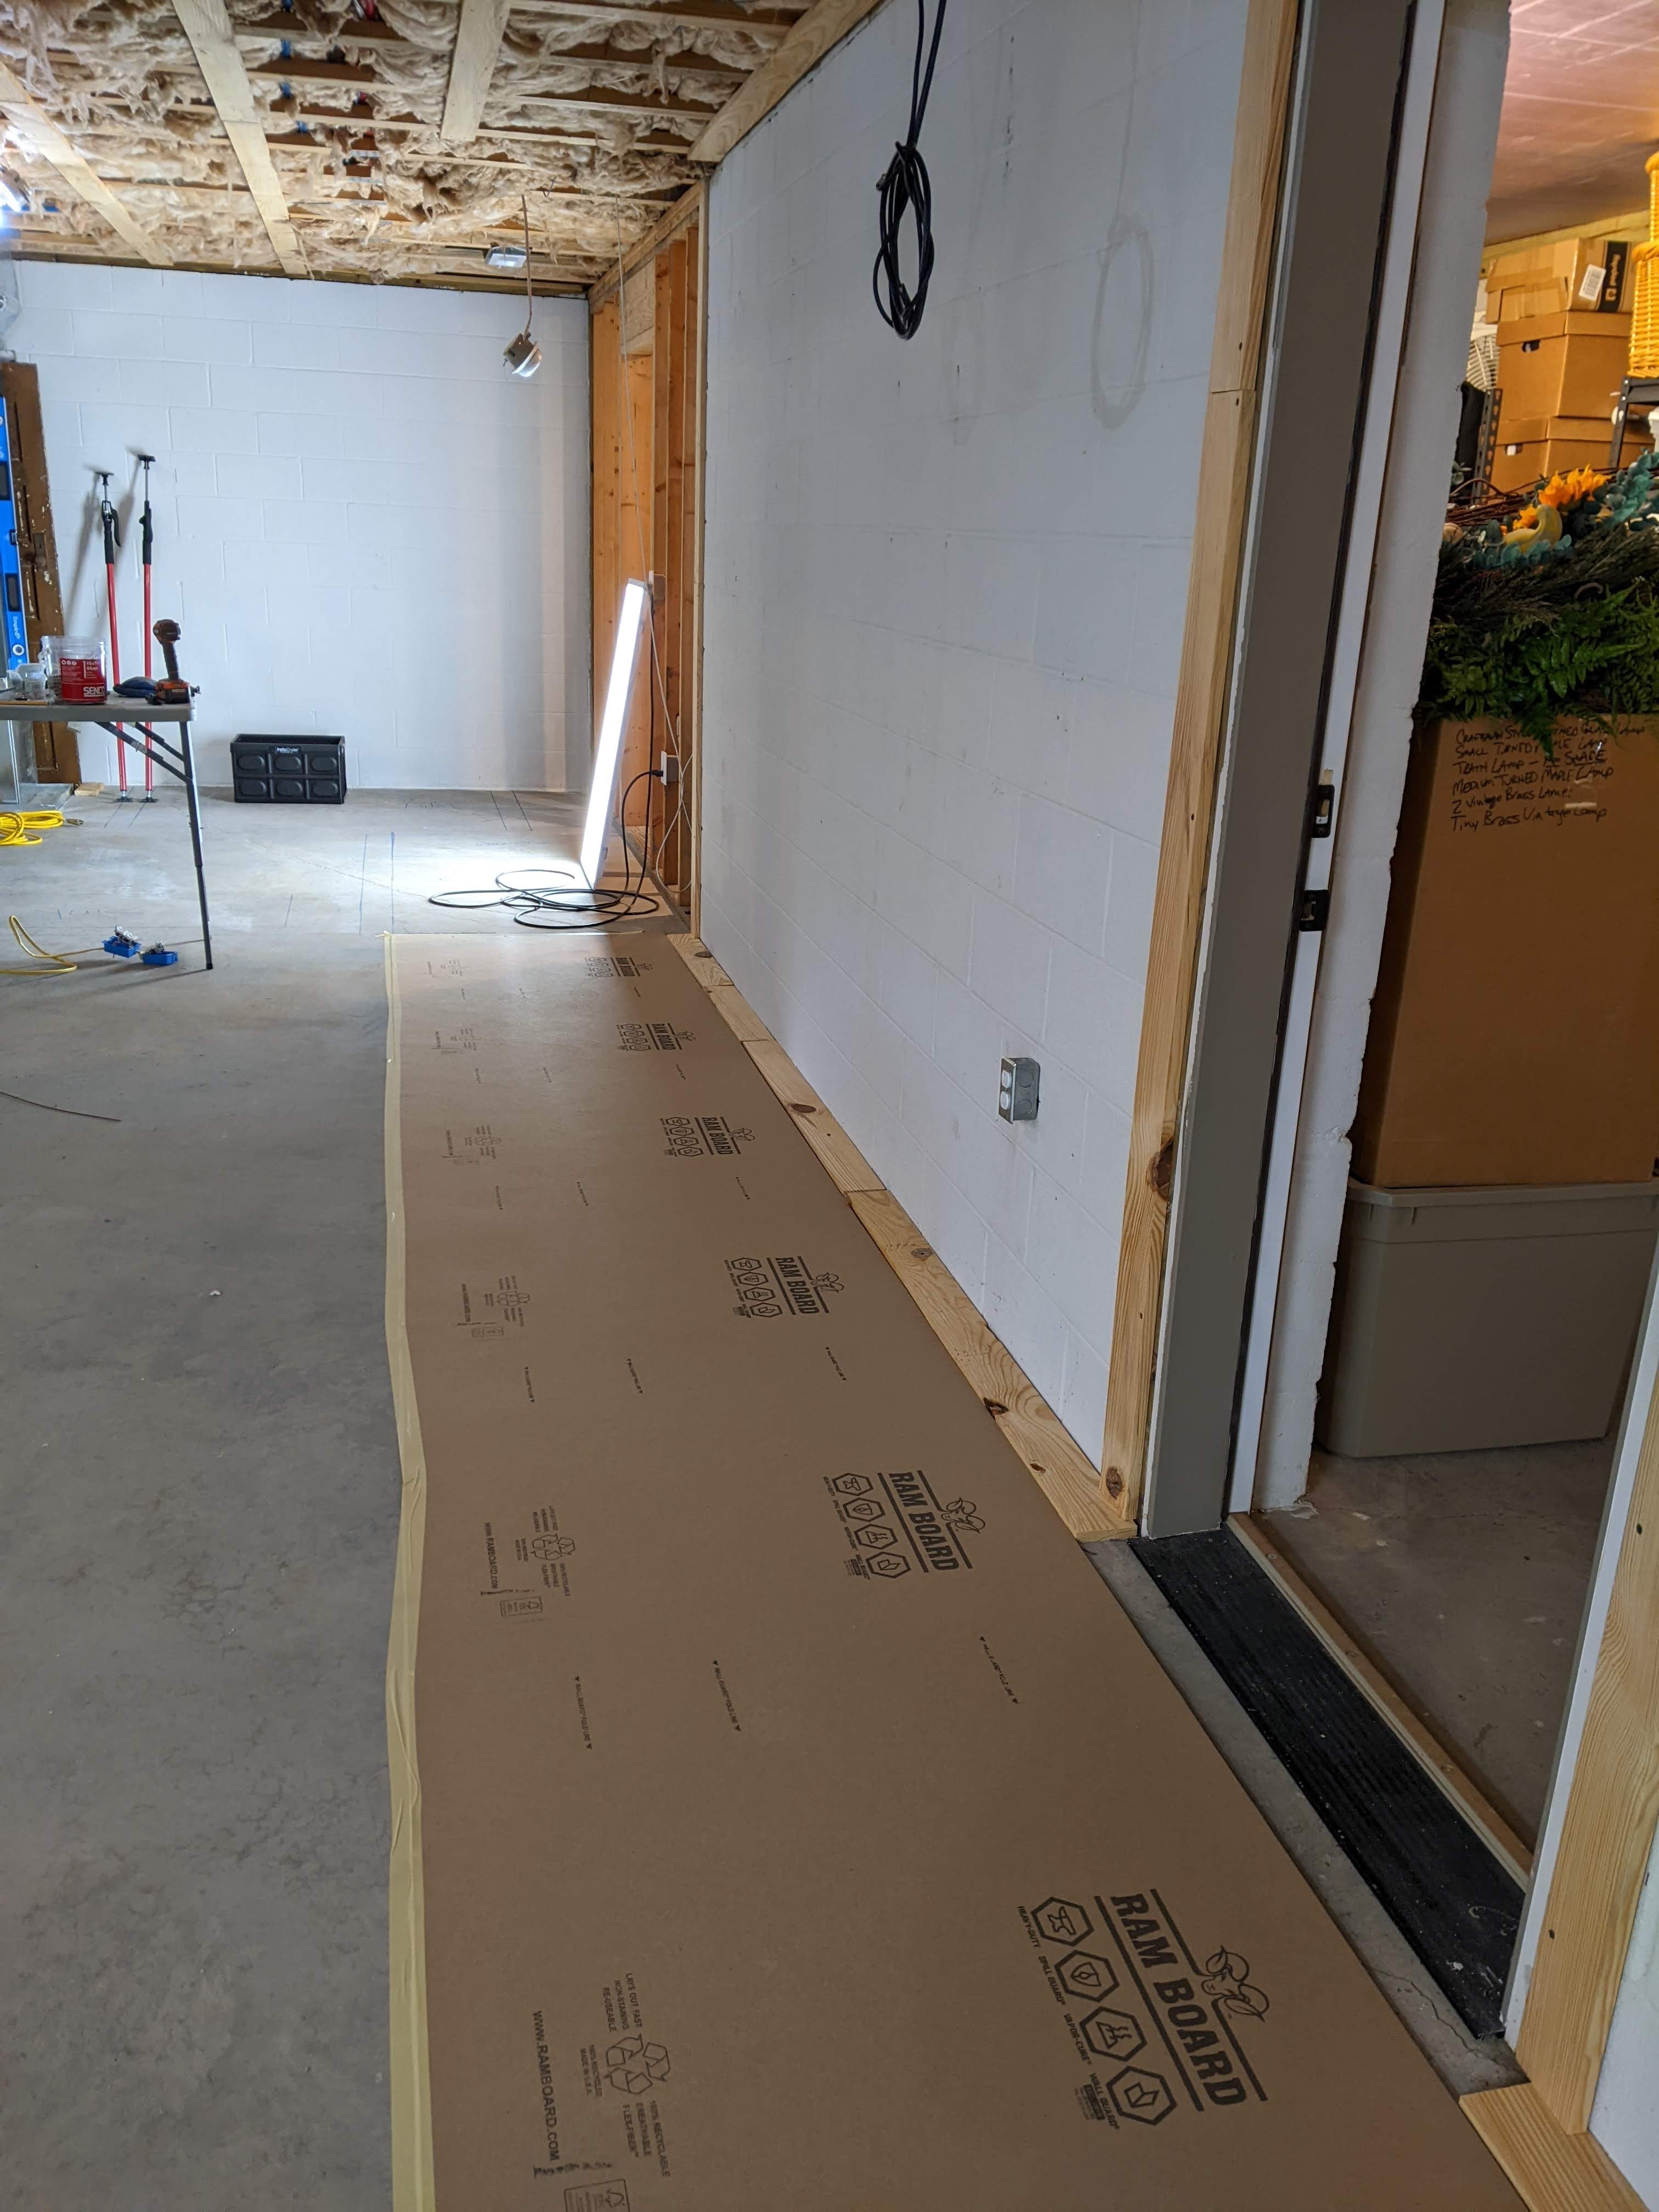
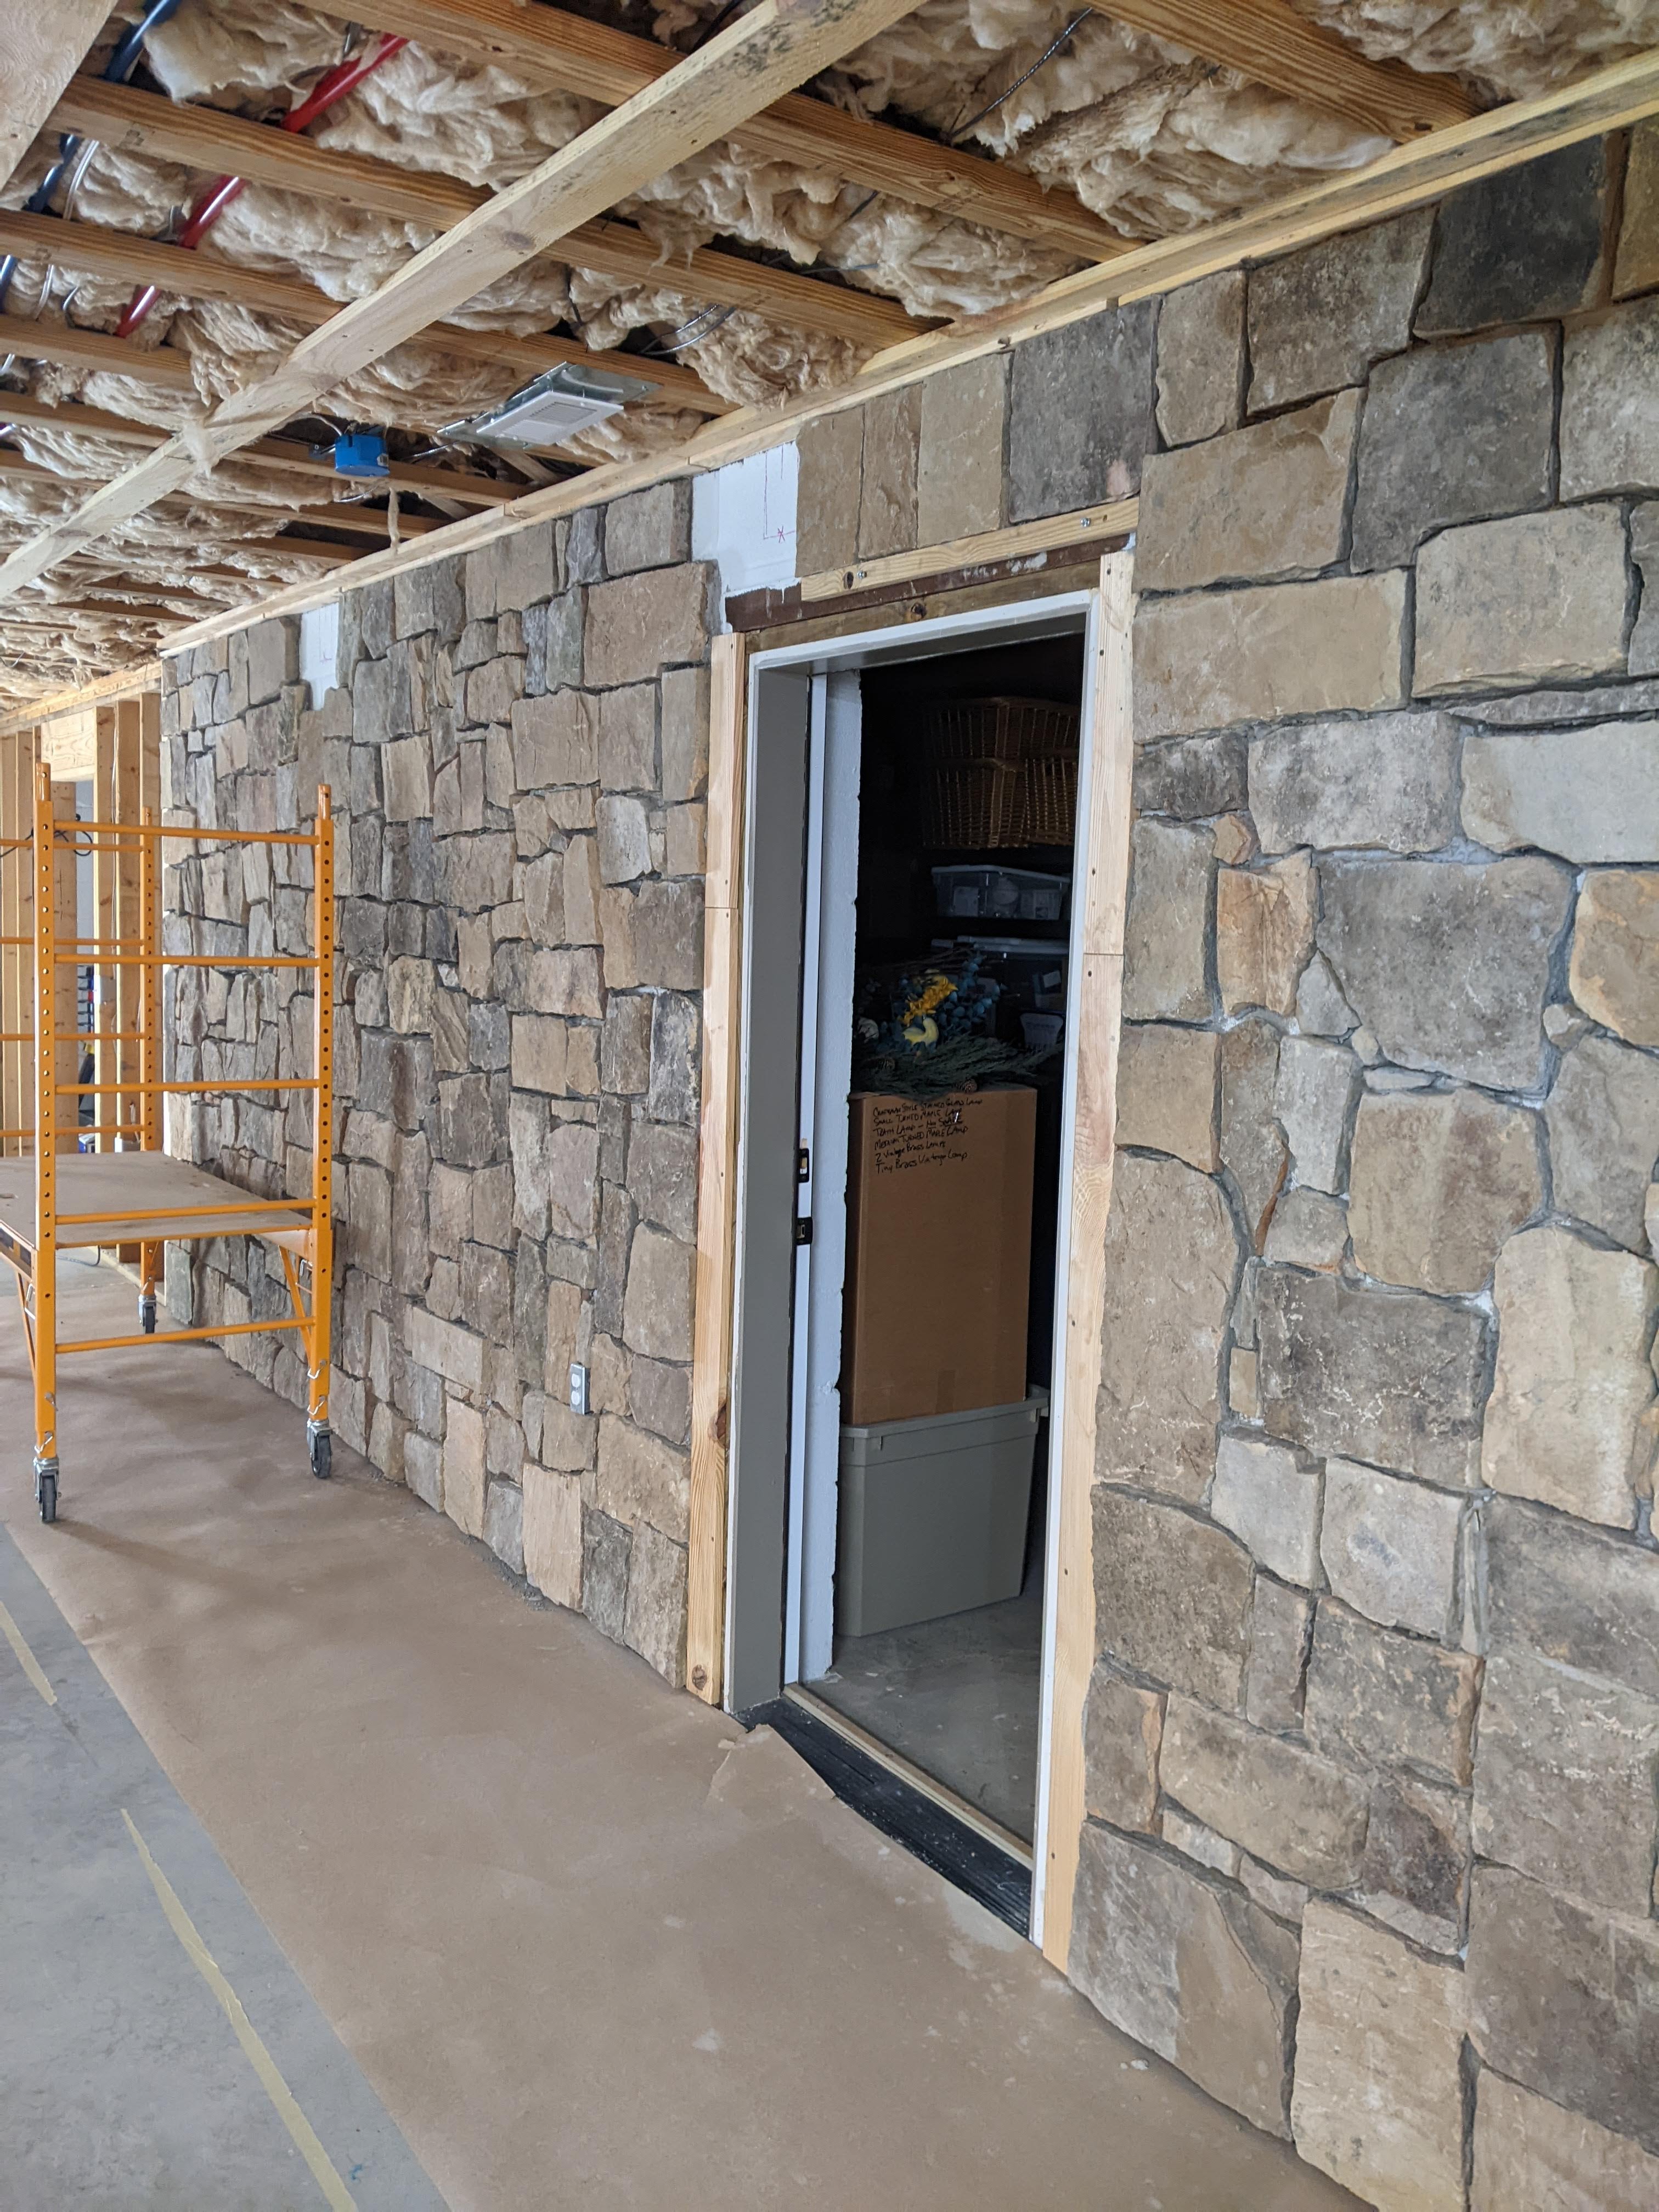
We put down boards at the bottom of the wall as a spacer so that we can slide our flooring underneath, rather than trying to trim it to fit. We used a roll of Ram Board to cover the floor to keep the mortar off of it. We also used boards around door openings to get a straight edge to install the trim.
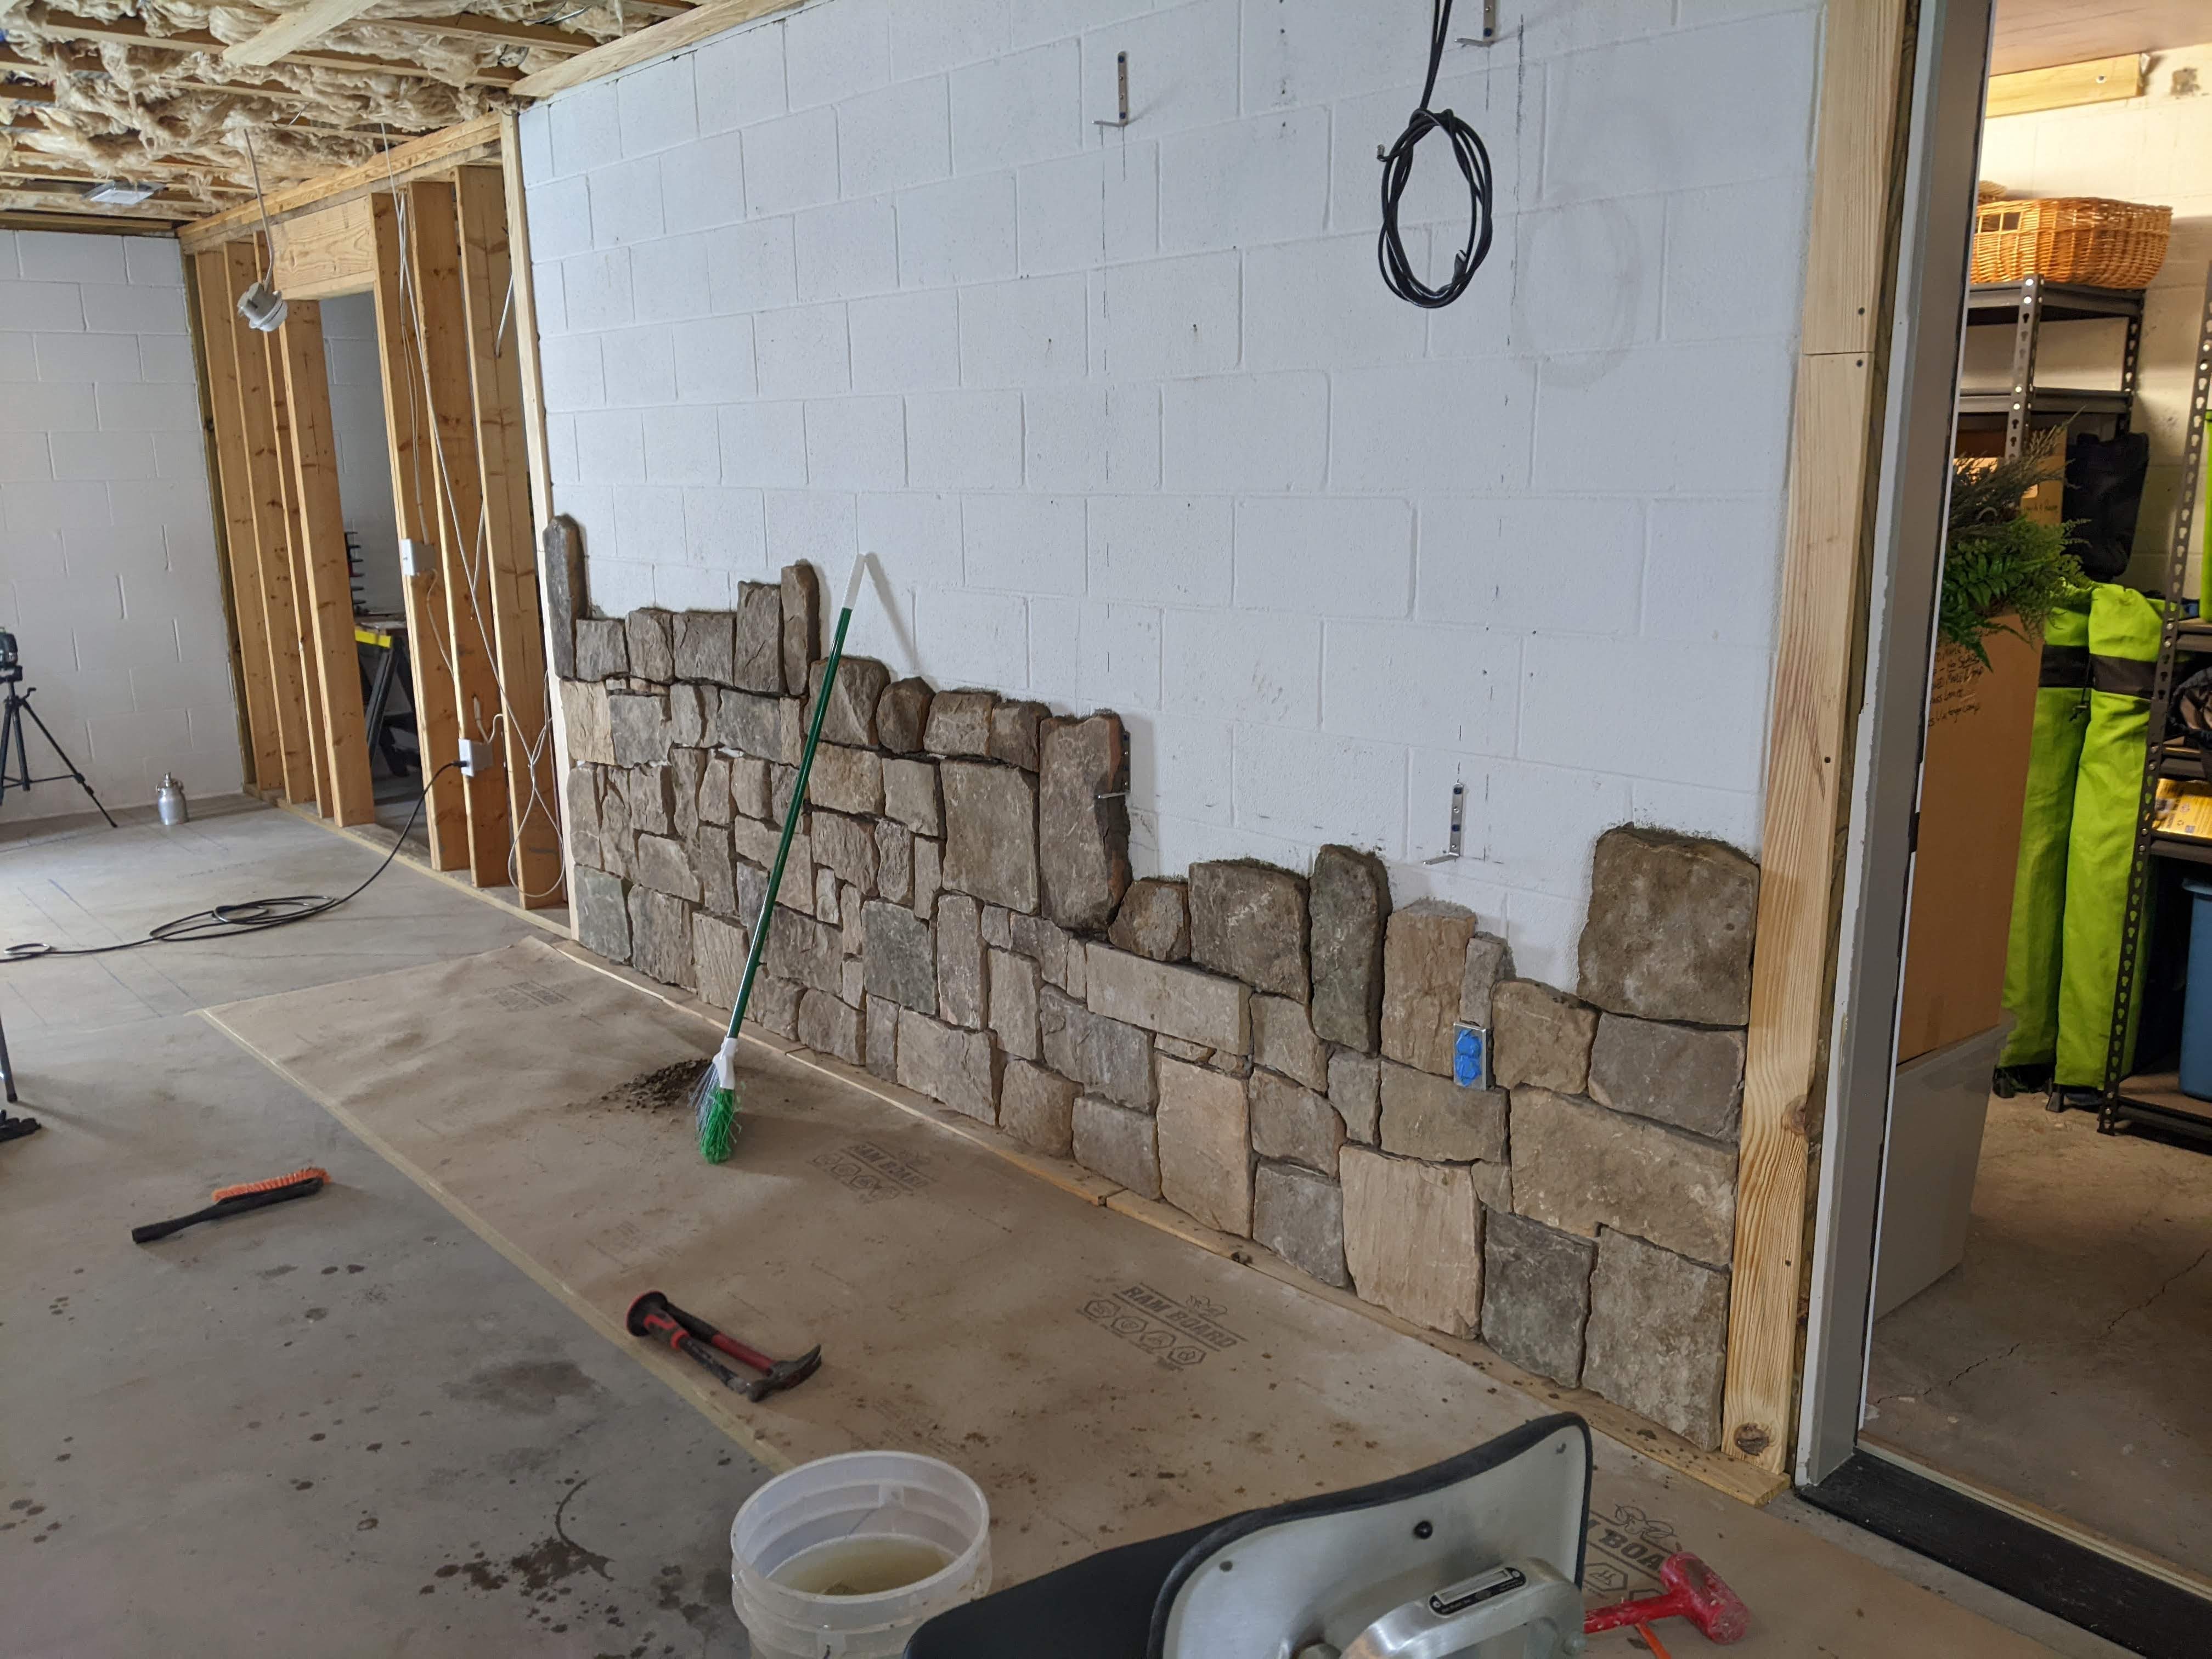
We have a big sign that I had made for our farm that we want to use on this wall and it’s HEAVY. I found some 3″ x 5″ brackets online that we installed under the stone to hold it. We almost got too far on the stone before we installed the brackets. They turned out to be the perfect size. Think about what you may need/want to hang on the wall before you install the stone, because installing it later is going to be difficult, if not impossible.
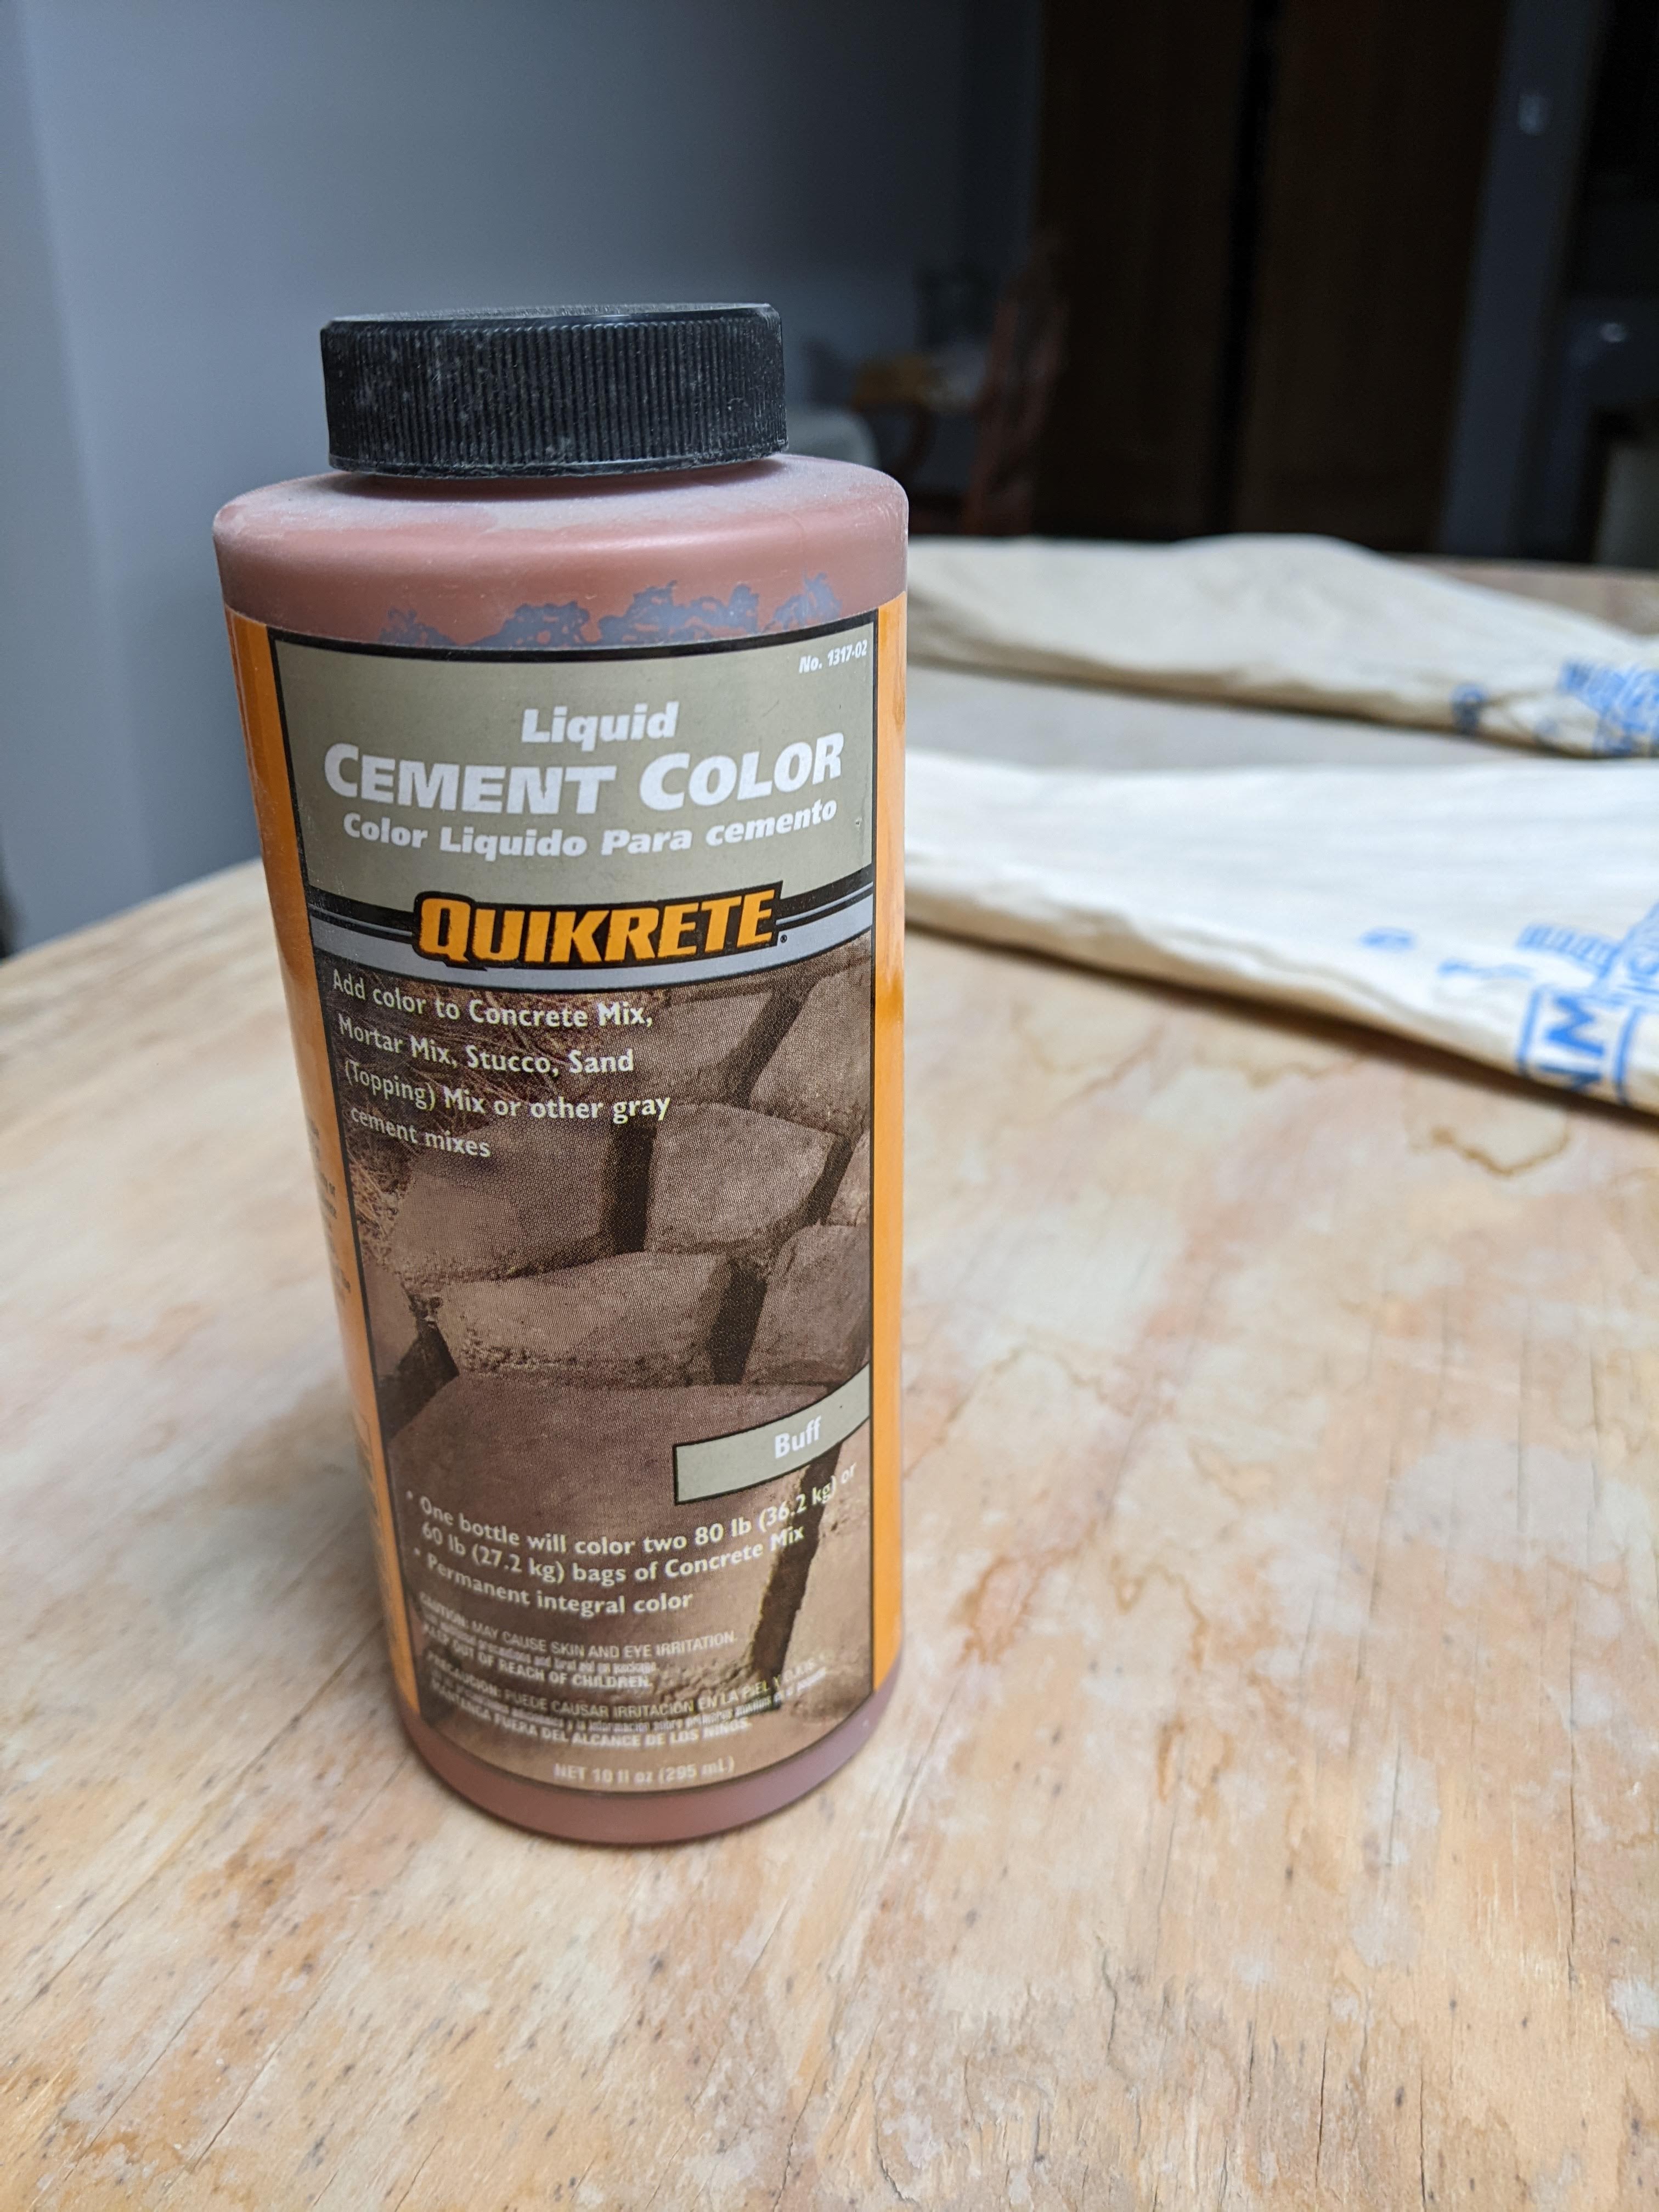
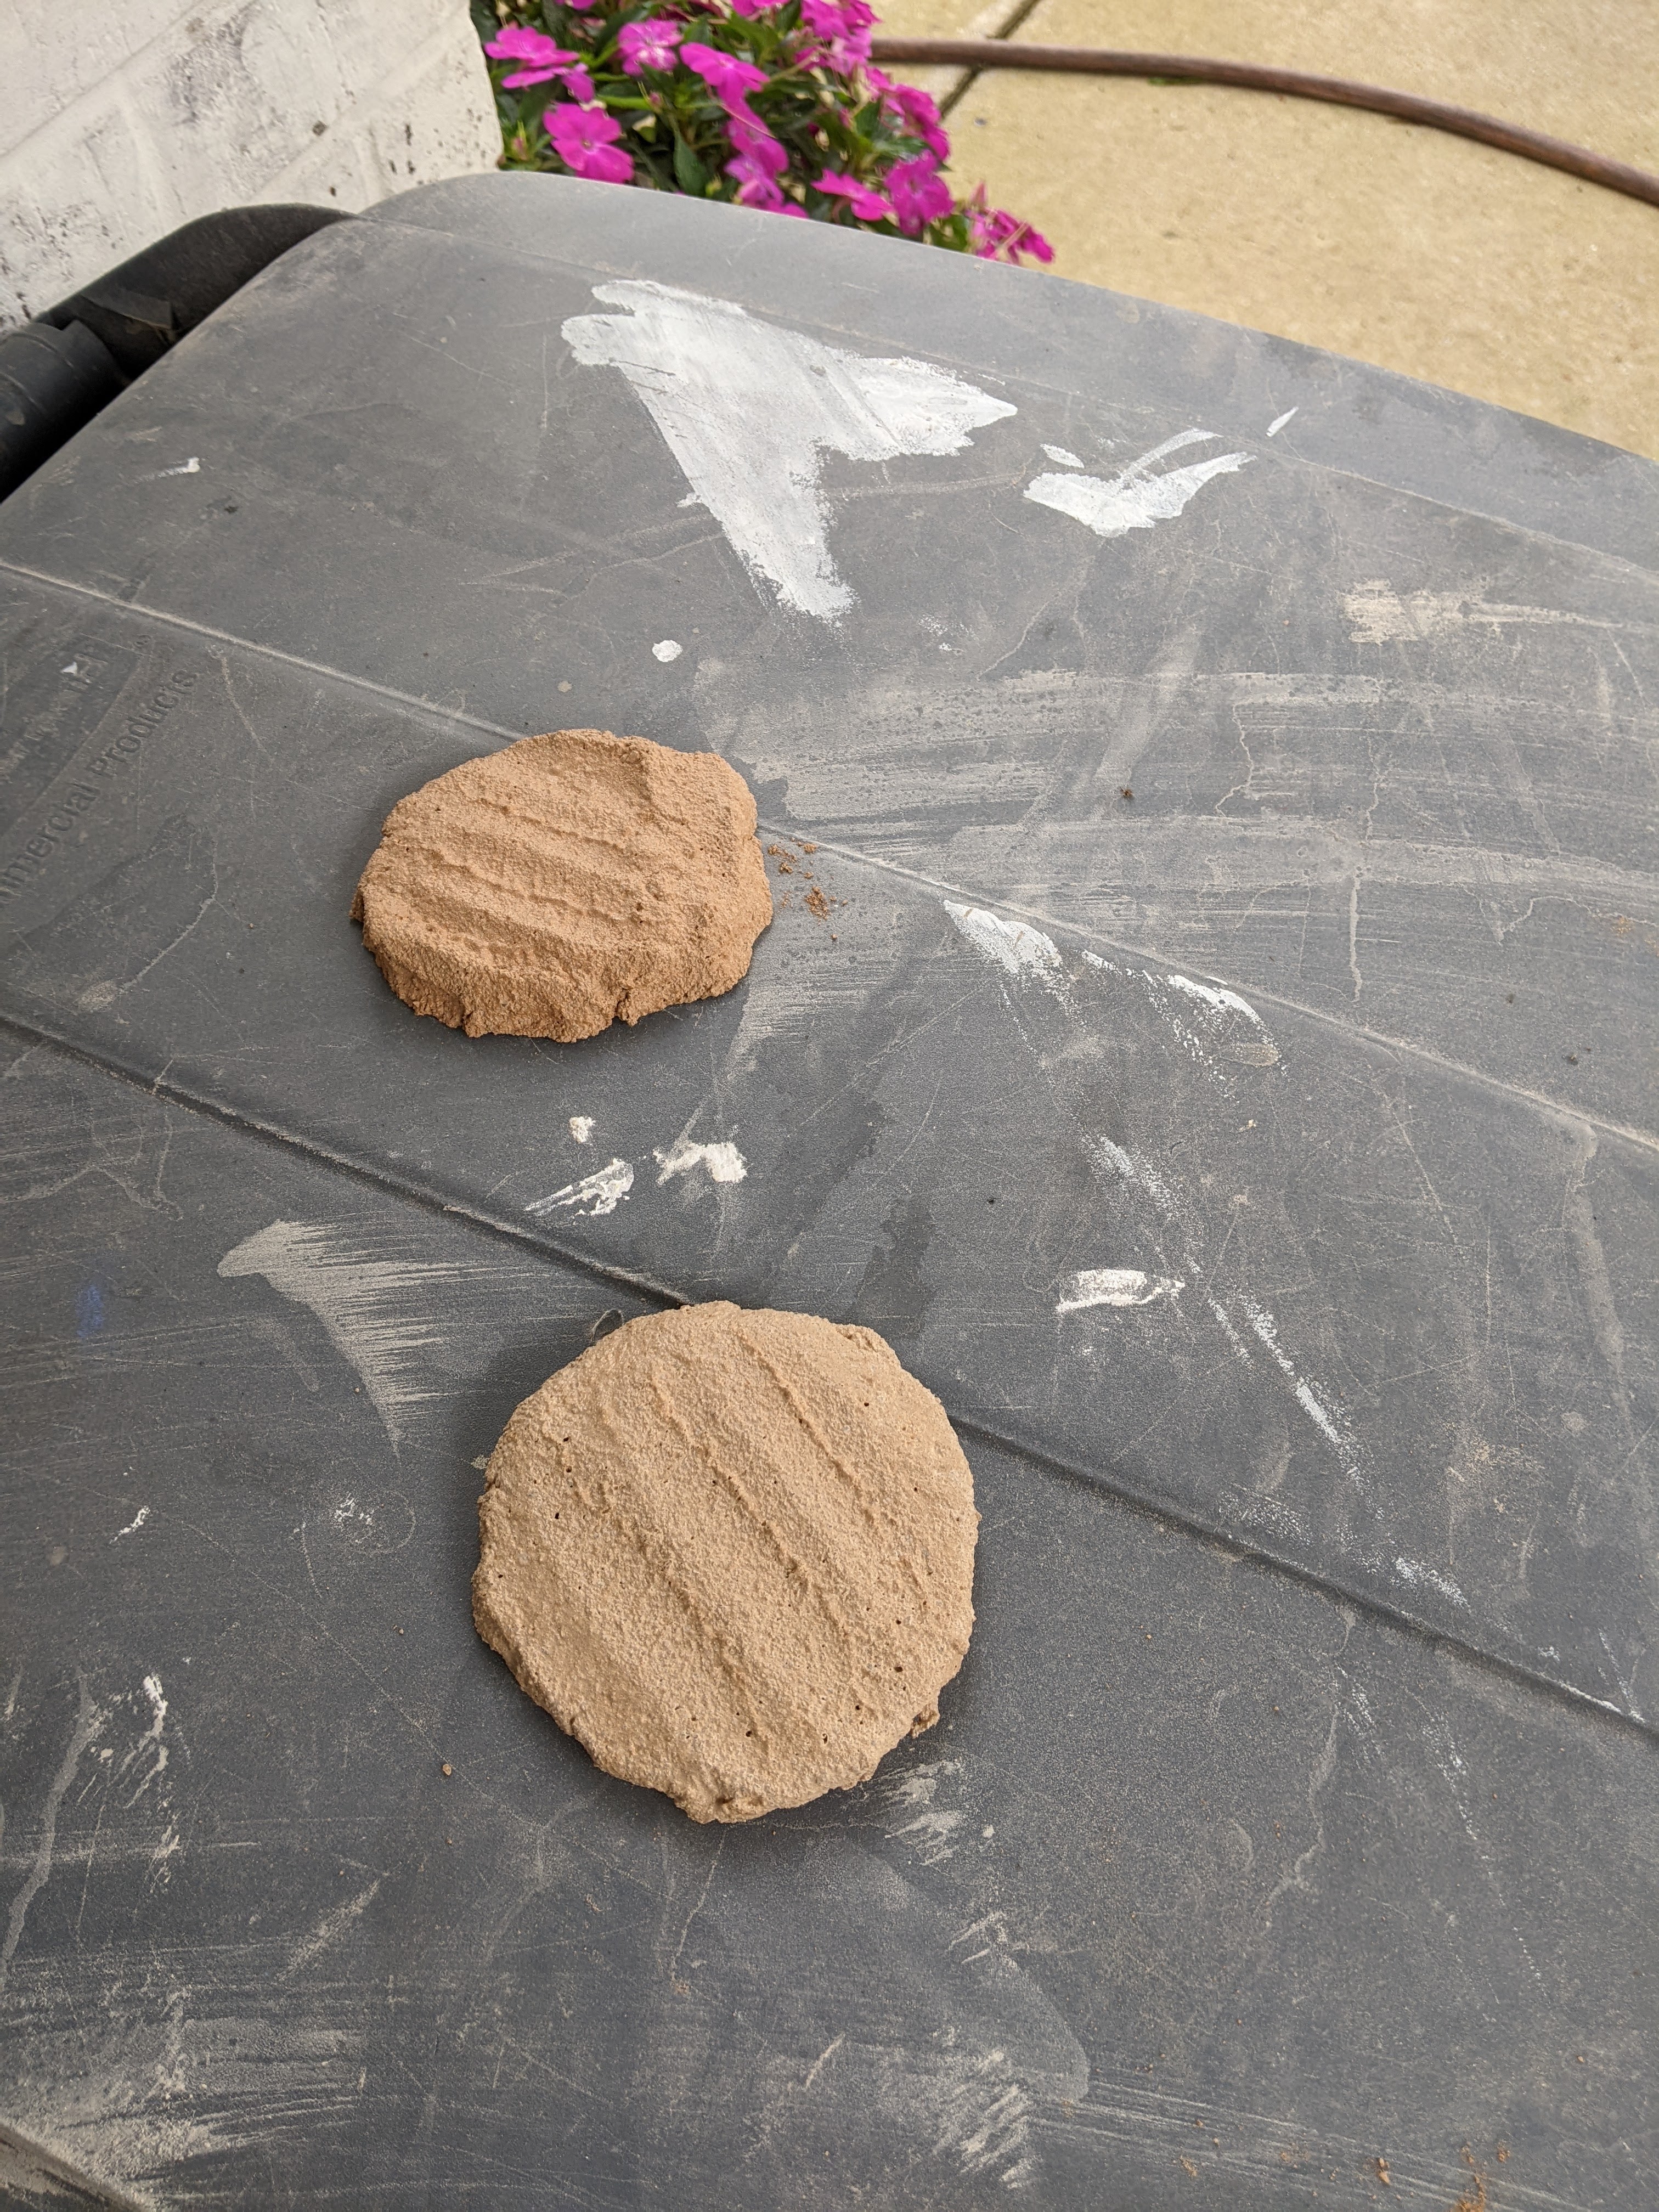
The mortar that we used was really gray and didn’t look great with the stone which has a warmer tone. We bought some colorant for the mortar and tested various levels of colorant on the last few batches of mortar that we used to put up the last row of stone. (My husband’s idea which was brilliant.) We started with a ratio of 1 bottle to 2 gallons of water. It was really orange. The second concentration was equivalent to 1/2 bottle to 2 gallons of water. It was still too orange. The last one was equivalent to 1/4 bottle of colorant to 2 gallons of water, which was perfect.
We finally got all the stone up on the wall, except for where the beams are going to be installed. We left room to maneuver the beams and also for the remaining stone so that it isn’t cut into tiny pieces.
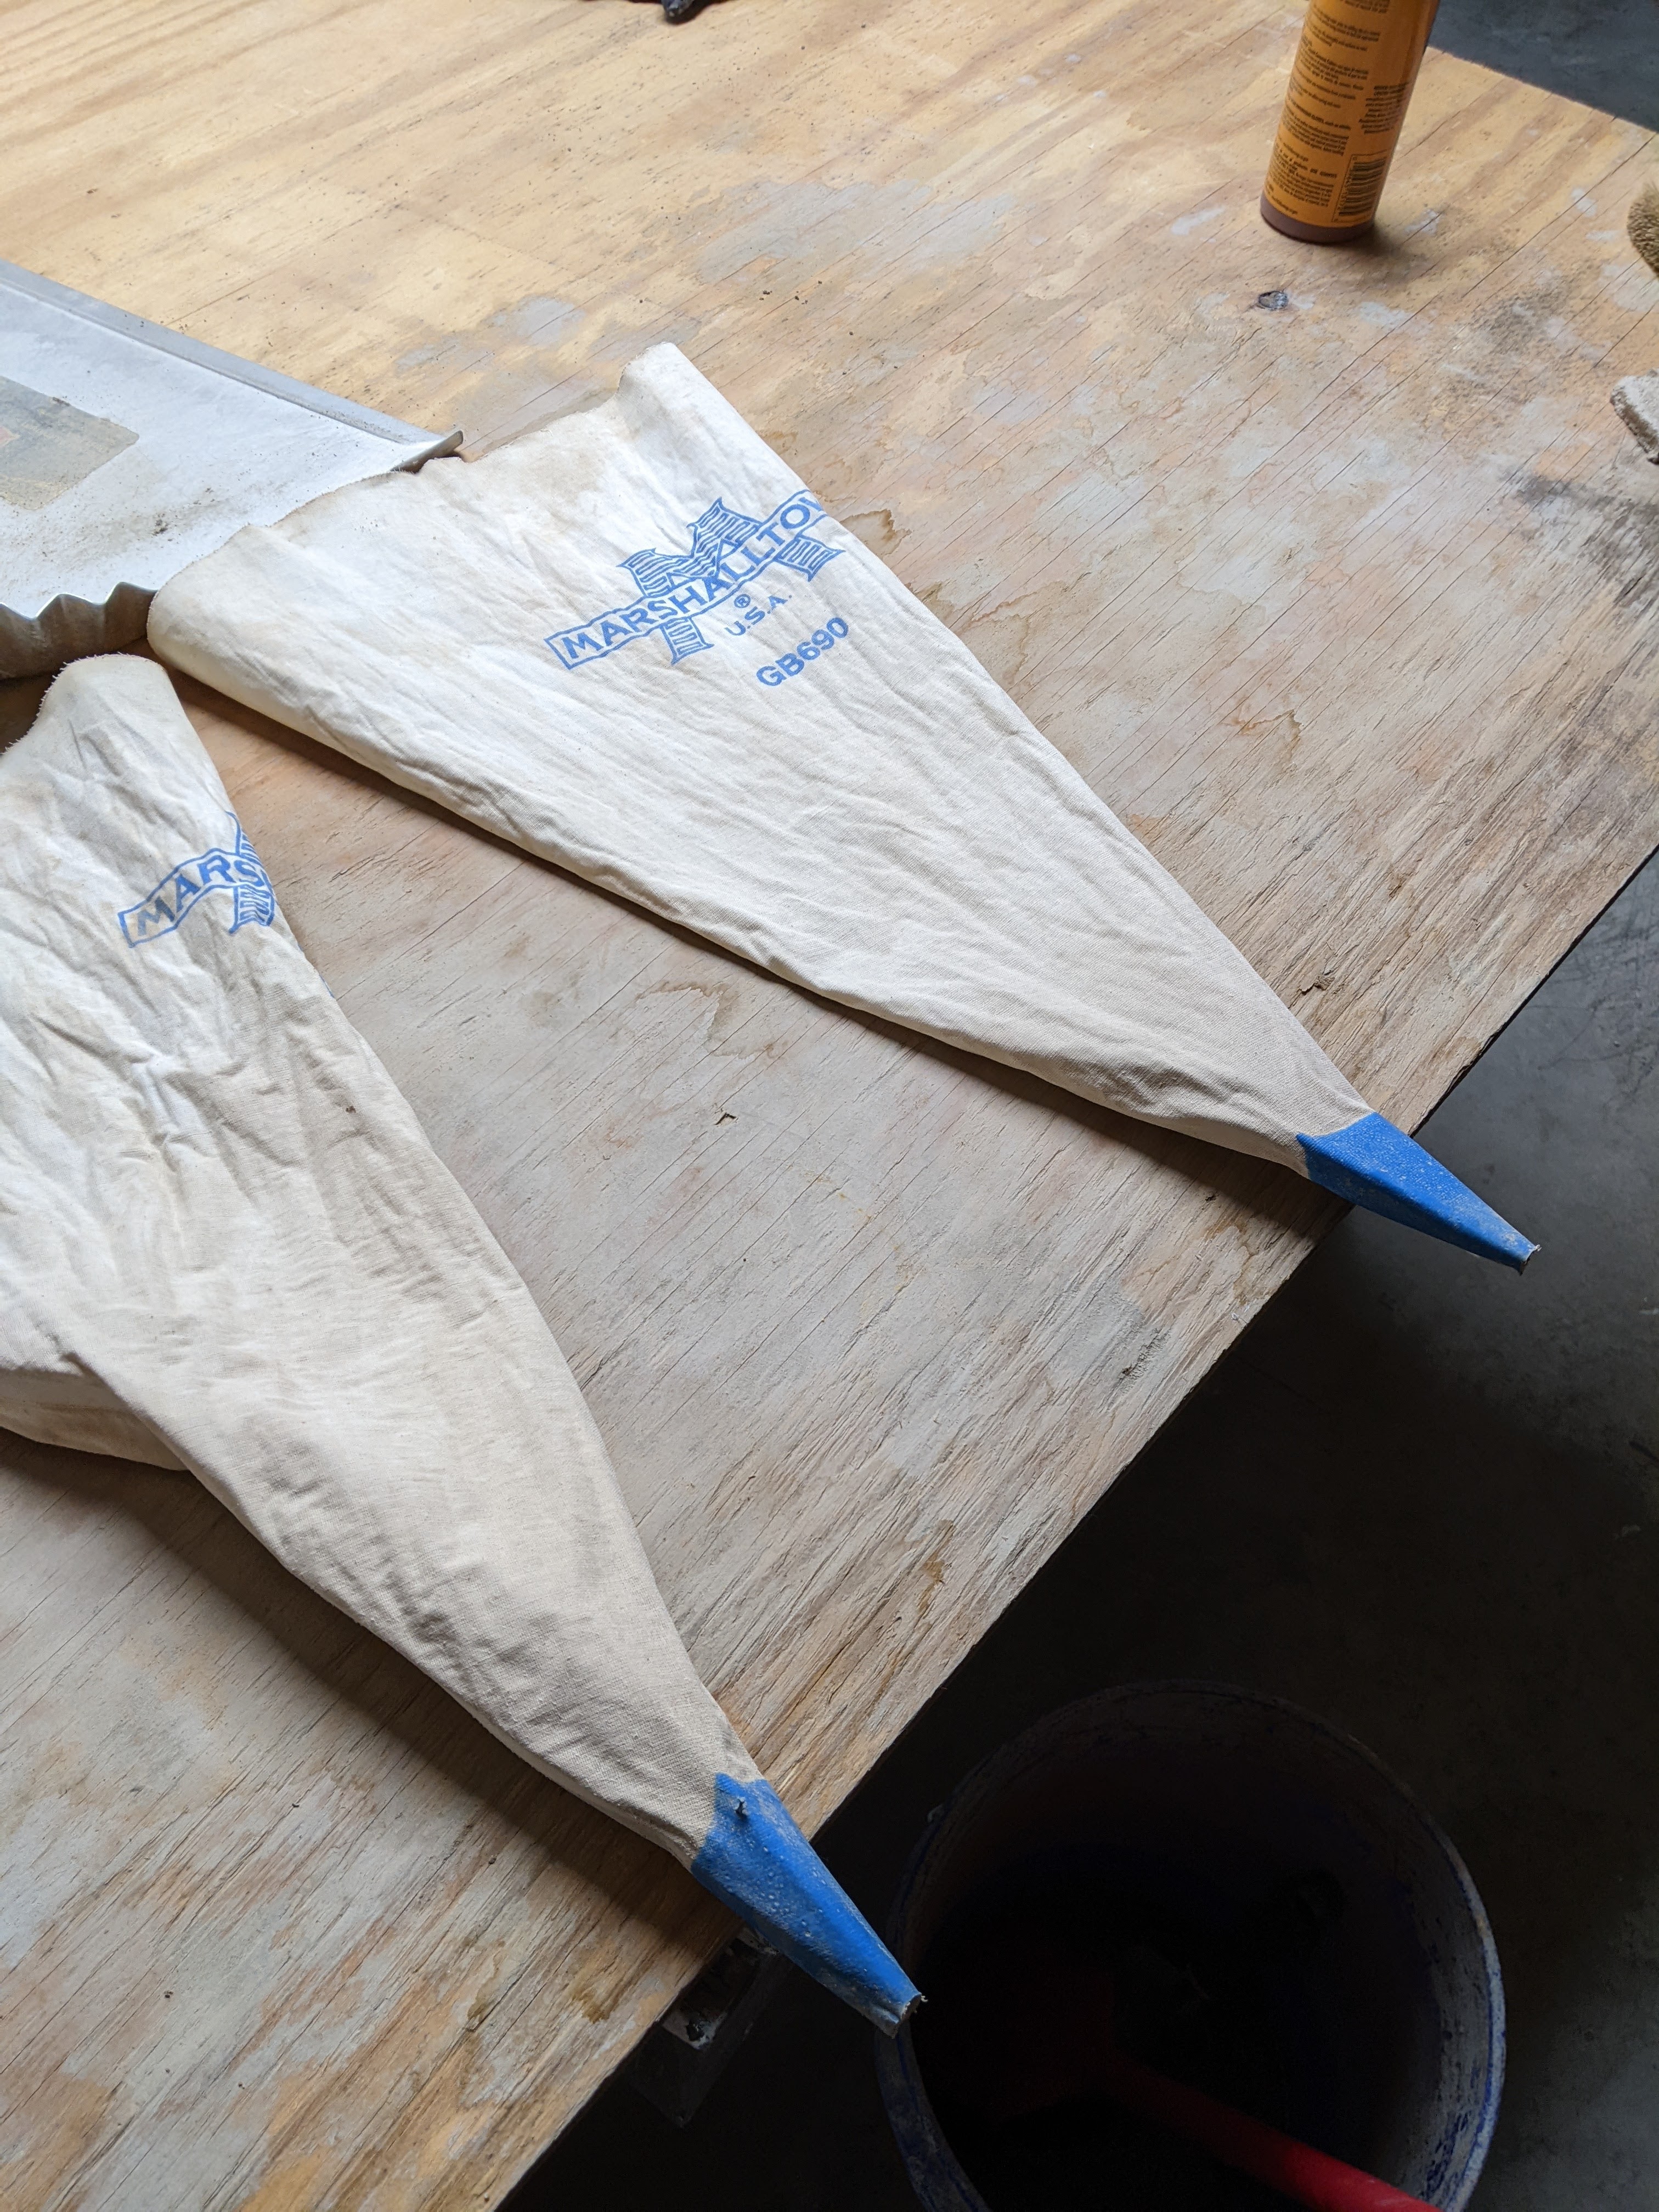
At this point, we started grouting. We used the same ratio of mortars, but found that the mortar had to be really thin to push it through the tip of the grouting bag. You need to mix the colorant into the water to get a consistent color throughout. AND, you need to stir up the water every time you get some because the colorant settles out. We used a garden trowel to scoop the mortar into the grout bags. It’s helpful to have two people for this operation–one to scoop, and one to step on the tip of the bag and hold the end of it open. While putting the stone up took WAY longer than anticipated, the grouting is going more quickly than anticipated. HOWEVER, grouting bags are heavy and your hands will be really sore and tired. I wouldn’t recommend doing it two days in a row.
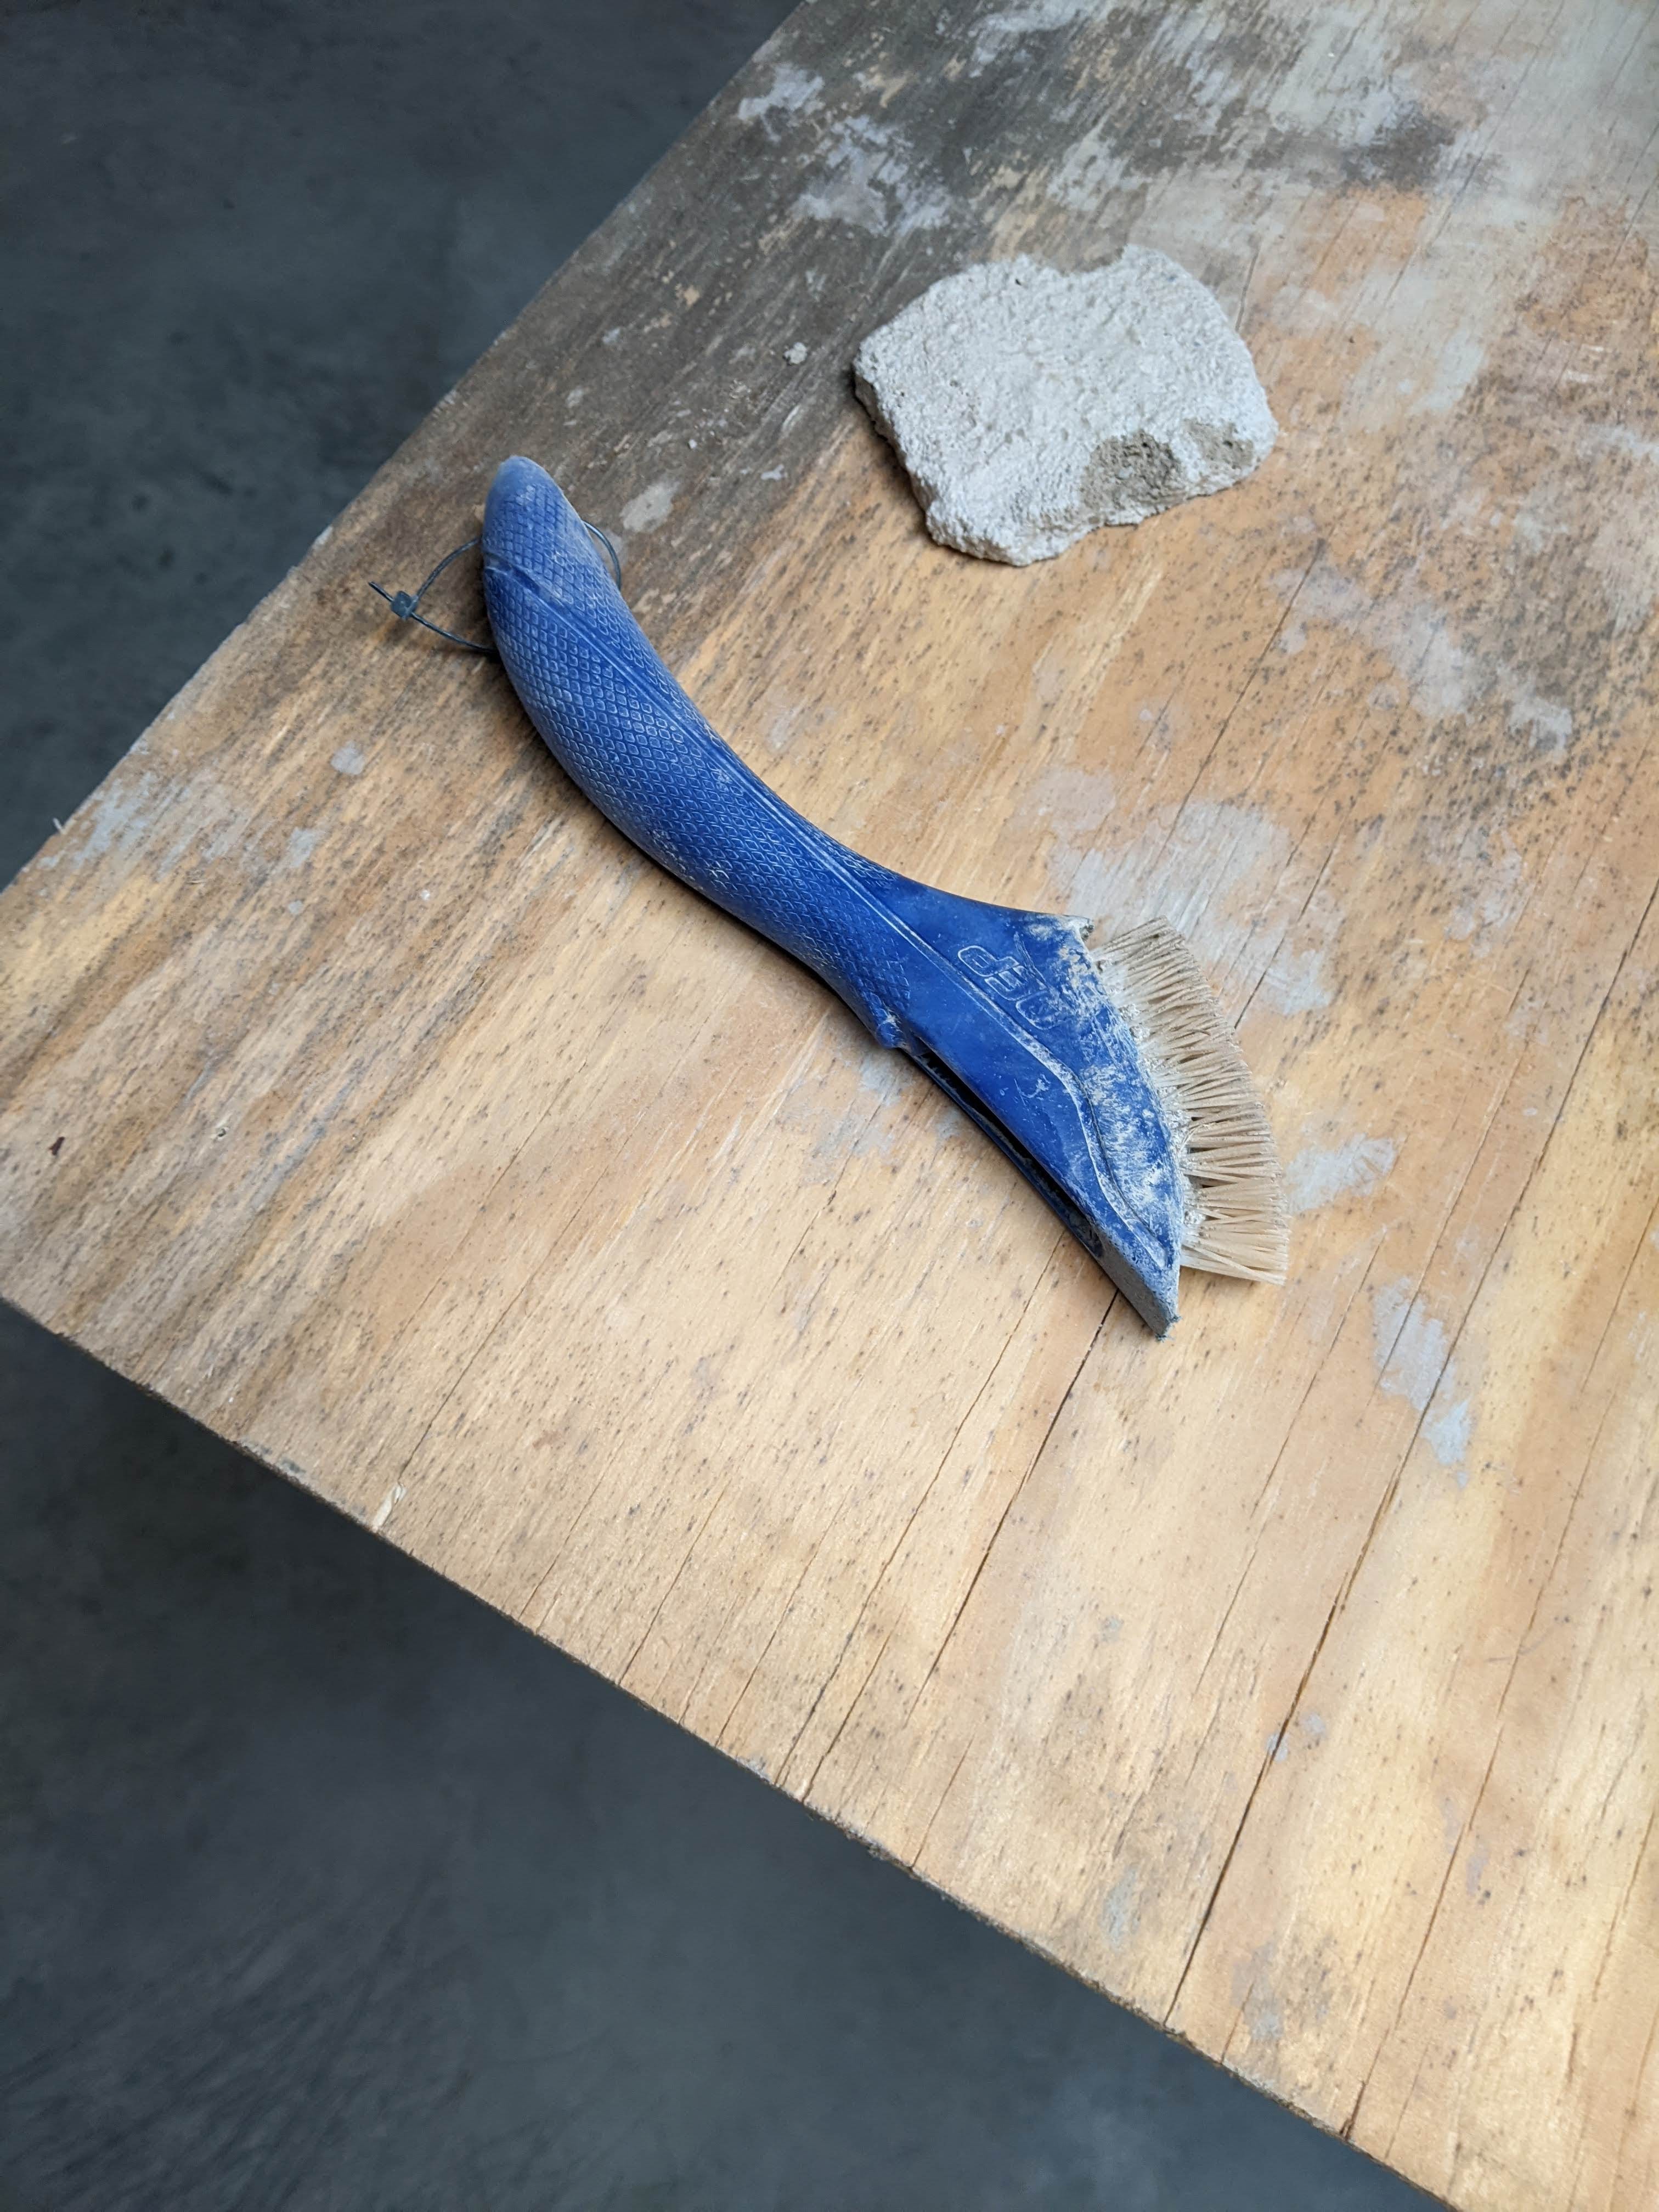
We are overgrouting the stone, which gives it a more old world look. When you fill the gaps between the stones, you basically overfill it beyond the surface of the stone. Once the grout begins to harden, you use a brush to remove the excess. What we saw on YouTube videos said to use a soft brush, but we found that a first pass with a small stiff brush, followed by a soft brush worked best. Once the excess was removed, my husband carefully washed the stones and wipe the grout lines. Search for Mason’s brush when you’re looking for these items.
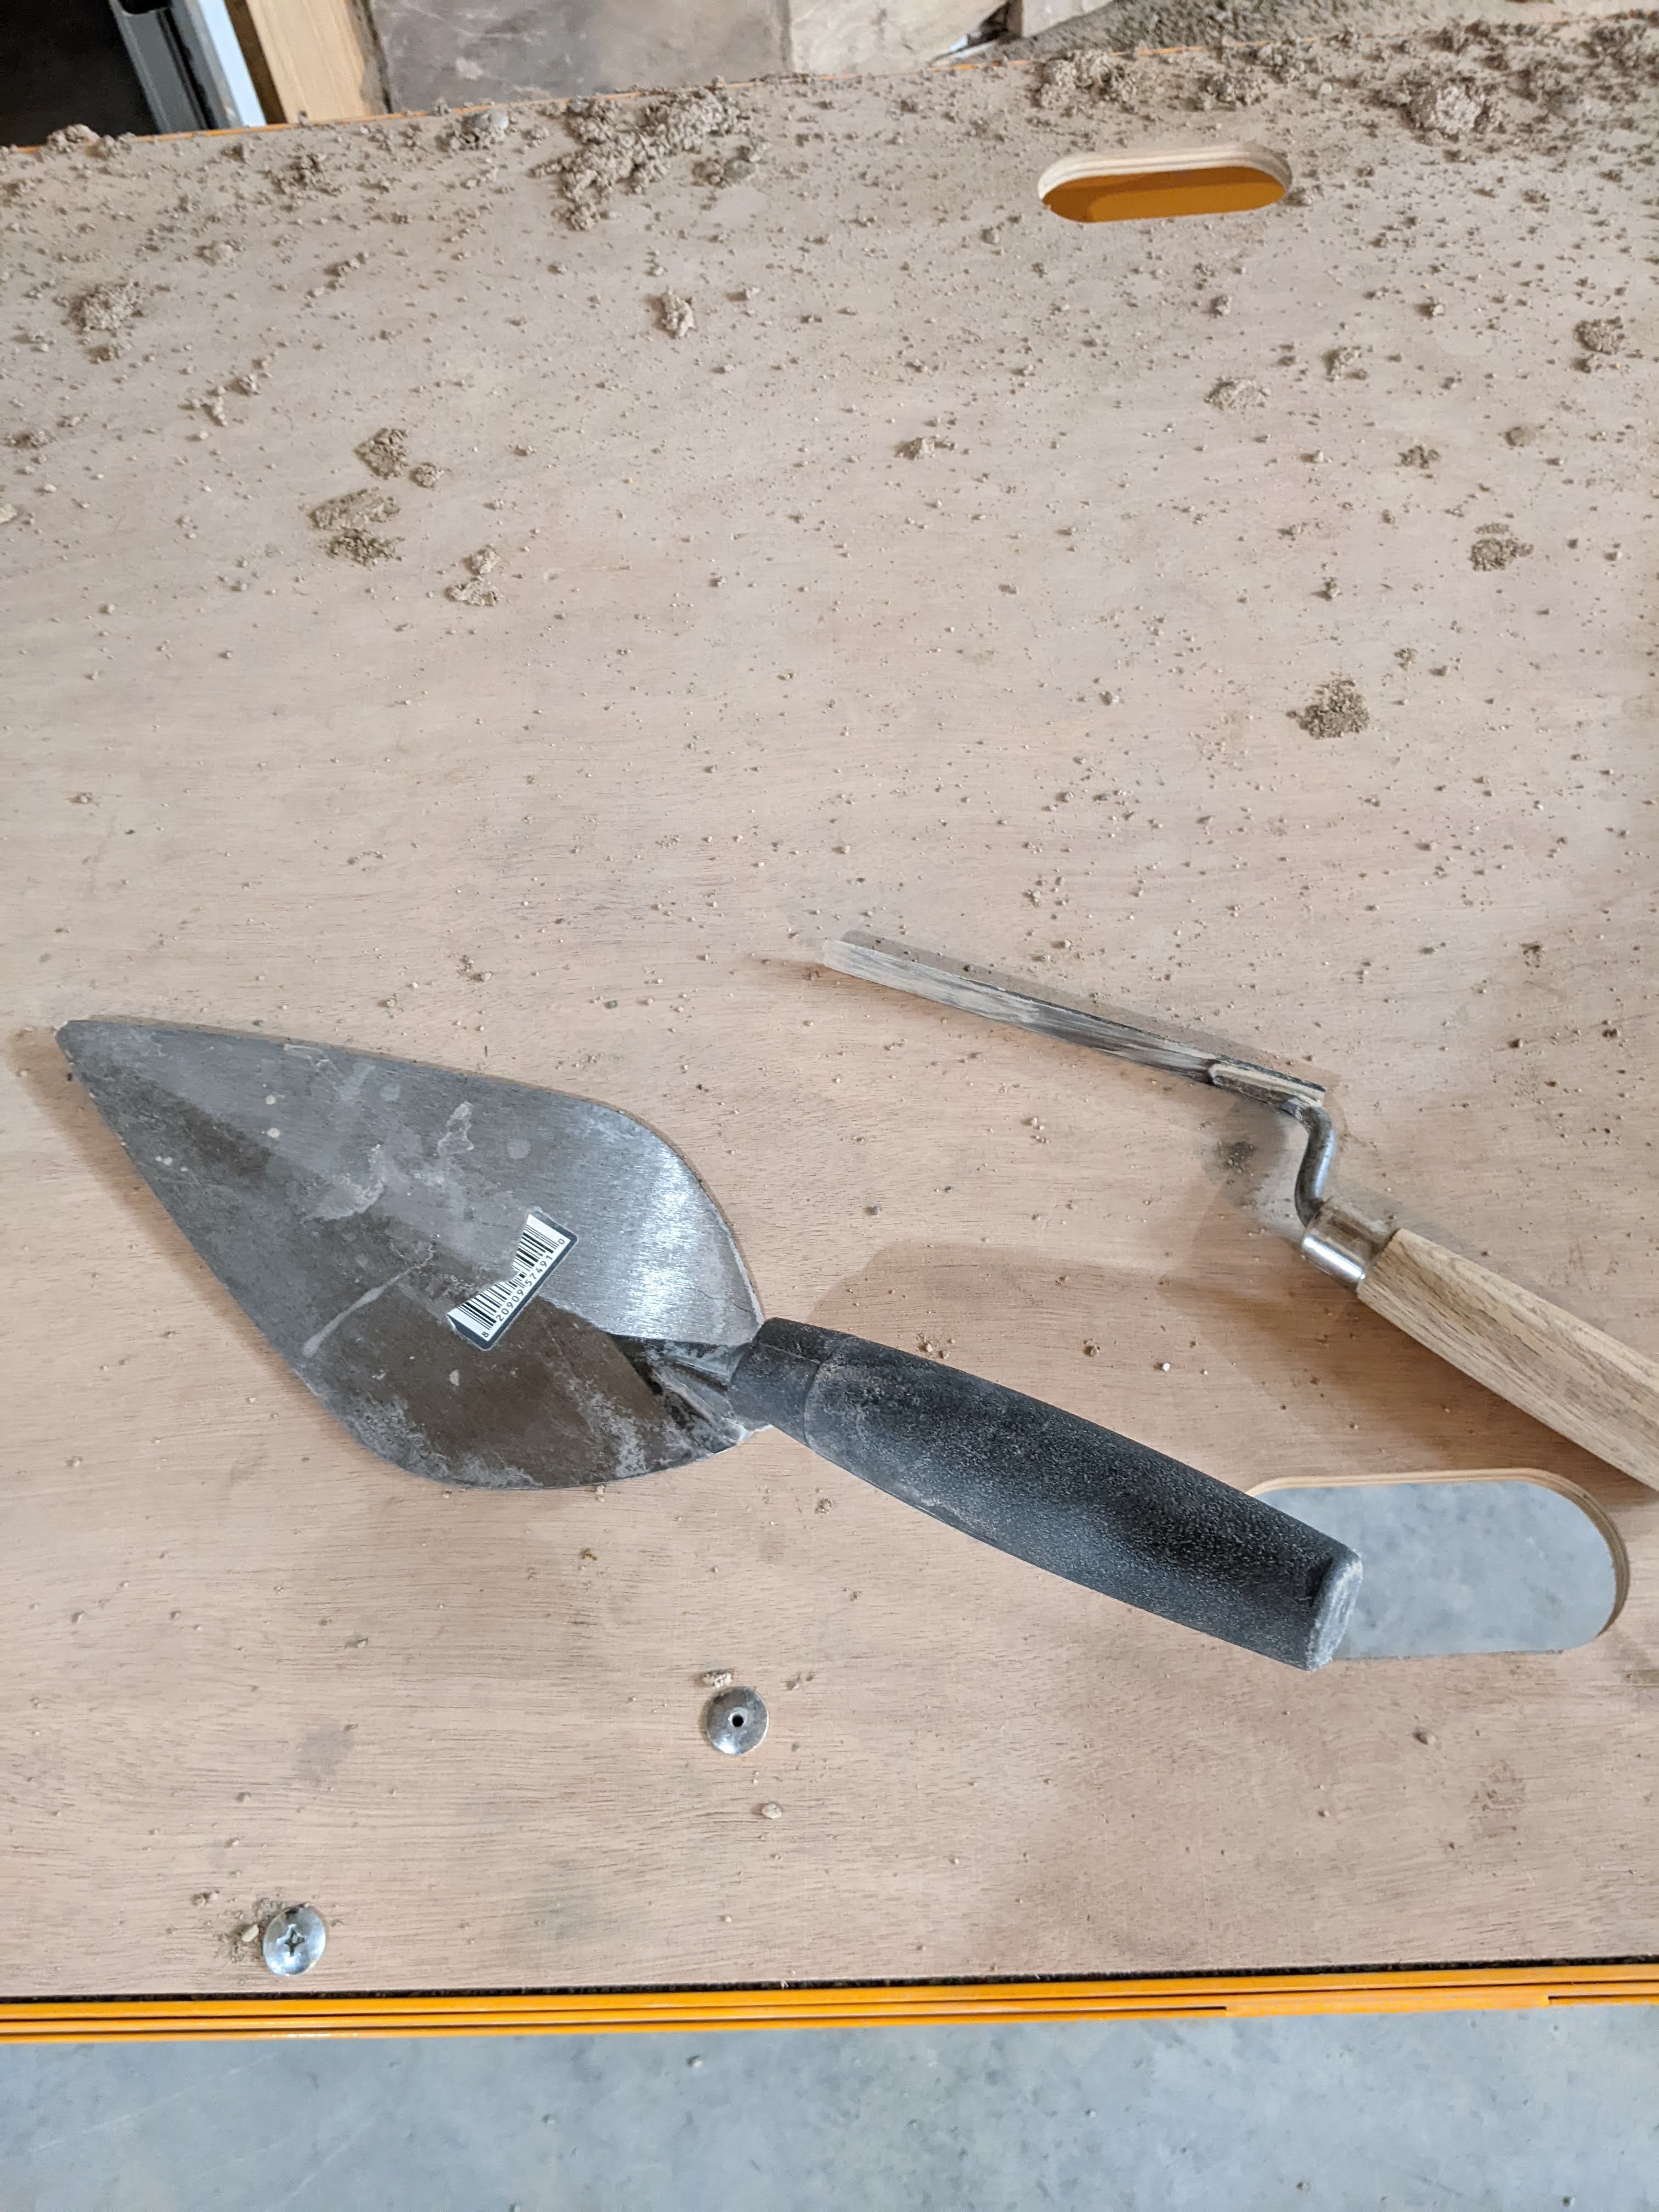
Speaking of tools, we learned a lot by trial and error. You will see videos where they are using a mason’s hammer and mason’s chisels to cut the stone to size/shape. We tried this and it just made a mess. We found that a rotary cutter with a diamond blade was the way to go. It’s super loud (get good hearing protection) and really dusty, but it gets the job done. You will also need a couple of trowels. We really like a small square trowel for putting mortar on the stone (looks like a pancake turner) and a long thin trowel for cleaning up joints when you’re installing the stone. We also used a long stiff brush to get mortar off the stone during installation.
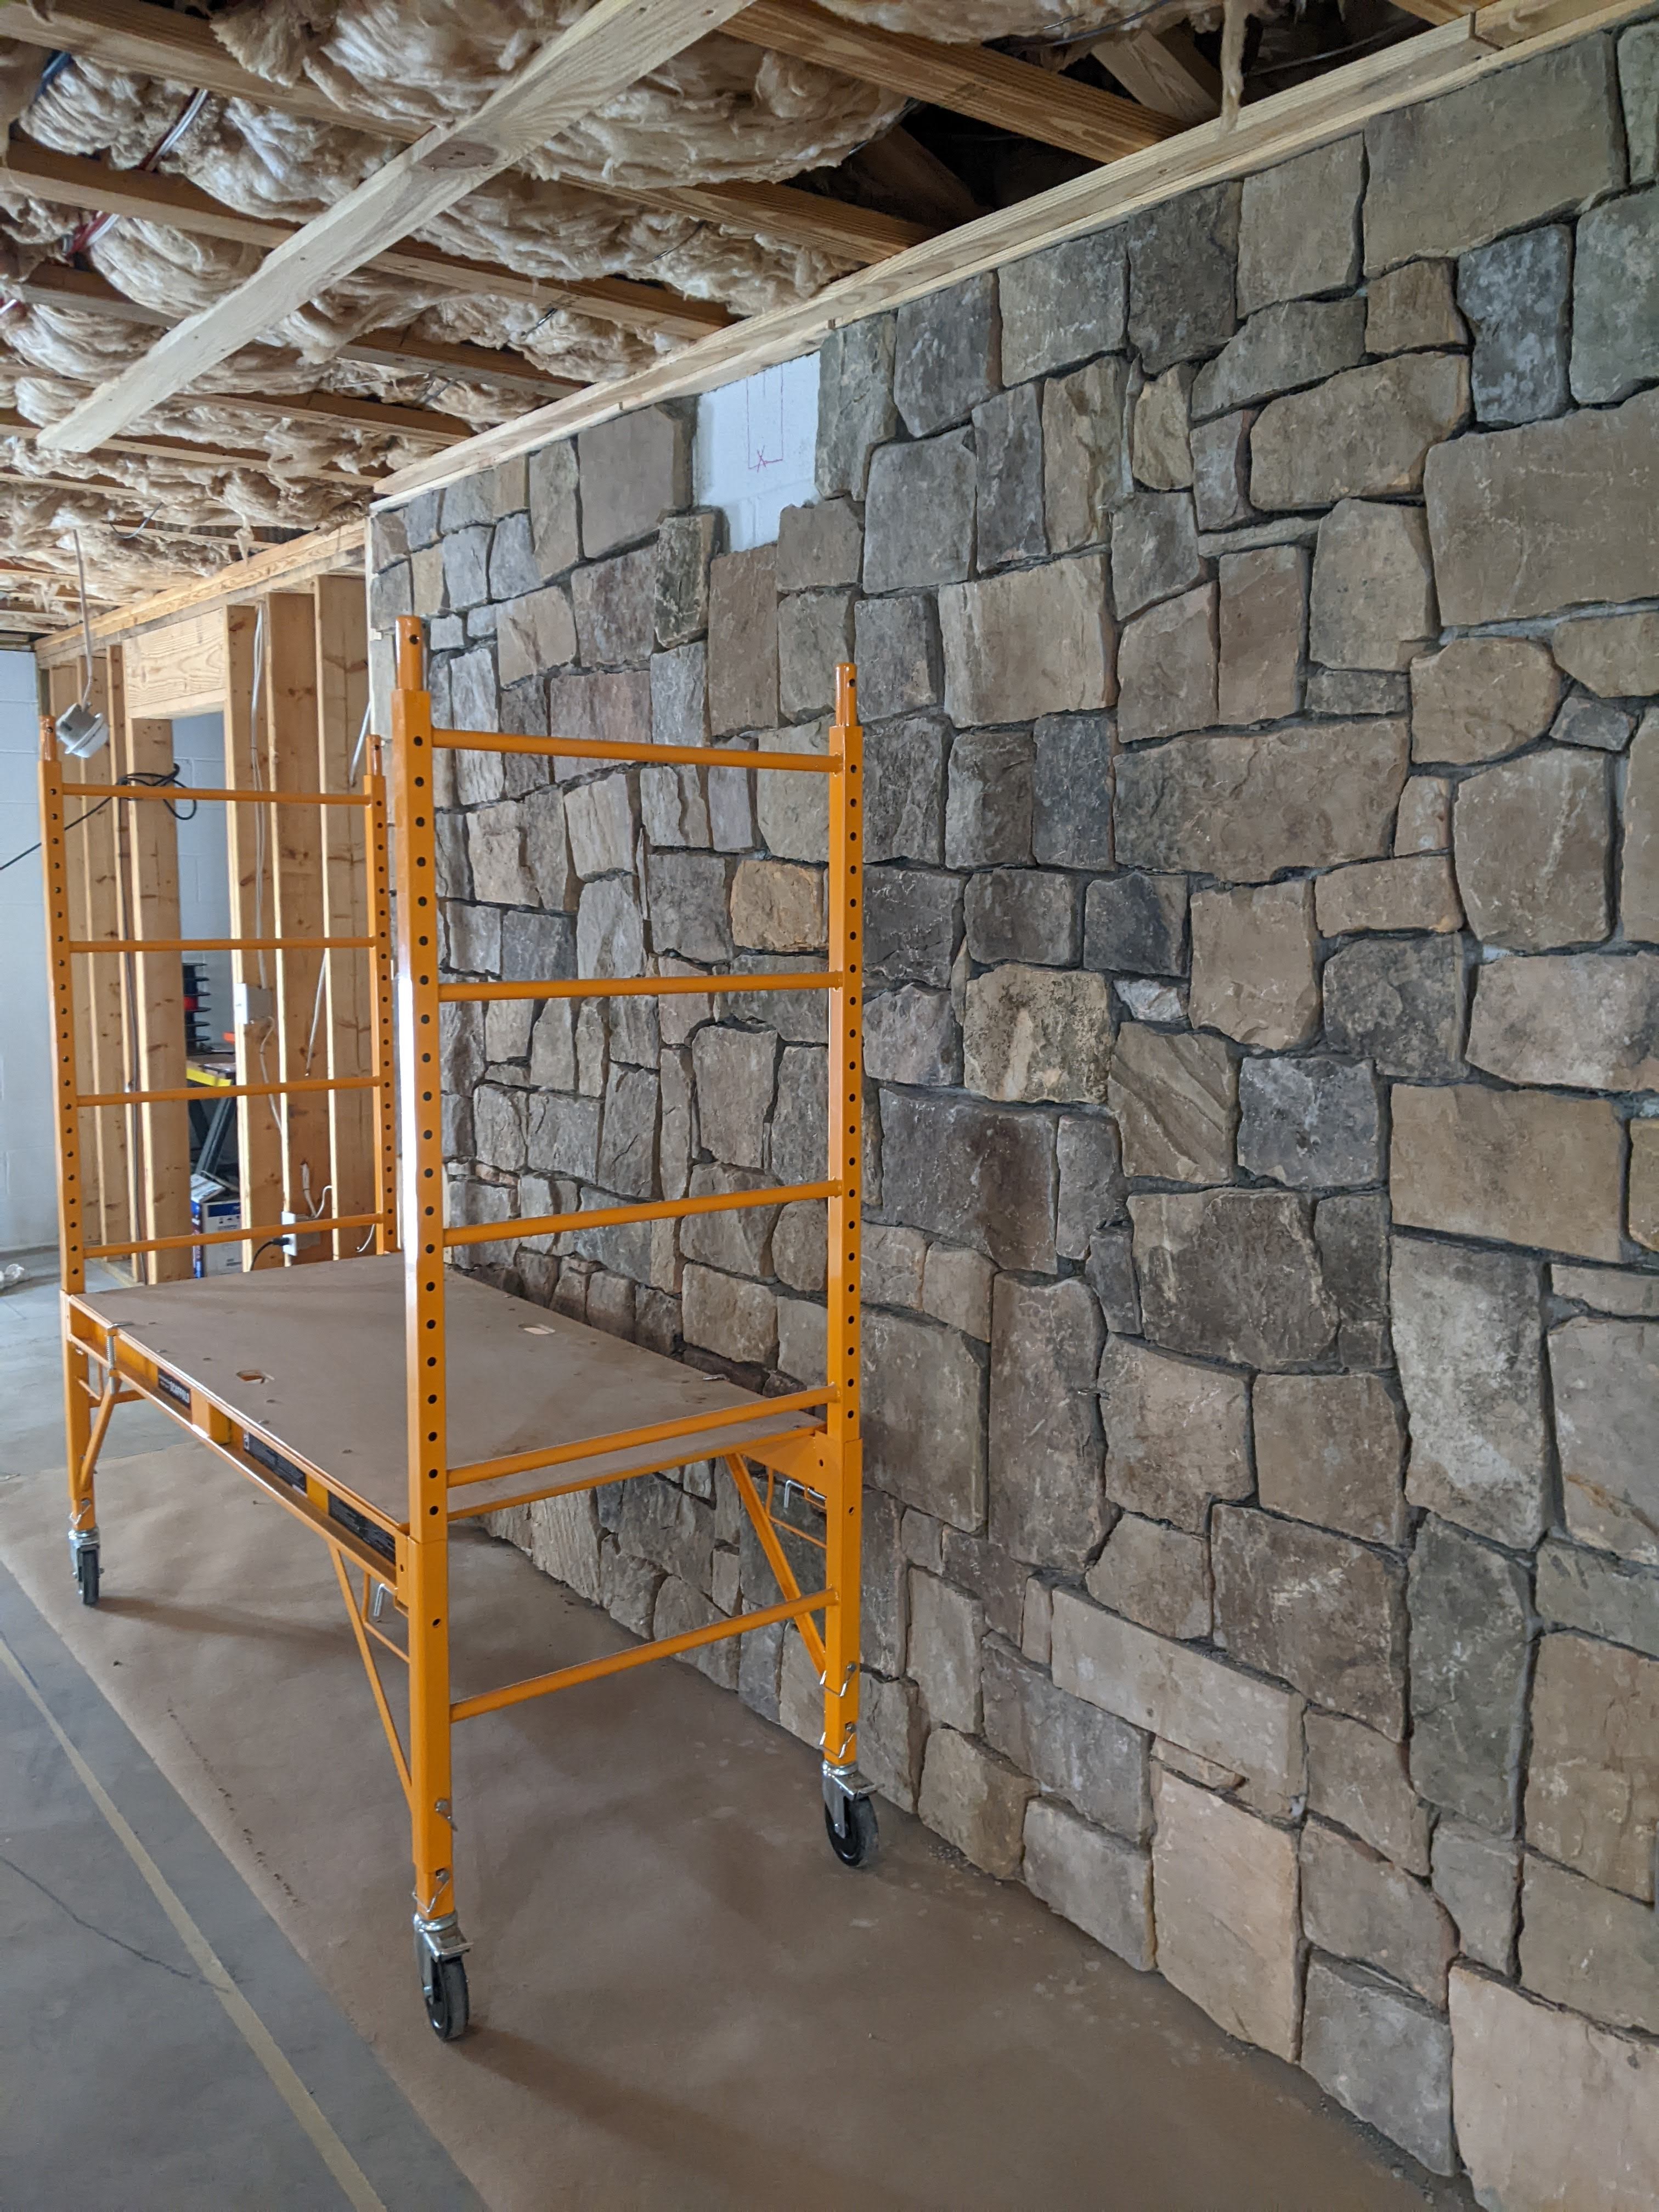
When we were installing stone above shoulder level, we found that a rolling painter’s scaffold was invaluable. We used my fitness step to climb up and down from it. My husband bought it at Harbor Freight.
Here’s the grouting shortly after we put it up.
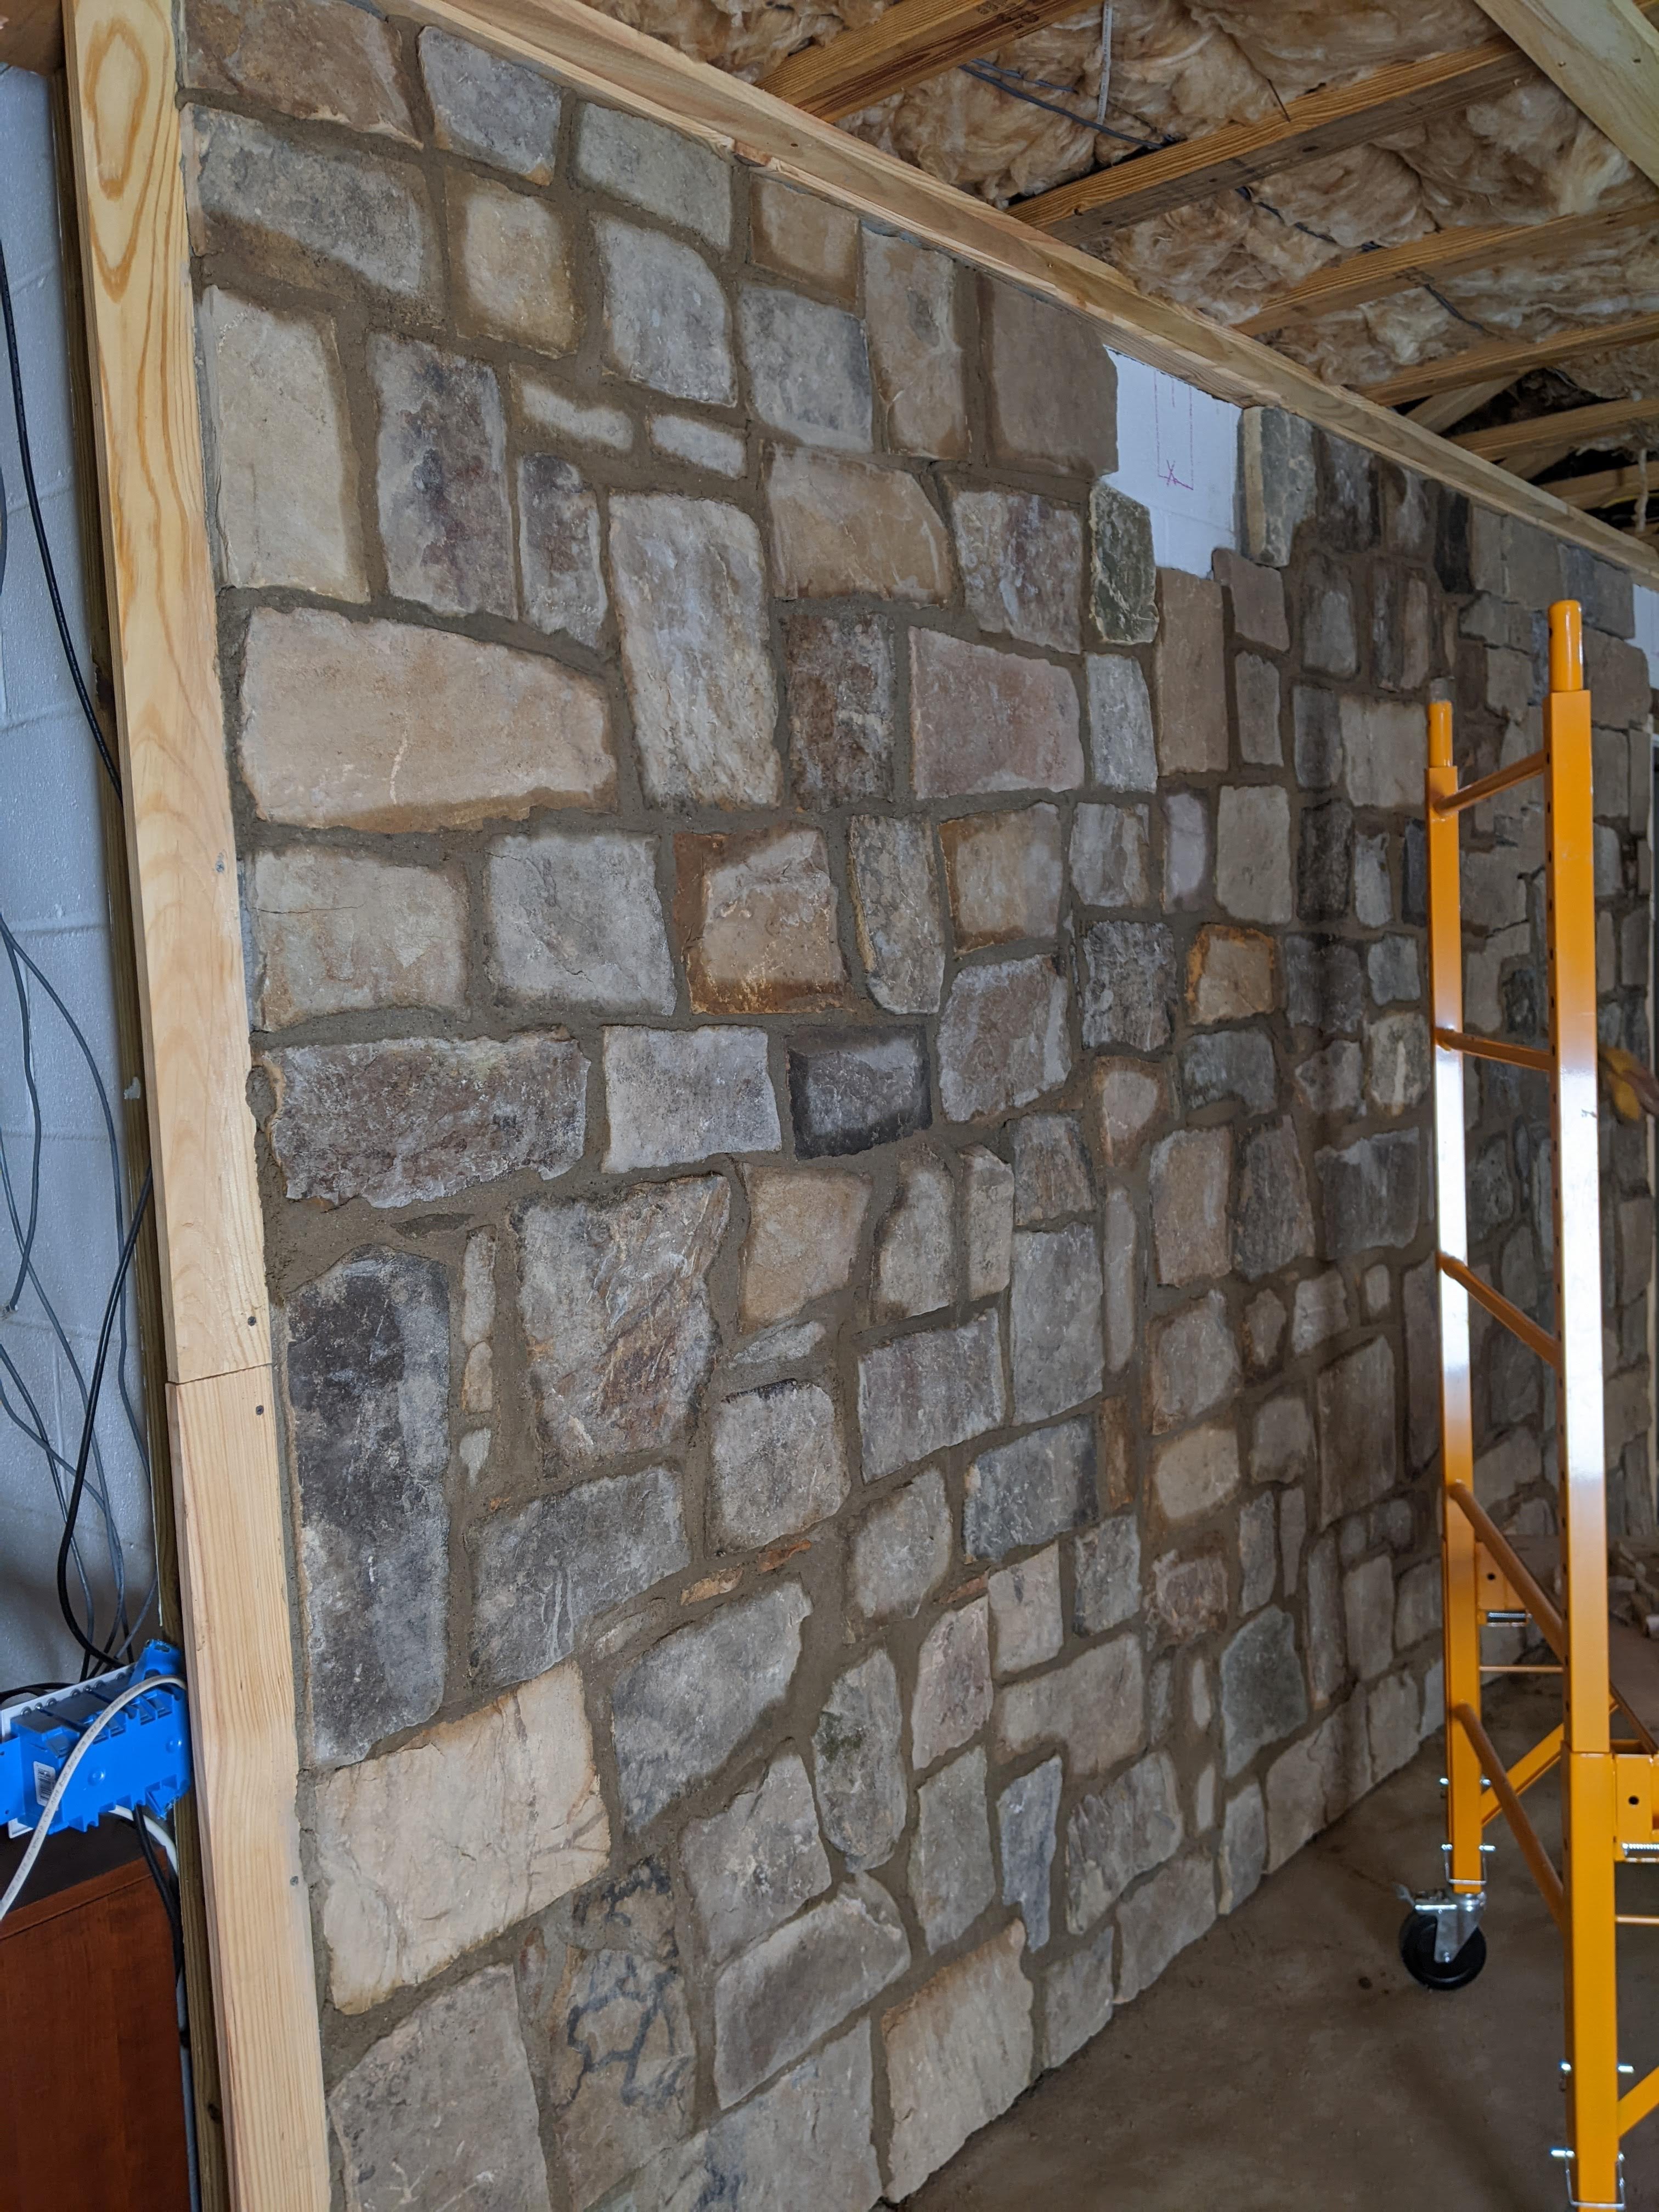
And here it is about 24 hours later.
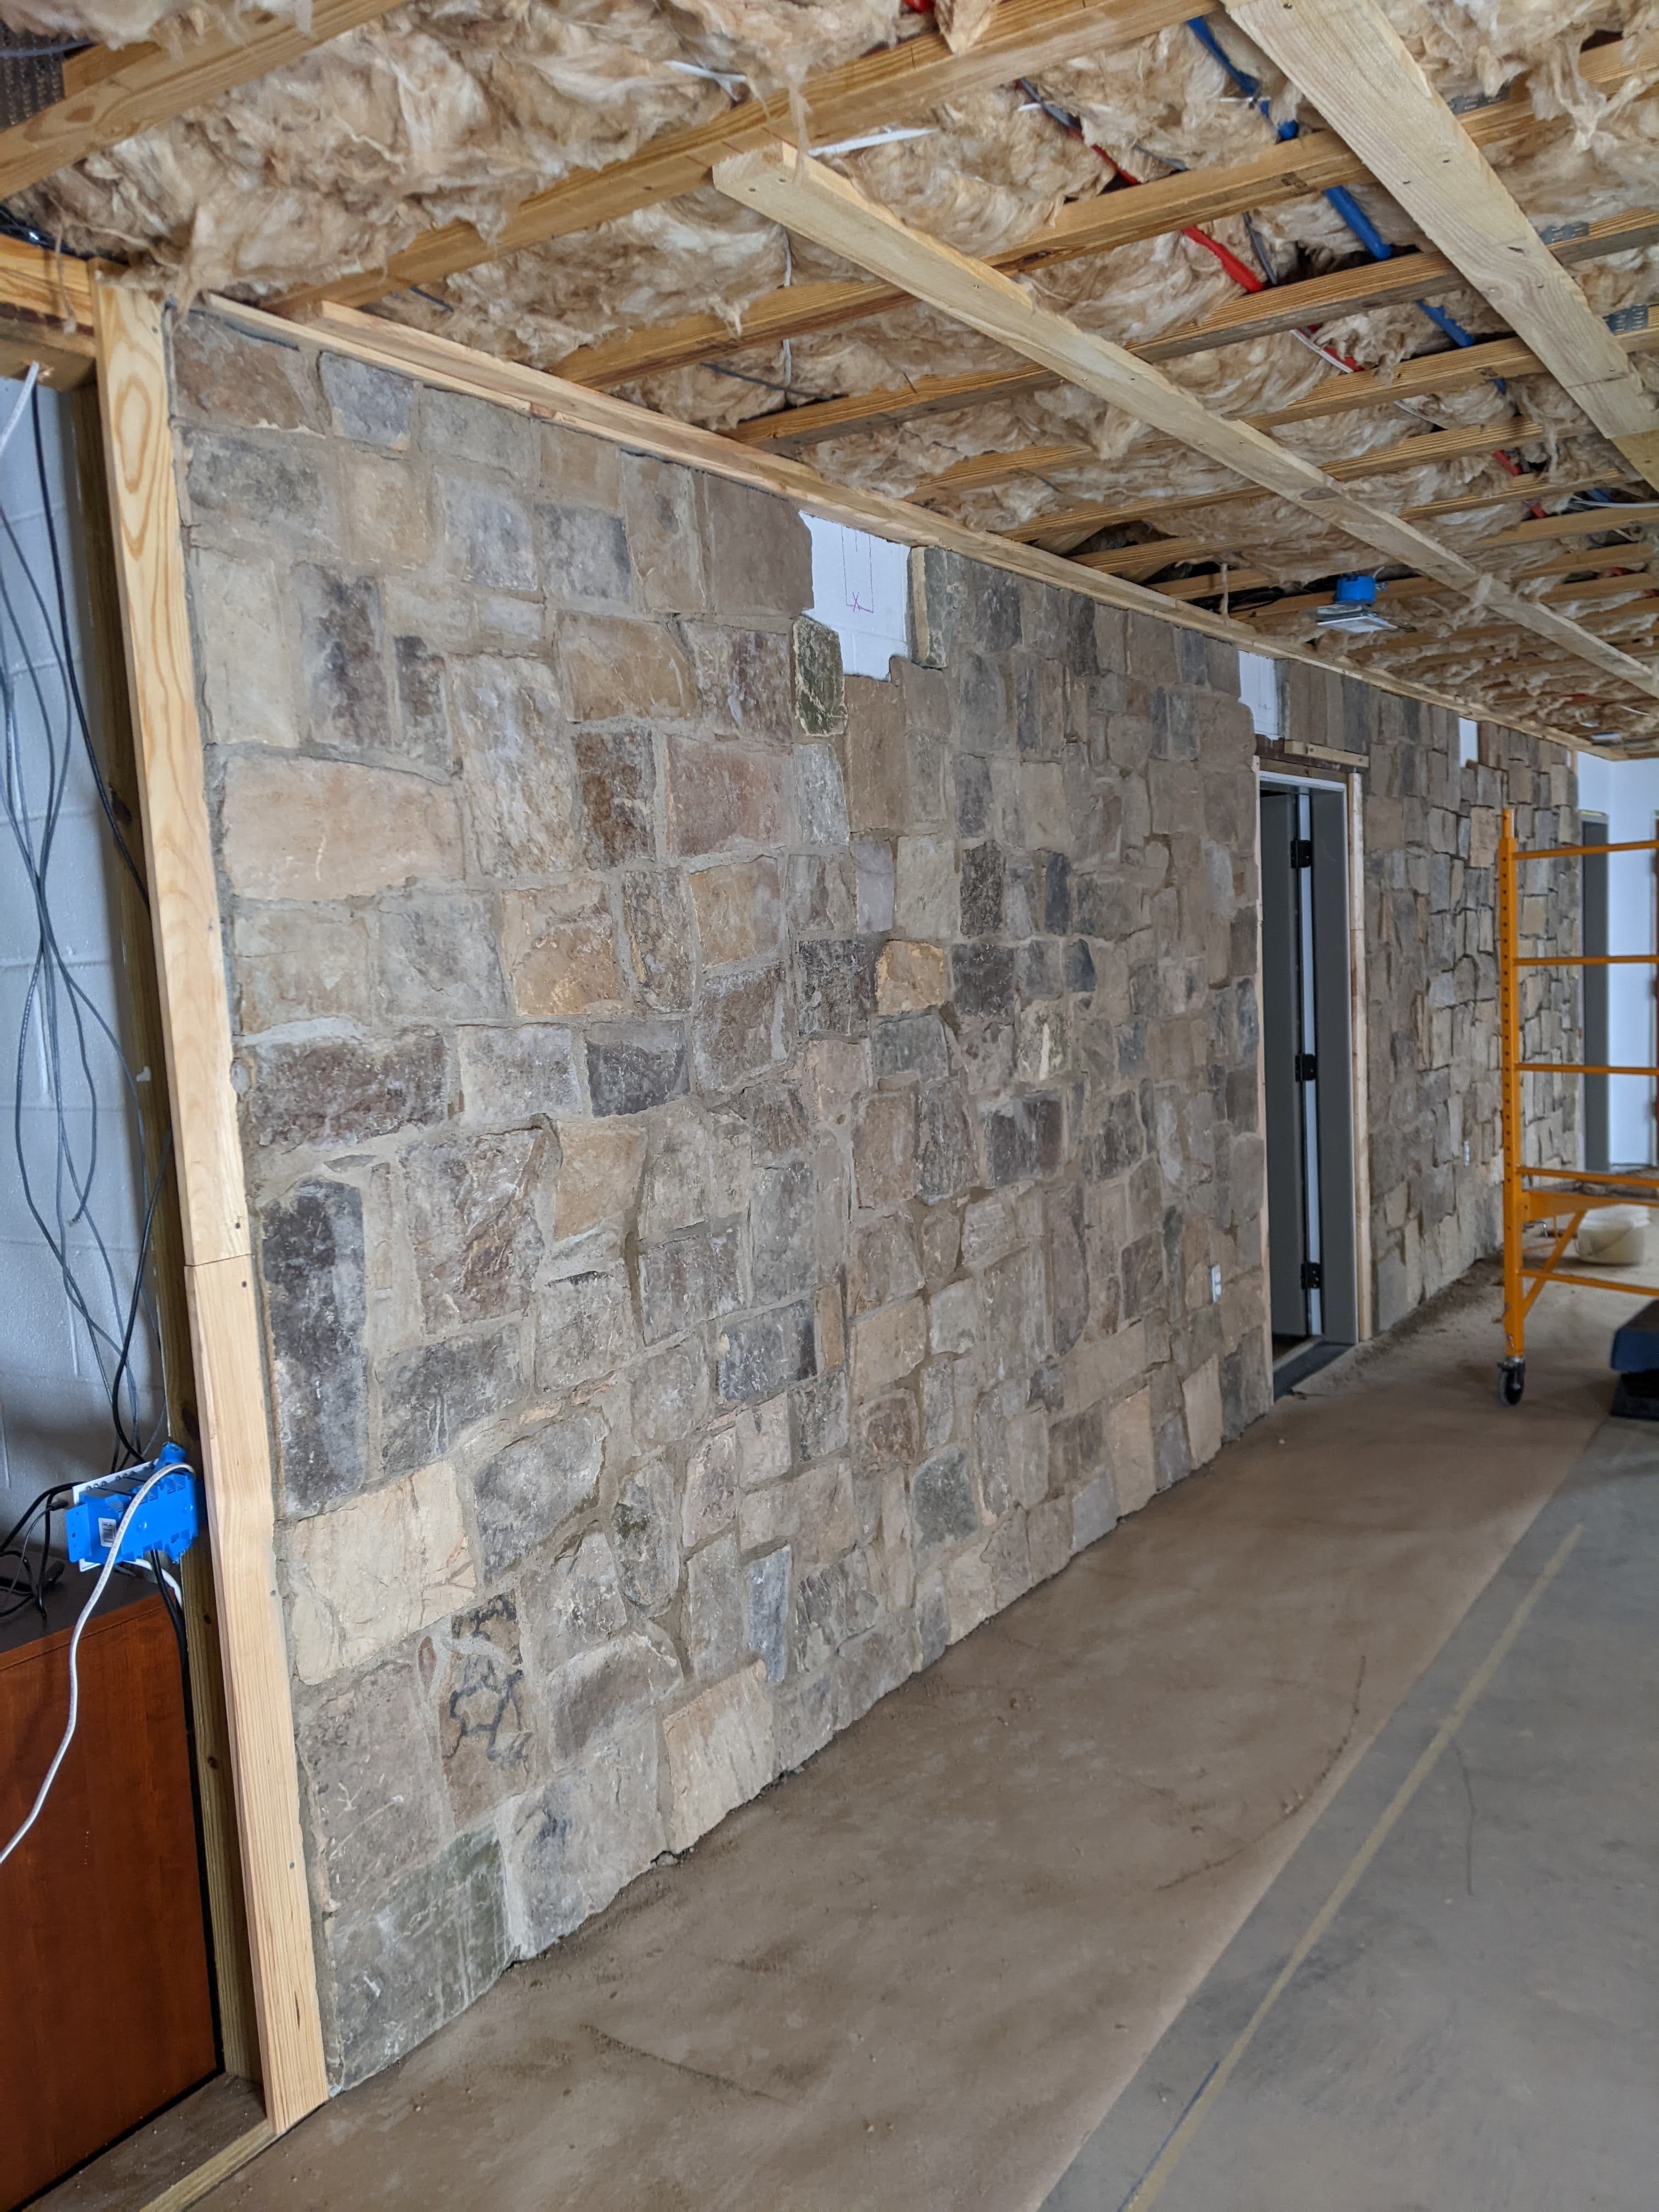
We have about 60% of the wall to the right of the door to do and we have some areas that need a little touch up, but we’re really happy with how it looks so far.
While this project was not difficult, it is physically taxing, especially because we are using real stone. And it is time consuming. To get to this point has probably taken us close to 120 man hours of work. This project has also been unbelievably messy and dusty, which isn’t so much of a problem for us because we’re working in an unfinished basement, but if you’re planning to reface a fireplace or something, you’ll want some way to contain the dust and really good floor protection.
Given what I have shared here, was it worth the work?

If you really love the results, it is.
LikeLiked by 1 person
We’re super pleased with how it looks.
LikeLike