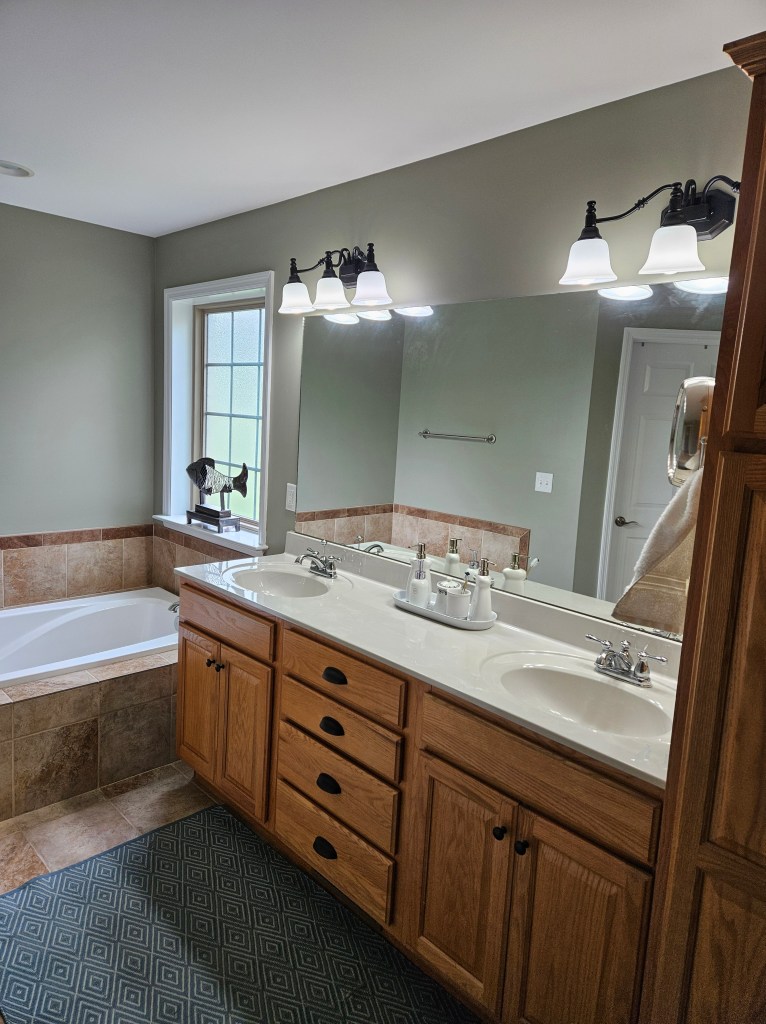
I can hardly believe it, but we have had this house for 9 years already, and our bedroom and bathroom have barely changed during that time. This is our bathroom from the listing photos.
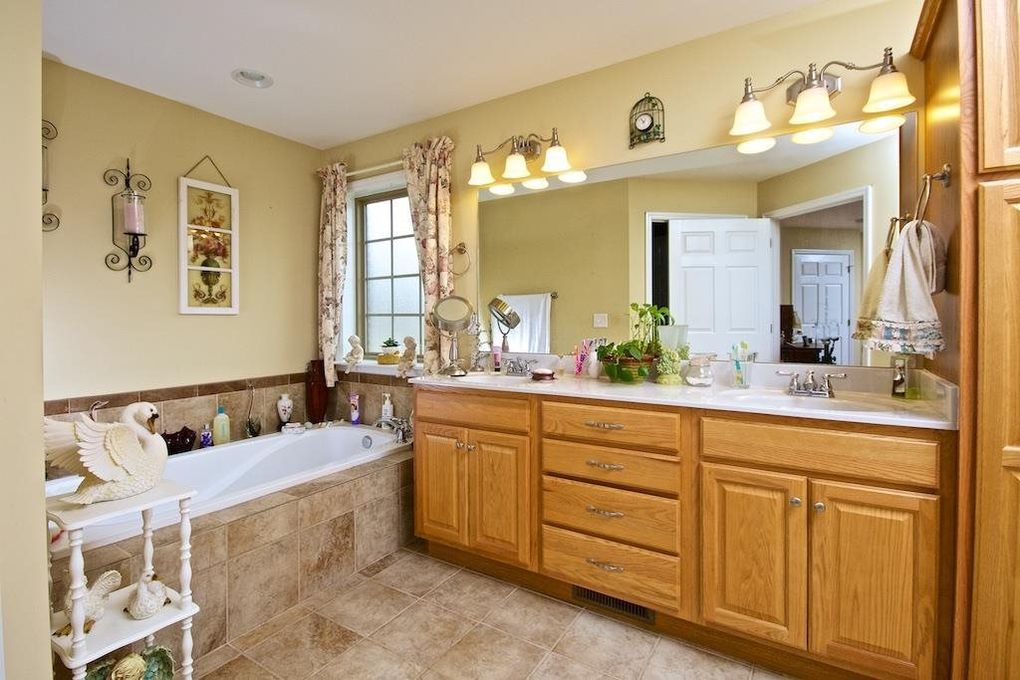
Somehow, I don’t have a before photo of the bathroom after we painted it (and all the decor was taken by the former owner), but I don’t, so you’ll have to use your imagination and imagine it a light almost turquoise. Mike NEVER liked the color, and I had gotten really tired of everything looking the same for the past 9 years.
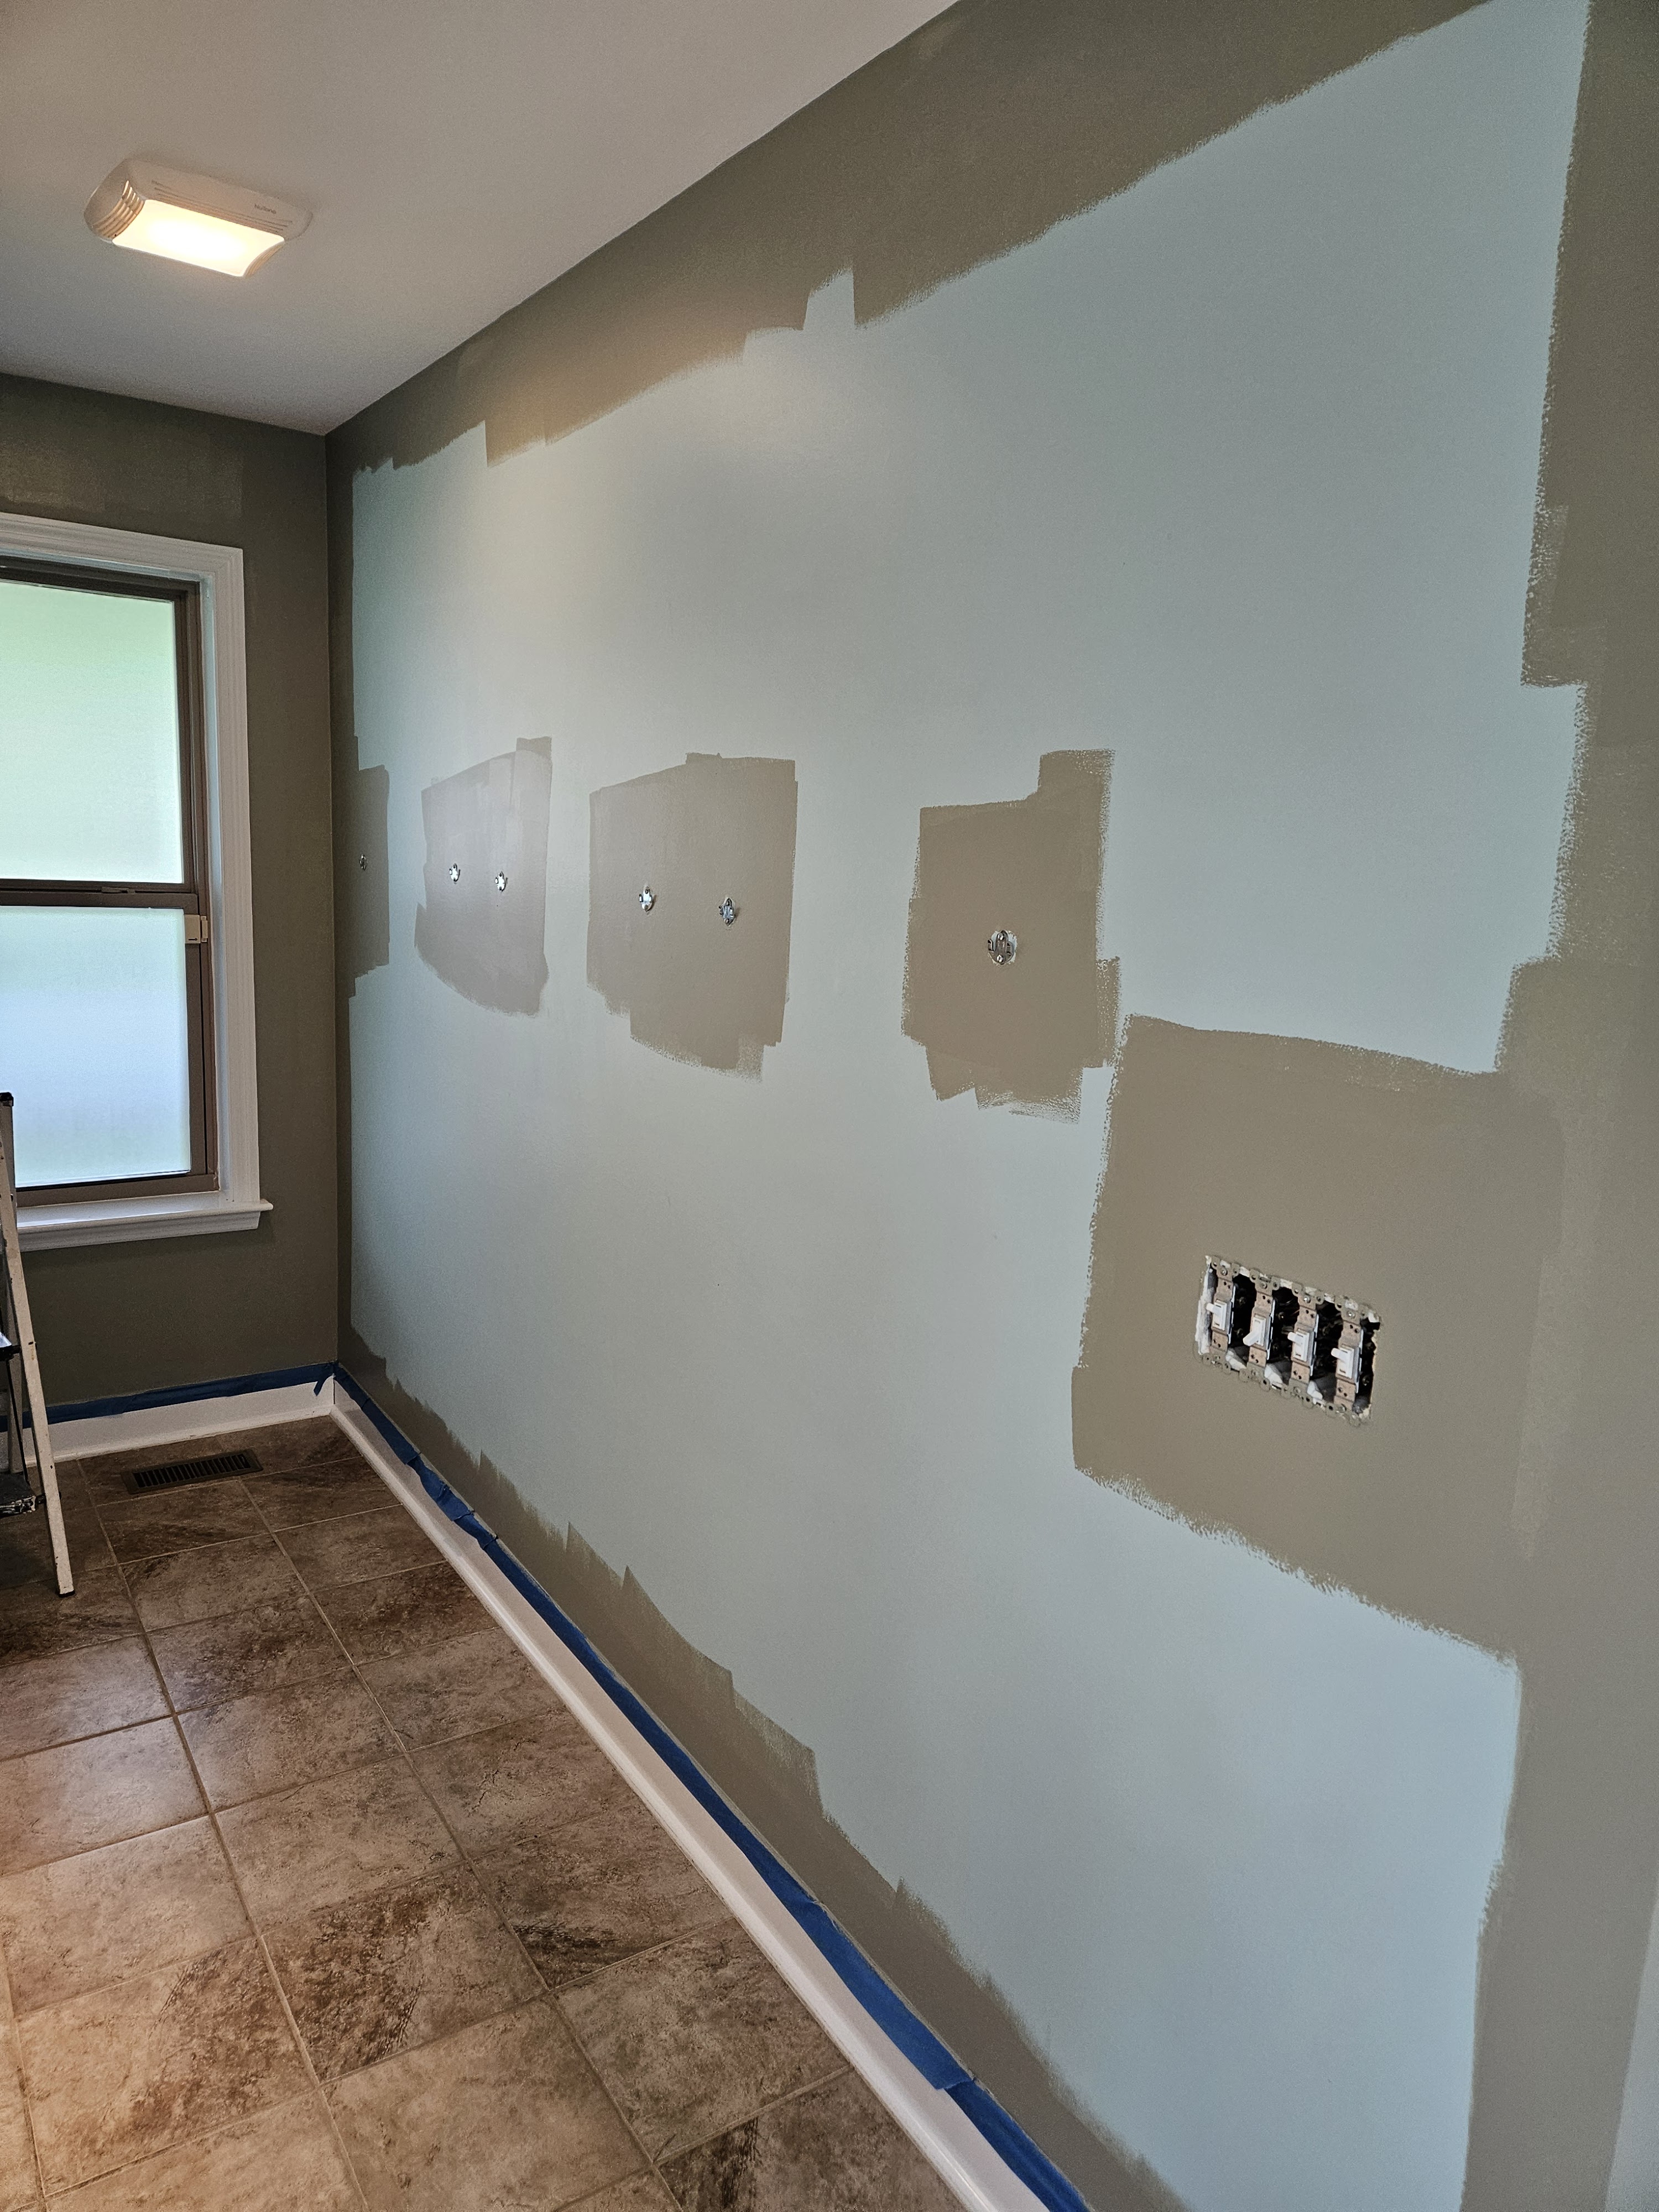
I am also doing a mini-refresh on our bedroom, and bringing in more colors. I started with fabric shopping for some new shams, pillows, and. curtains in the bedroom. From there, I picked a paint color–Jungle Camouflage. I am using the same paint color in both the bedroom and the bathroom.
My first step in the bathroom was to take out all the rugs, mats, vanity items, and towel bars. Then I vacuumed the baseboards and washed the baseboards and the walls. (All the REALLY boring stuff.) Then I taped the baseboards so I would get a nice sharp line (which is an absolute requirement of my husband.) I didn’t tape the window or door frames or the ceiling because I am fairly good at cutting in, and our taping from the first paint job wasn’t great.
Then I started painting.
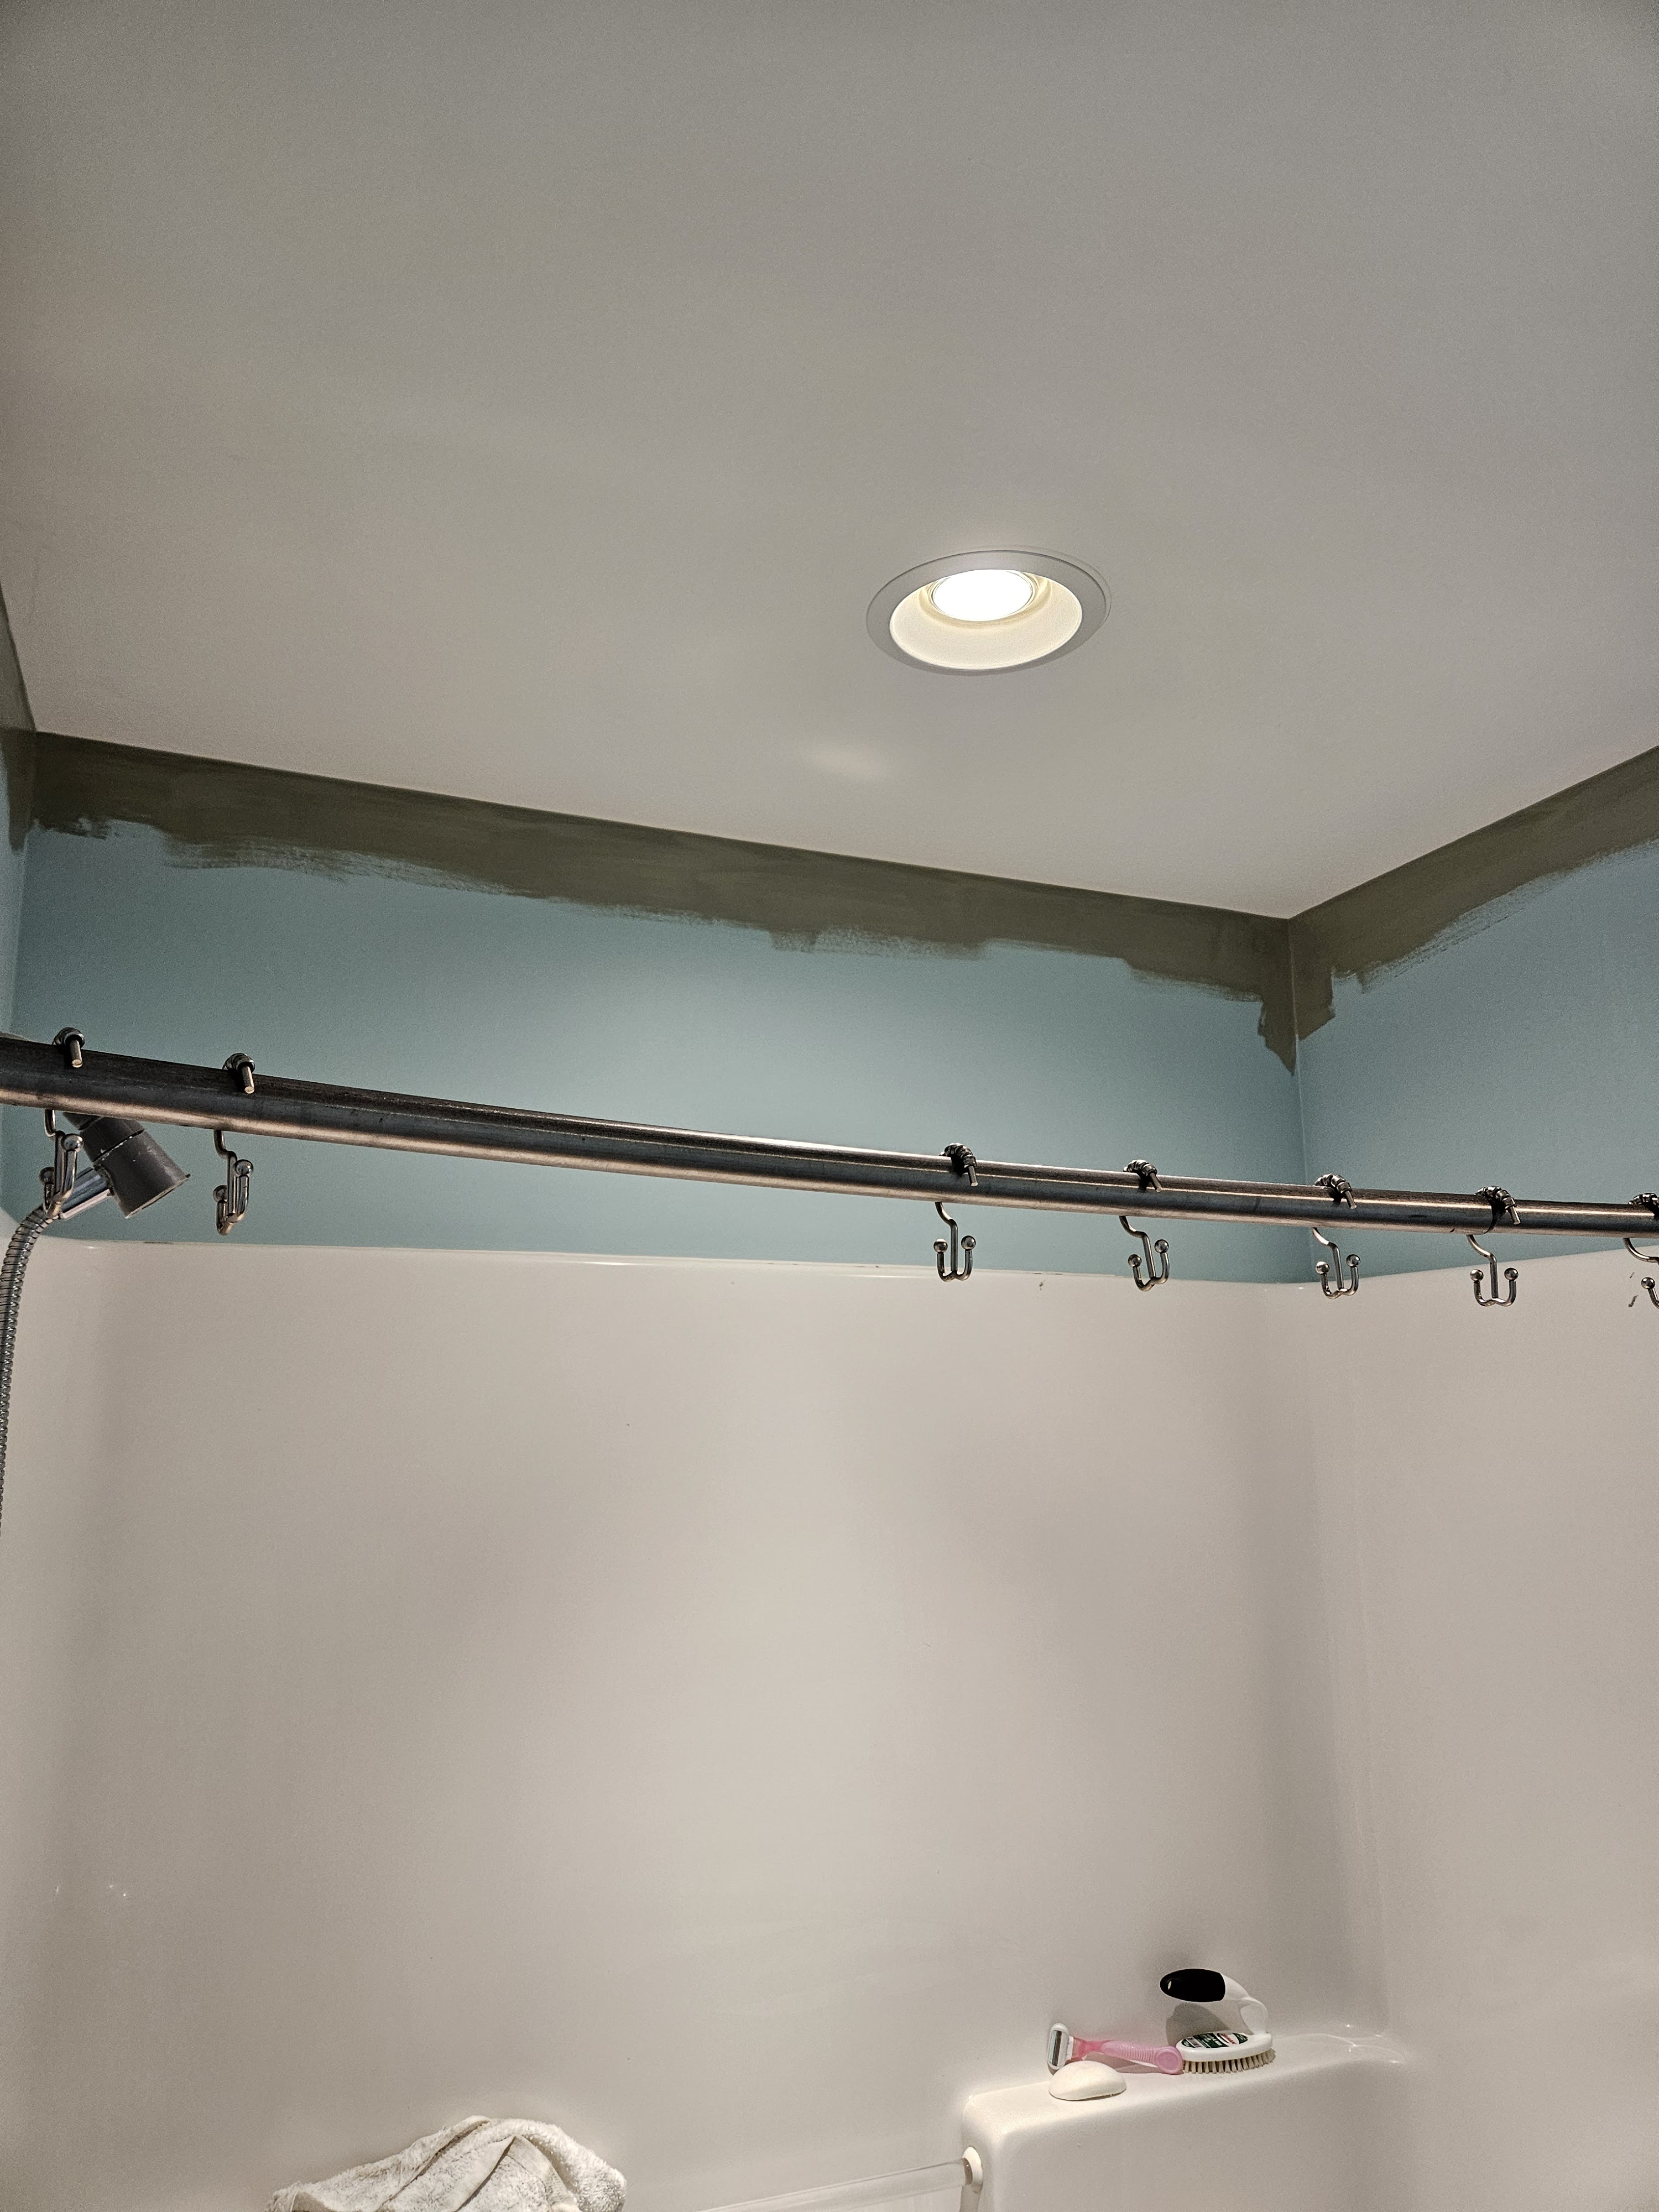
I did ALL of my cut-in work before I started rolling the walls in earnest. All of this took about 12 hours of work.
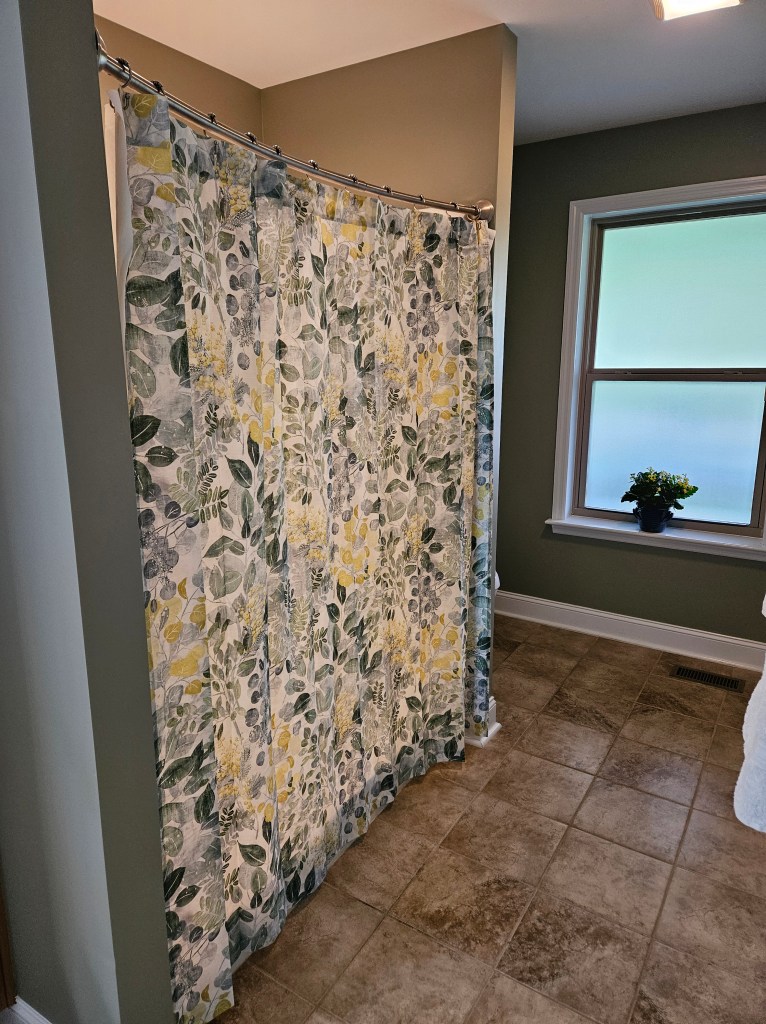
Since I was taking the color in a REALLY different direction, I had to get a new shower curtain. I found this Pottery Barn Shower Curtain on ebay and I really love it. It brings in the blue from the rug that I have in there, and some yellows.
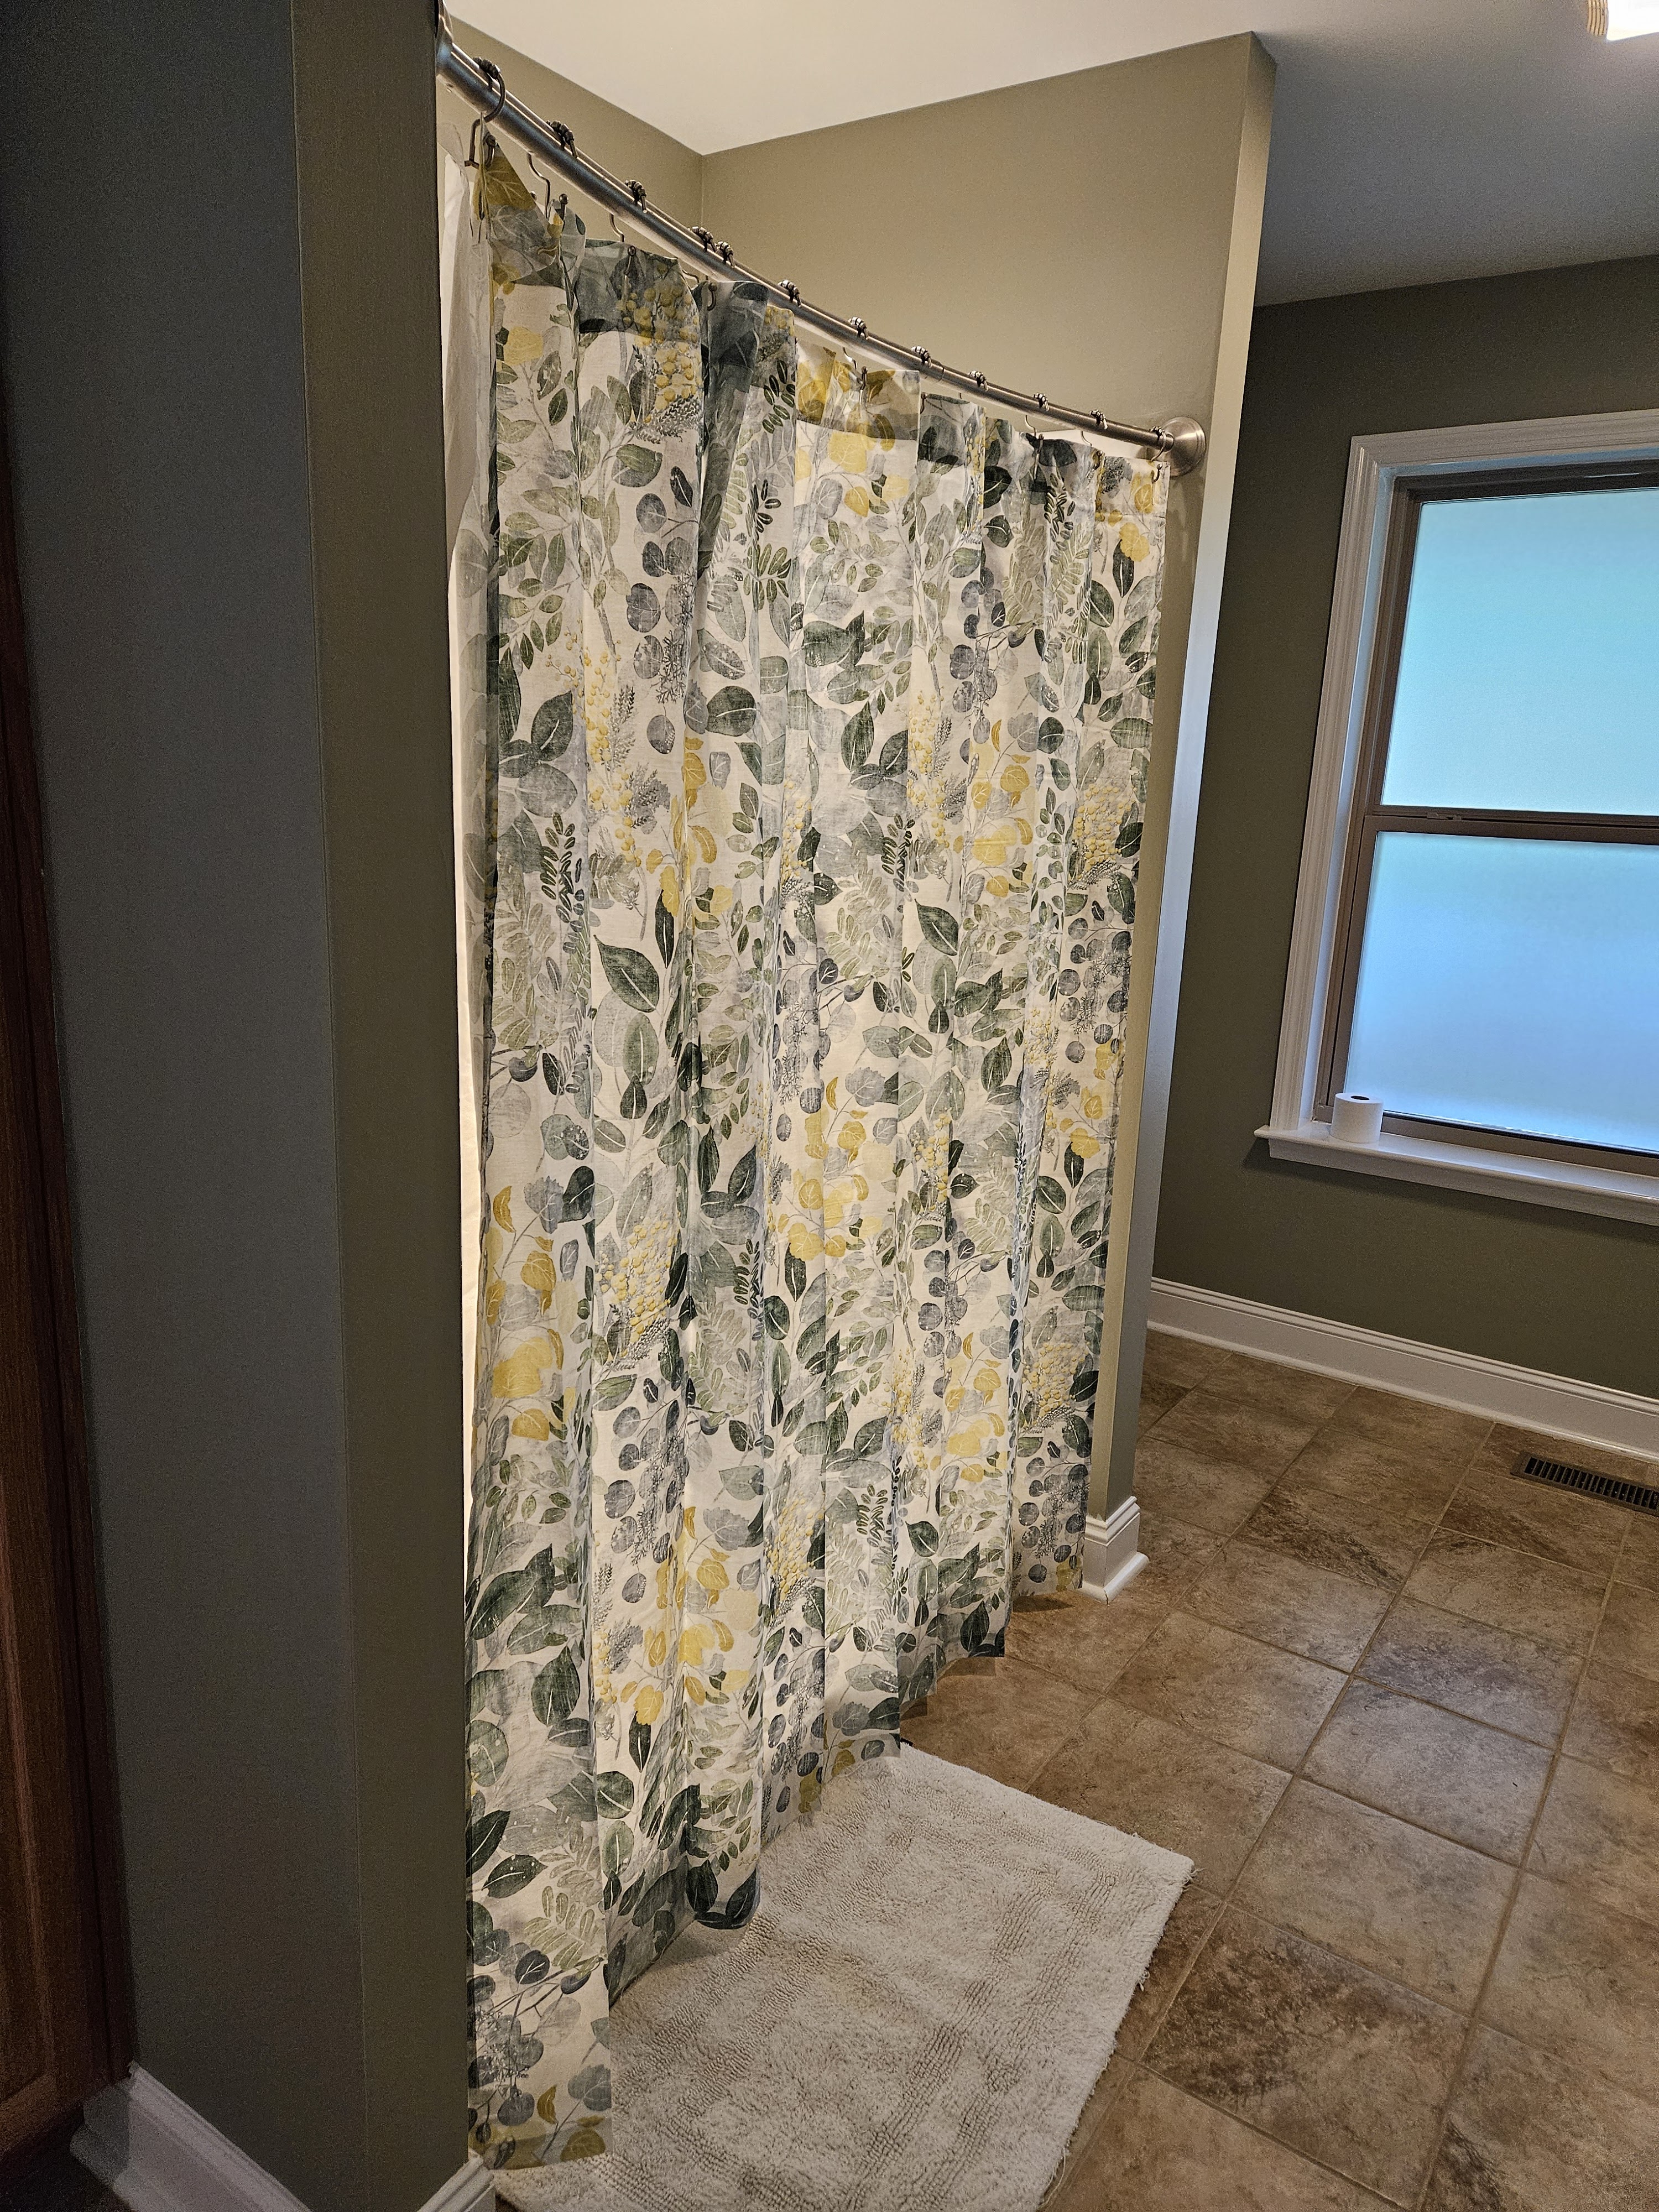
An advantage of this wall color is that it looks so much better with the floor tile than the old color.
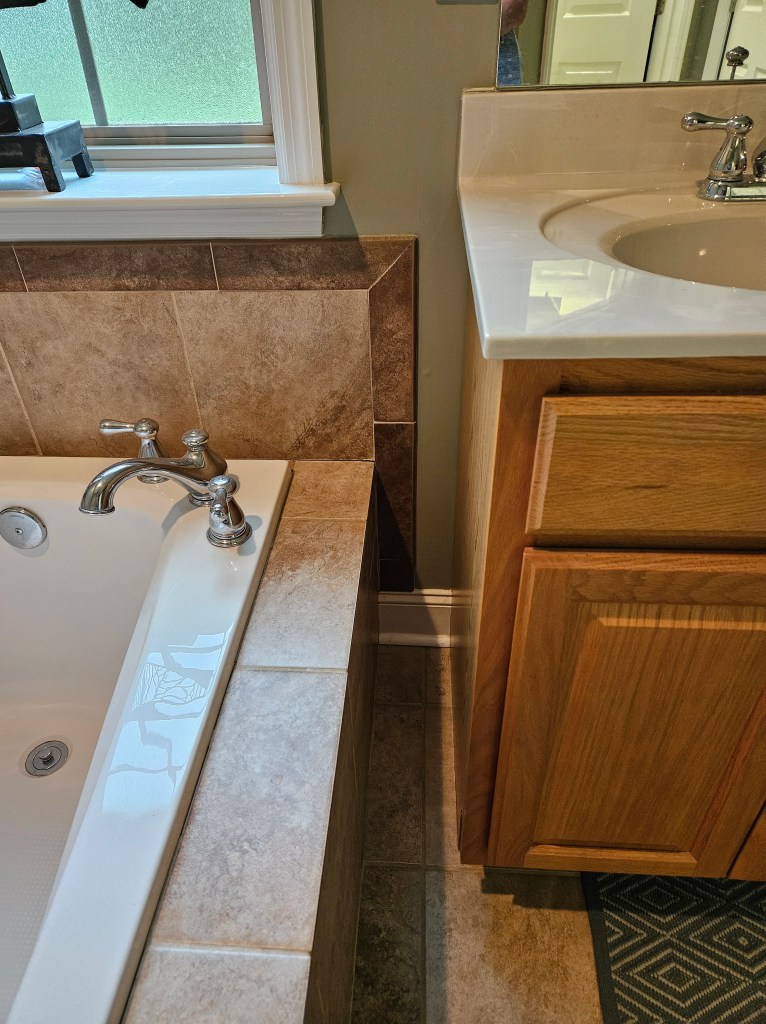
While I was painting, I came across a couple of places where I thought, “why did they do this???”
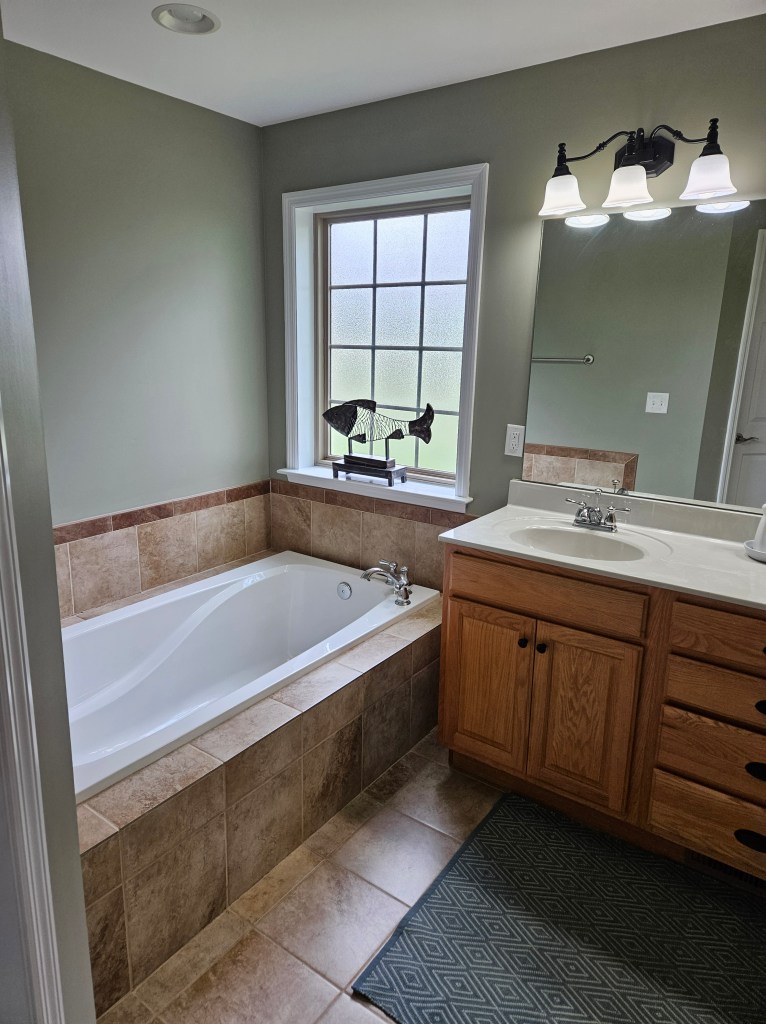
The first is this weird tiny gap between the vanity and the tub surround. It is SO difficult to paint, and to clean. Don’t do this because you’ll hate yourself every time you have to clean it and doubly when you have to repaint any of it.
The other is this tiny sliver of wall between the tall cabinet and the mirror. An absolute nightmare.
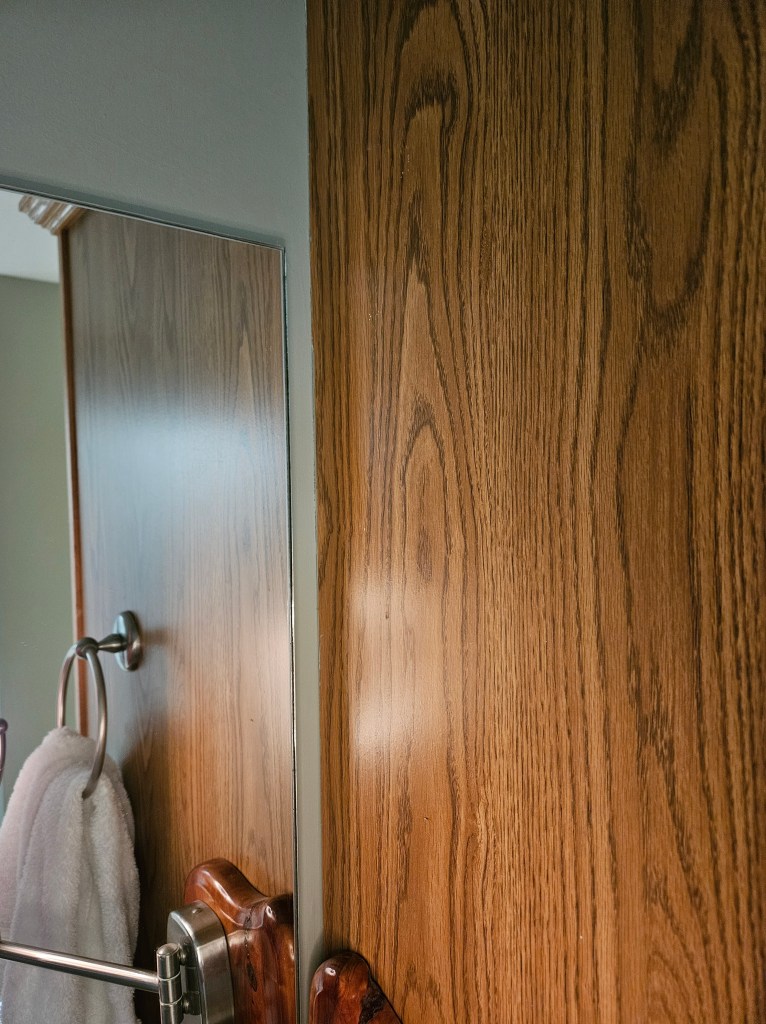
My other pet peeve is adding unnecessary interior corners to a bathroom, because they catch hair and dirt and are terrible to clean. When we redo this bathroom for real, these will be eliminated.
I am trying to keep all the refresh costs to a minimum because the longer term plan is to take everything down to the studs and start completely over. So, I just did new hardware on the cabinets, and we painted the light fixtures black to match. I briefly considered new fixtures or globes, but ultimately decided it wasn’t worth the expense.
So here is the finished product.
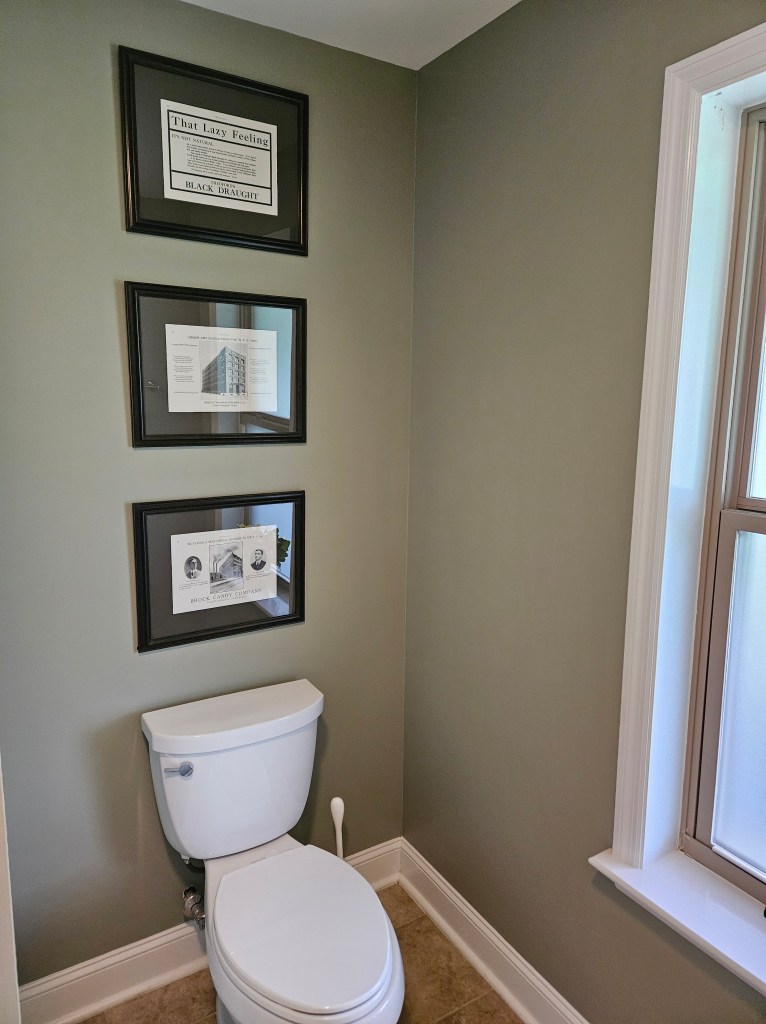

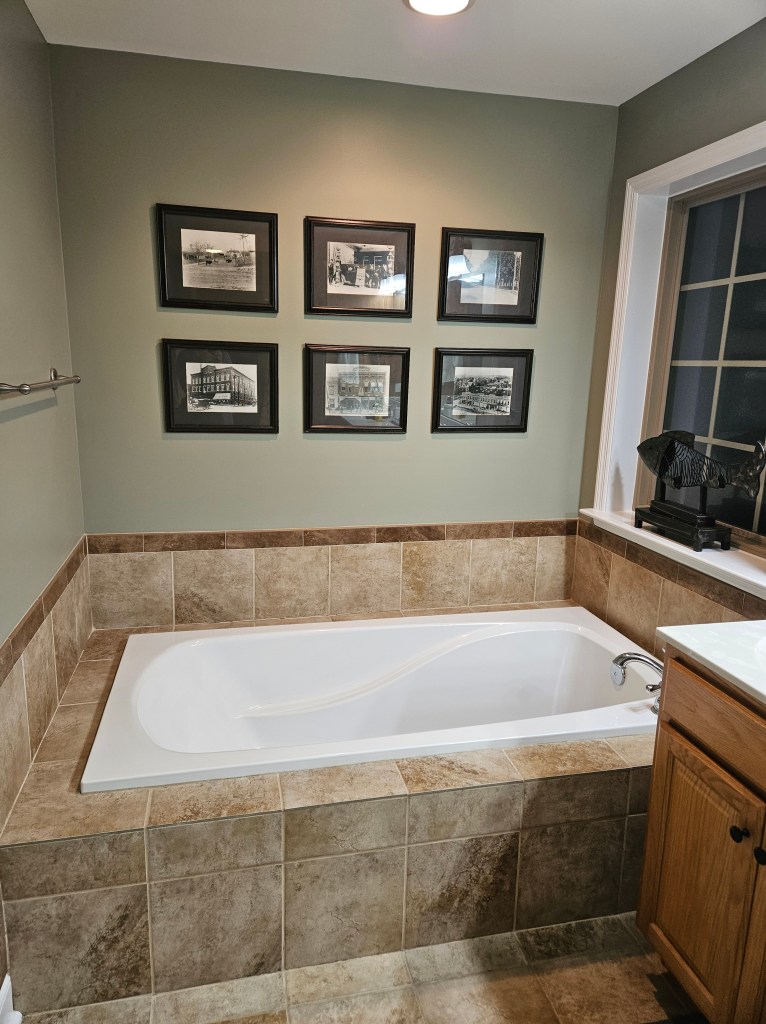
Shortly after taking all these photos and writing this post, I remembered that I had some black and white photos of Cleveland, TN down in the basement that I had framed for our old house–same frame and mat as the advertisements over the toilet–so I hung them up over the tub.
While this still isn’t my dream bathroom, I think that it’s a big improvement for less than $150.

Nice
LikeLiked by 1 person