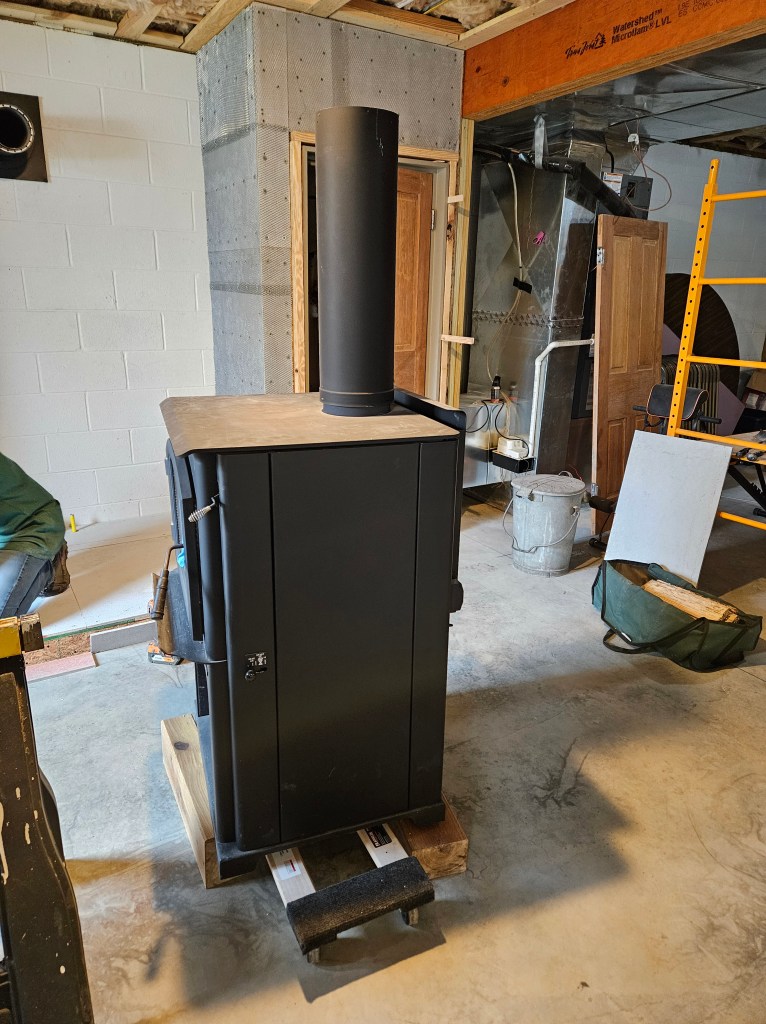
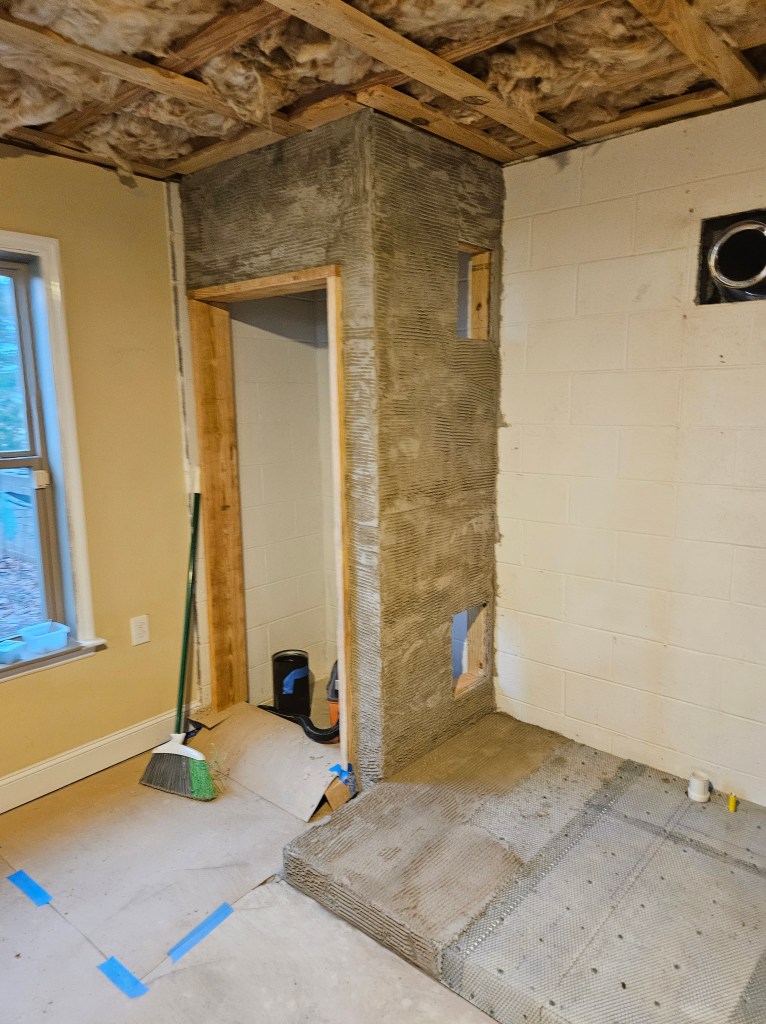
We kind of overdid it last summer with the stone veneer on the big cinder block wall and we’ve struggled to find the motivation to finish the stone work. However, my husband has gotten the closets clad in plywood and cement board and applied the metal lath and the mortar scratch coat. In addition to that, he built a platform. Here’s the progression:
Then my husband started applying the scratch coat.


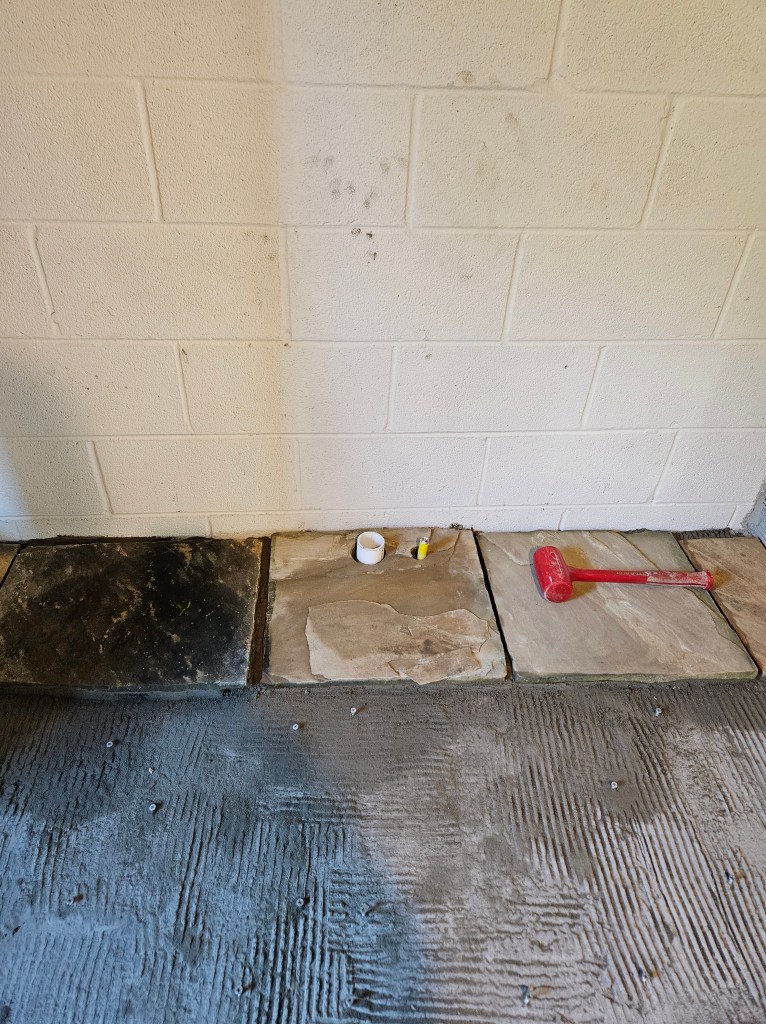
I found 14 pieces of thin flagstone at a stone yard in Cleveland, TN which was just enough to cover the floor of the platform (and it saved us from having to buy an entire pallet of stone) with one extra piece in case something went wrong. My husband had to cut everything to size and drill holes for the airline and the gas line. Then we had to come up with a way to get all the stones as level as possible so that the stove would sit flat.
We came up with driving 3 screws per stone into the platform and then using a laser level to determine whether or not the finished height of the stone was level and adjusting the screws as necessary.
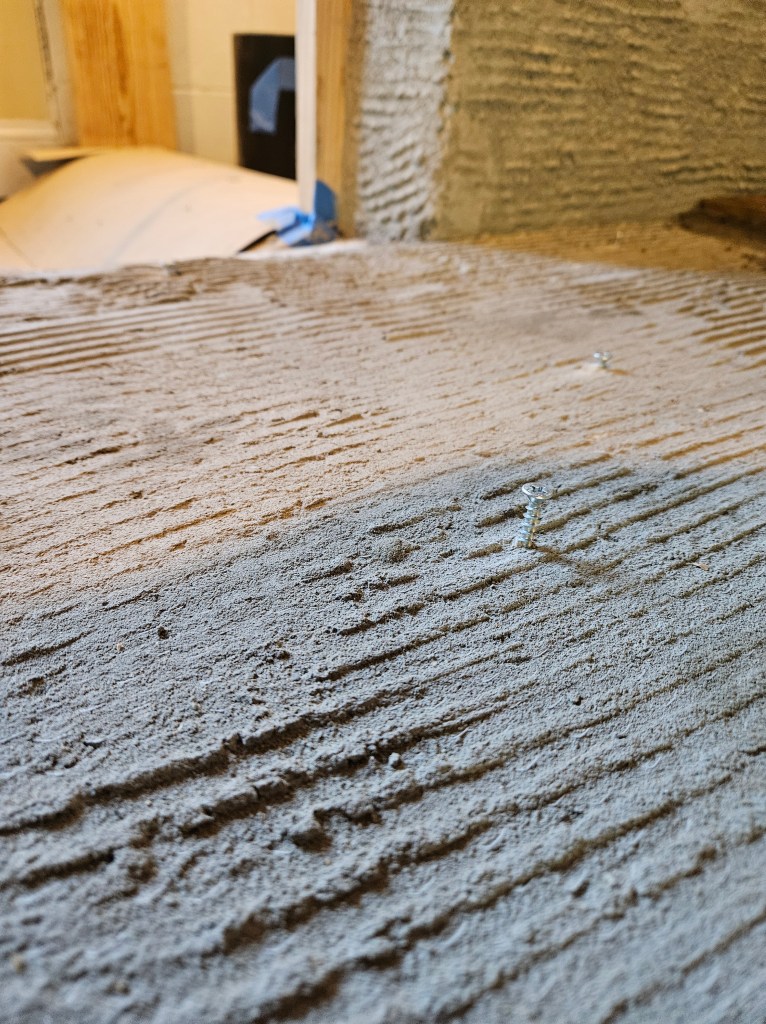
It worked surprisingly well. We got one row installed before we had to call it a night. The first row was frustrating because we didn’t have the mortar runny enough so my husband couldn’t press it out with the stones because it was like packed wet sand.
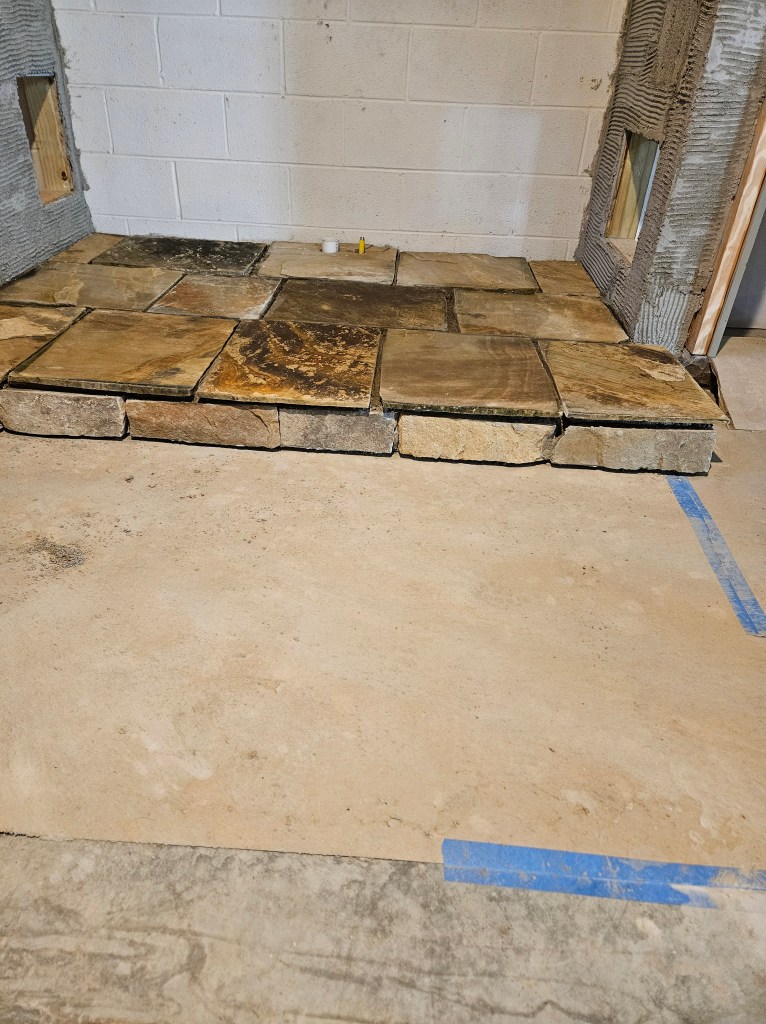
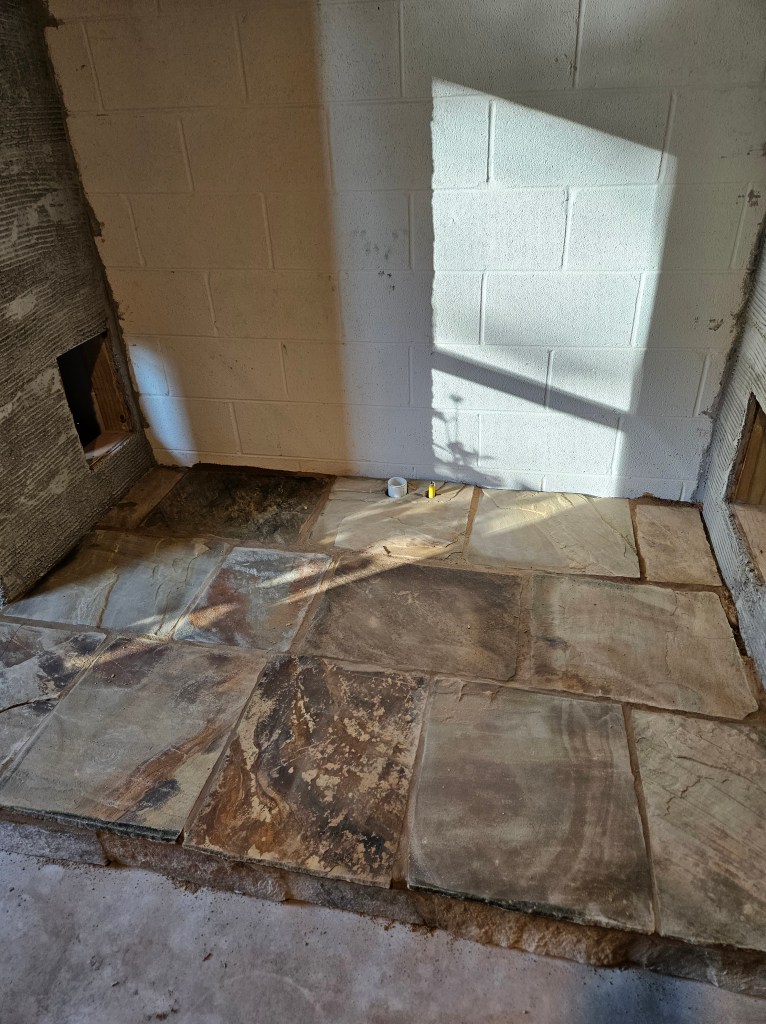
The next morning, we mixed the mortar to a really runny consistency and that worked so much better and we got the rest of the stone installed in about 1 1/2 hours. Here’s what it looked like after that step:
The next step was to grout the floor with colored mortar that is mixed to a really runny consistency and then we brushed the joints so that they’re even with the stones, just like we did with the walls. (It’s a good thing that I do this blog because otherwise we might not have remembered the ratio of colorant to water to get the grout the right color to match the wall–and we still have a few stones to put up over there around where the beams are.)
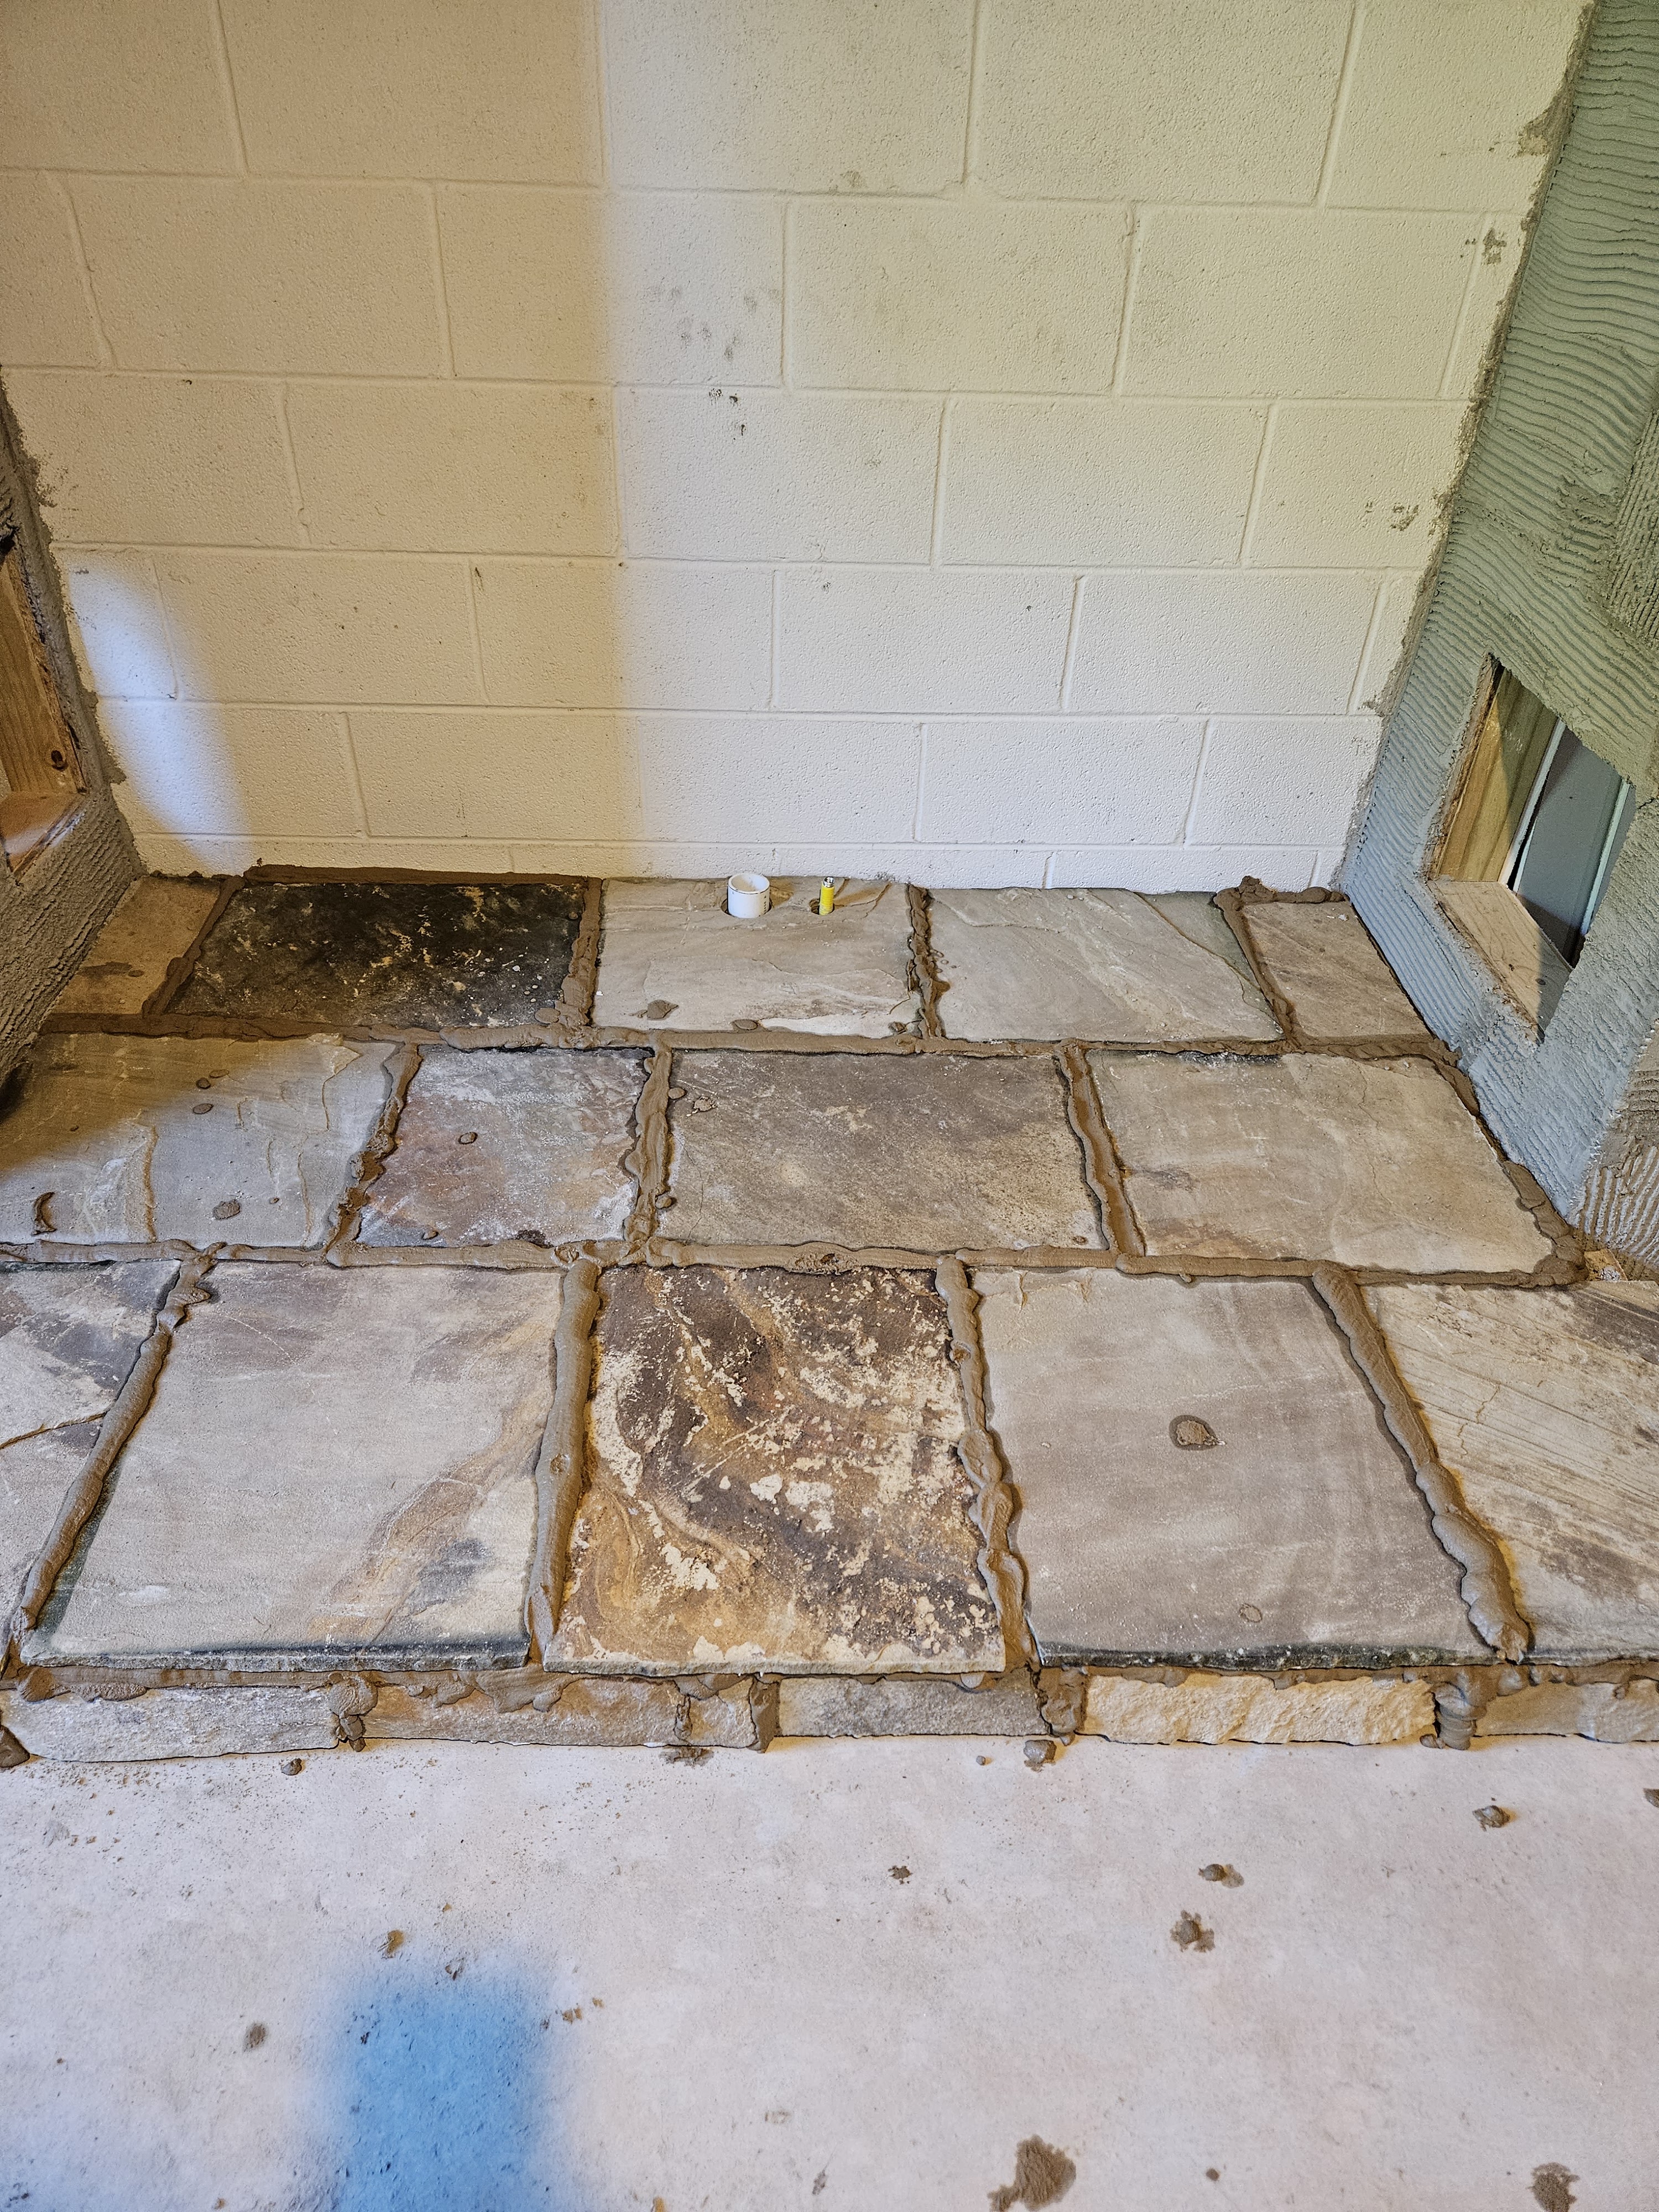
And then here it is after we removed the excess:
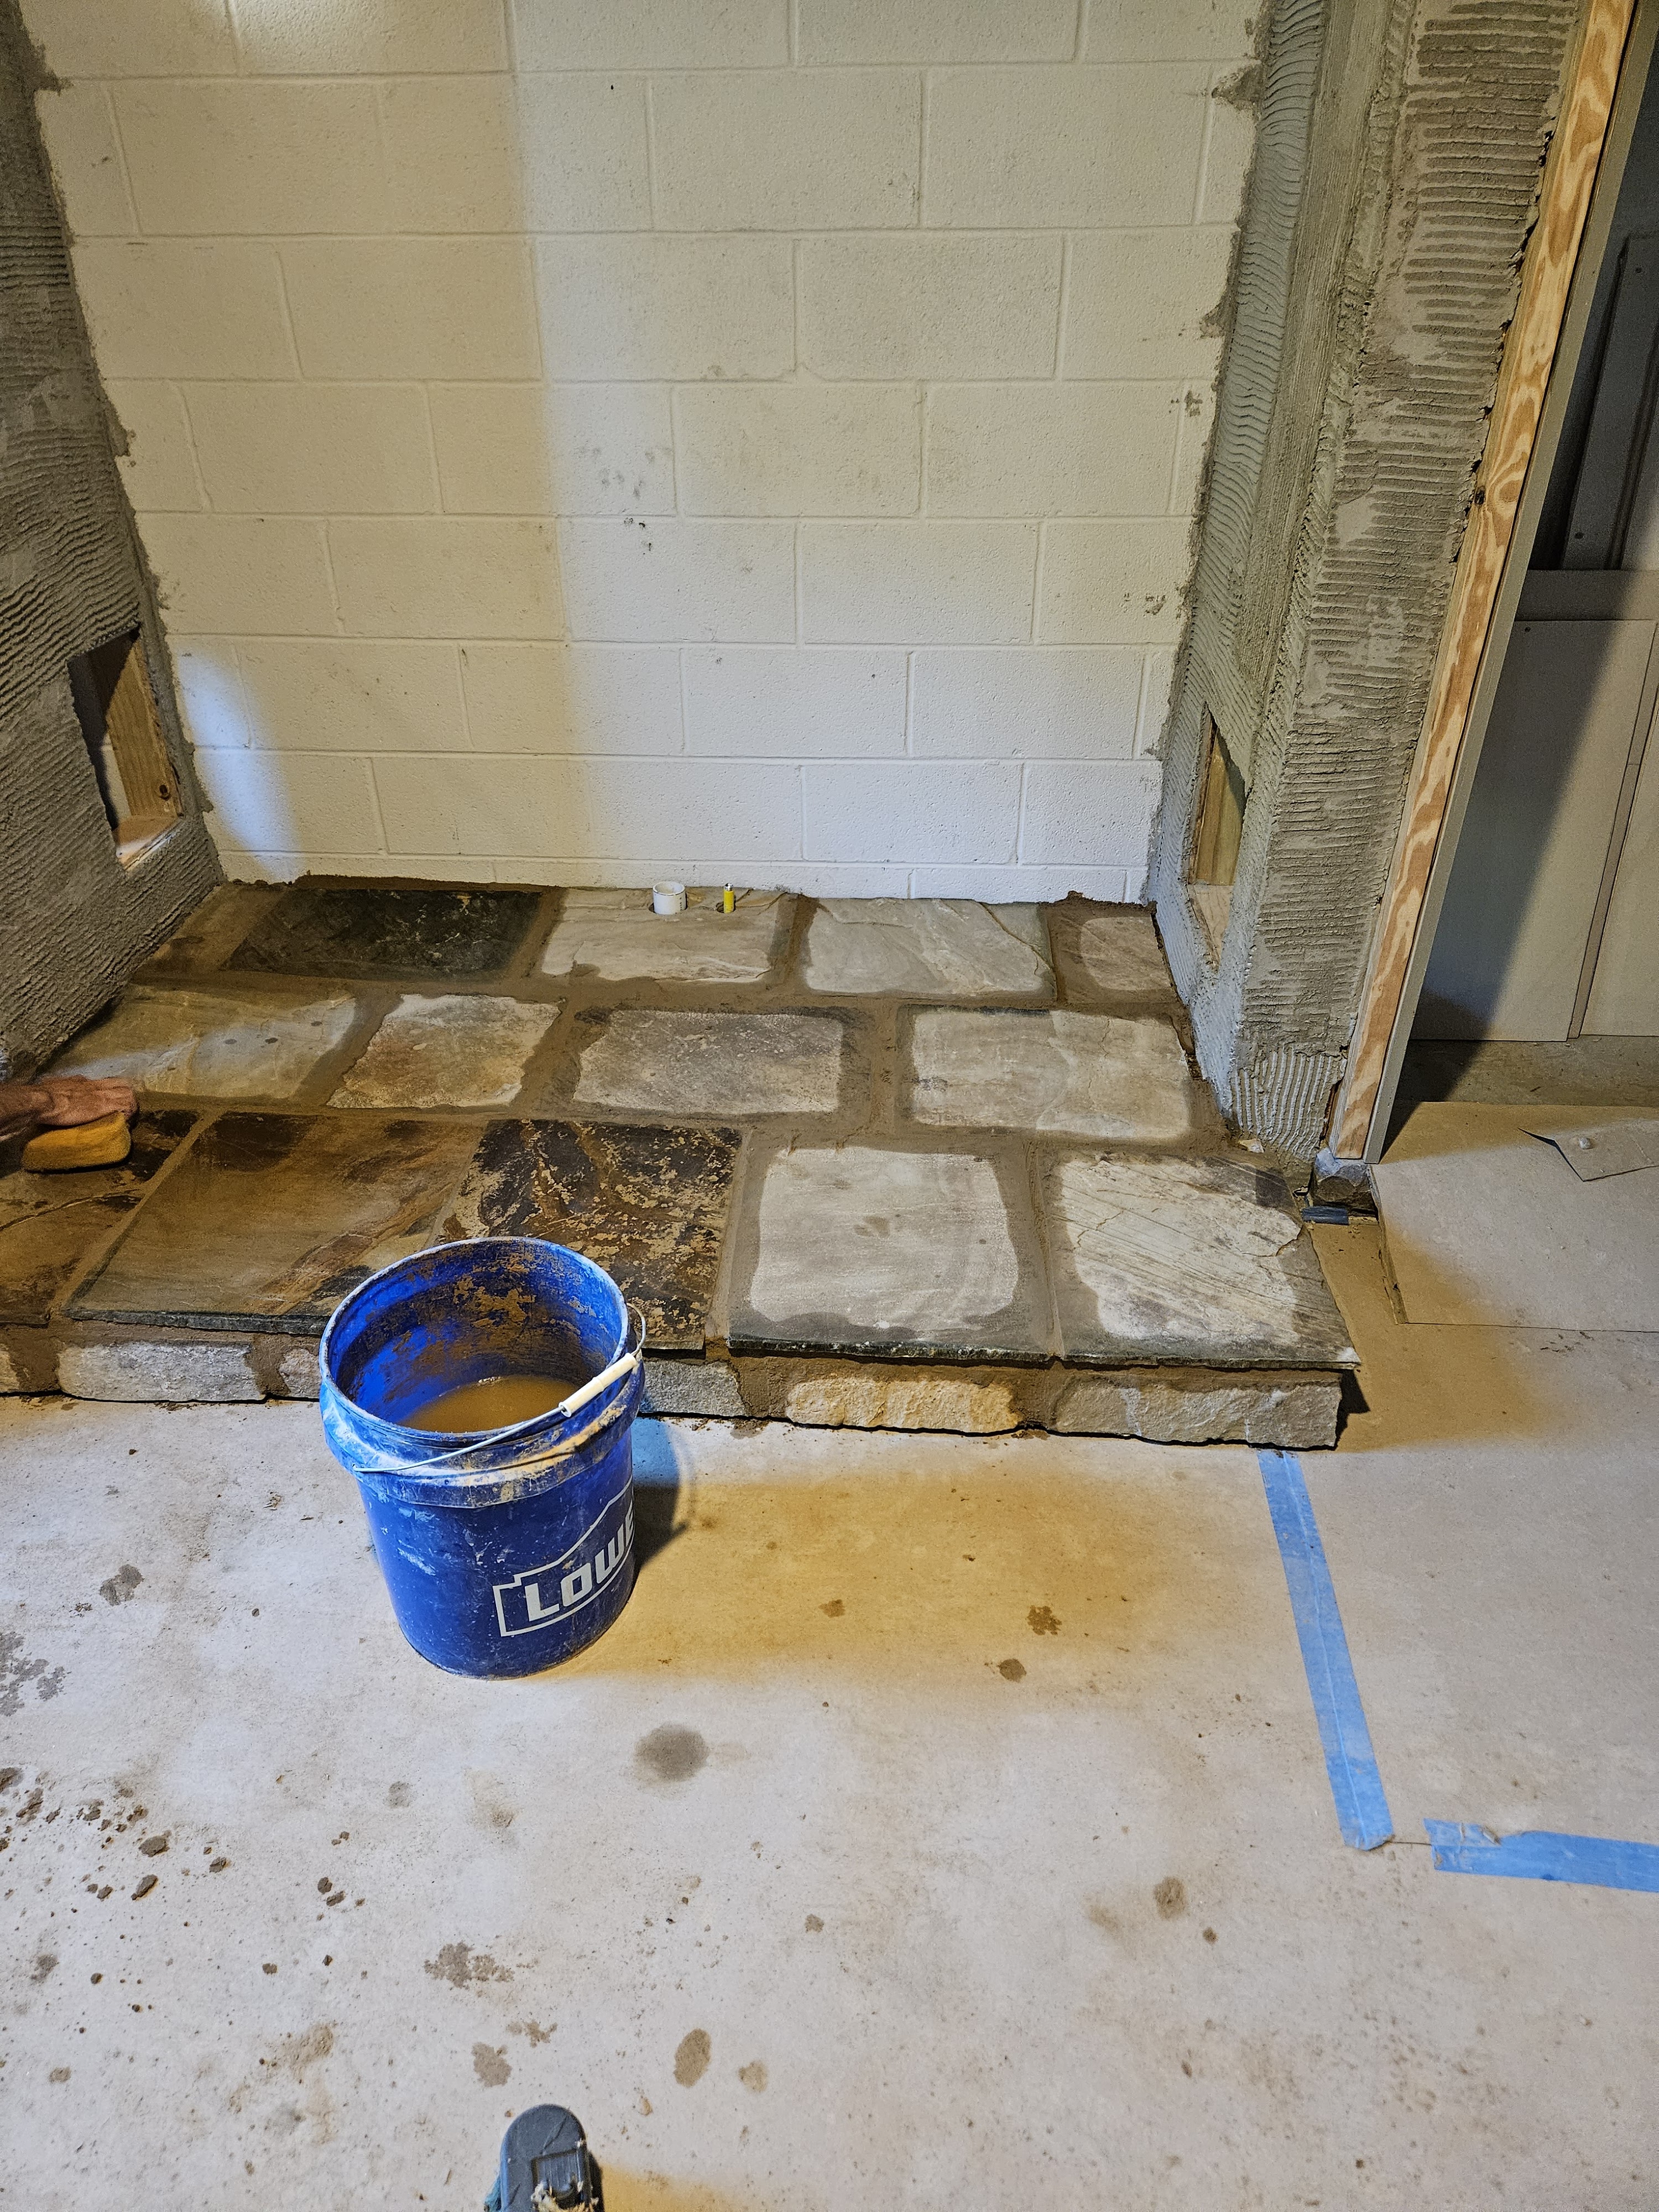
And here it is the next morning:

The grout wasn’t completely dry so the finished color will be a little lighter than it is in these pictures. We mixed up two gallons of the tinted water that we’ll use for the walls so that it all matches.
Our next steps are:
- Put up some boards where the flange for the wood stove pipe goes through the wall so that it will be inset into the stone instead of sitting on top of the stone–safer and definitely will look better.
- Figure out where the fireplace tools will go and put in some extra long screws and put straws over them so that we can put the holder up later and screw into the plywood.
- Then we’ll start putting stone on the closets. We’ll begin the process with the exterior corners that we bought pre cut from the stone yard. This will give the appearance that the wall is made up of full stones rather than a veneer.
- Once those are up, we’ll start with the rest of the stone veneer on the rest of the closets and back wall–we’ll need to put down ram board over the platform to keep it clean and free from random bits of mortar.
We hope to get a LOT done over the weekends that bookend the holiday. The floor went better/faster than expected so we have a little momentum going into the larger piece of this project.
Wish us luck!

Looks good. Hope you weren’t too sore from all that lifting.
LikeLiked by 1 person