
My husband finished the masonry work around the wood stove and was able to get the stove back in place with the help of our son. He really did a beautiful job.
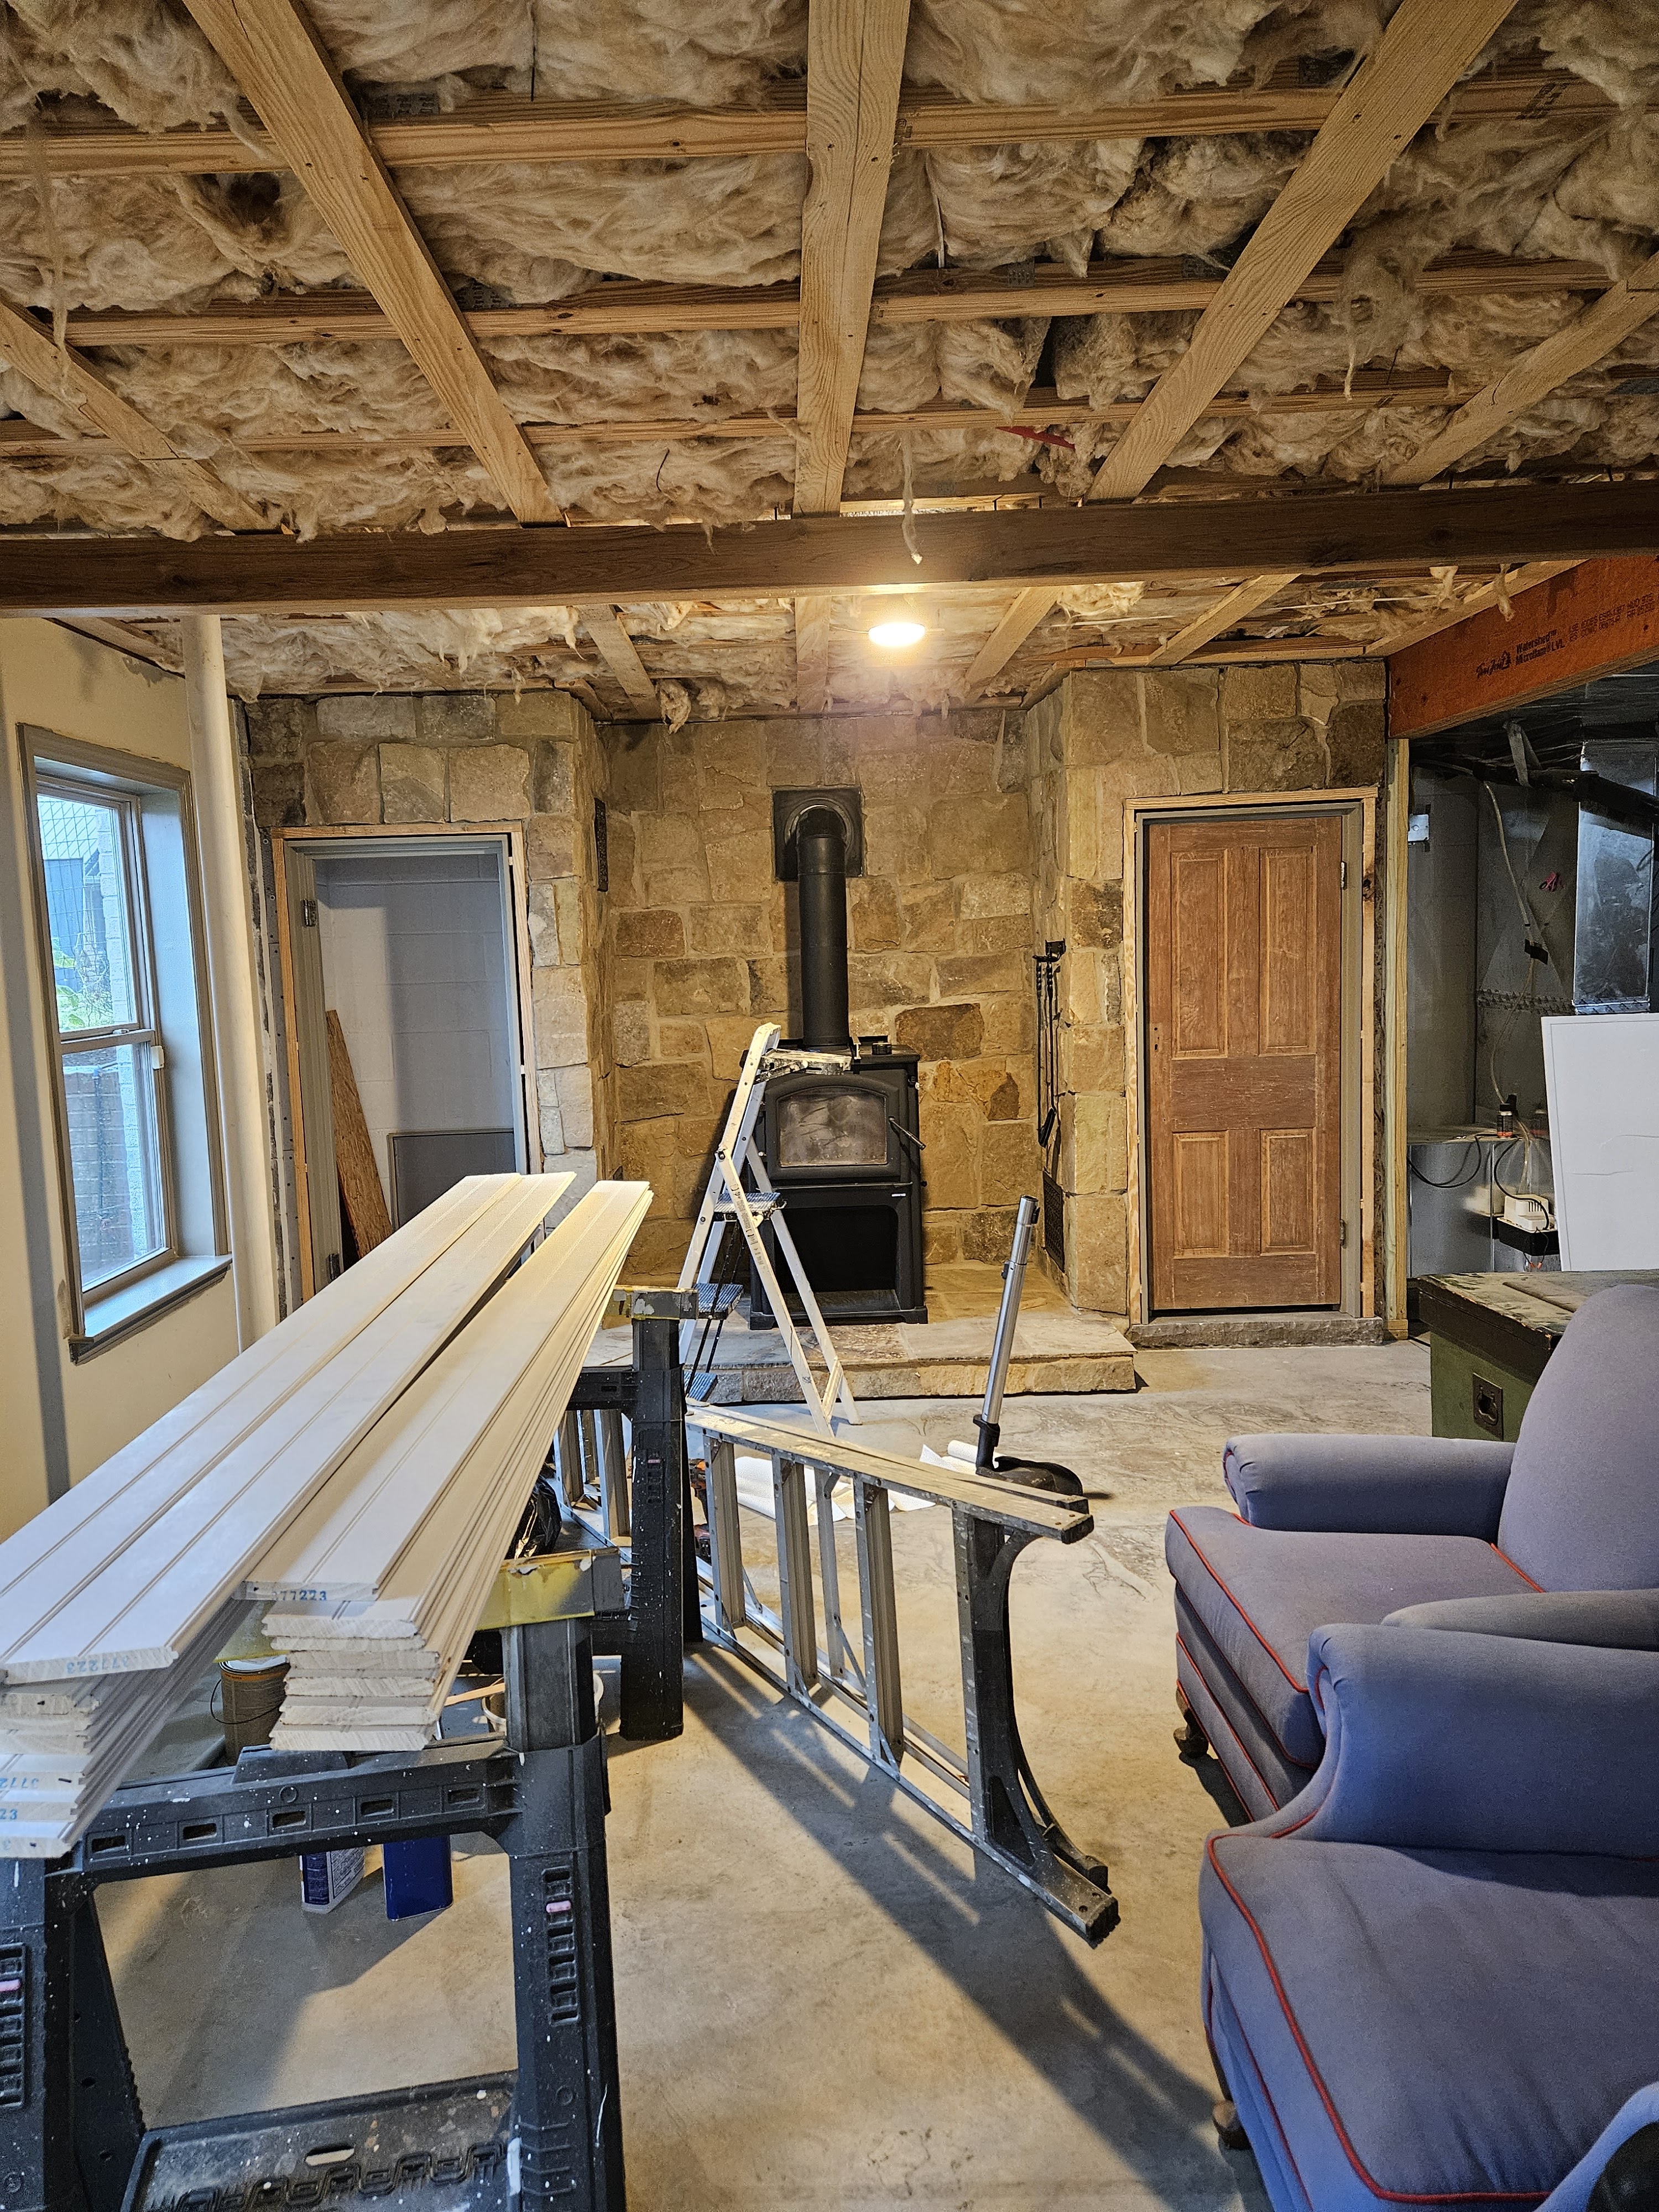
We still have to sand and finish the doors and put the hardware on them. Then my husband is going to make some molding for them.
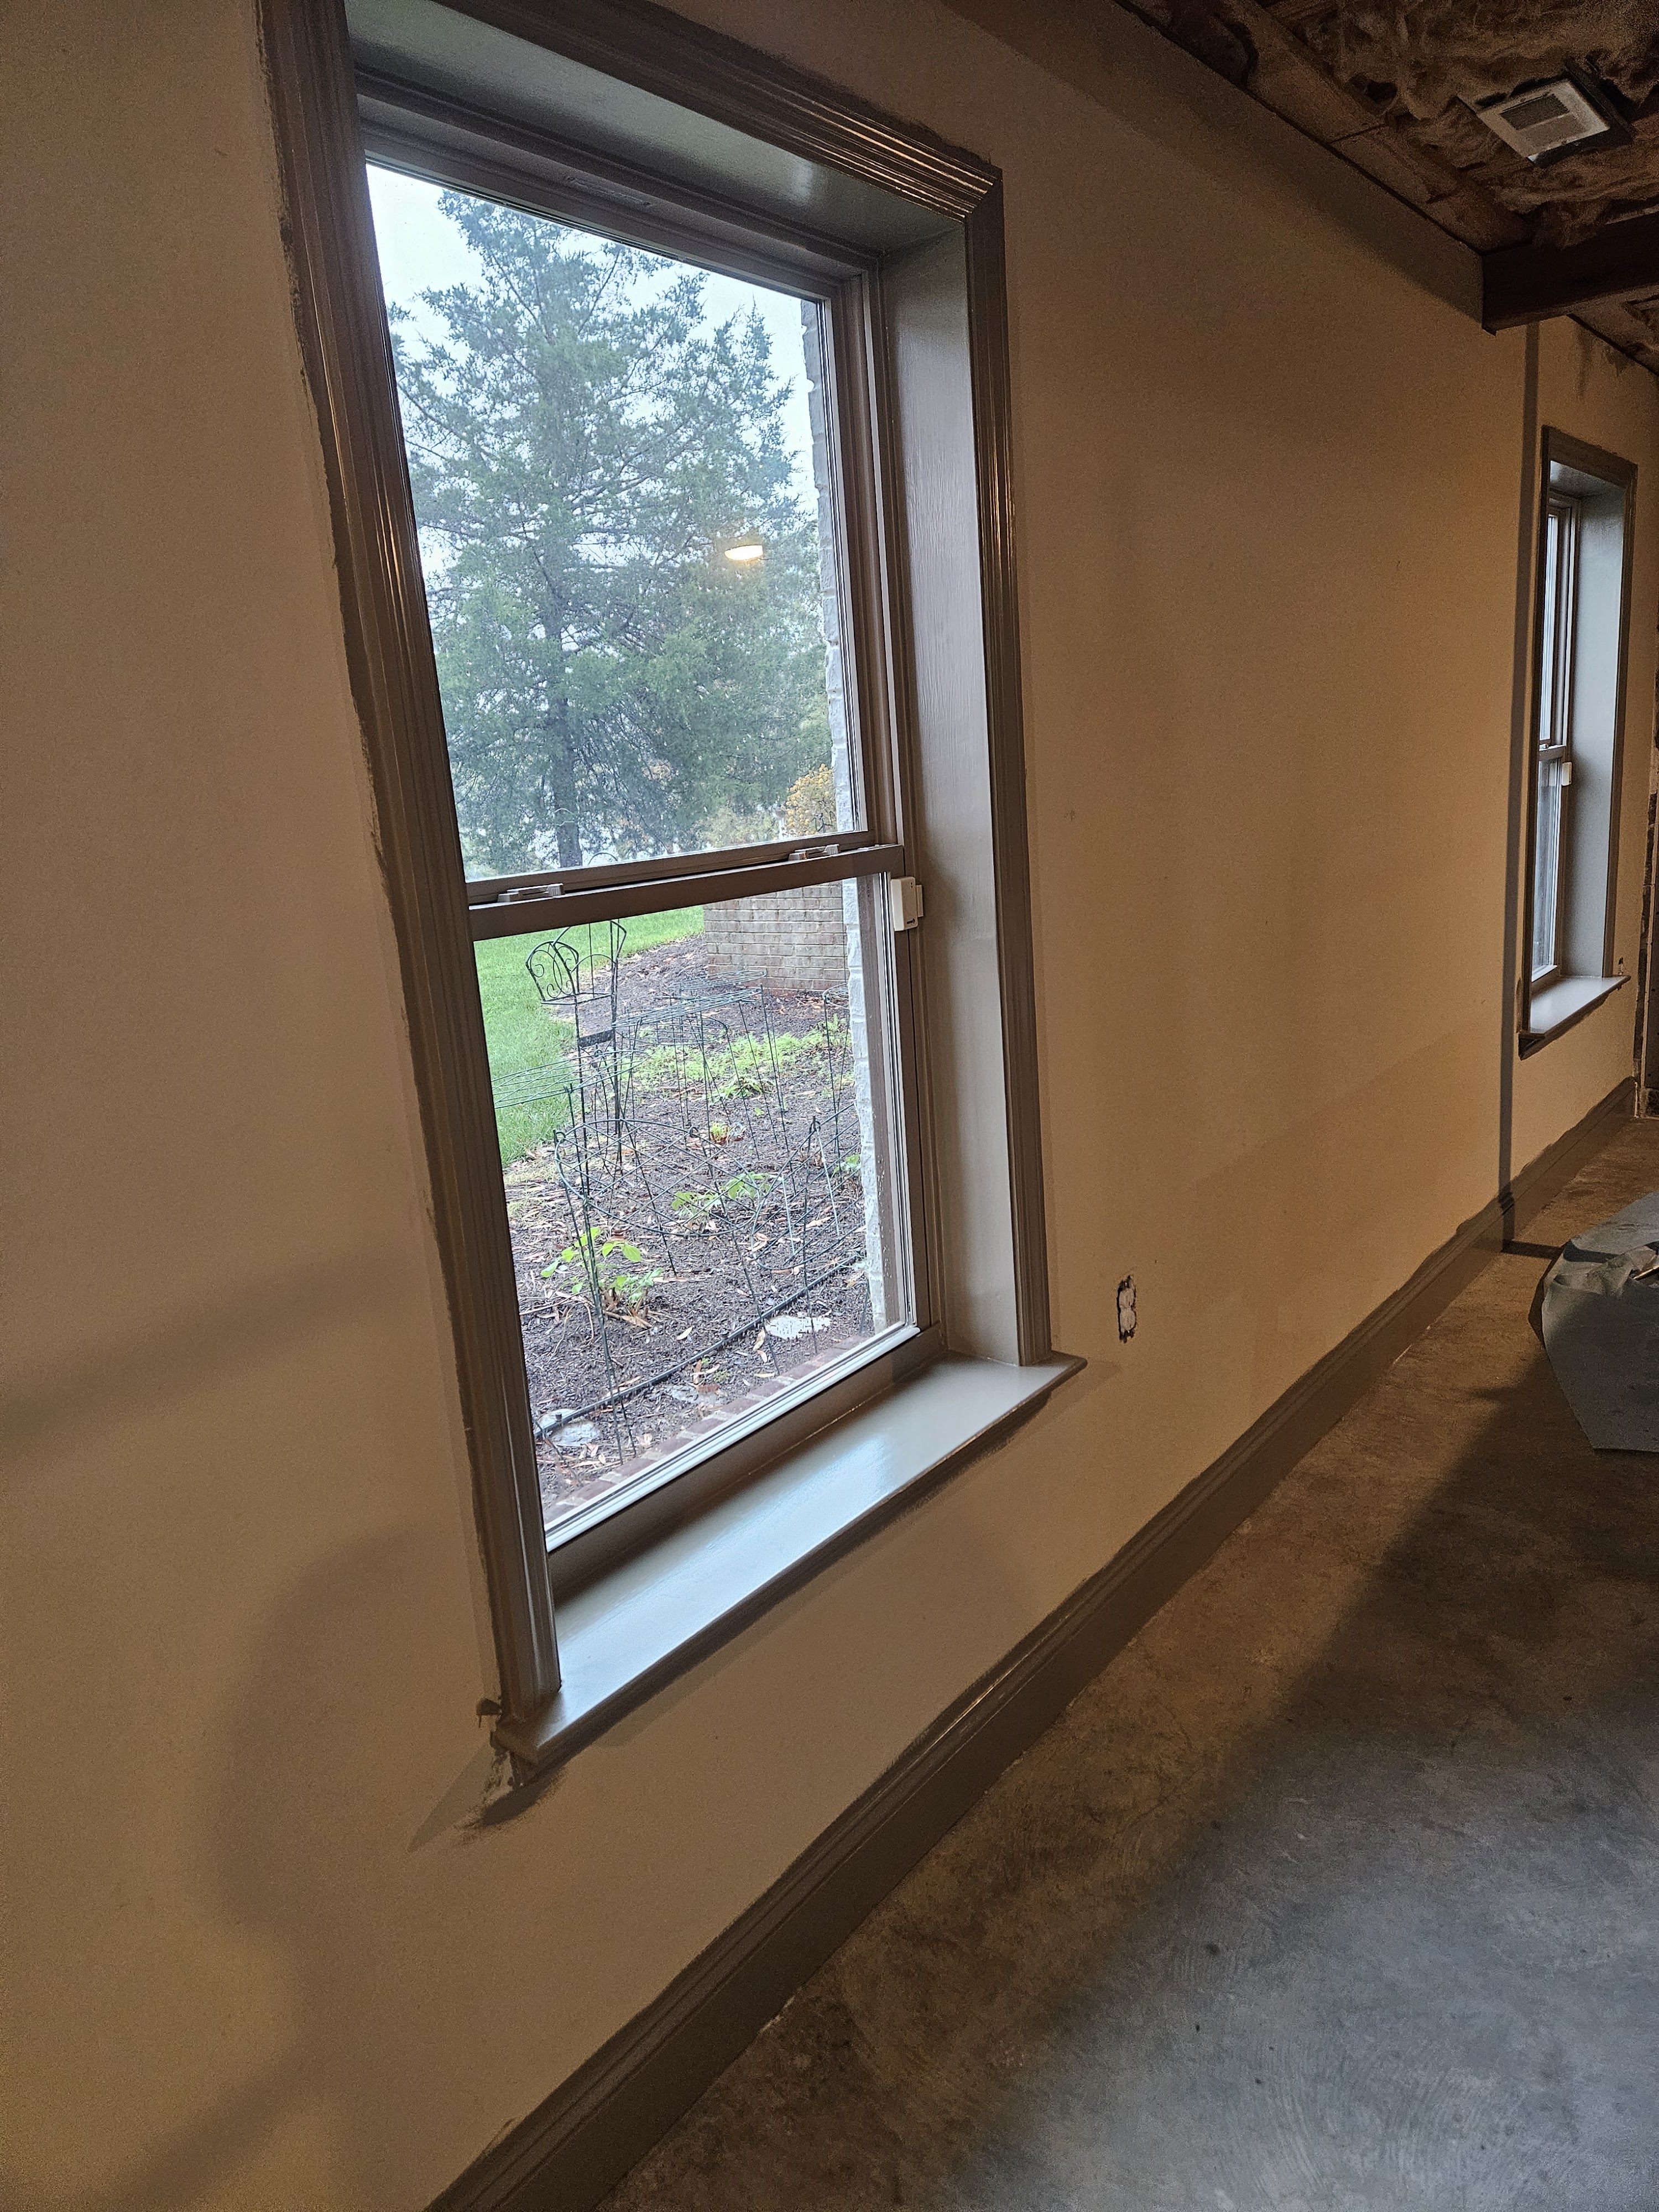
I would like to be able to use this space over the holiday, so we are working on getting it more finished looking. I bought more trim paint and we picked a wall color and I finished painting the window trim and the baseboard. Then I painted the wall. The colors look great with the stone work.
Eventually we are going to build a mini wall to enclose the drain pipe that they put in the middle of the floor and we’ll build a matching one further down the wall and the television and some cabinets will go between them.
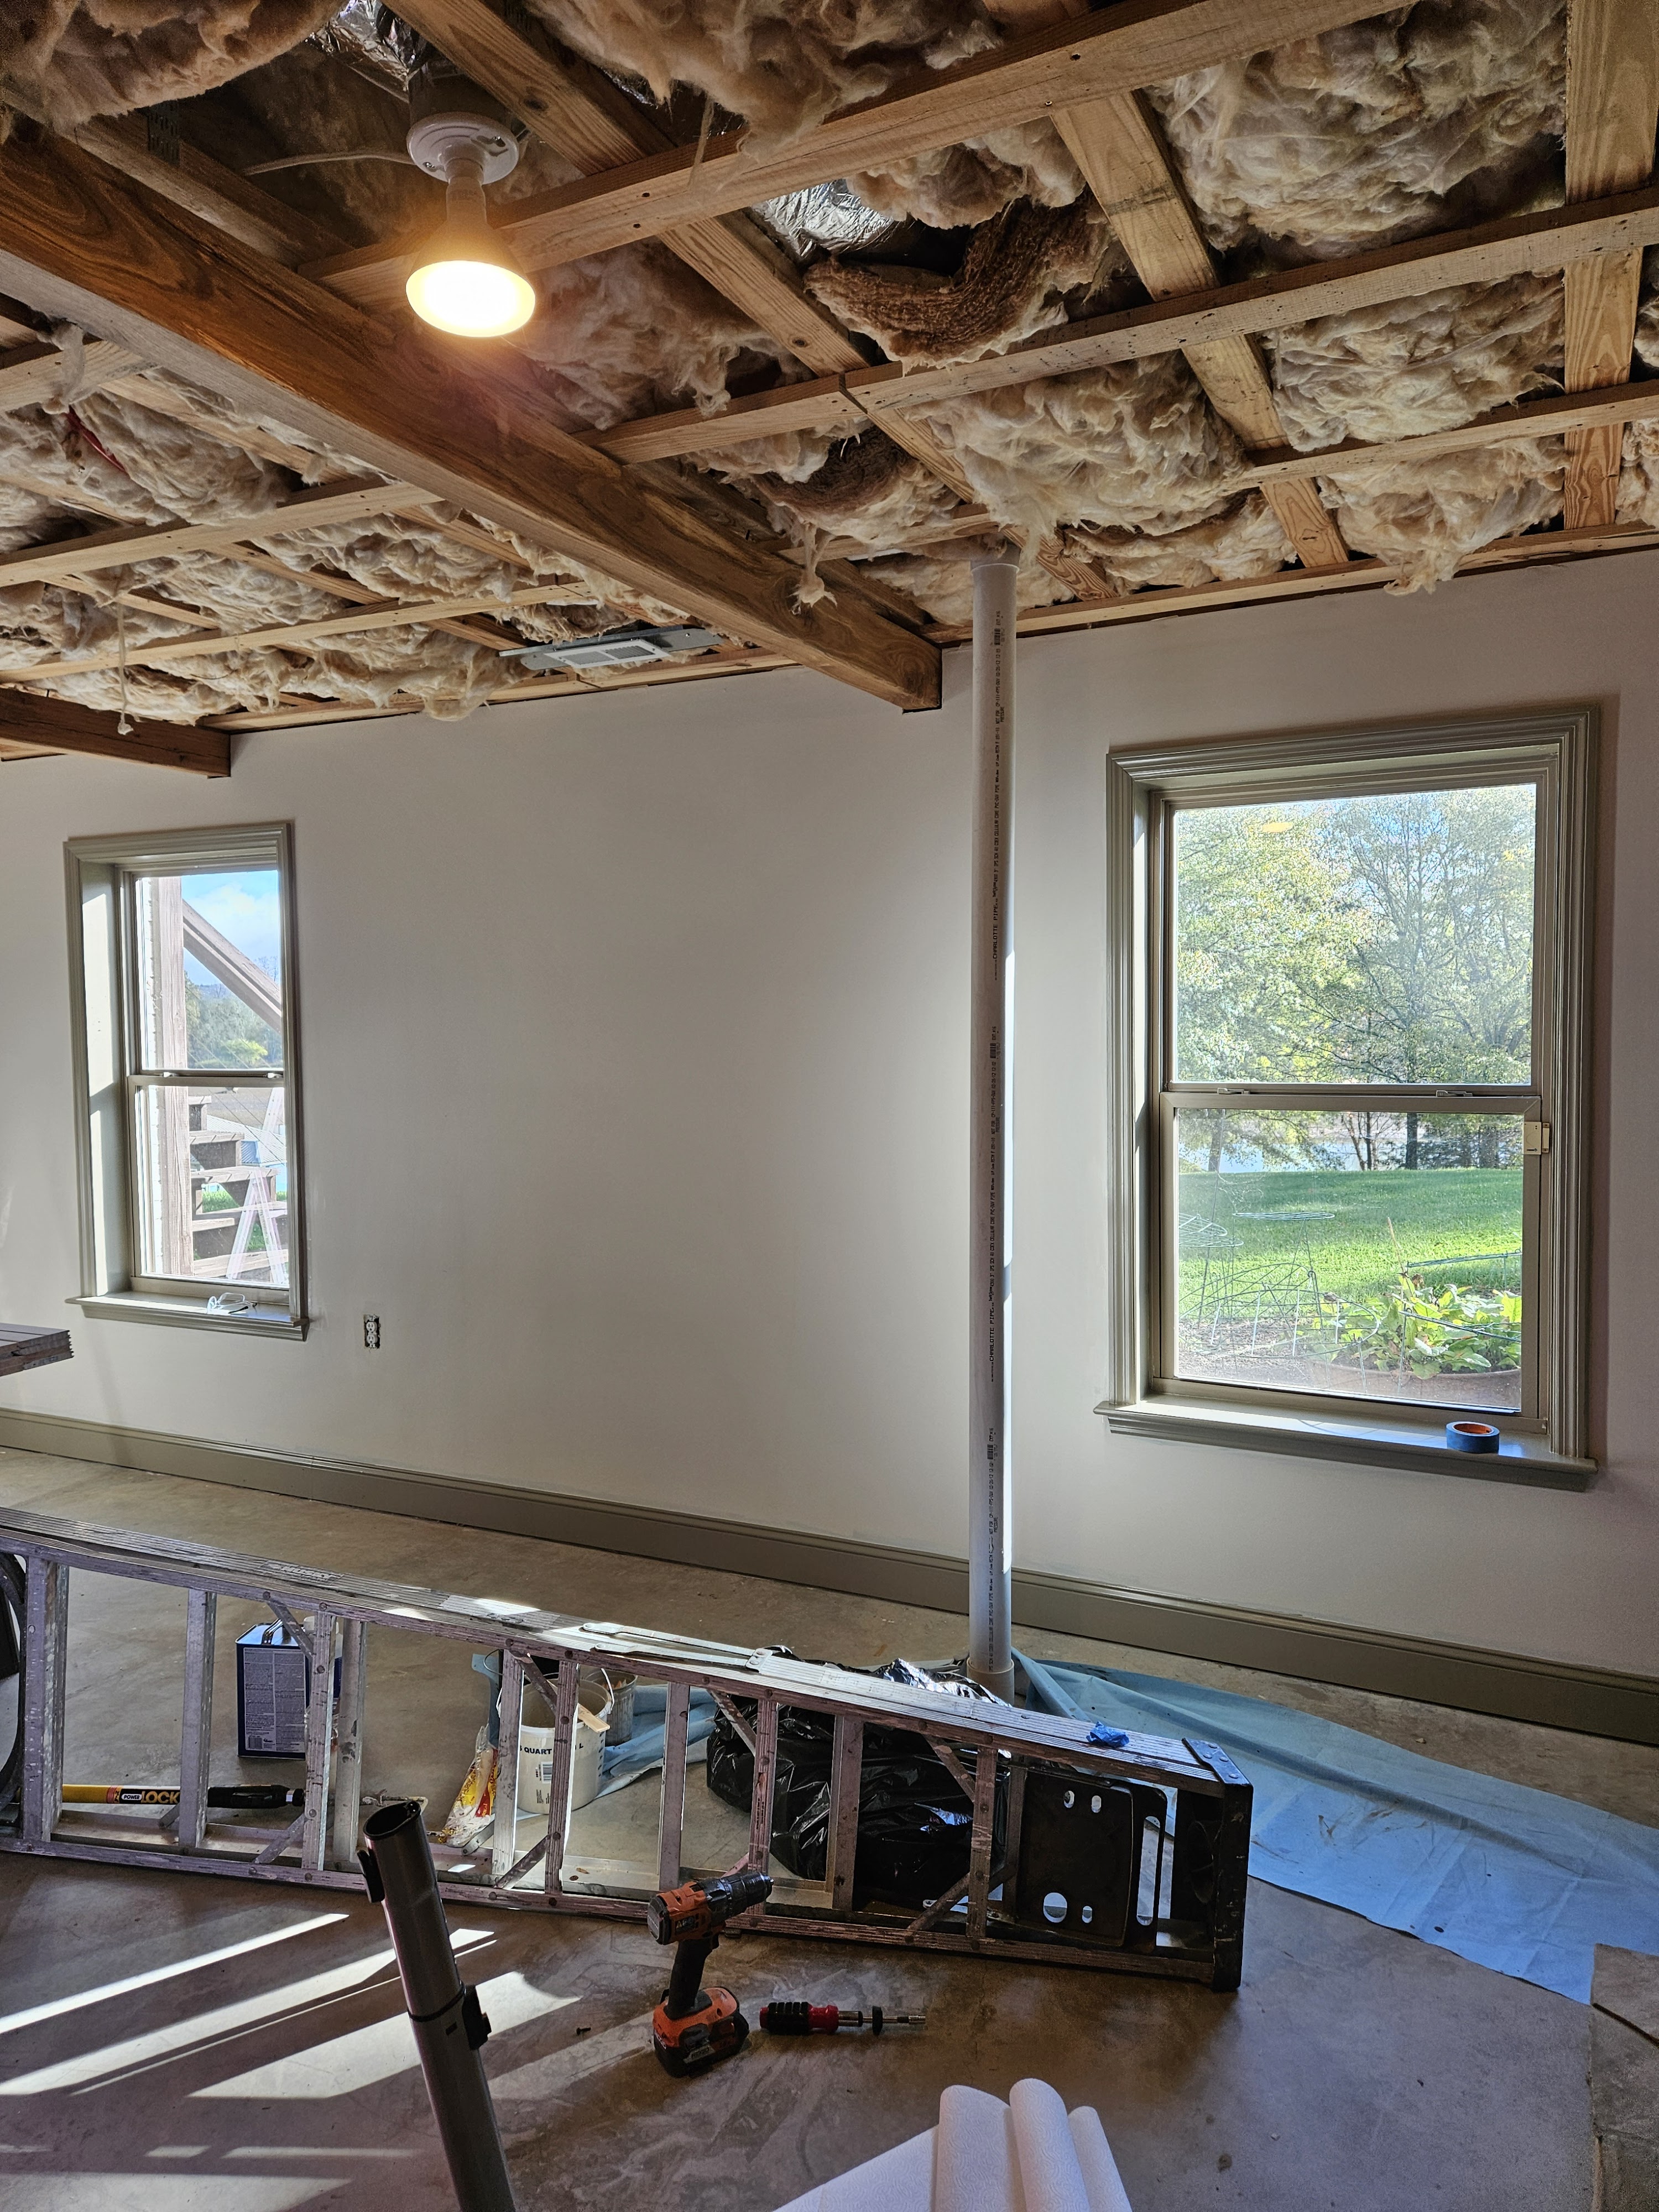
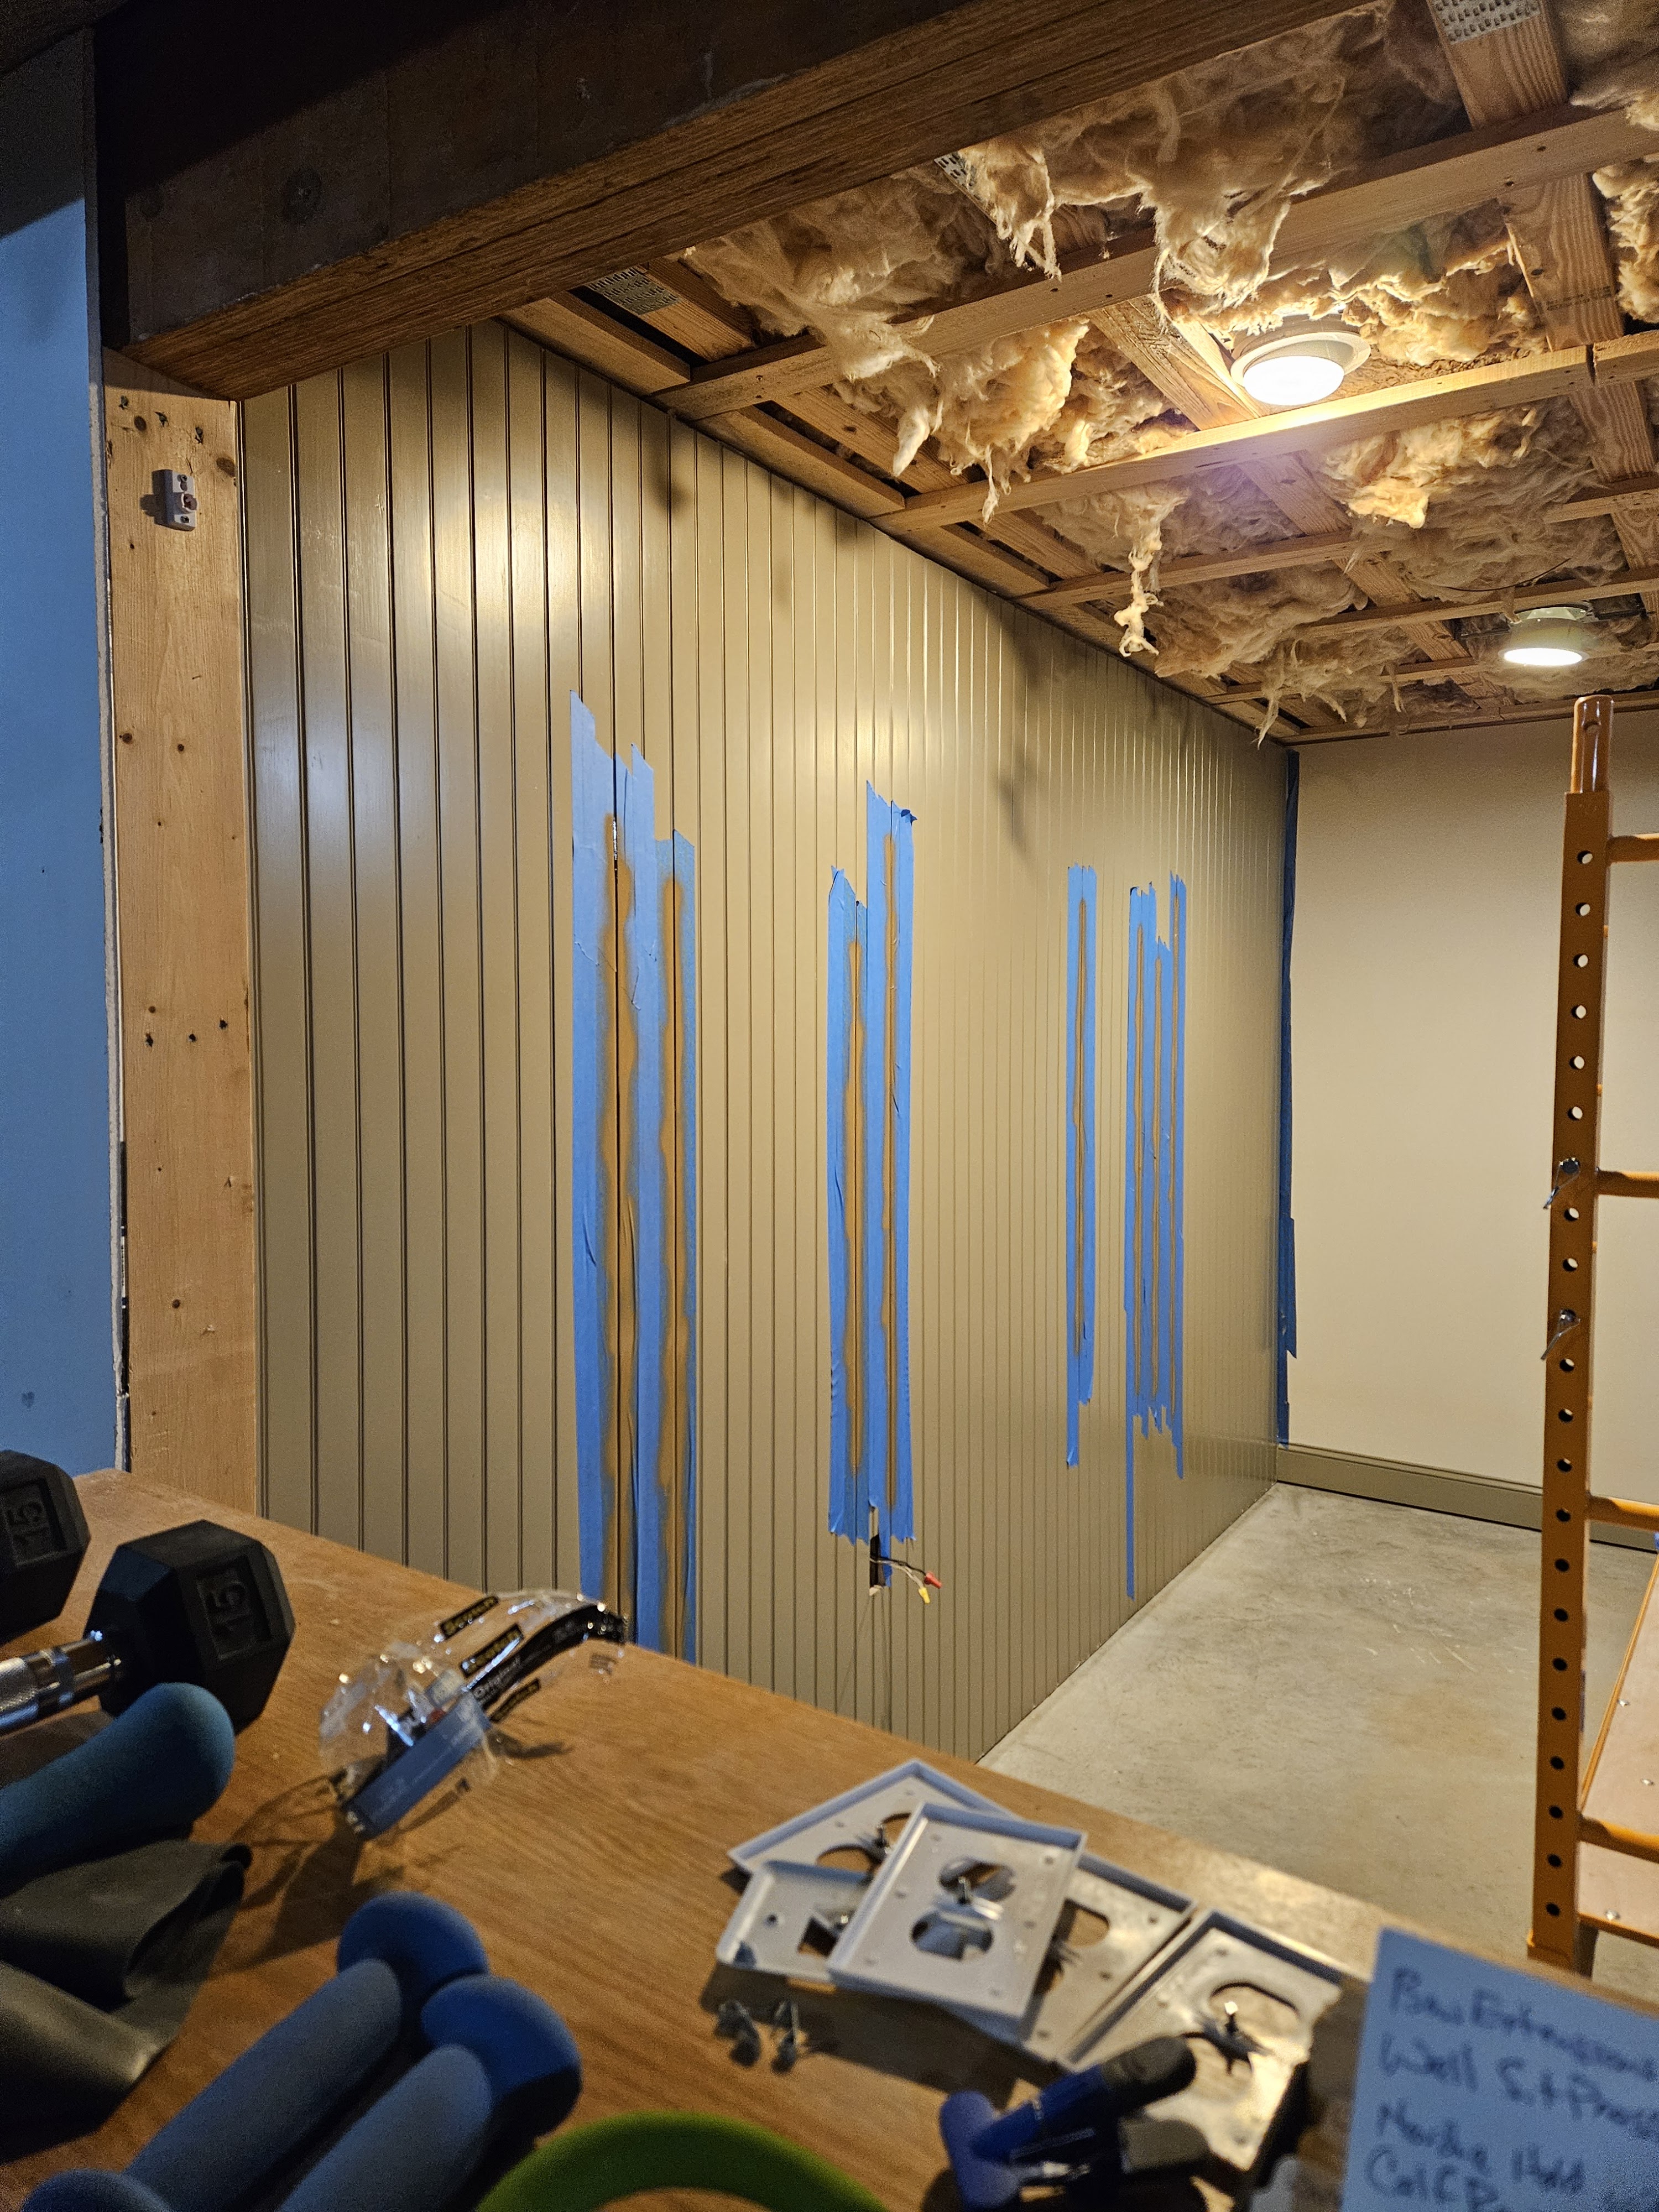
Next up, we needed to deal with the faux brick wall at the other end of the room. Eventually, there will be a door to the outside just to the right of this wall (roughly where the air compressor is sitting).

I saved the photo below as an inspiration for what I wanted to do on this wall.
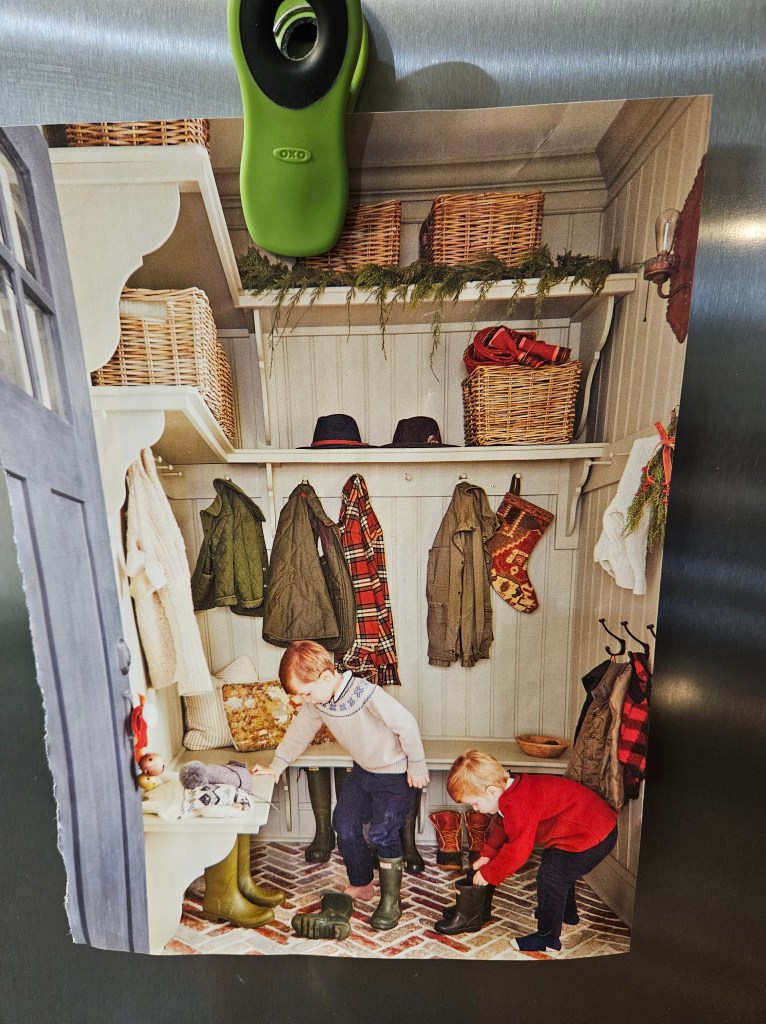
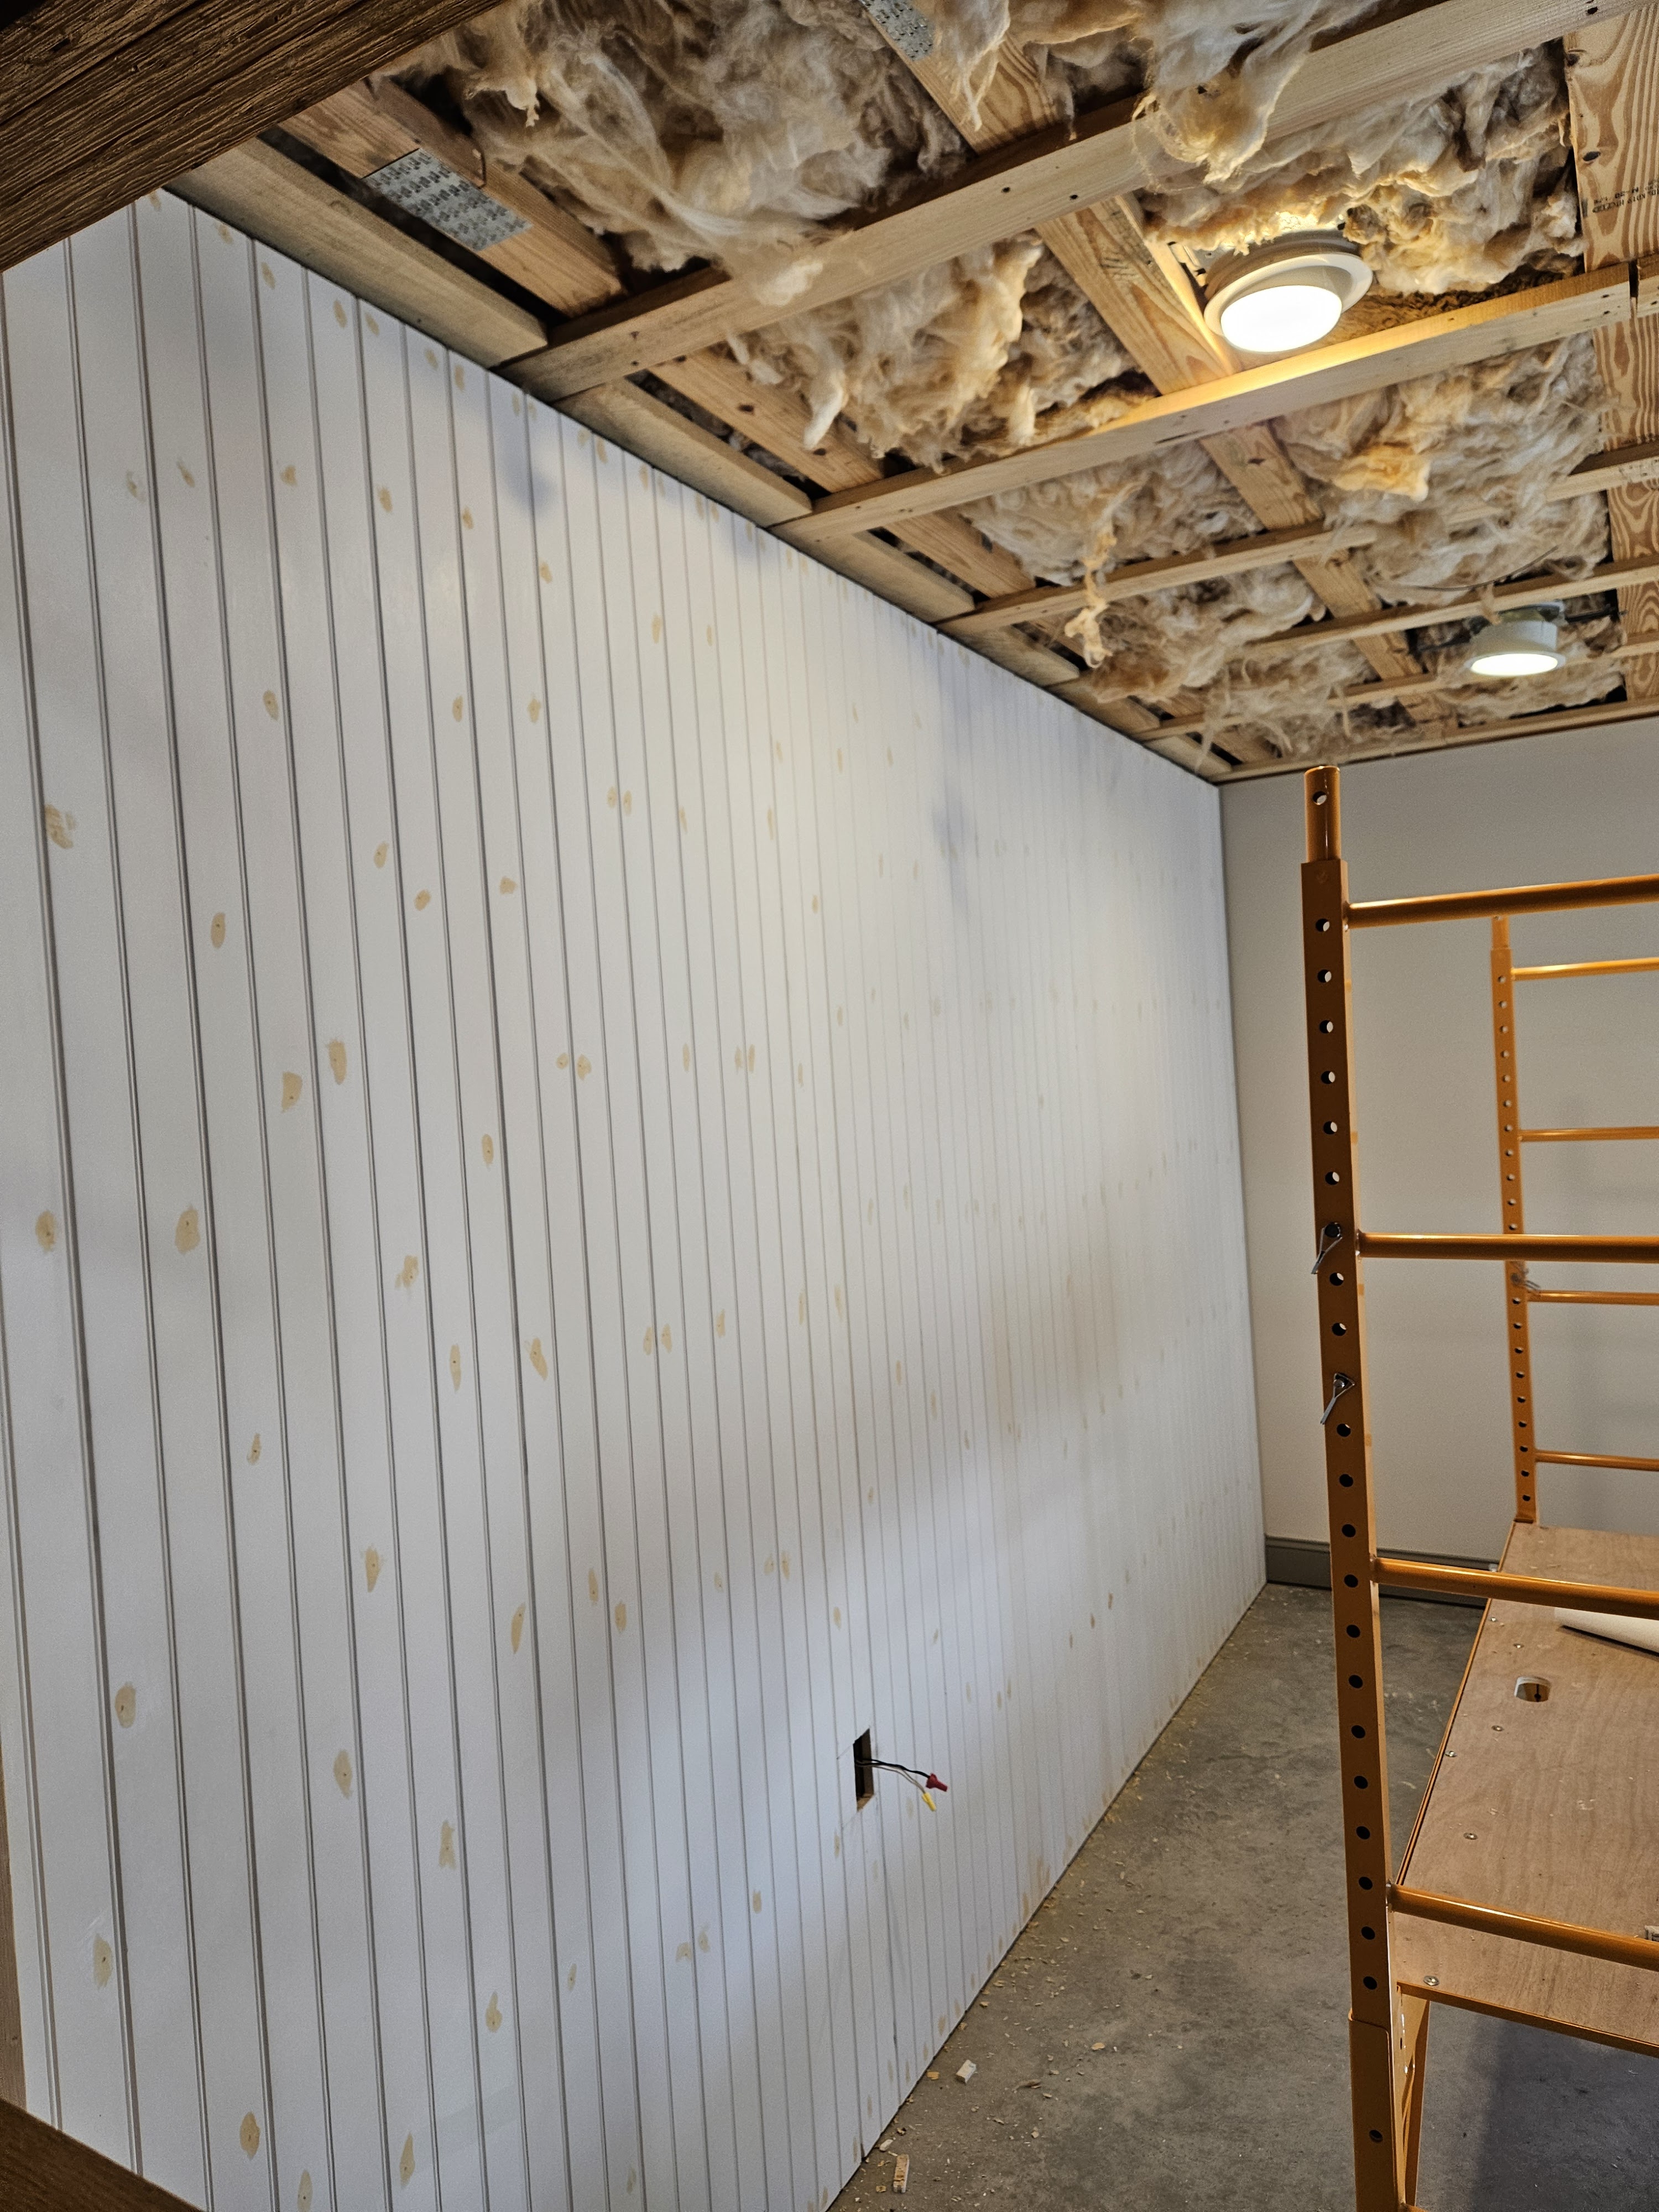
So, I found a beadboard plank product at Lowe’s and we bought enough to cover this entire wall.
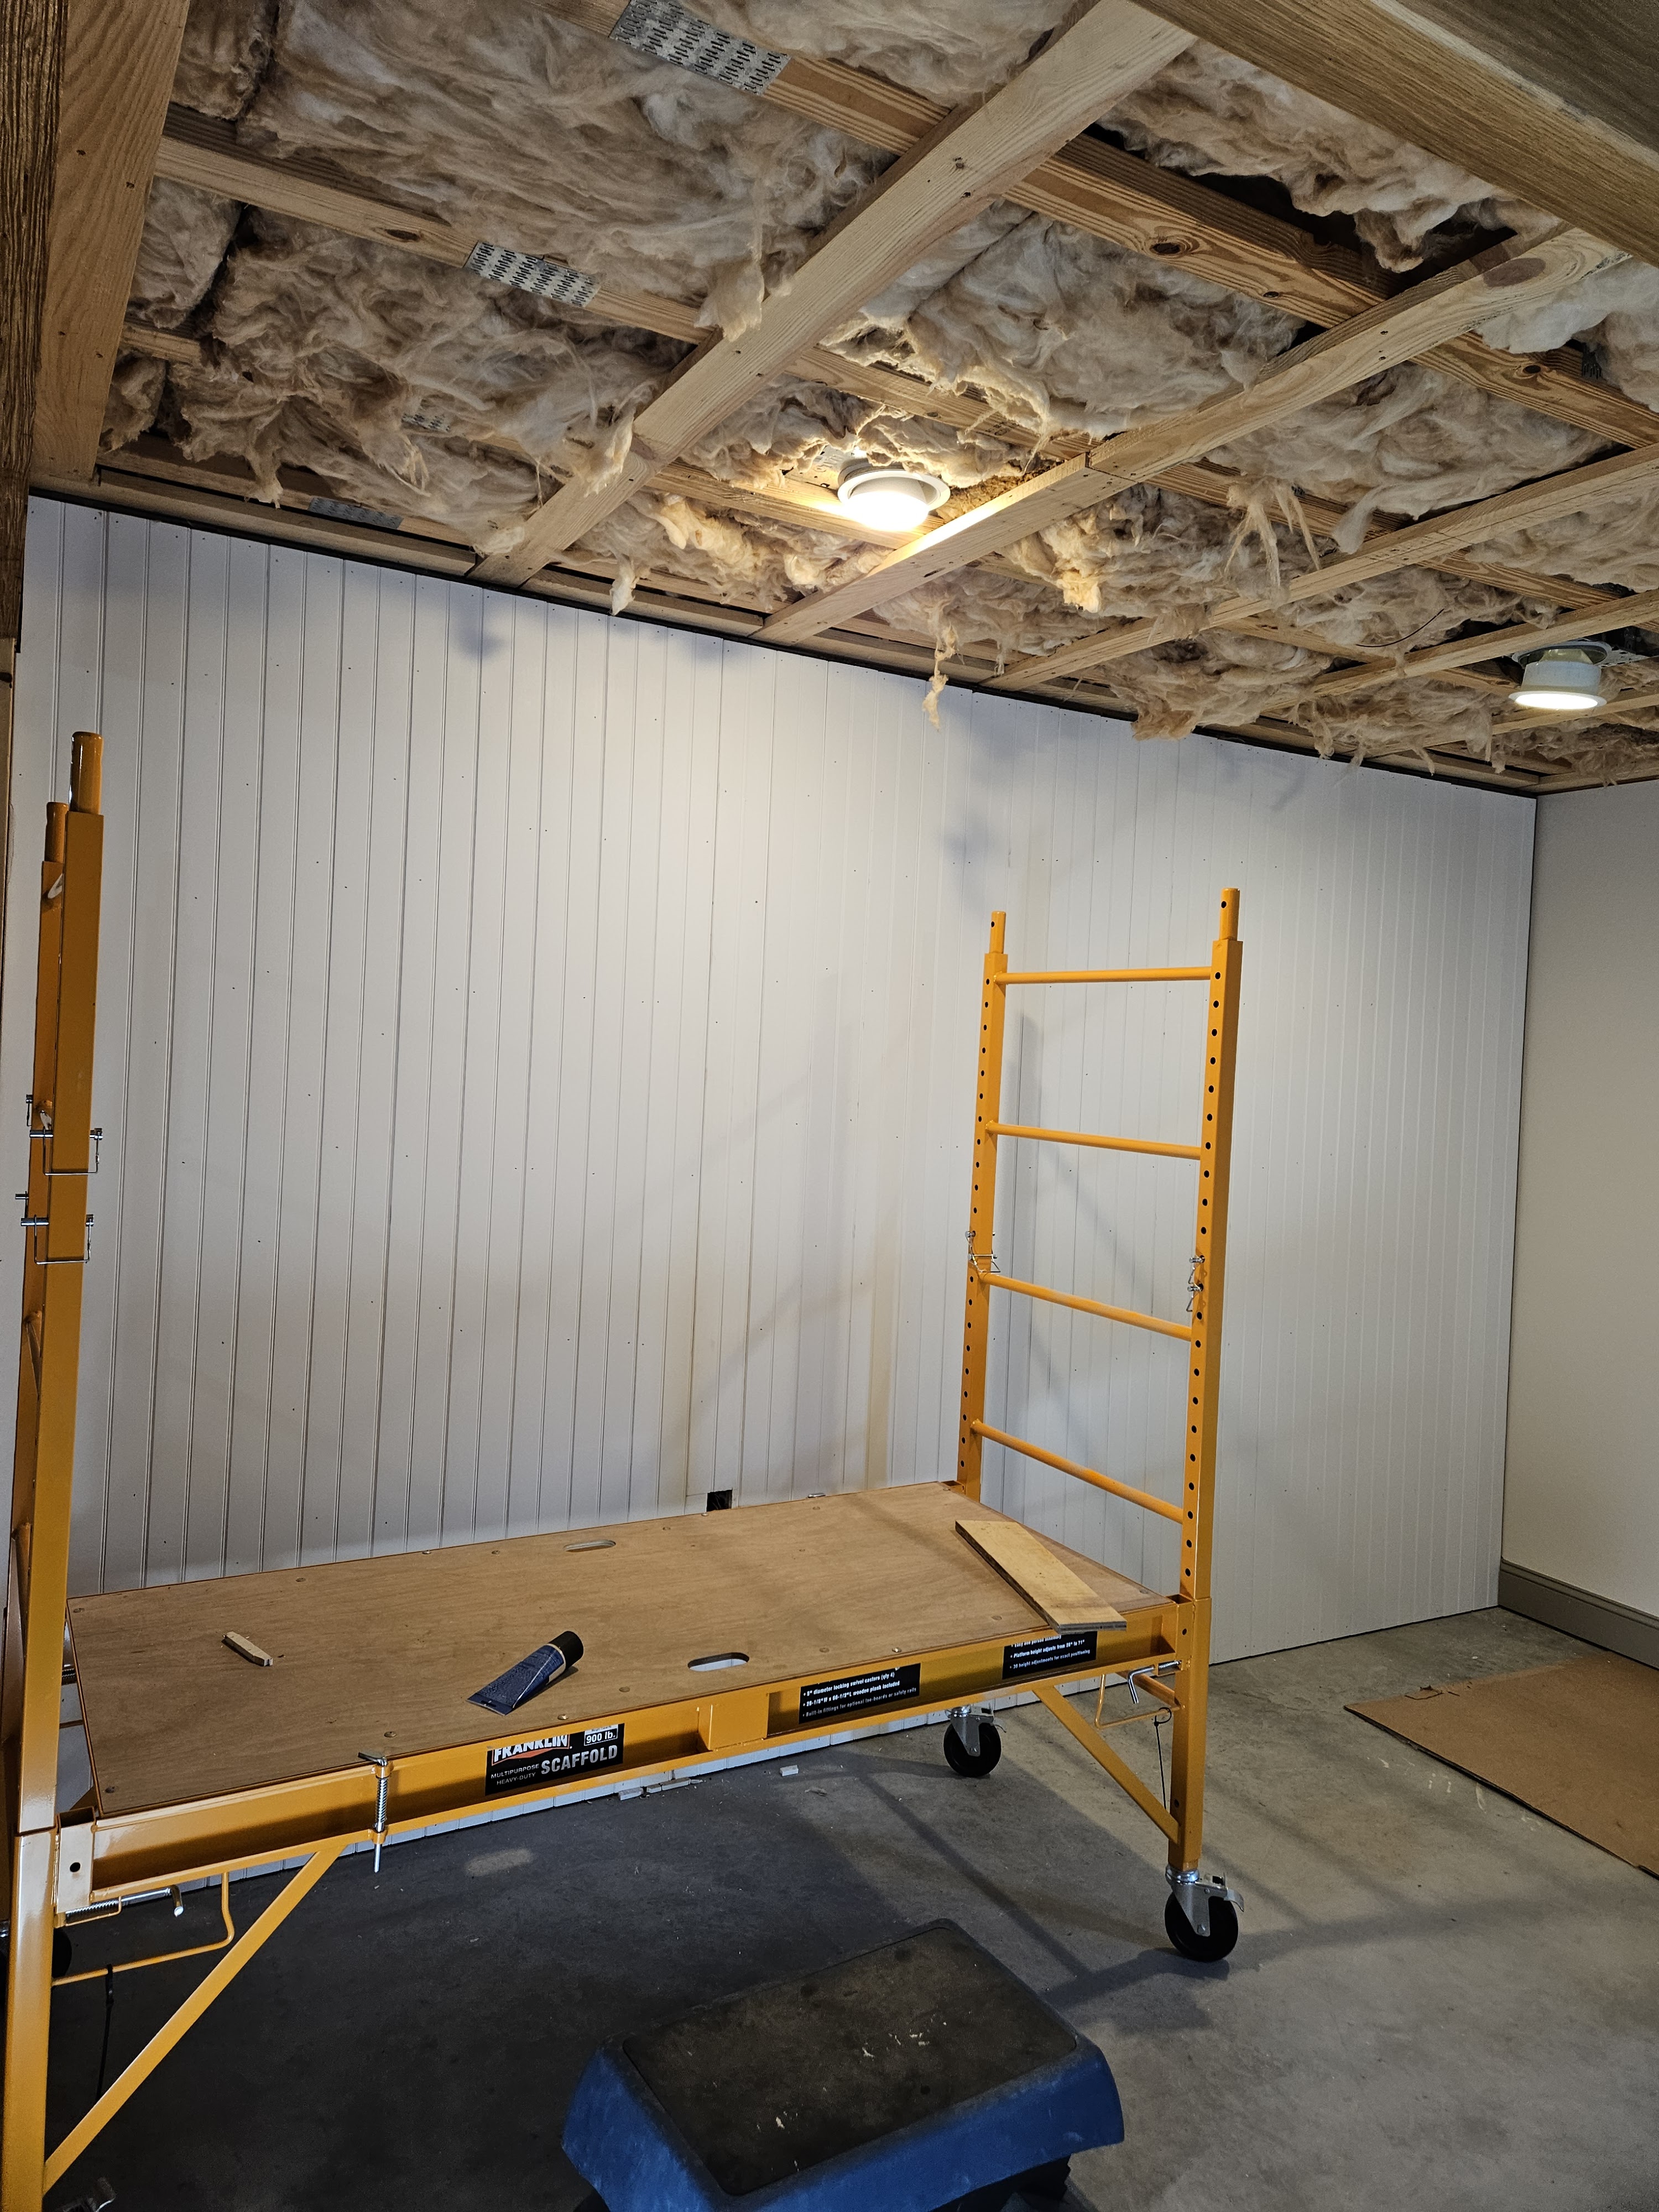
Then I put wood filler in all the holes. I put it in with my finger and then scraped off the excess with a wide putty knife after it dried for just a couple minutes. Having this rolling scaffold is an absolute game changer when working on a project like this.
Then, I came back and sanded the wood filler.
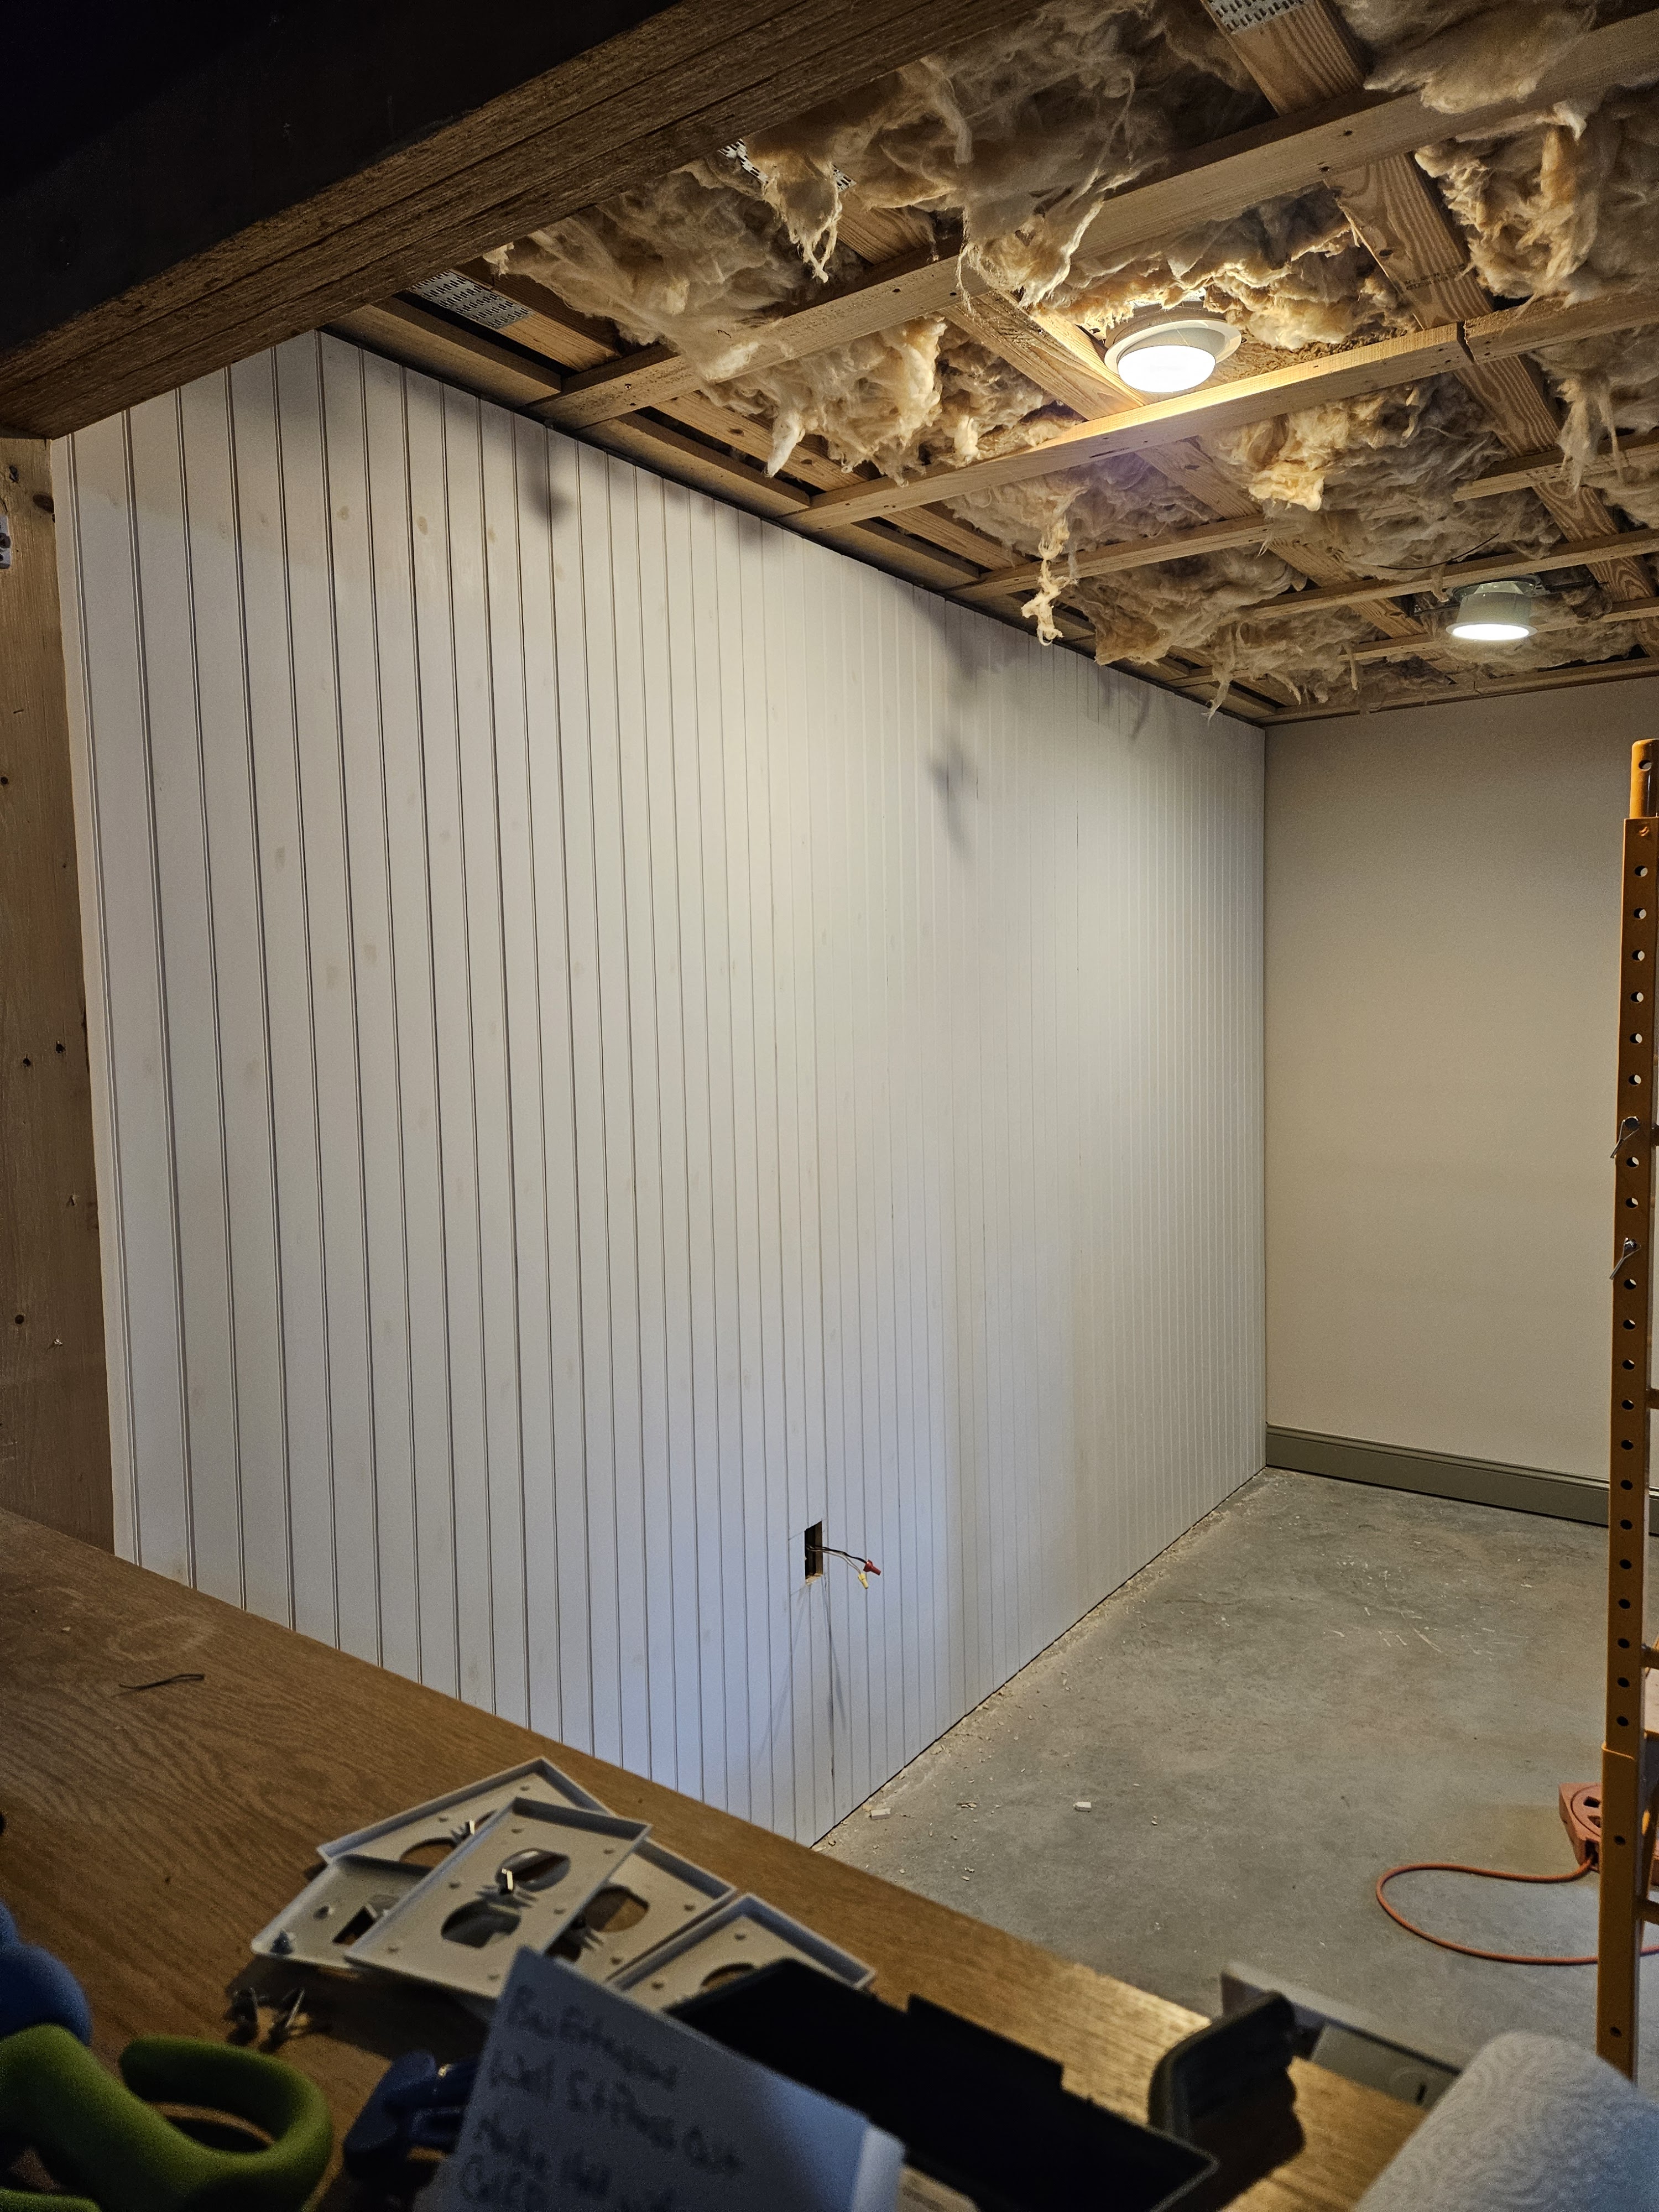
Then I vacuumed the dust off the floor and the wall and tack clothed the wall to get the final bit of dust.
This is a pre-primed product, so then it was time for the paint. A couple of things that I have learned about using oil paint on this project is to thin the paint and to strain the paint before using it. It helps make the paint go on so much more smoothly and no little bits of stuff are in it that you then have to try to pick off the wall.
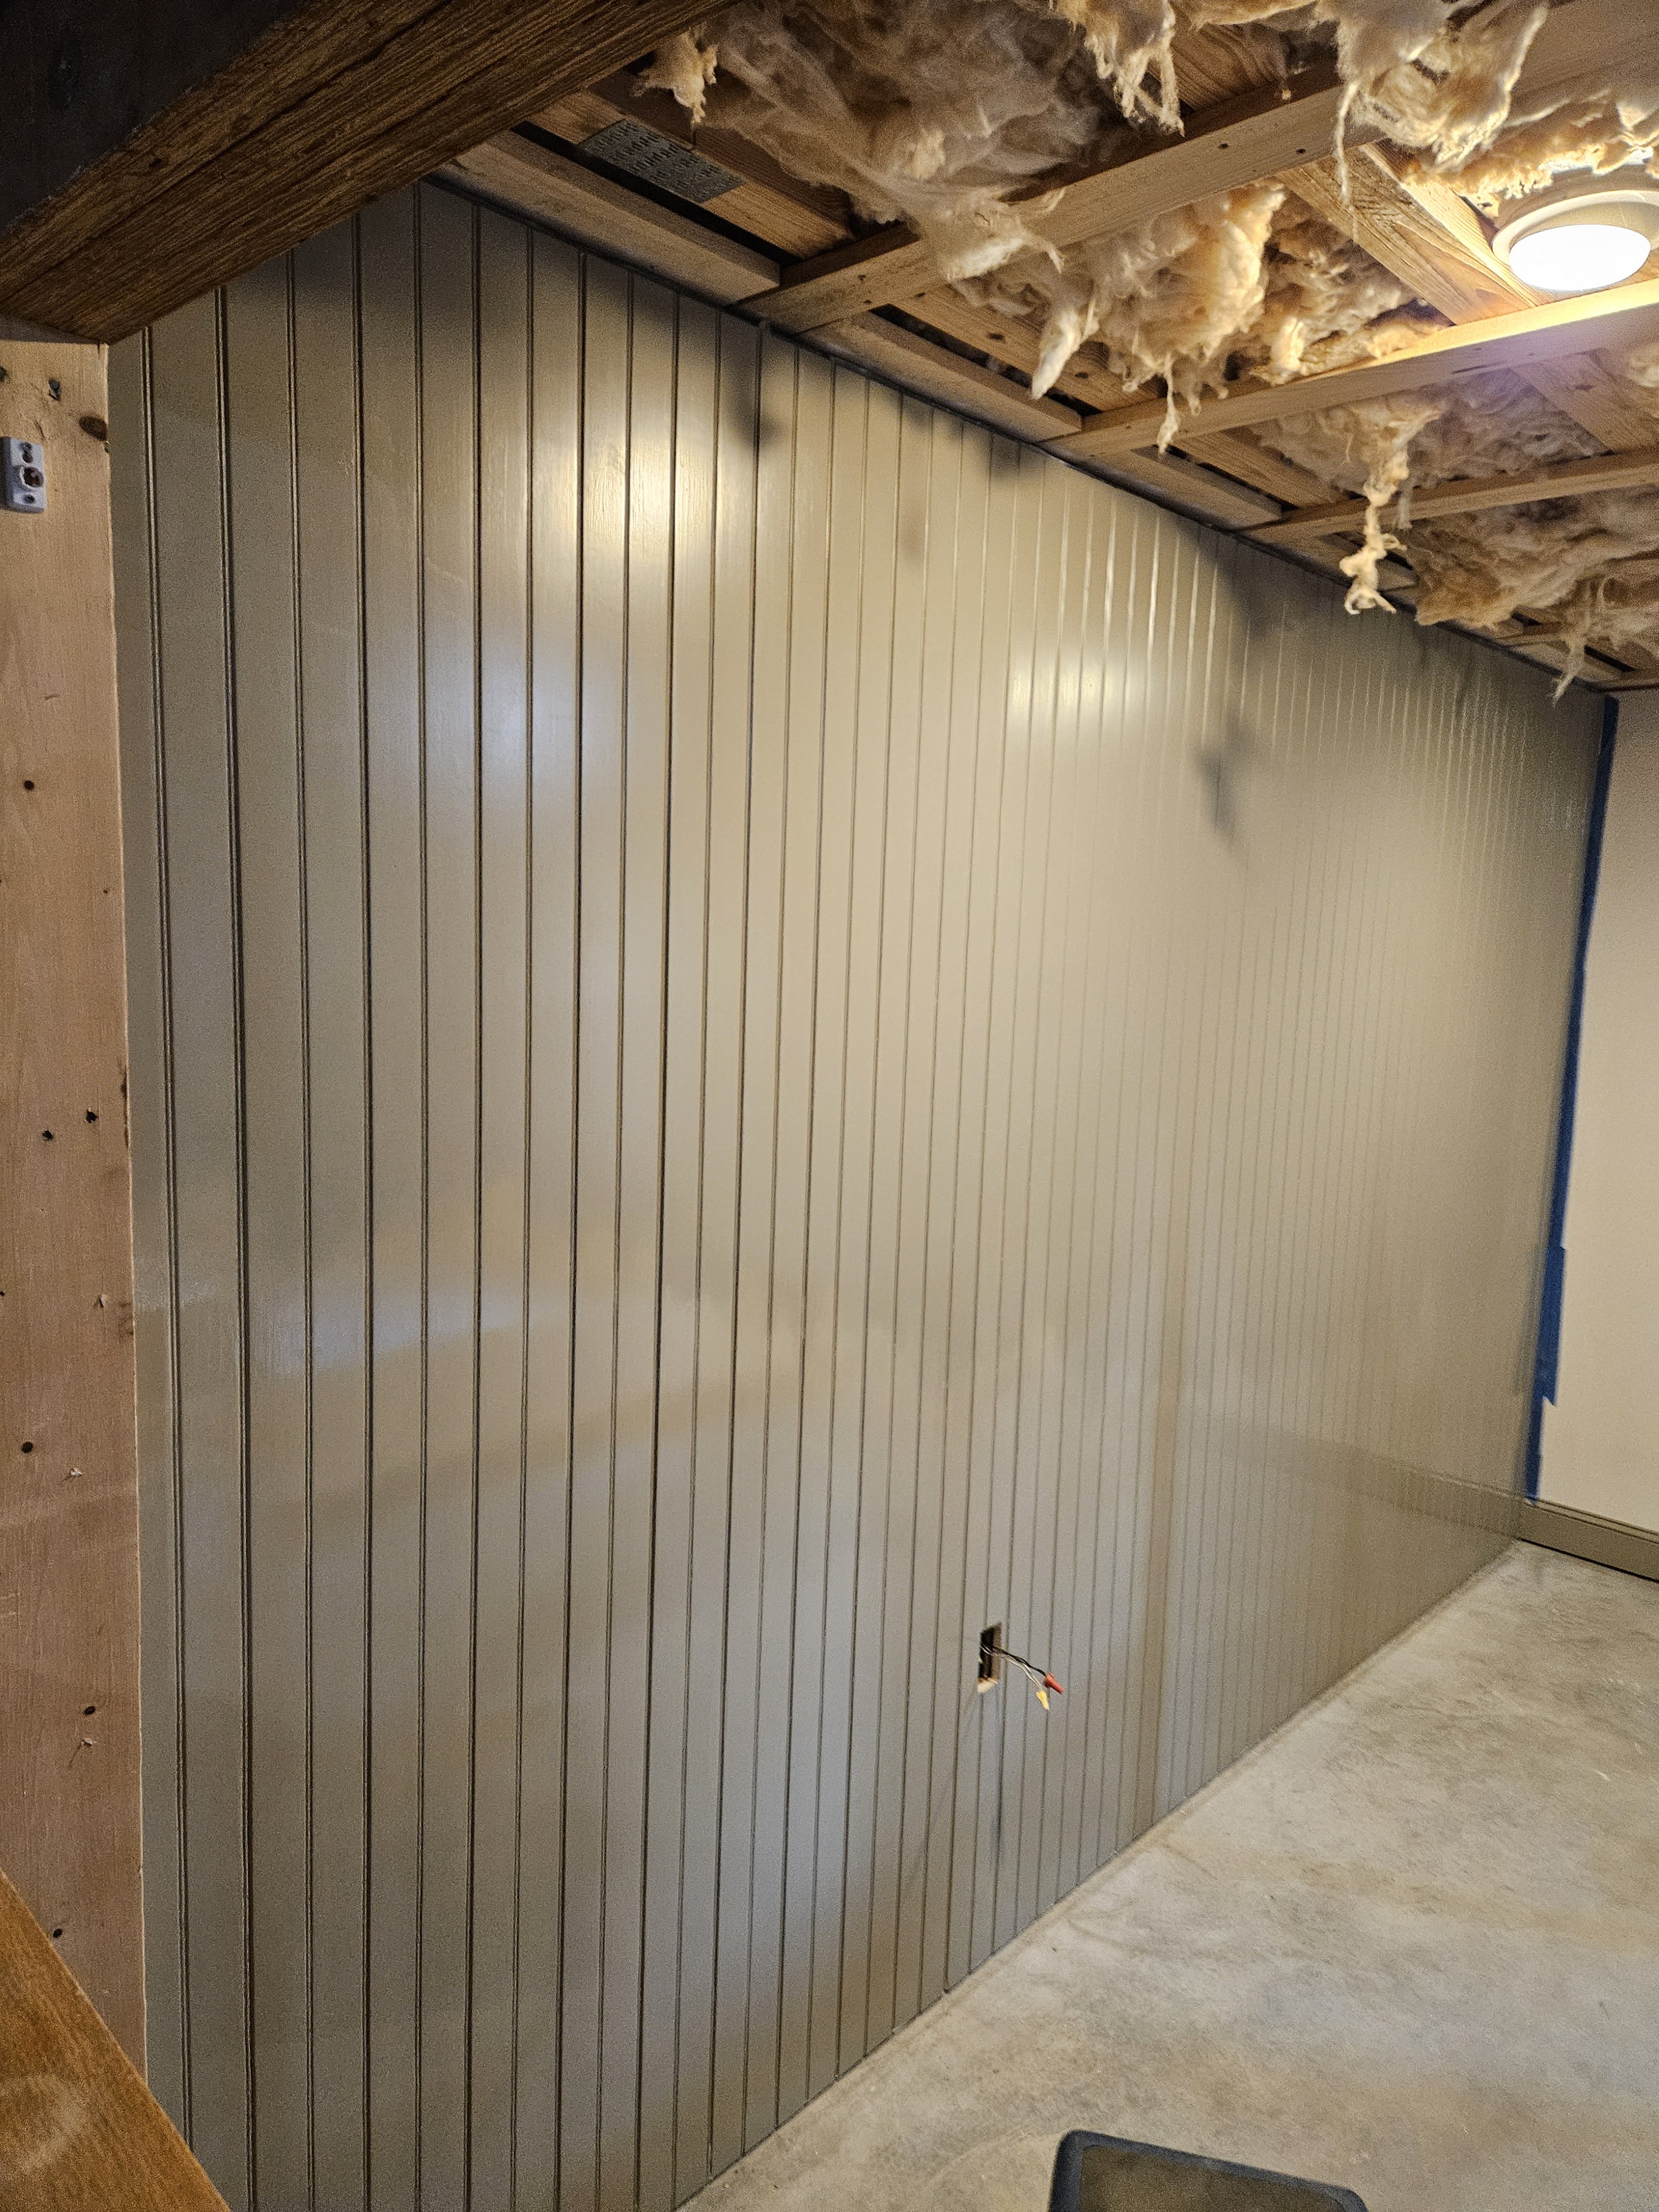
So there were gaps between some of the boards which were white and I needed to disguise because they were REALLY obvious. So I taped those places between the first and second coats of paint and sprayed the gaps with tan spray paint.
Then I did the second coat. In the meantime, my husband has been working on all the parts and pieces that we need for the shelves, pegs, brackets and bench. I bought the brackets from Architectural Depot because my husband has a list of things to do that is a mile long and he just wasn’t going to have time to make them. He was a little annoyed at first but ultimately agreed that this was the right decision. The brackets came sanded, but I primed them with spray Kilz primer.
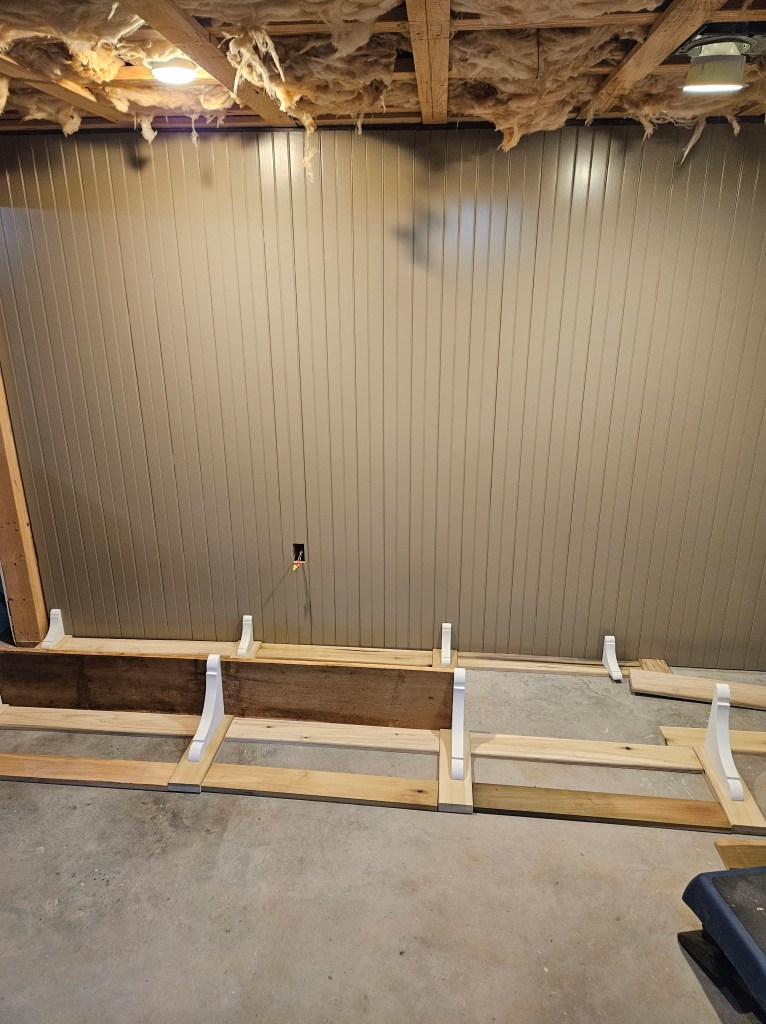
Before we can install all of this, my husband and I need to extend the little wall on the left so that it is a little longer than the bench. We’ll cover this with beadboard planks and paint it.
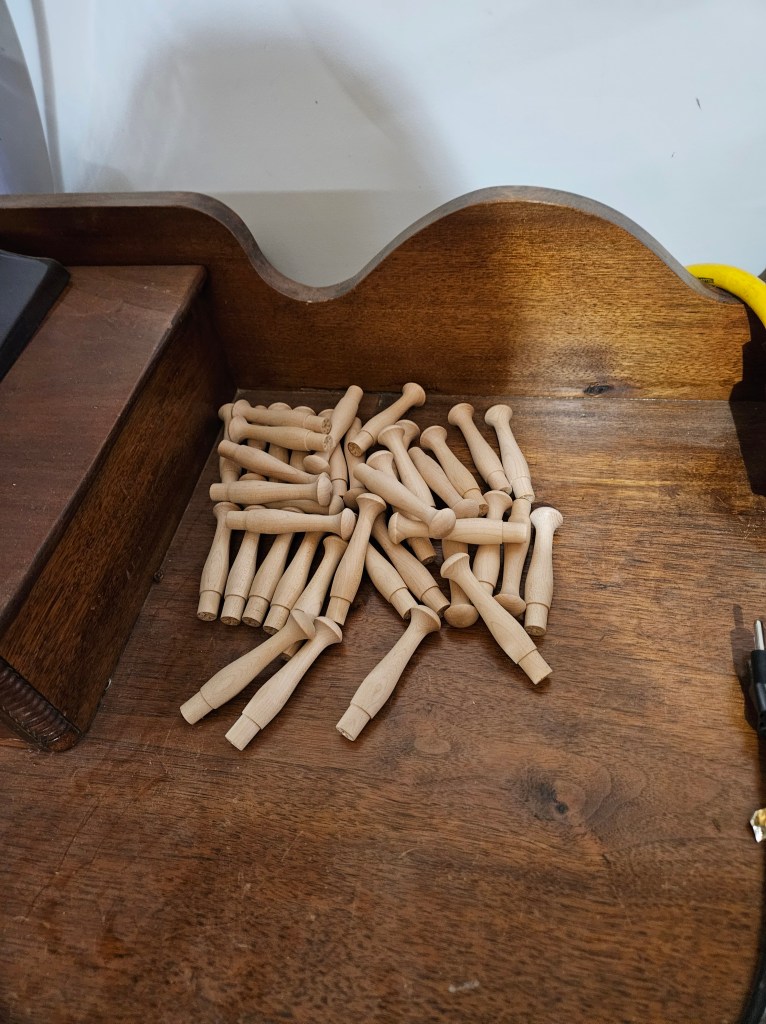
At our old house, we built a place to hang coats, etc. just inside the garage door and I think that pegs must come in bags of 50 because we still have 39 left to use. These are made of maple, and already sanded. I will prime them and use a scrap piece of wood to drill holes in so that I can stand them up to paint them, and not mess up the final board that we’re using. We haven’t decided how many pegs we’re going to use, but it’s a pretty good bet that we’ll still have pegs after this project too.
So, I have a lot to do, so I am going to get to it.

Always good to see progress
LikeLiked by 1 person
It’s been slow moving for sure. I think that we’ll actually get this project finished in time for Christmas.
LikeLike