We started this project during the weekend that we got snow and were stuck at the house. I think I jinxed us when I said I thought we could accomplish it over a long weekend. No such luck. I’ve had a few people ask how the project is going, so here is the update.
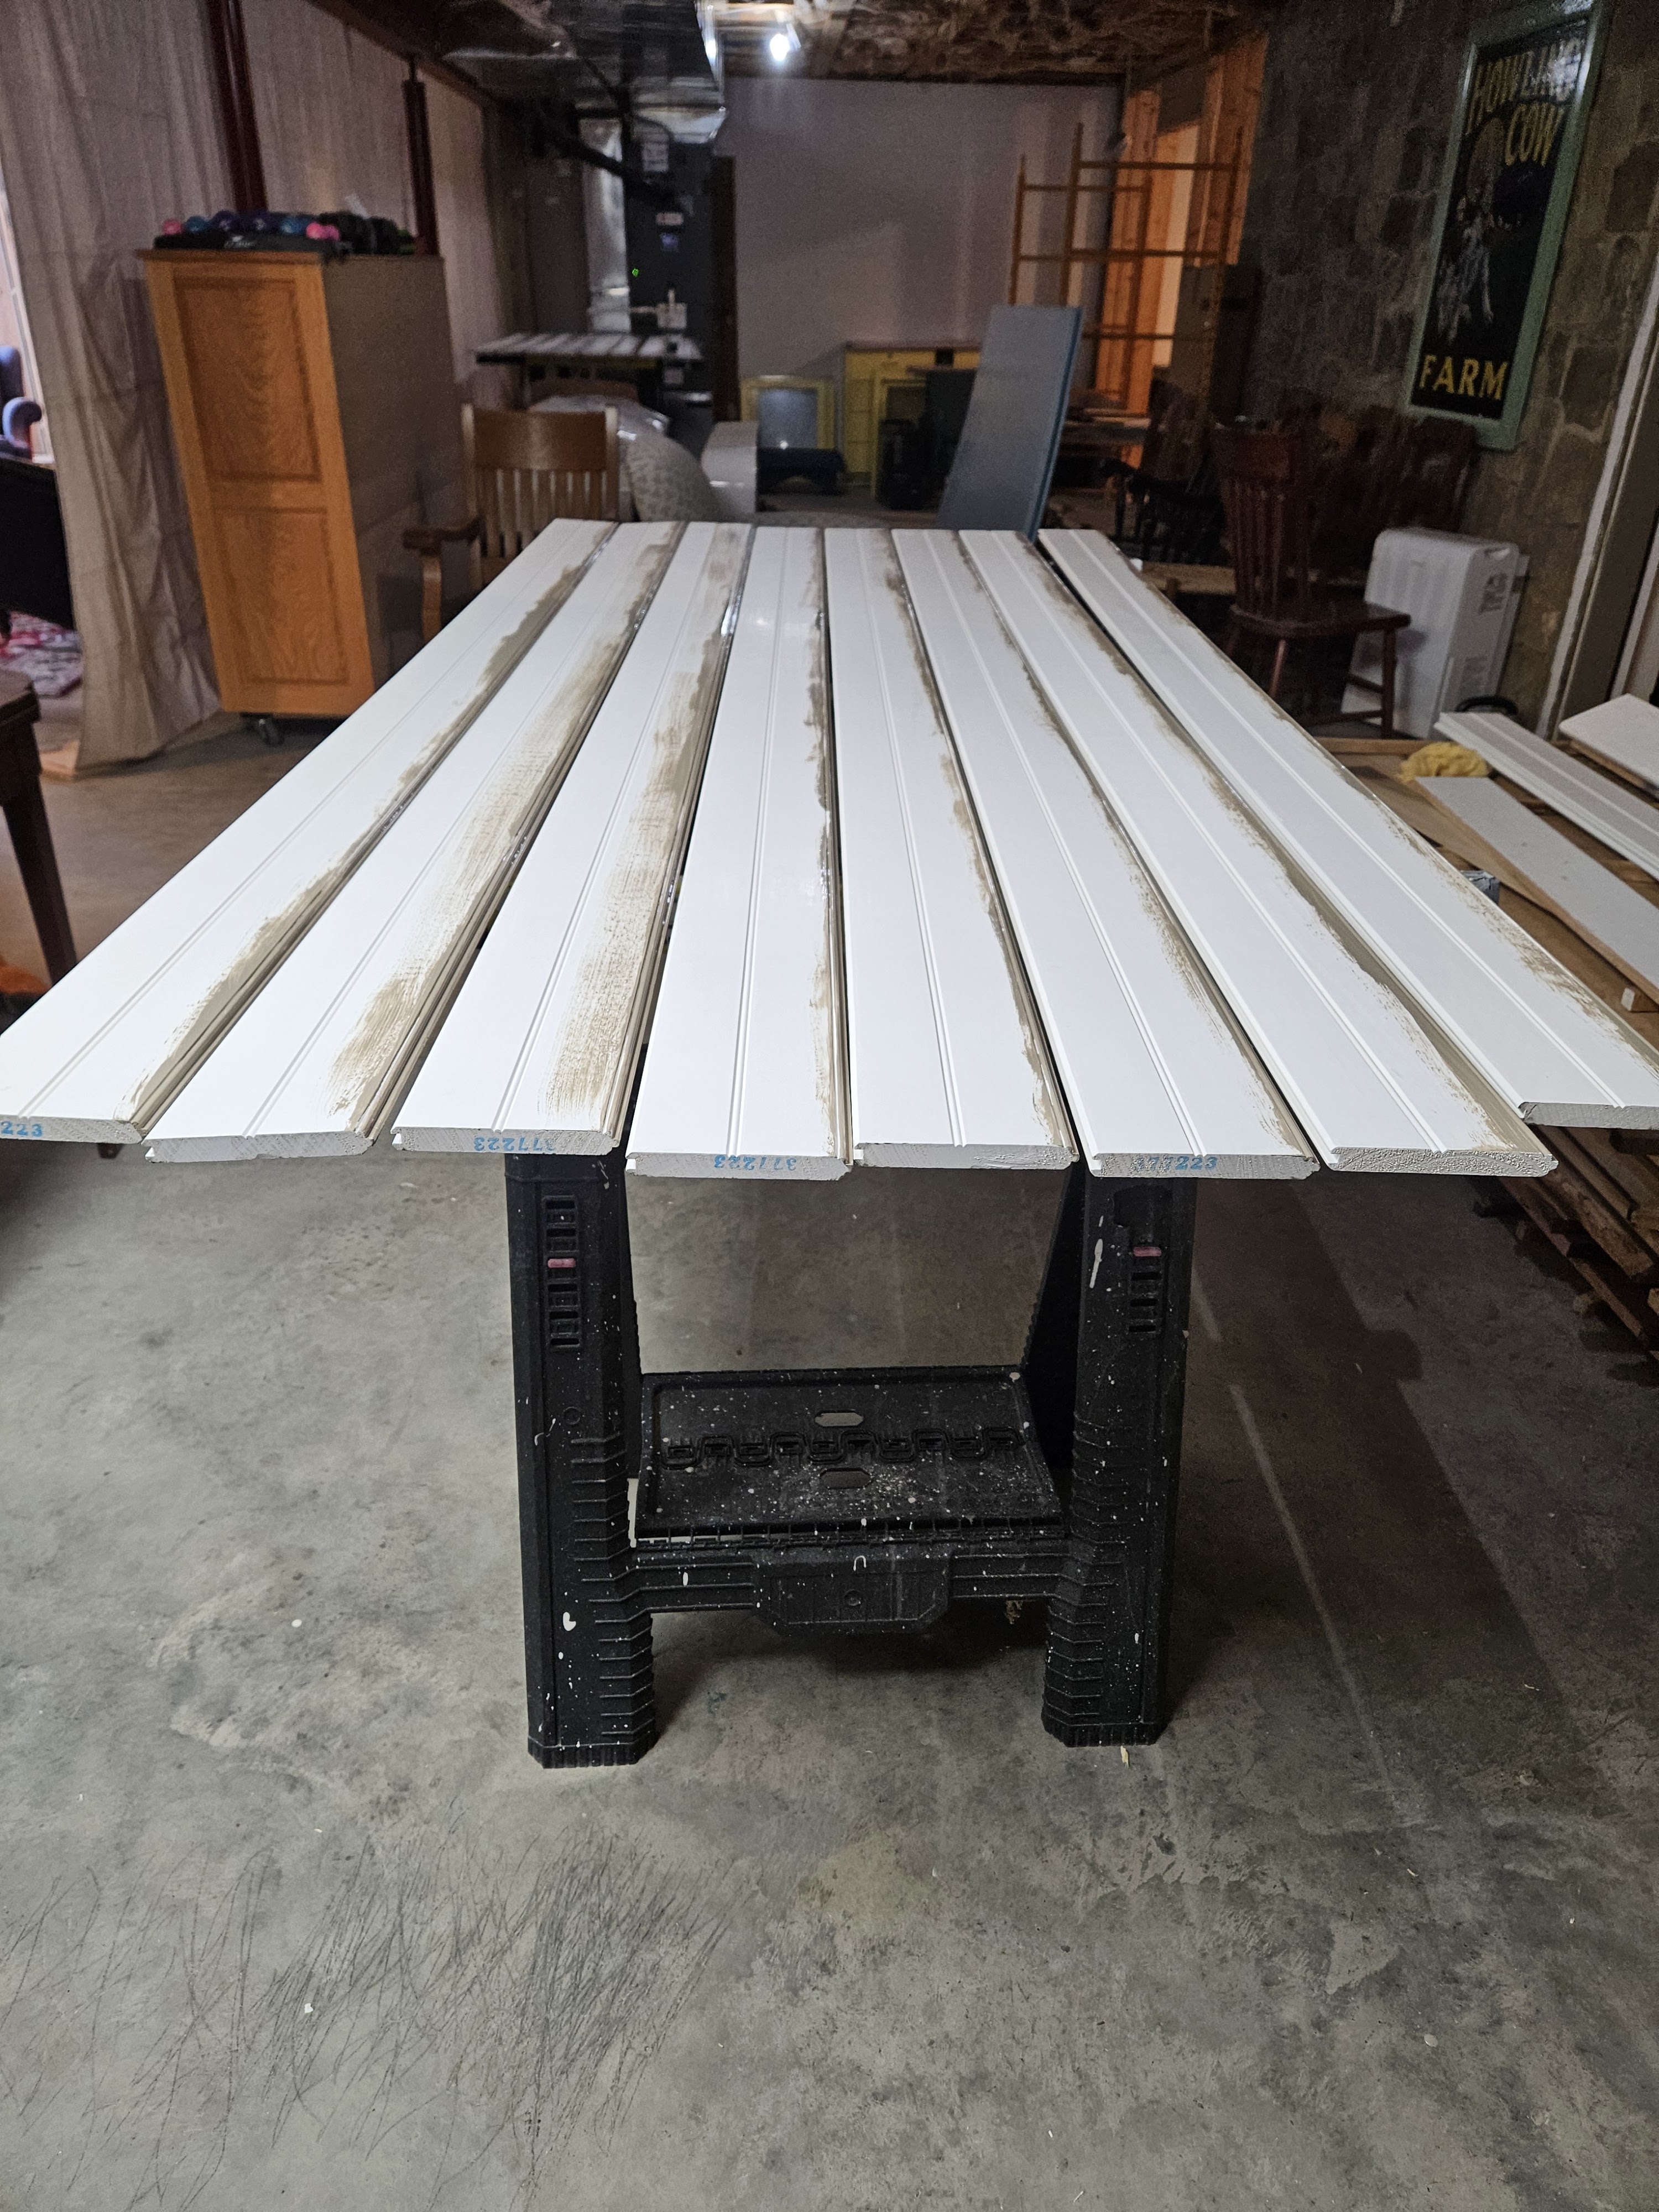
I painted the tongues of the beadboard planks.
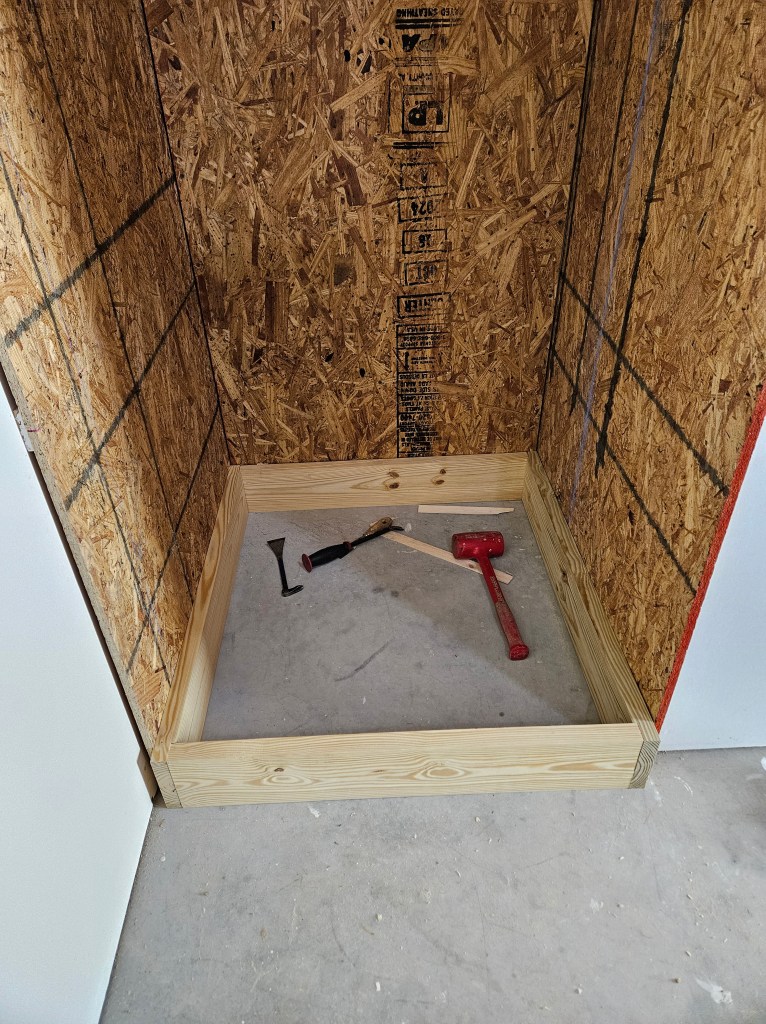
And…..we didn’t make much more progress than that during our snow days. Here’s why: We are building the unit using the existing walls as the sides. Unfortunately for us, the walls are not plumb or parallel to one another, so my husband had to add additional framing in both side walls so that he could add shims to correct the plumbness of the walls and then he installed OSB on top of that.
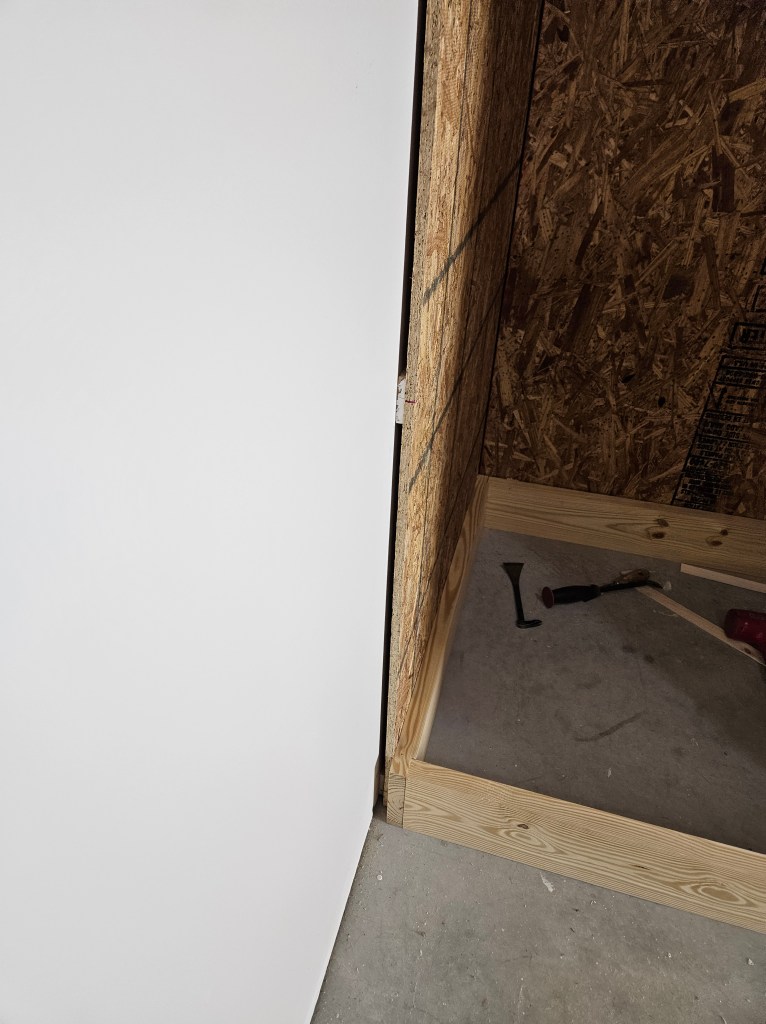
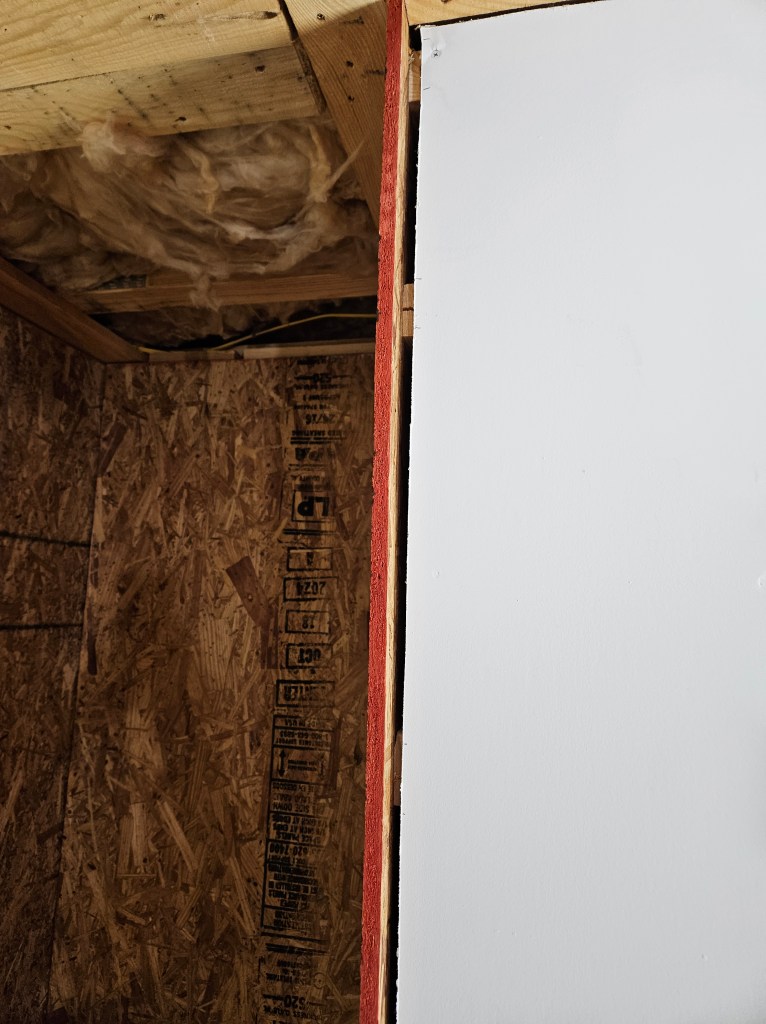
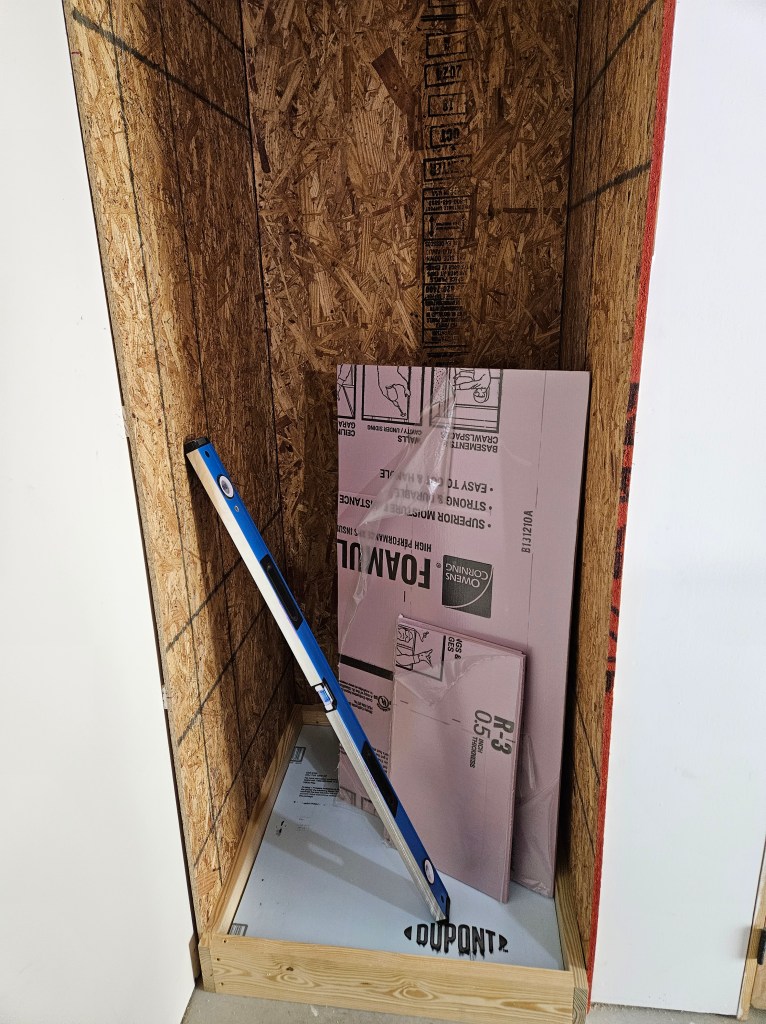
He put in pressure treated 2 x 4s on the back wall and filled the areas between them with foam board since this is an exterior wall, and then installed OSB on top.
Then he started working on the ceiling and floor of the unit. He framed the floor of the unit with pressure treated 2 x 6 boards that he had planed and jointed to ensure that everything was square.
Then he built the structure to support the plywood for the ceiling.
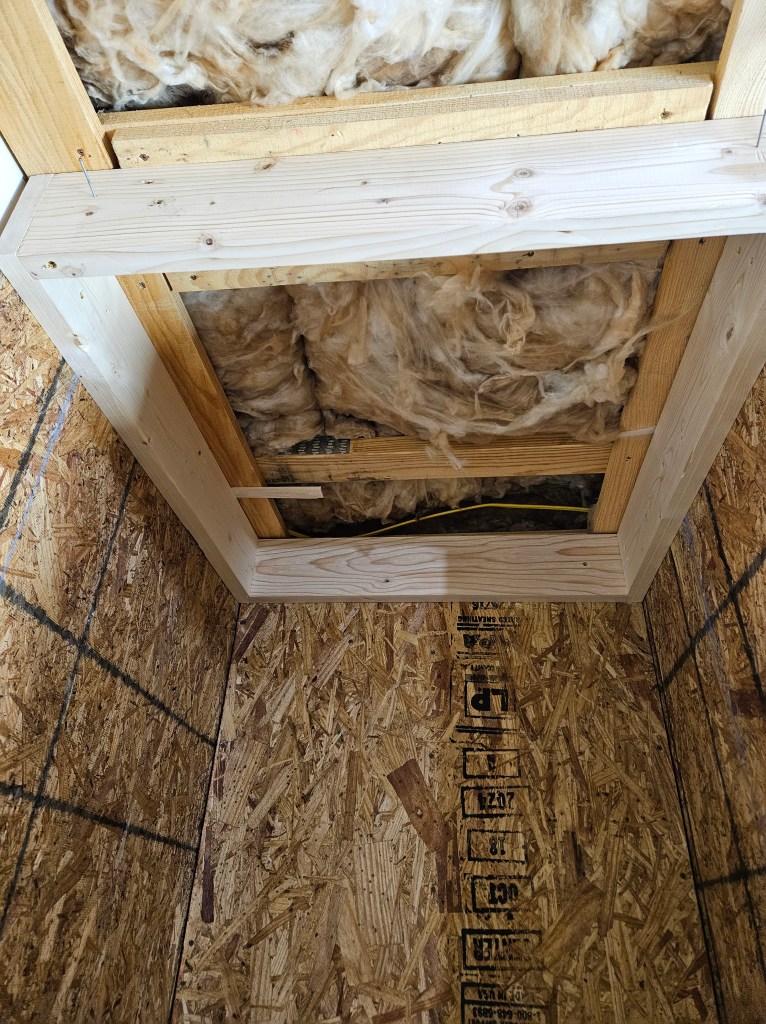
He filled in the area in the floor with foam board insulation.
He also cut all the boards for the face frame, but that just looks like a stack of lumber.
He is taking 3 days off this week (because he desperately needs some time off) and we’re going to work on this. The next steps are to put up the beadboard planks–cut them to length; nail them up; fill the nail holes with wood putty; sand them; paint them. The we will cut the plywood to size for the ceiling, floor, and all the shelves. We’re going to need to get one more sheet of plywood–we miscalculated.) Once we get the plywood cut to size, we’ll sand; prime; sand; and paint it before we install it.
In retrospect, we should have built this as though it were a free standing unit and put it place. It has really been kind of a pain.
I hope to have more progress to report soon.
