
My husband bought me a Shitake mushroom “log” for Christmas 2023. It was a really neat gift and I loved it. So for Valentine’s day 2024, he did a bunch of research and bought the stuff to innoculate a bunch of logs–and this post is about harvesting Shitake mushrooms from those logs: https://cathyathomeontheriver.com/2024/09/22/fall-garden-update-shitake-edition/
I am going to back track in this post and go through how you get the logs prepared. (I thought I did this last year, but I did not.)
Depending on the type of mushroom you want to grow, there are recommendations for what kinds of logs work best. For Shitakes, they really like Sweet Gum trees which works out well, because we really don’t like Sweet Gum trees.
You have to start with a freshly cut tree because you don’t want any other fungi to have made the log their home. We happened to have a small sweet gum tree that was crowded by other trees and made it difficult to mow. So my husband cut it down and bucked it into 40″ logs.
The next step is to drill a bunch of holes in the logs for the spawn. My husband bought a bit specifically designed for this purpose and he said that it made that step so much faster than what he did last year.
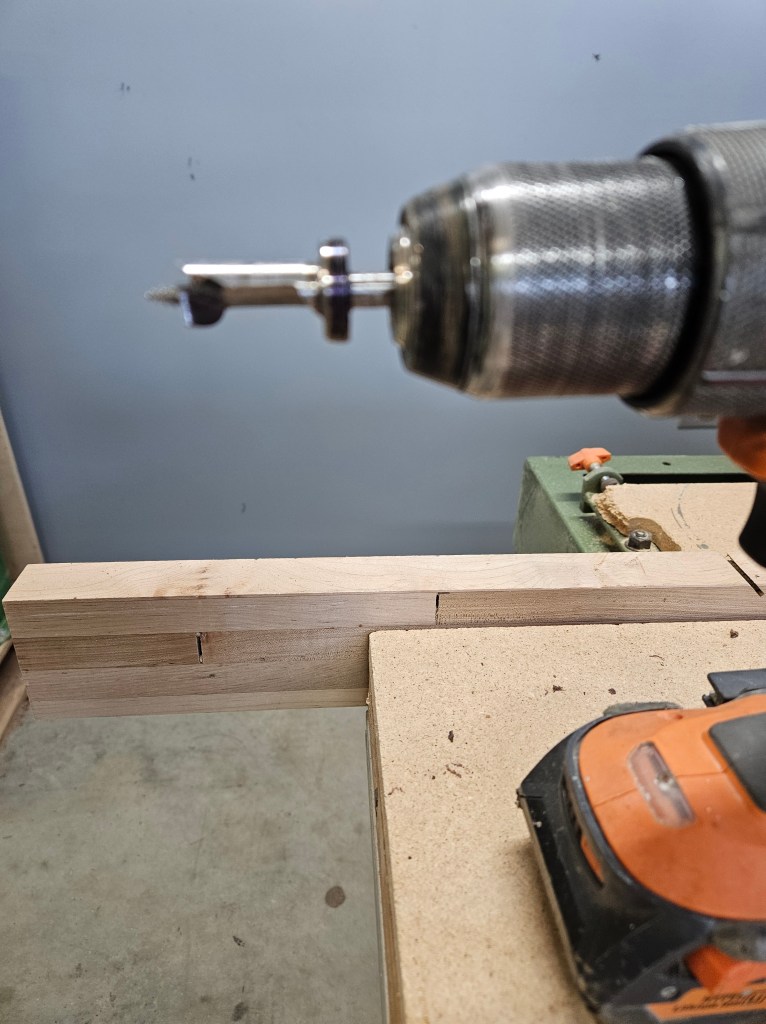
Here’s what the log looks like after that step:

Then you use a special tool to pack a little “dose” of mushroom spawn–which is a dampish sawdust product that is full of the spores. Here’s what that tool looks like:
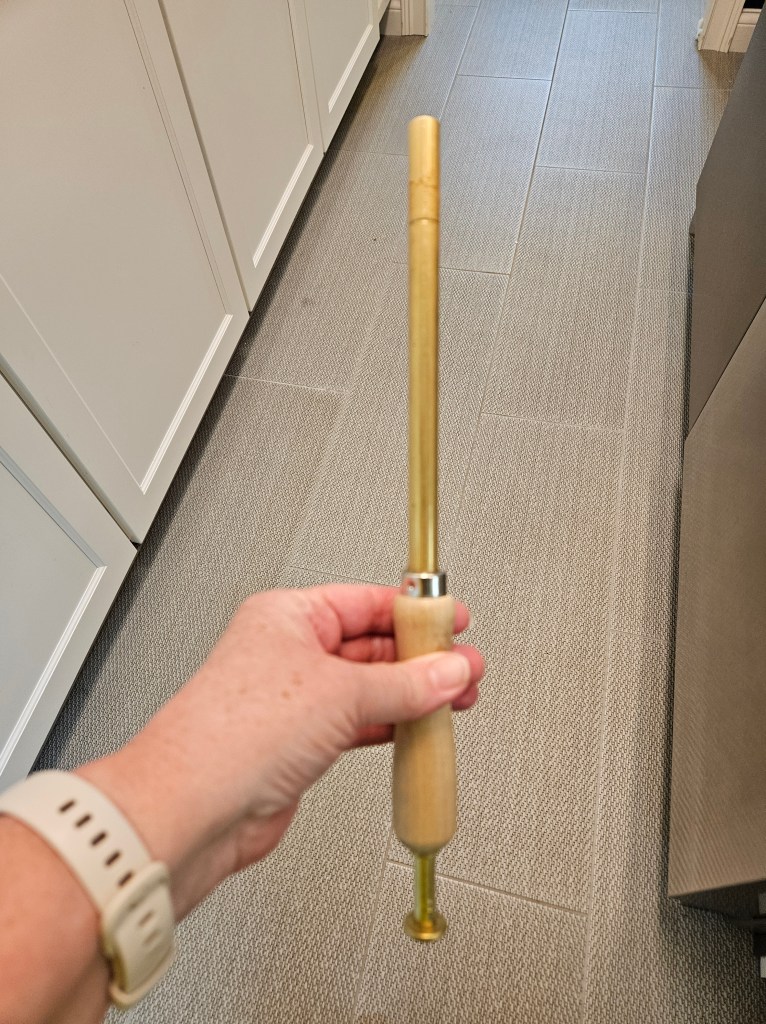
So you push the tool into the spawn until it is full of spawn and then you find an empty hole and line the tool up with the hole and push the dose of spawn into the hole. This is what it looks like:
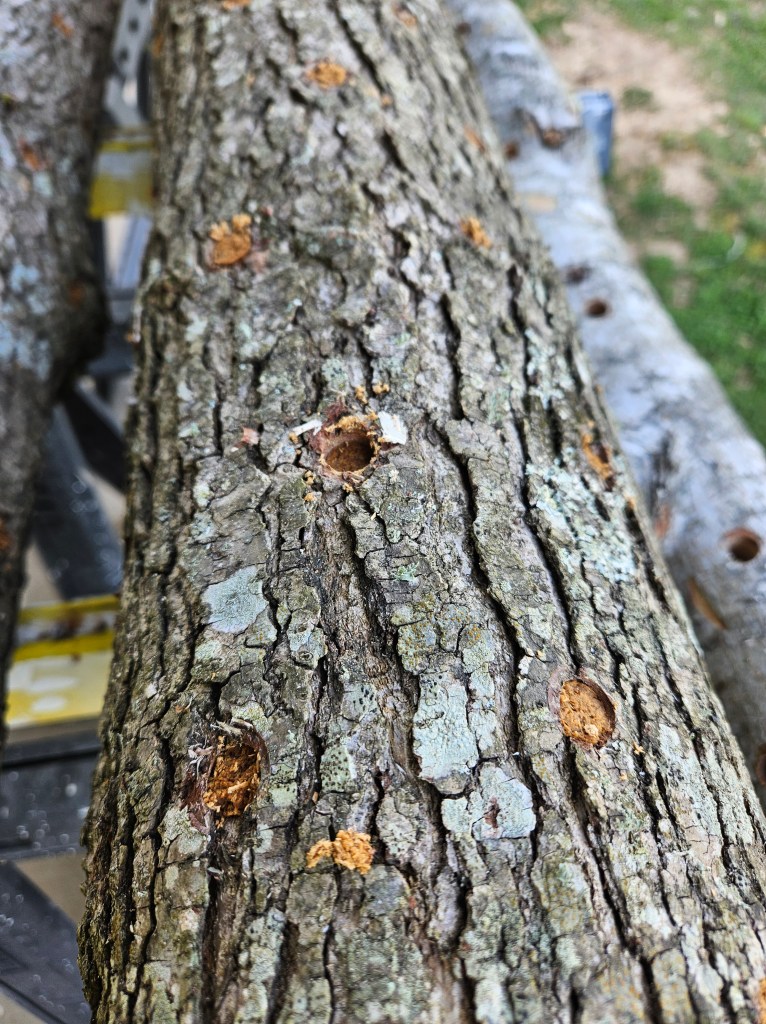
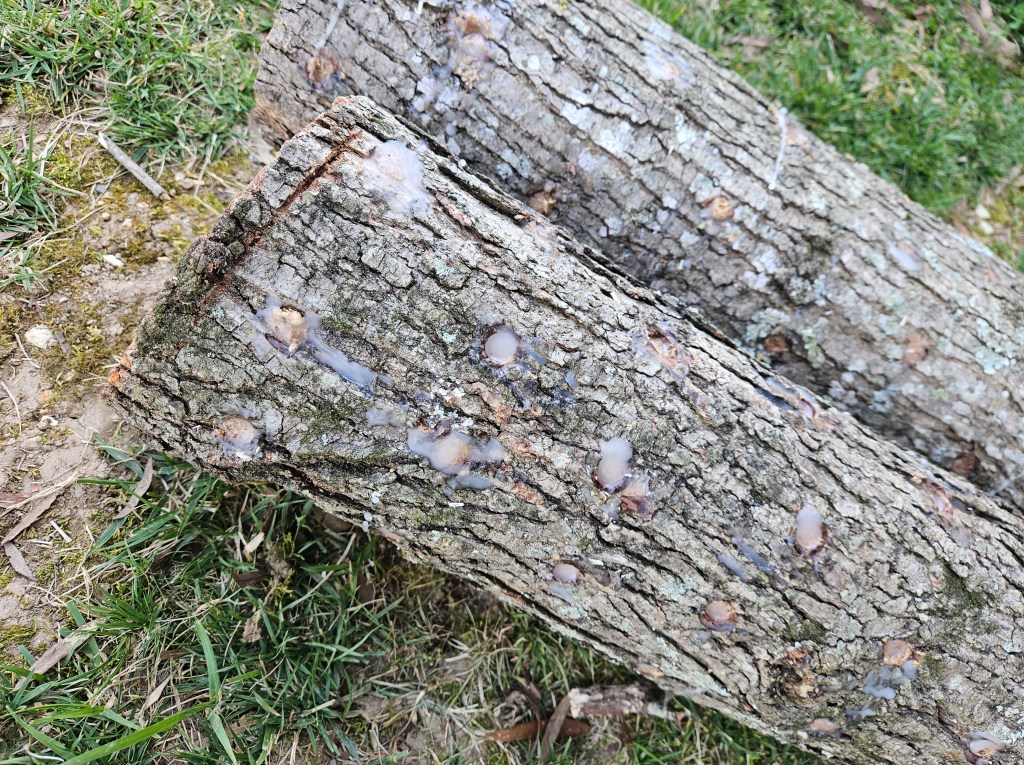
Once you have all the holes filled in the log, you cover the spawn with melted wax to hold in the moisture. We bought the wax from the same company that we bought everything else from. It’s a softer and stickier wax than a candle, say. Here’s what it looks like:
We also tagged the logs with variety and date information. Once the logs are finished, they need to be stacked in a shady area that stays moist/damp. We have an area behind the house that is a gully with a wet weather stream–the humidity is really high there. Then you let them sit and let the mushrooms take over the logs–it takes 6 to 8 months. You’ll know that they’re ready to “force”, if you see mushrooms growing on them.
To “force” the logs to fruit, you soak them in water for a day and then stack them in a criss-cross pattern on a pallet so that you can reach any mushrooms that grow. You will see little bumps form on the logs (it’s called “pinning”) and the mushrooms will grow really fast from that point–only a few days, so check them often. You want to harvest shitakes when the caps are still curled under. Shitakes will last about 2 weeks in the refrigerator in a storage container. When we did this last fall, we were absolutely COVERED in mushrooms, so I would recommend that you only do a log or two at a time, unless you need a lot of mushrooms for some reason. BTW, you MUST cook shitake mushrooms. They cannot be eaten raw because they cause shitake dermatitis which is an itchy rash. They aren’t toxic, but the rash is unpleasant.
If you are thinking about growing mushrooms, there is quite a bit of up front work–it took us about 7 or 8 hours from start (cutting down the tree) to finish (logs stacked in the wooded area behind the house.) BUT, these logs will produce mushrooms for YEARS–approximately 1 year of production per inch of log diameter.
Shitakes are among the easiest to grow.

One thought on “Making Mushrooms”