
Well, I thought that we were going to leave things as they were in the potting shed when I gave you an update on the garden, but I was WRONG. My husband wanted to get it finished and off of his list of things to do, and he didn’t want to move the manufactured stone counters AGAIN to store them, so off we went.
I didn’t photograph as much as I would have if I had known just what my husband was working on in the wood shop.
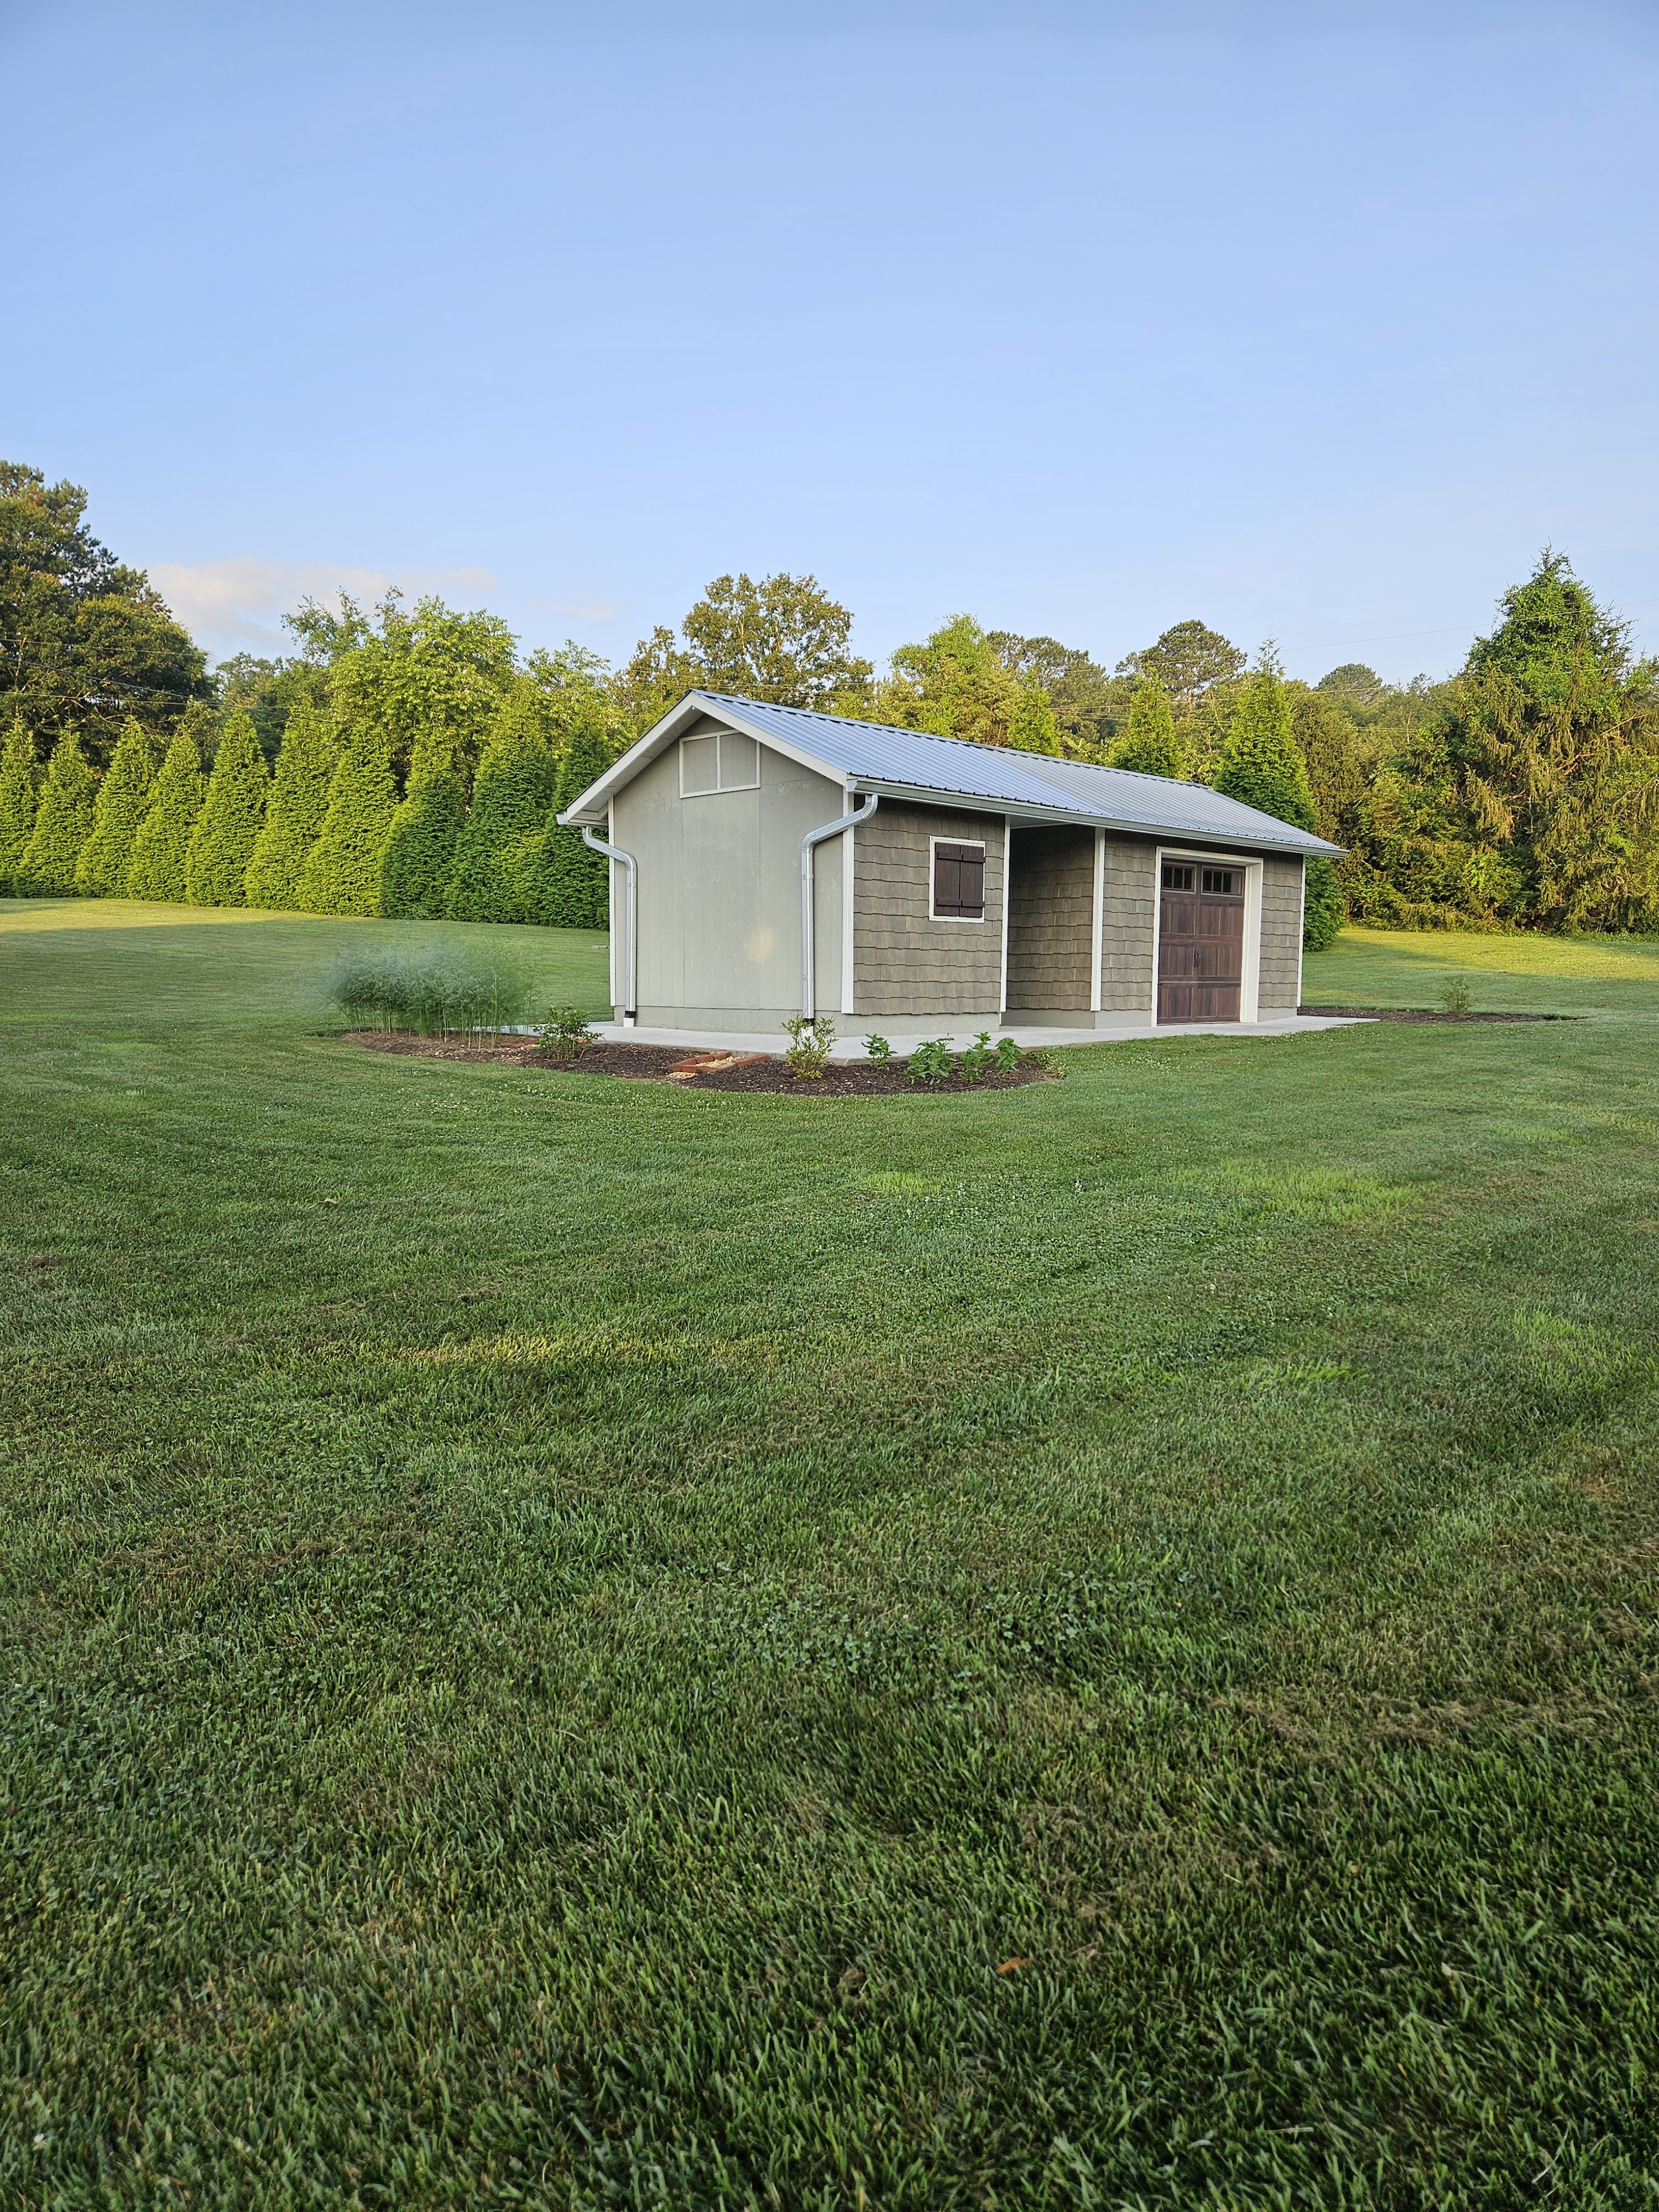
This is where my potting shed is located. It’s the smaller of the two portions of the garden shed that are connected with a breezeway.
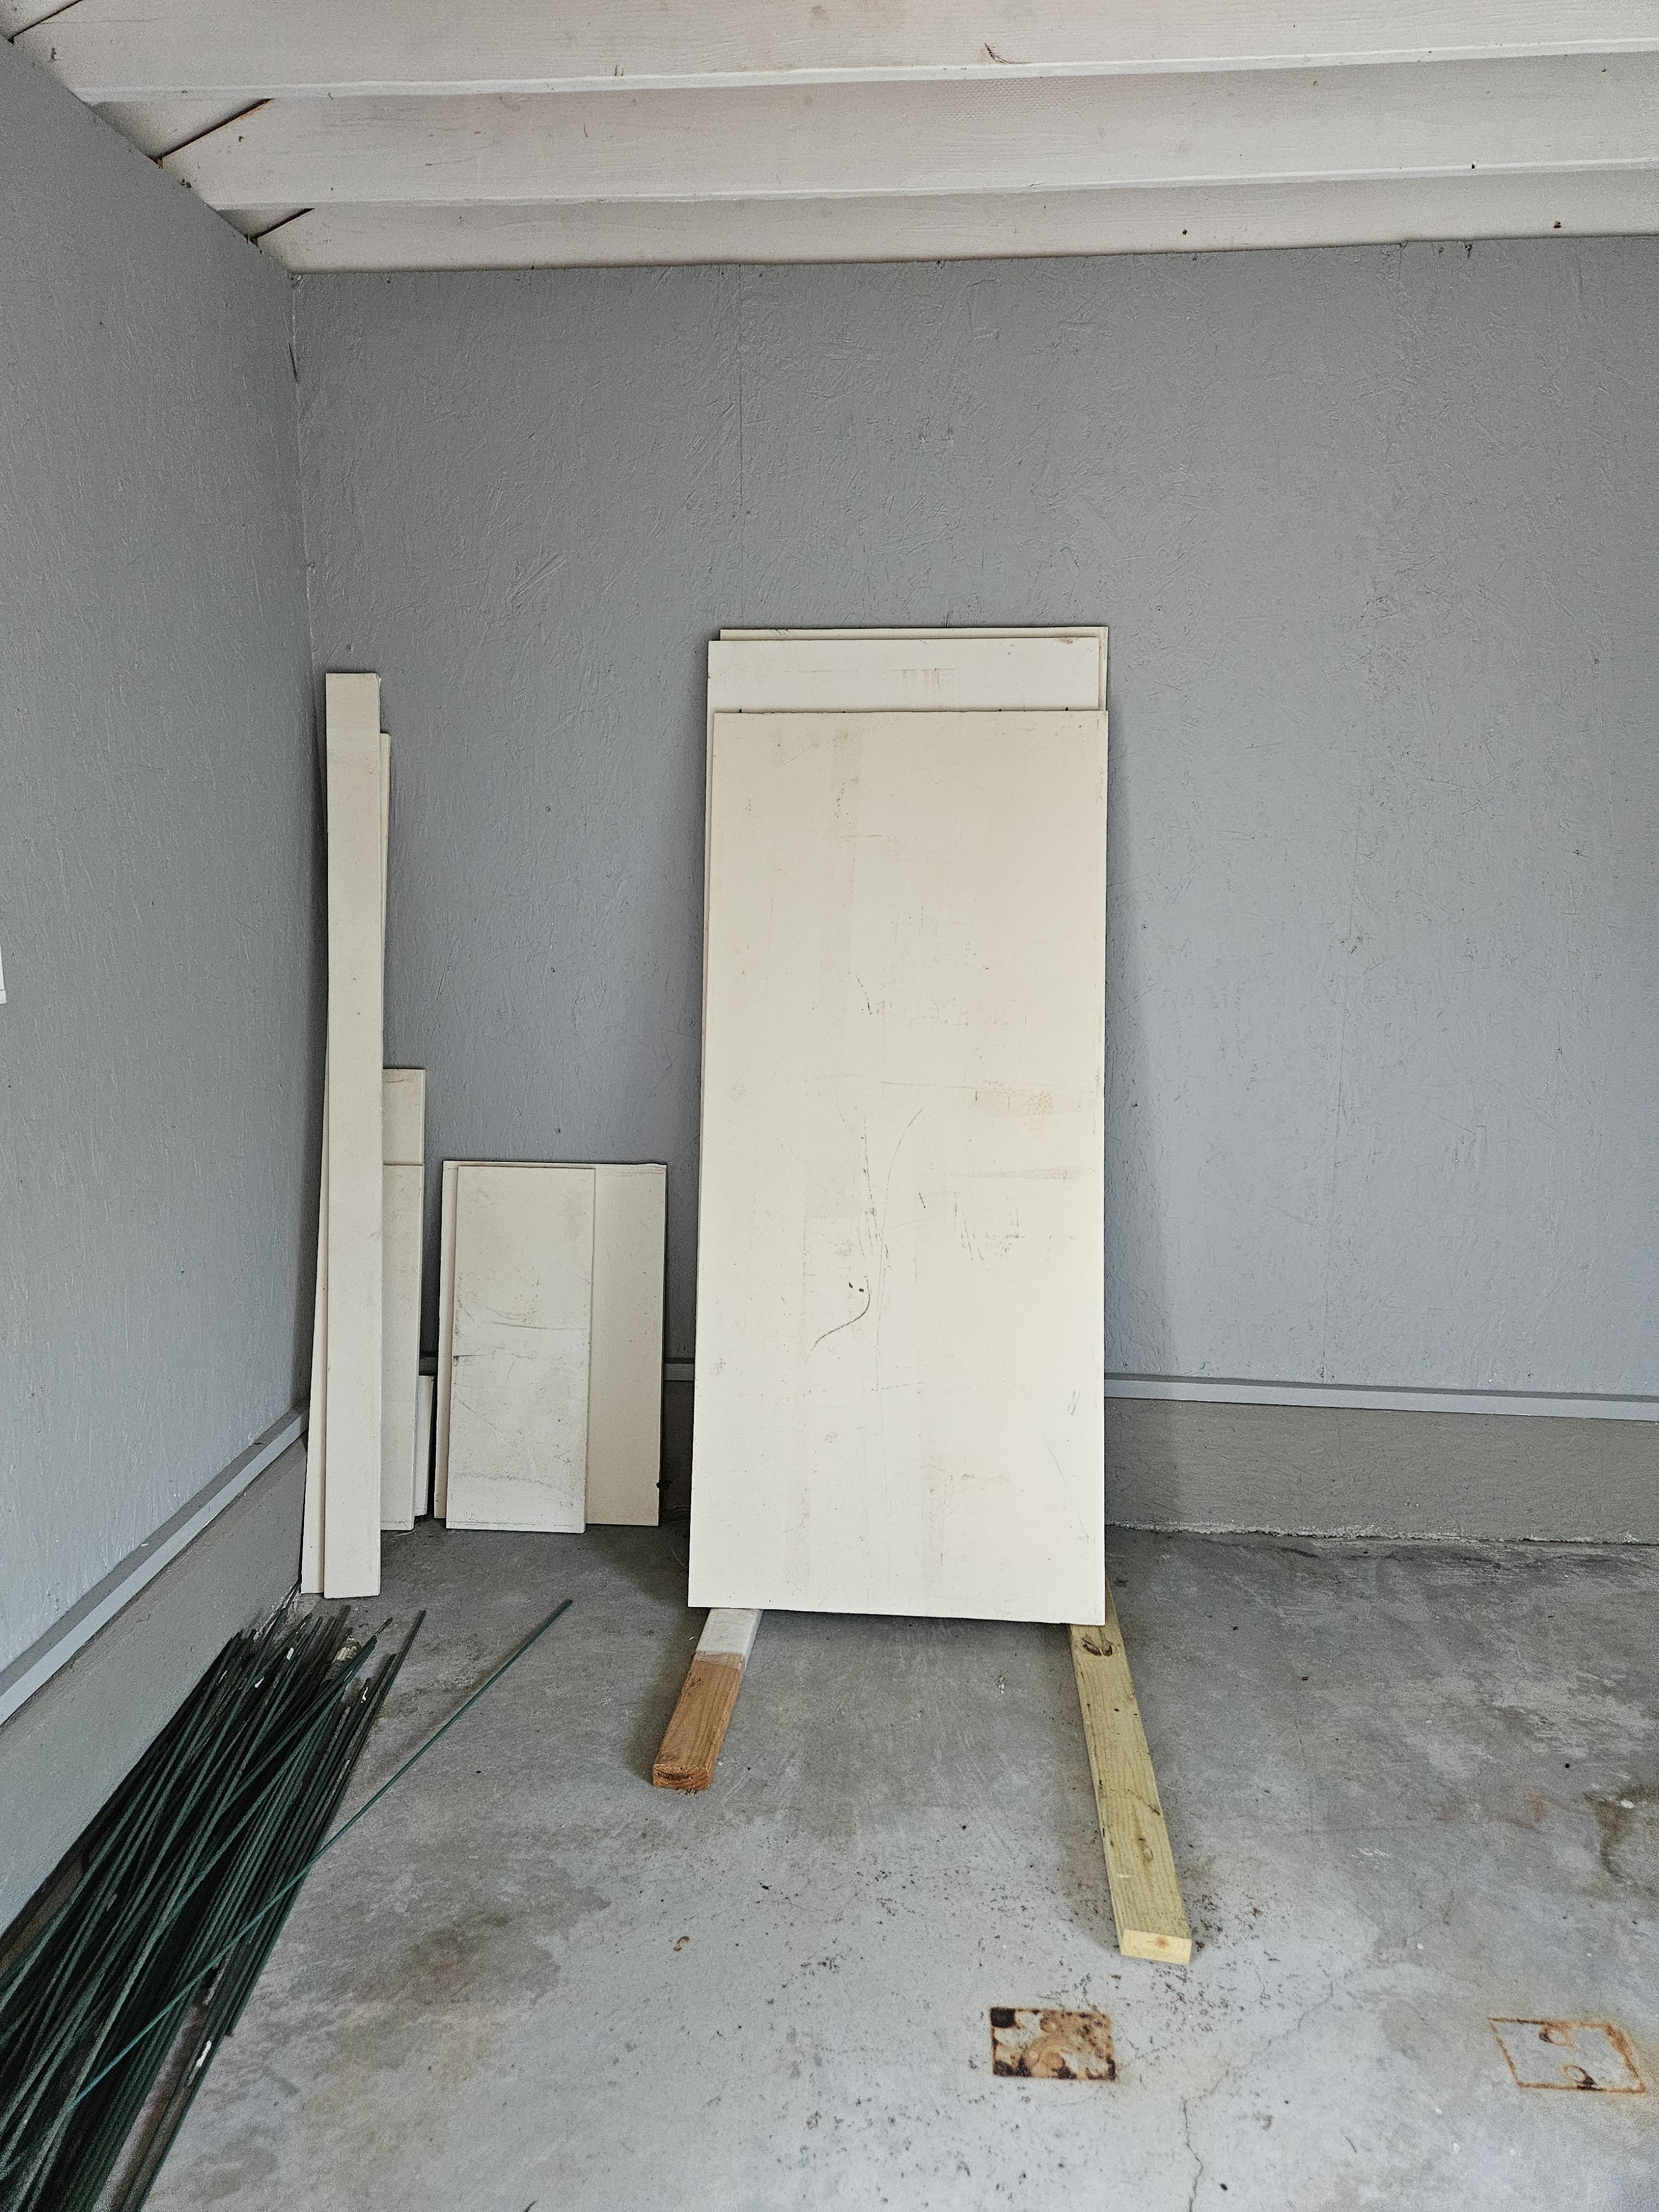
As I mentioned in the garden update post, this section of the shed was formerly used to store all my husband’s lumber for woodworking projects. Now that we have a barn, he moved ALL the wood racks up there along with most of the lumber. There is still a little bit of lumber in the attic of the potting shed, but it’s mostly pieces to turn into bowls on the lathe, so they don’t stack nice and neatly, and I don’t need that space anyway.
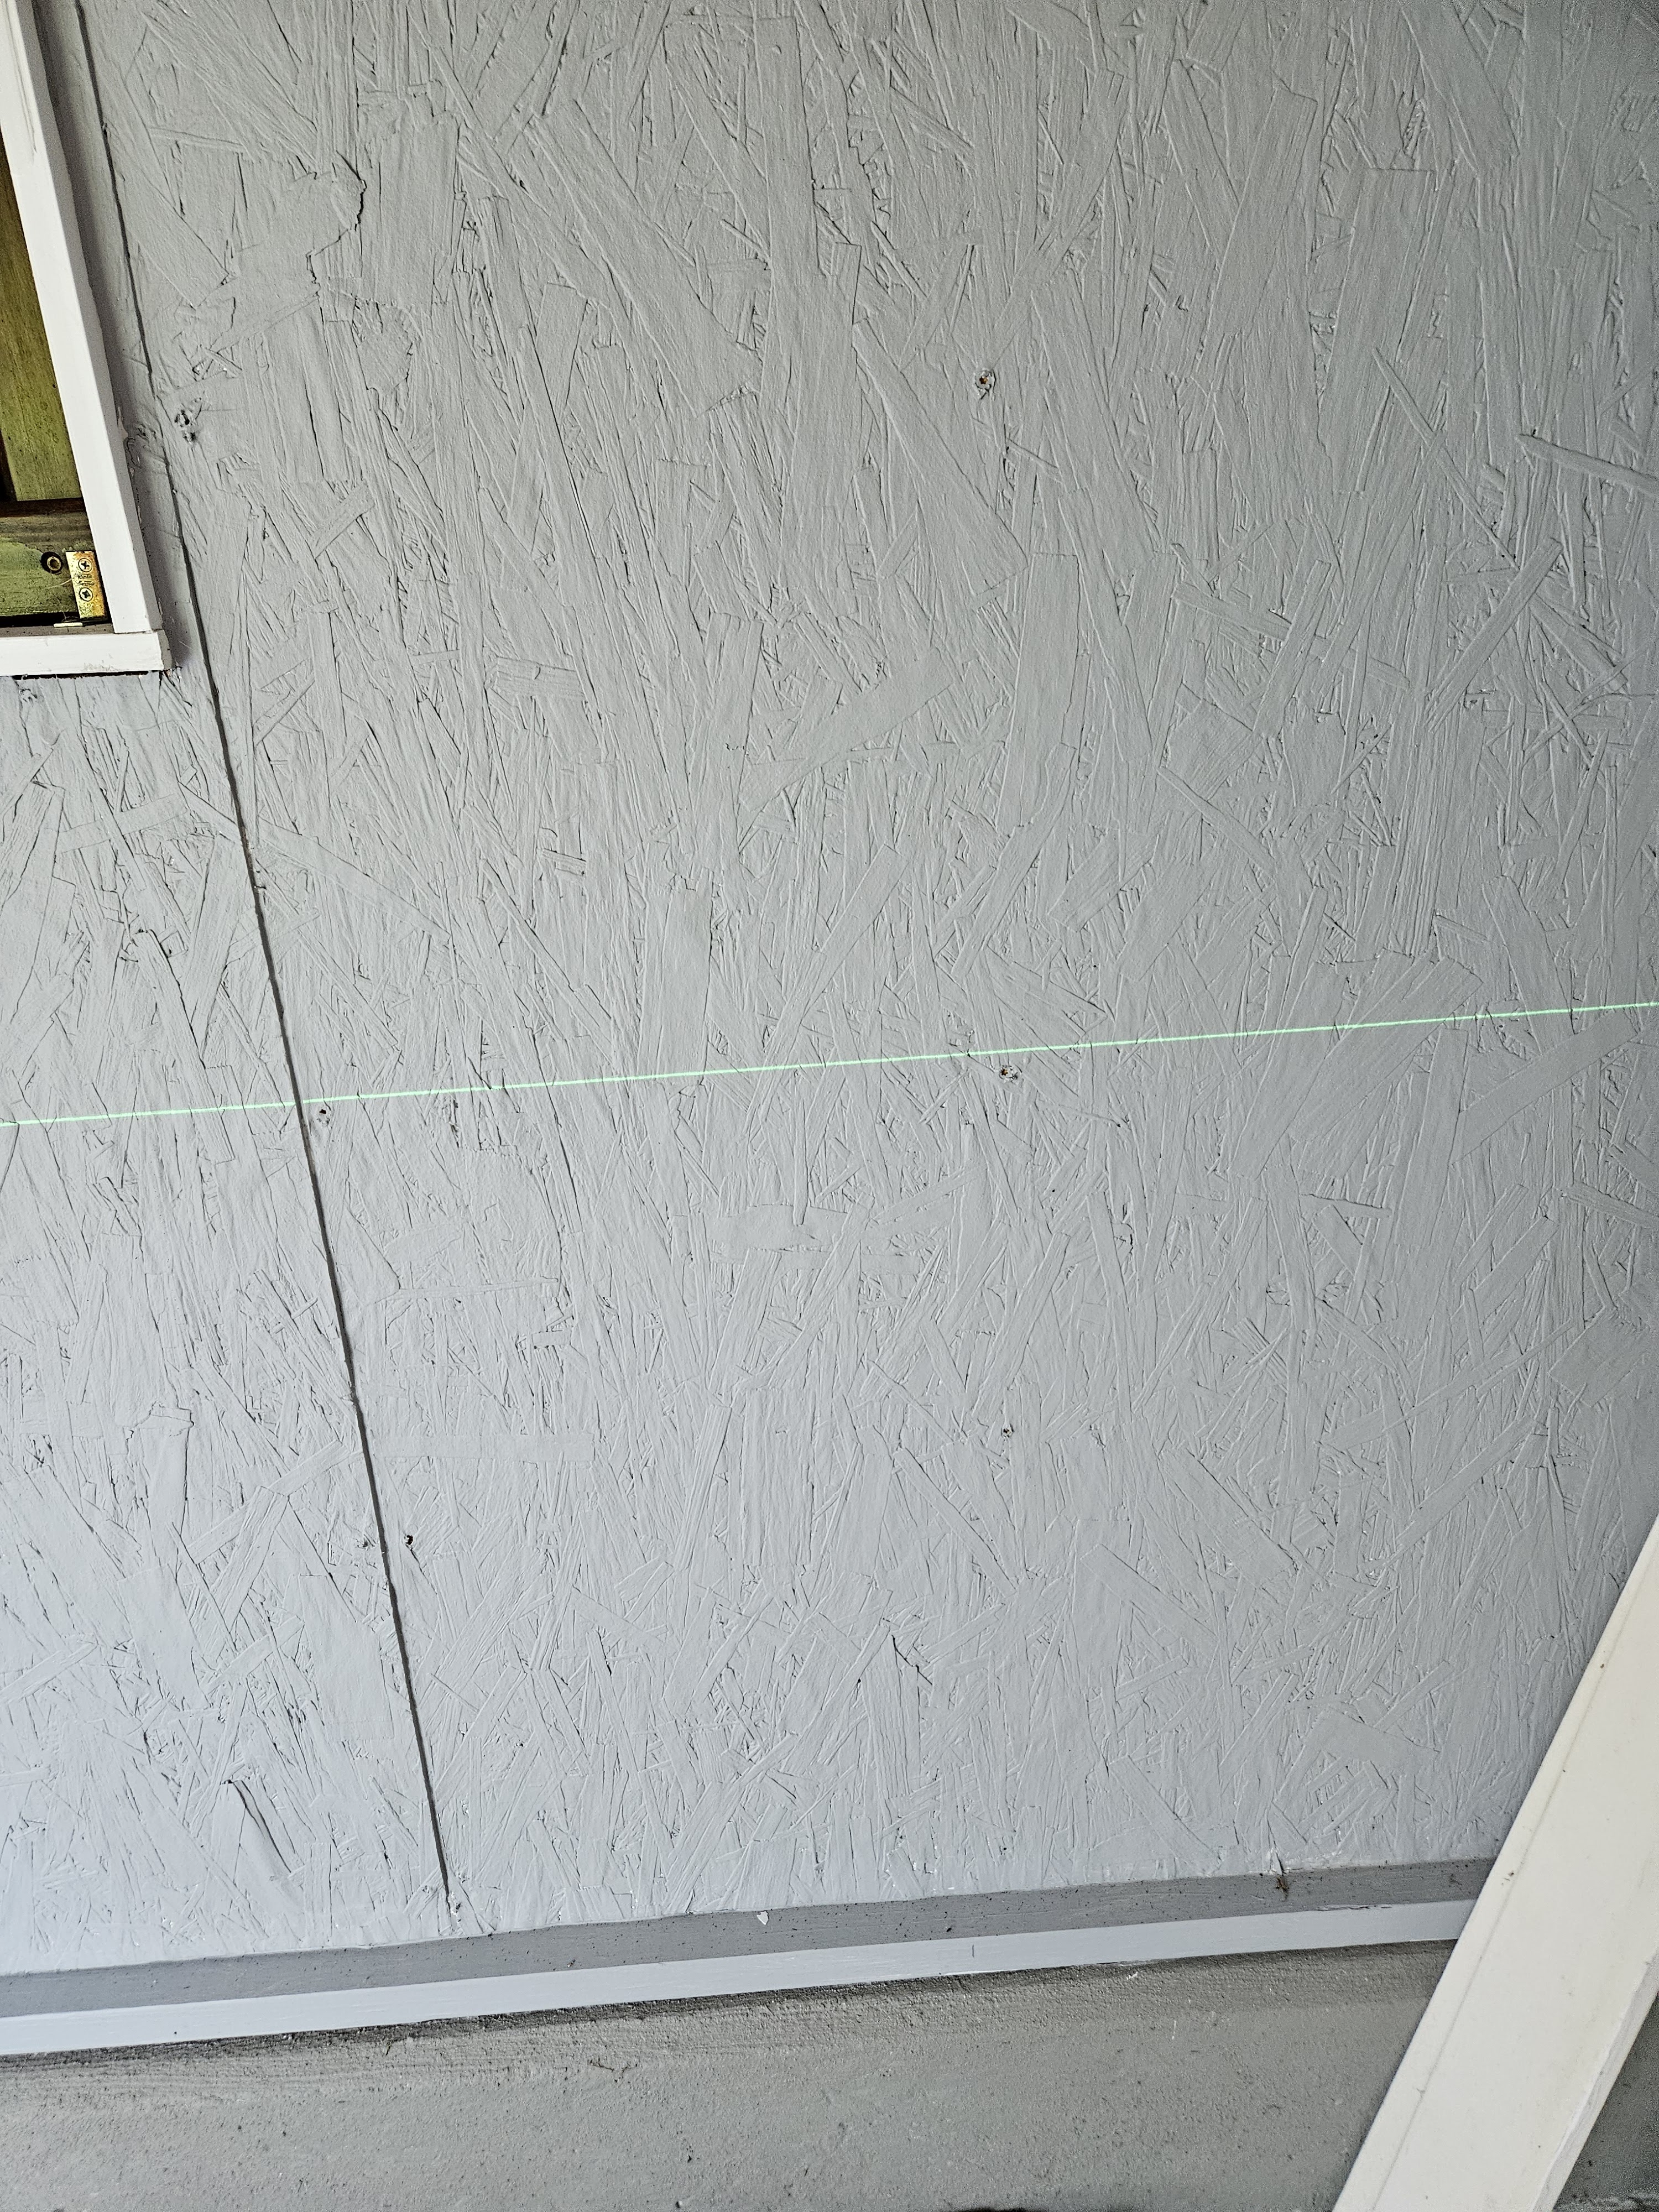
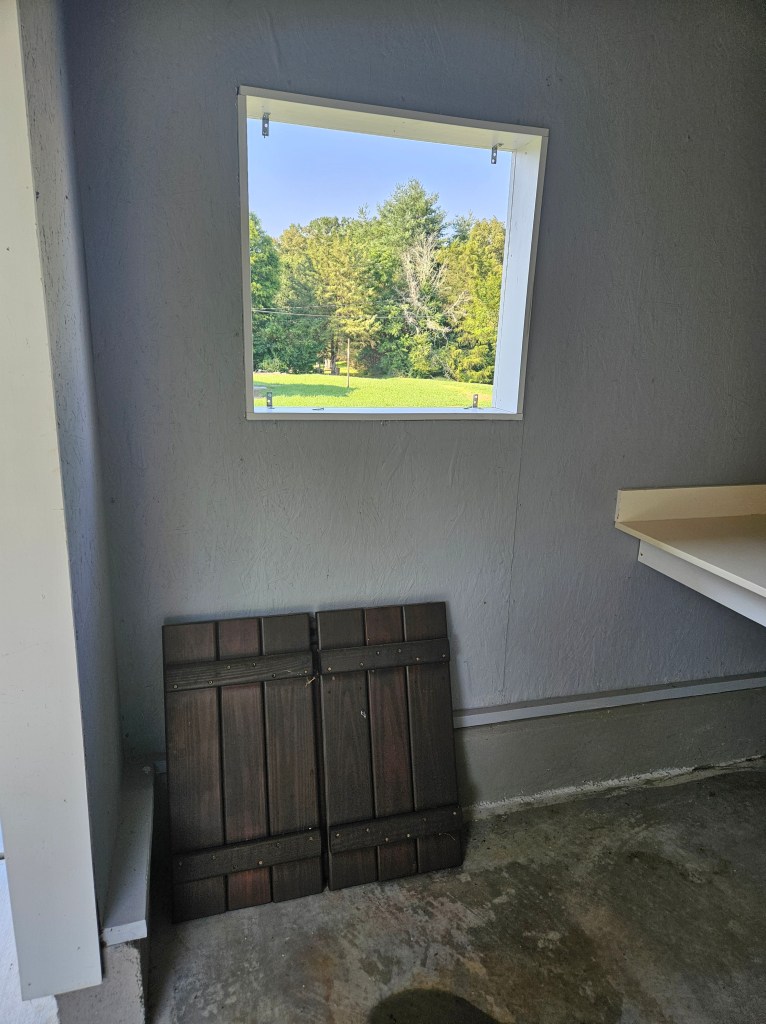
Here’s how it looked when we started:
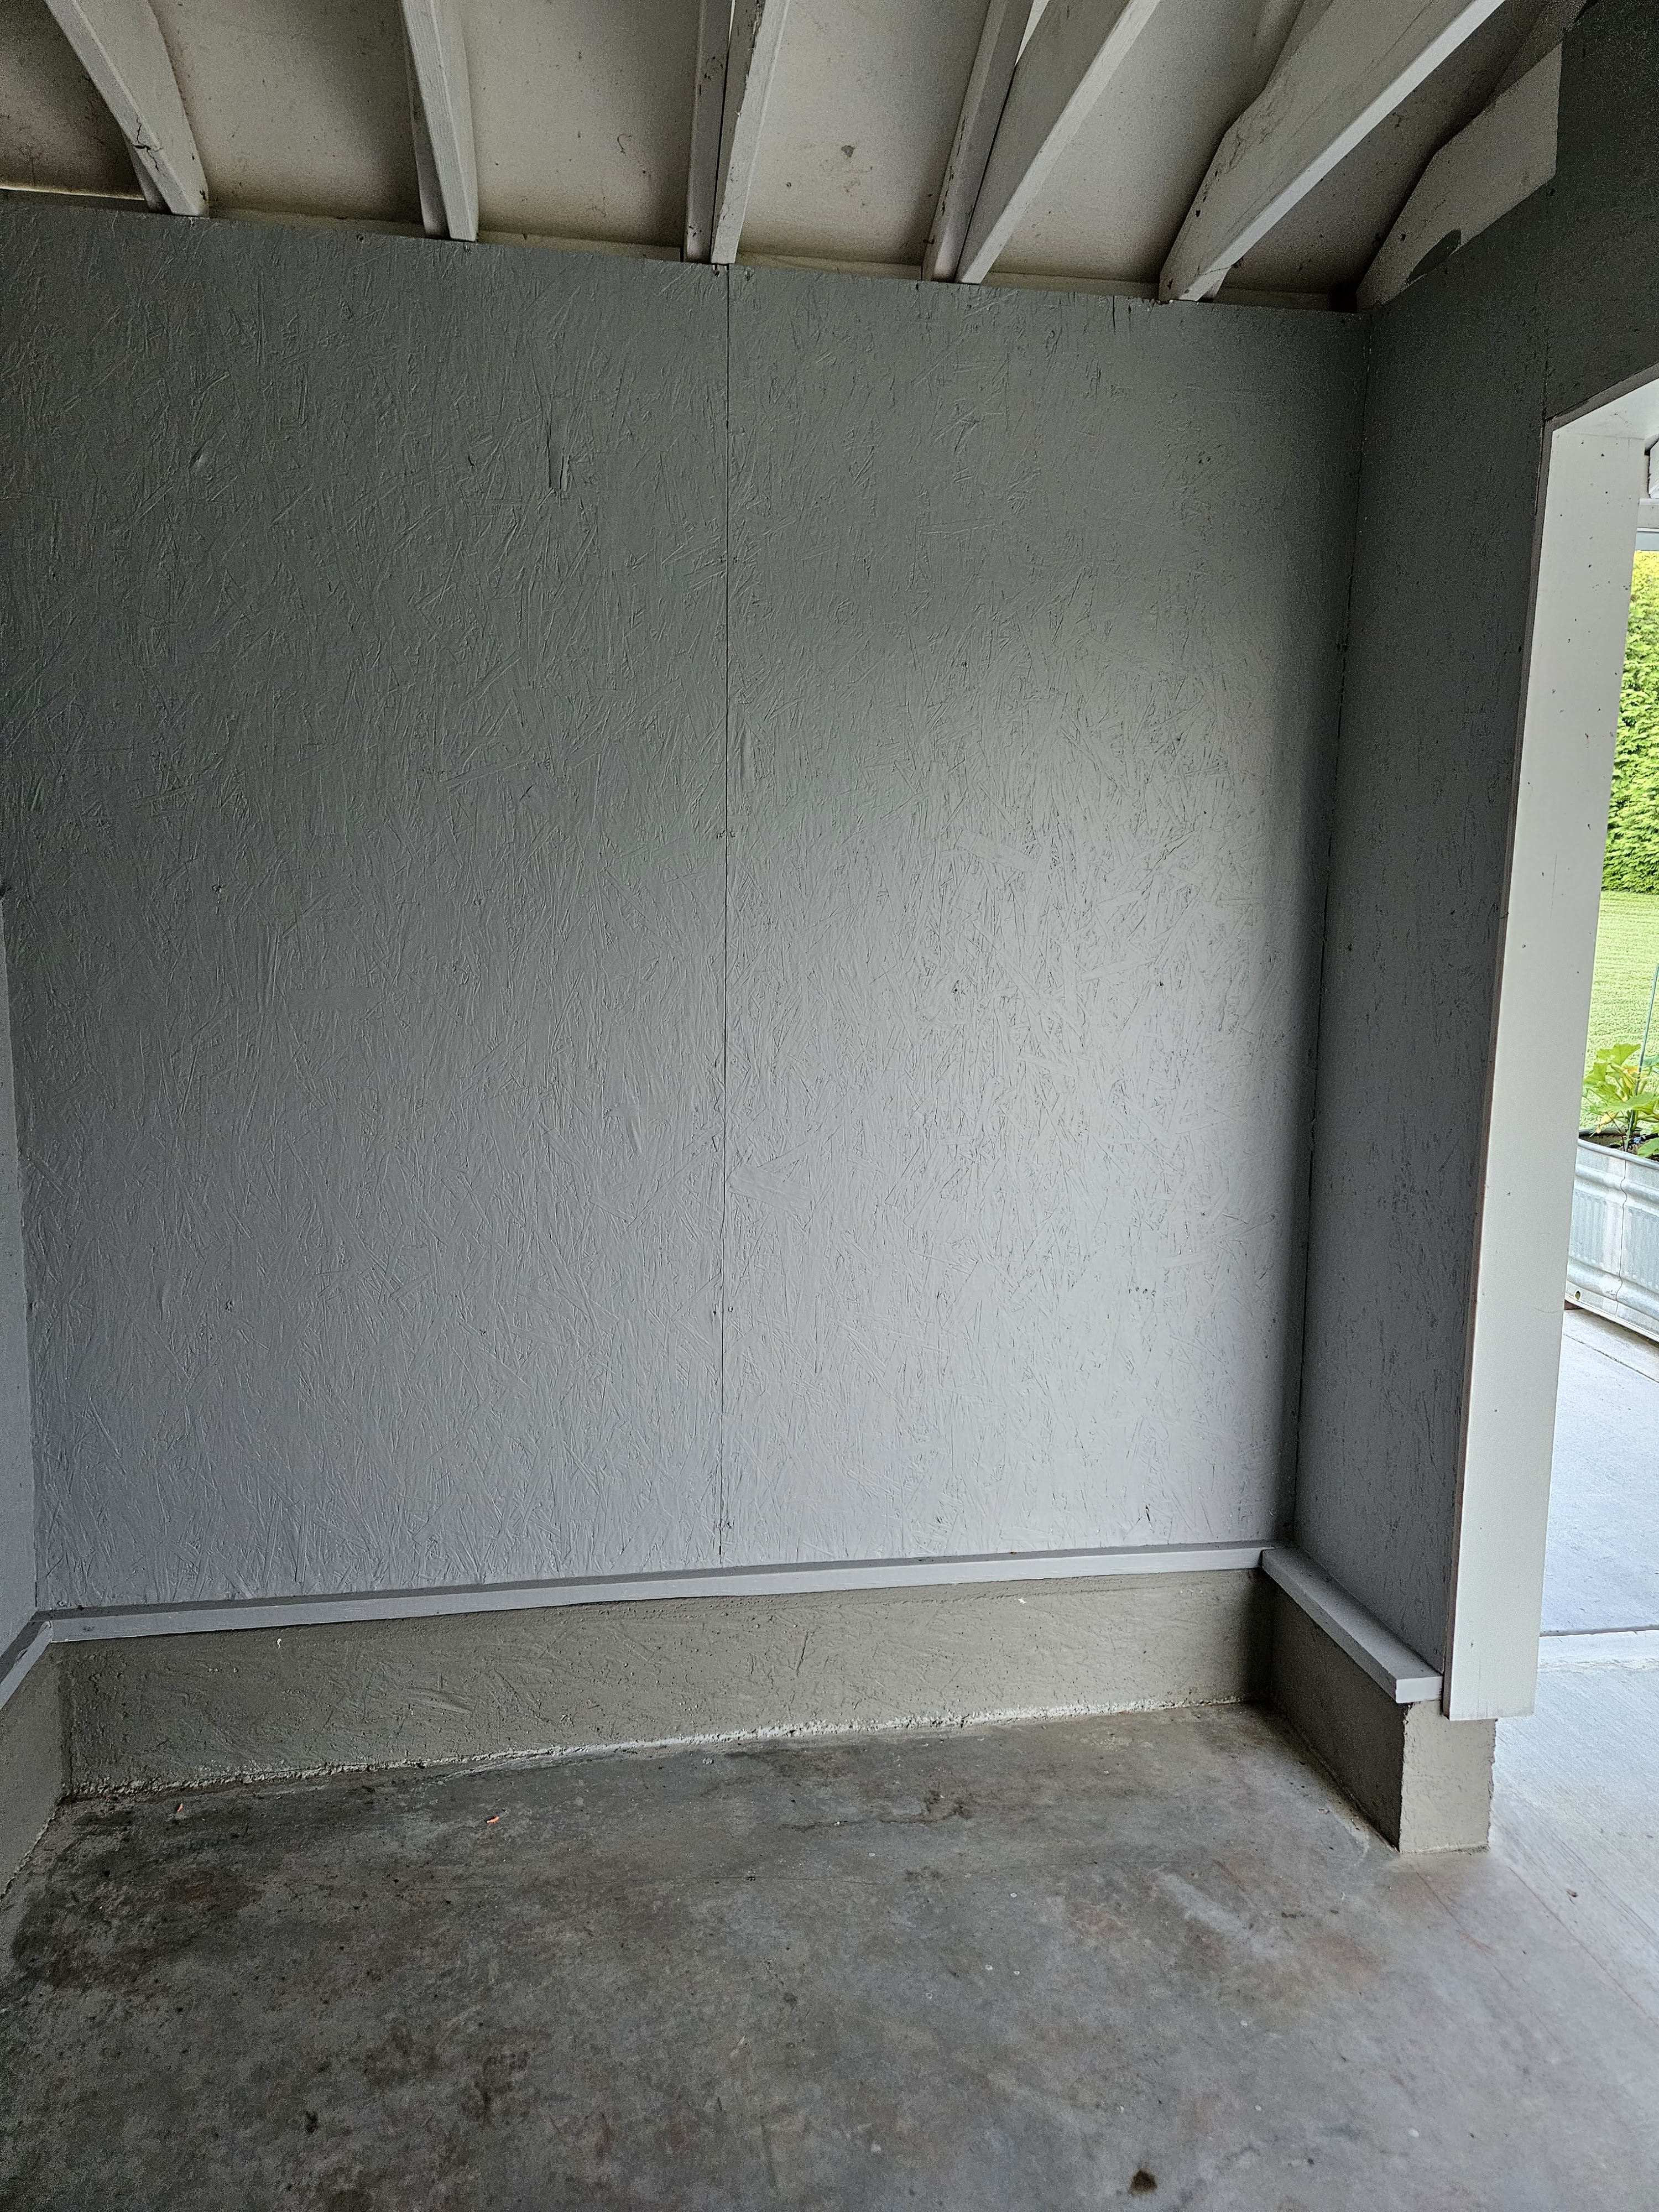
The space is roughly 8′ deep by 12′ wide. I painted the walls when my husband moved everything out. The organizing stuff I am going to use is grey.
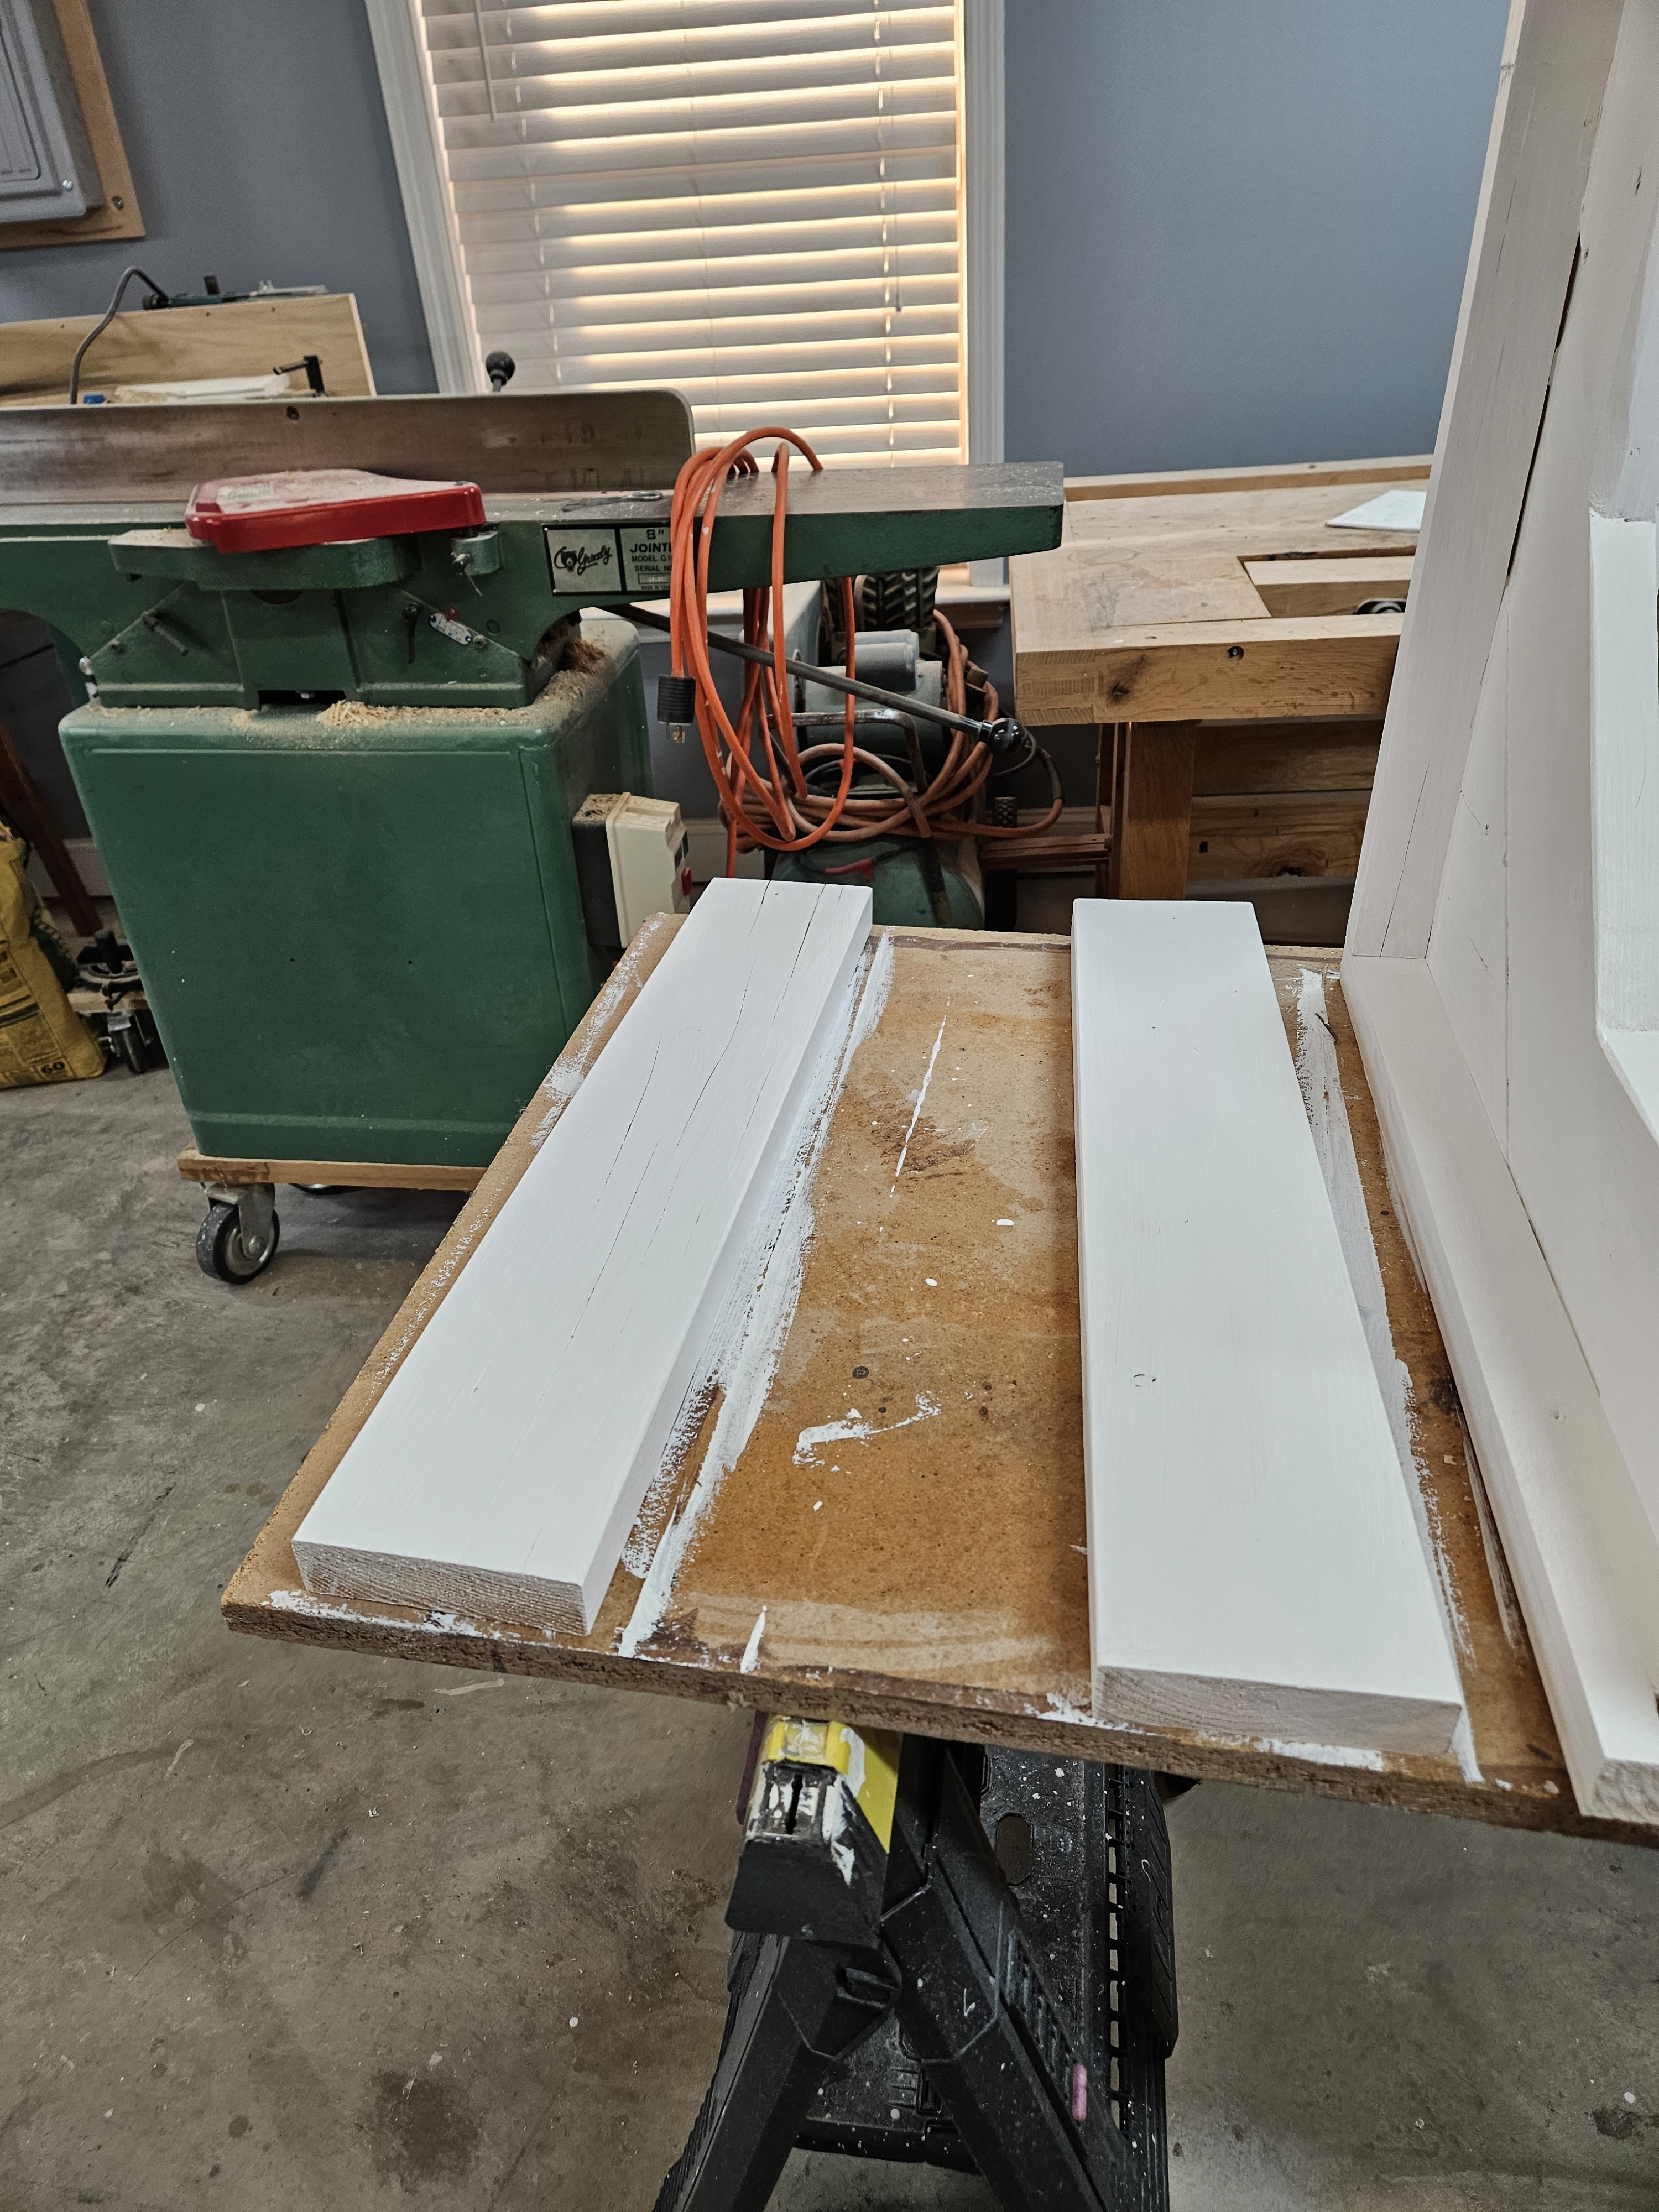
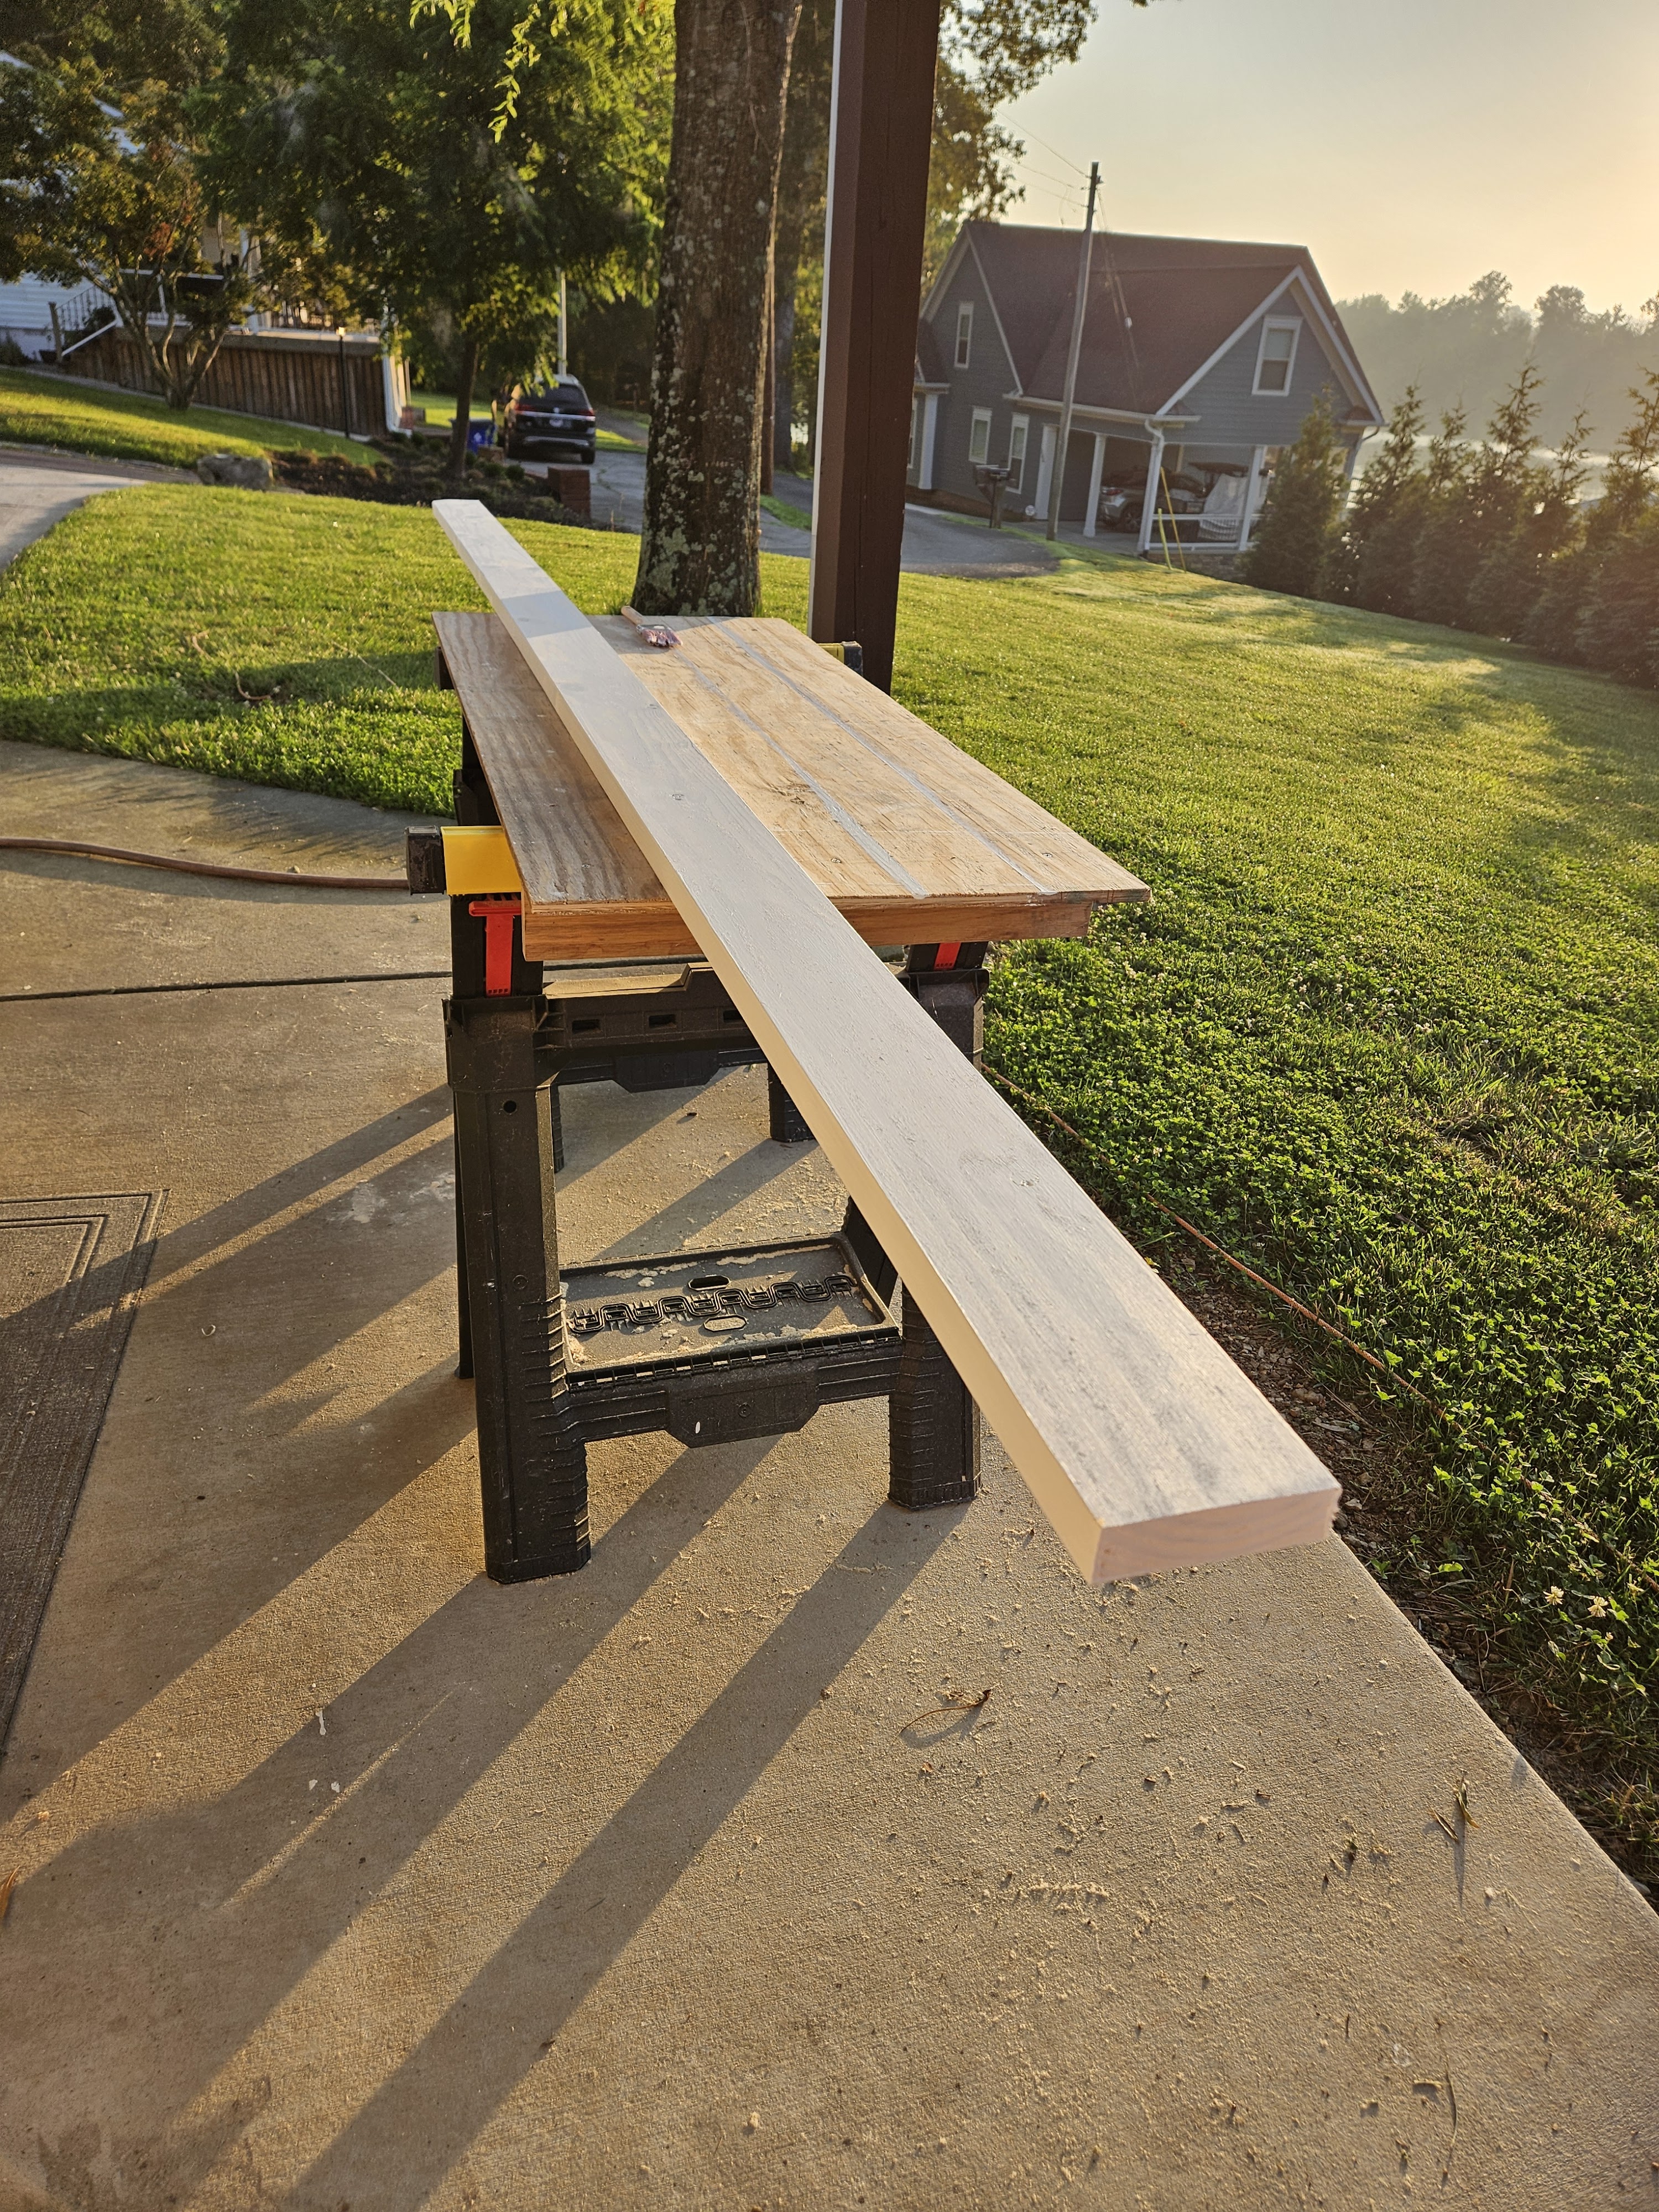
My husband made a bunch of pieces to support the large pieces of counter top. I painted all of them while he was doing his obstacle race in Alabama. (He came in 6th out of 11 in his age group–and they only count people who complete every obstacle. 1200 people started the race and less than 300 finished, so really pretty impressive. And we worked on this the day after that race.) Anyway, here are the pieces I painted–I used white solid stain.
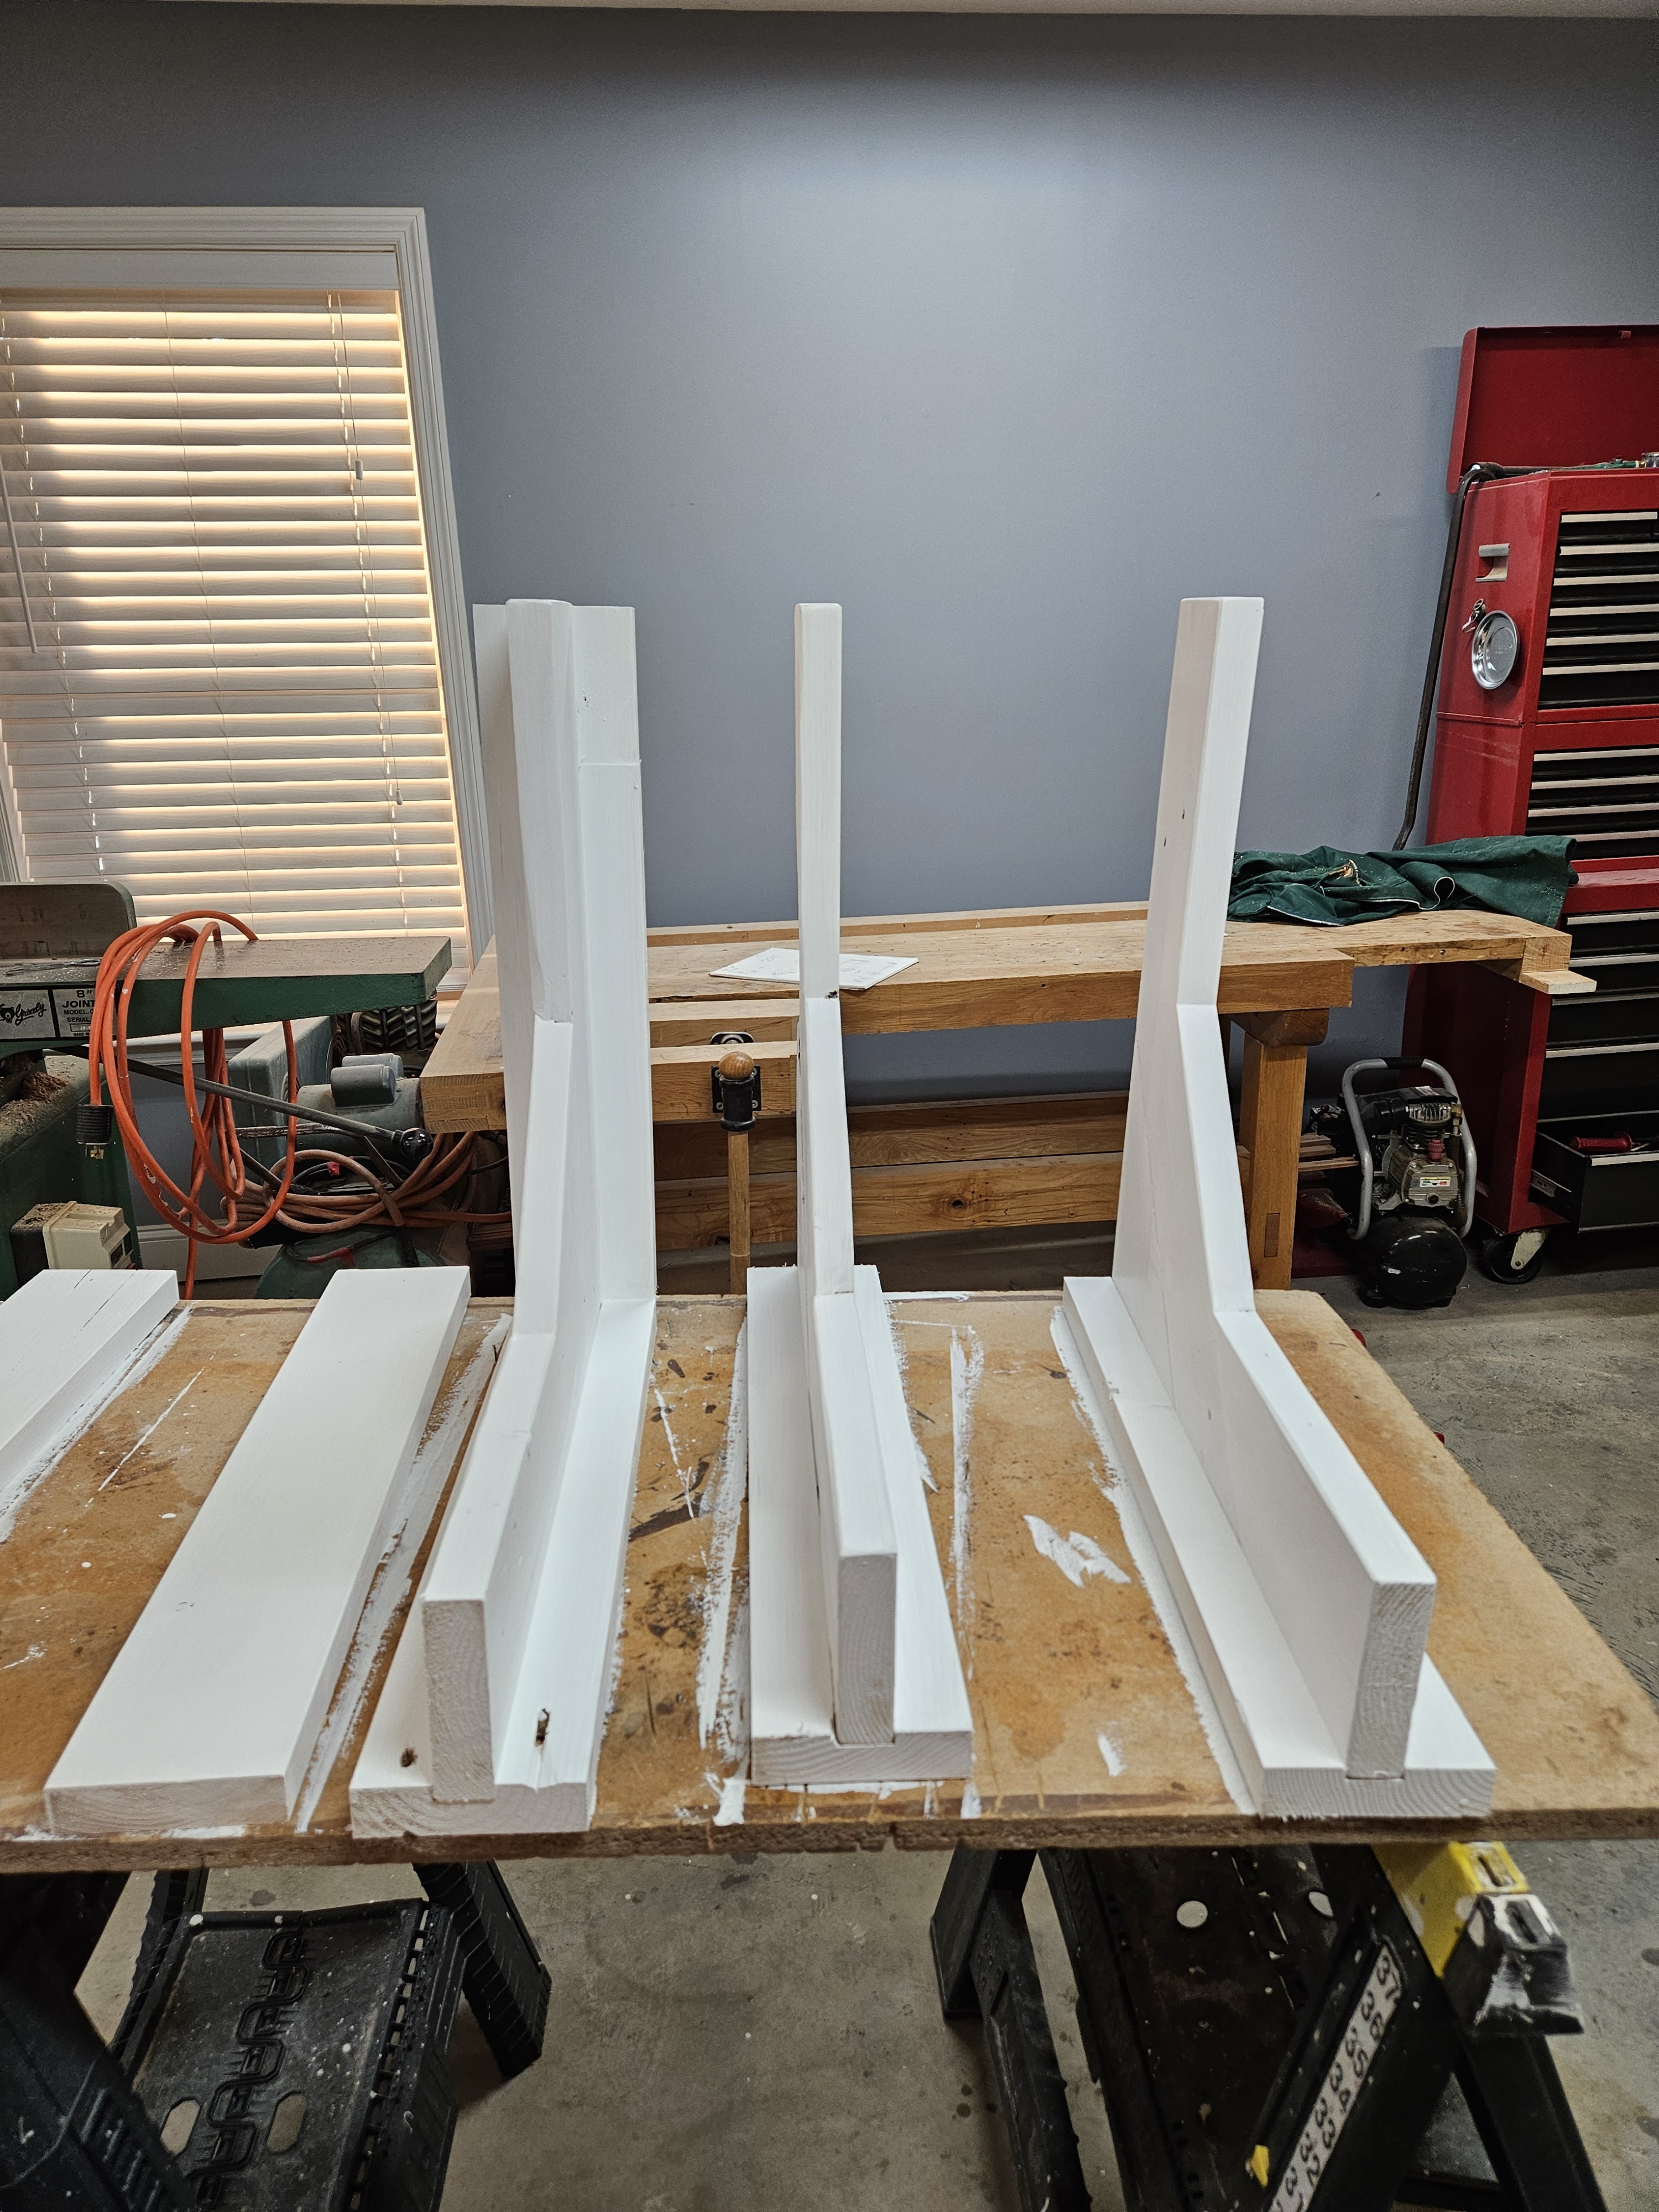
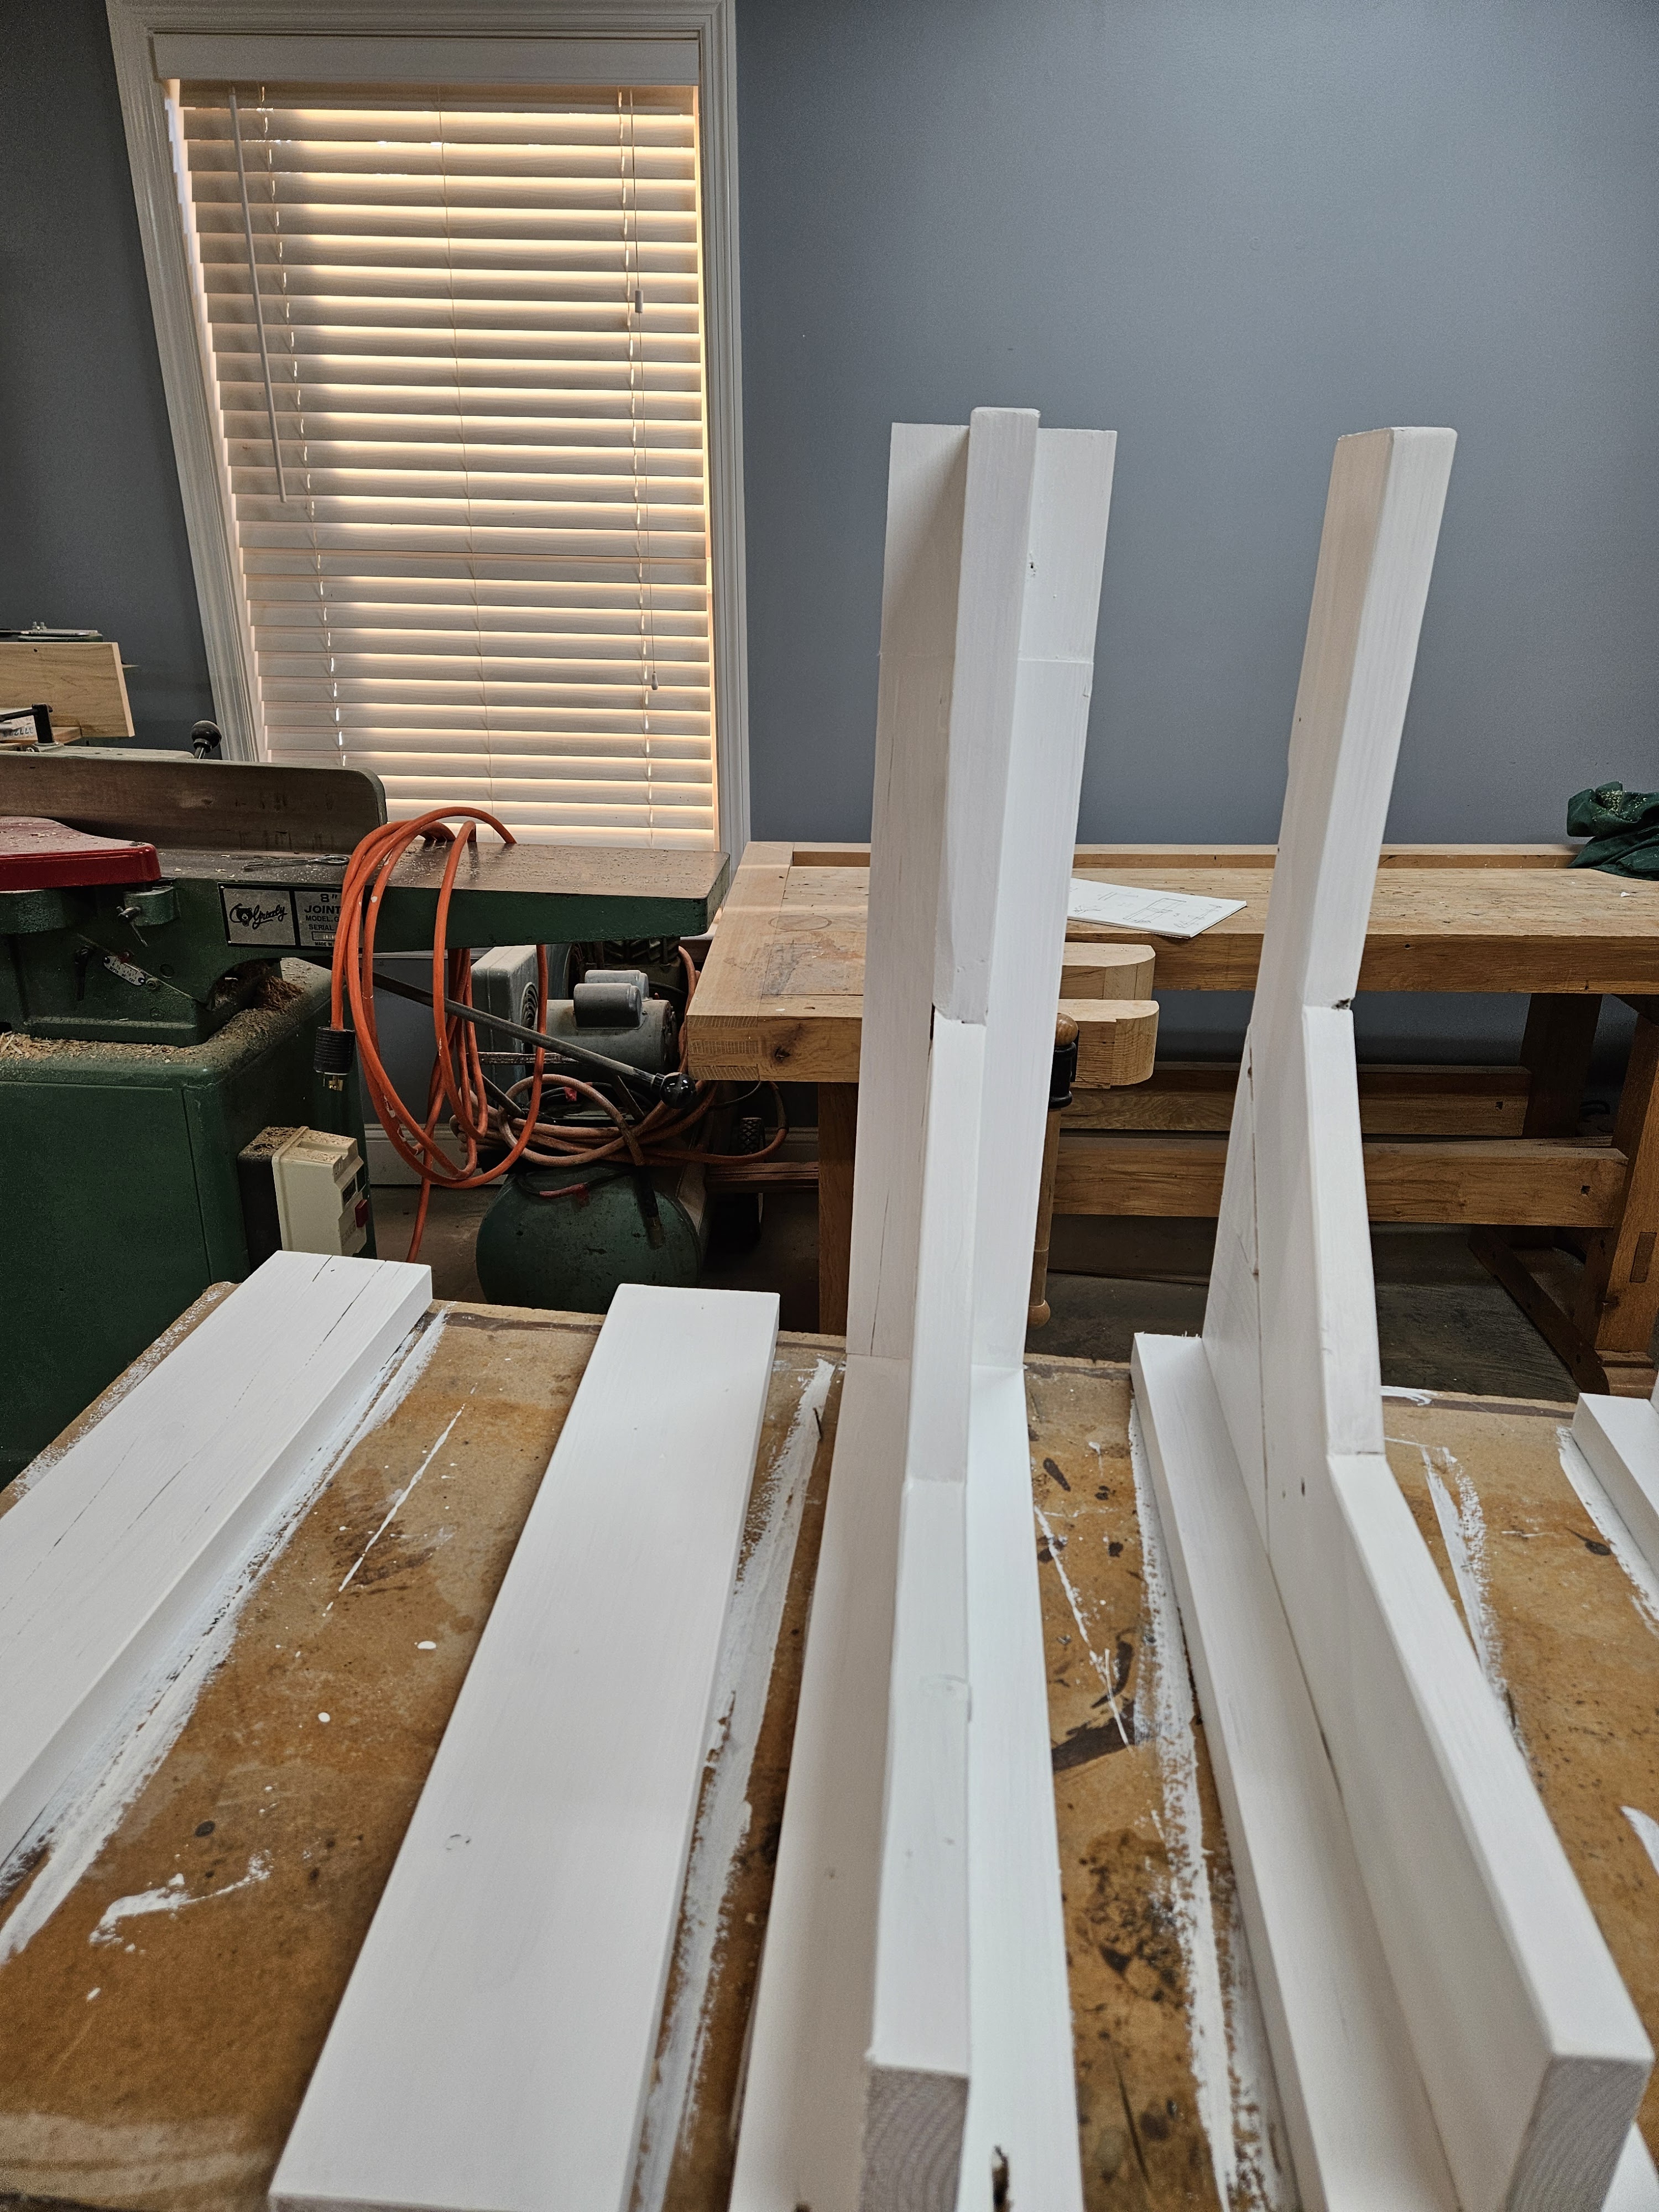
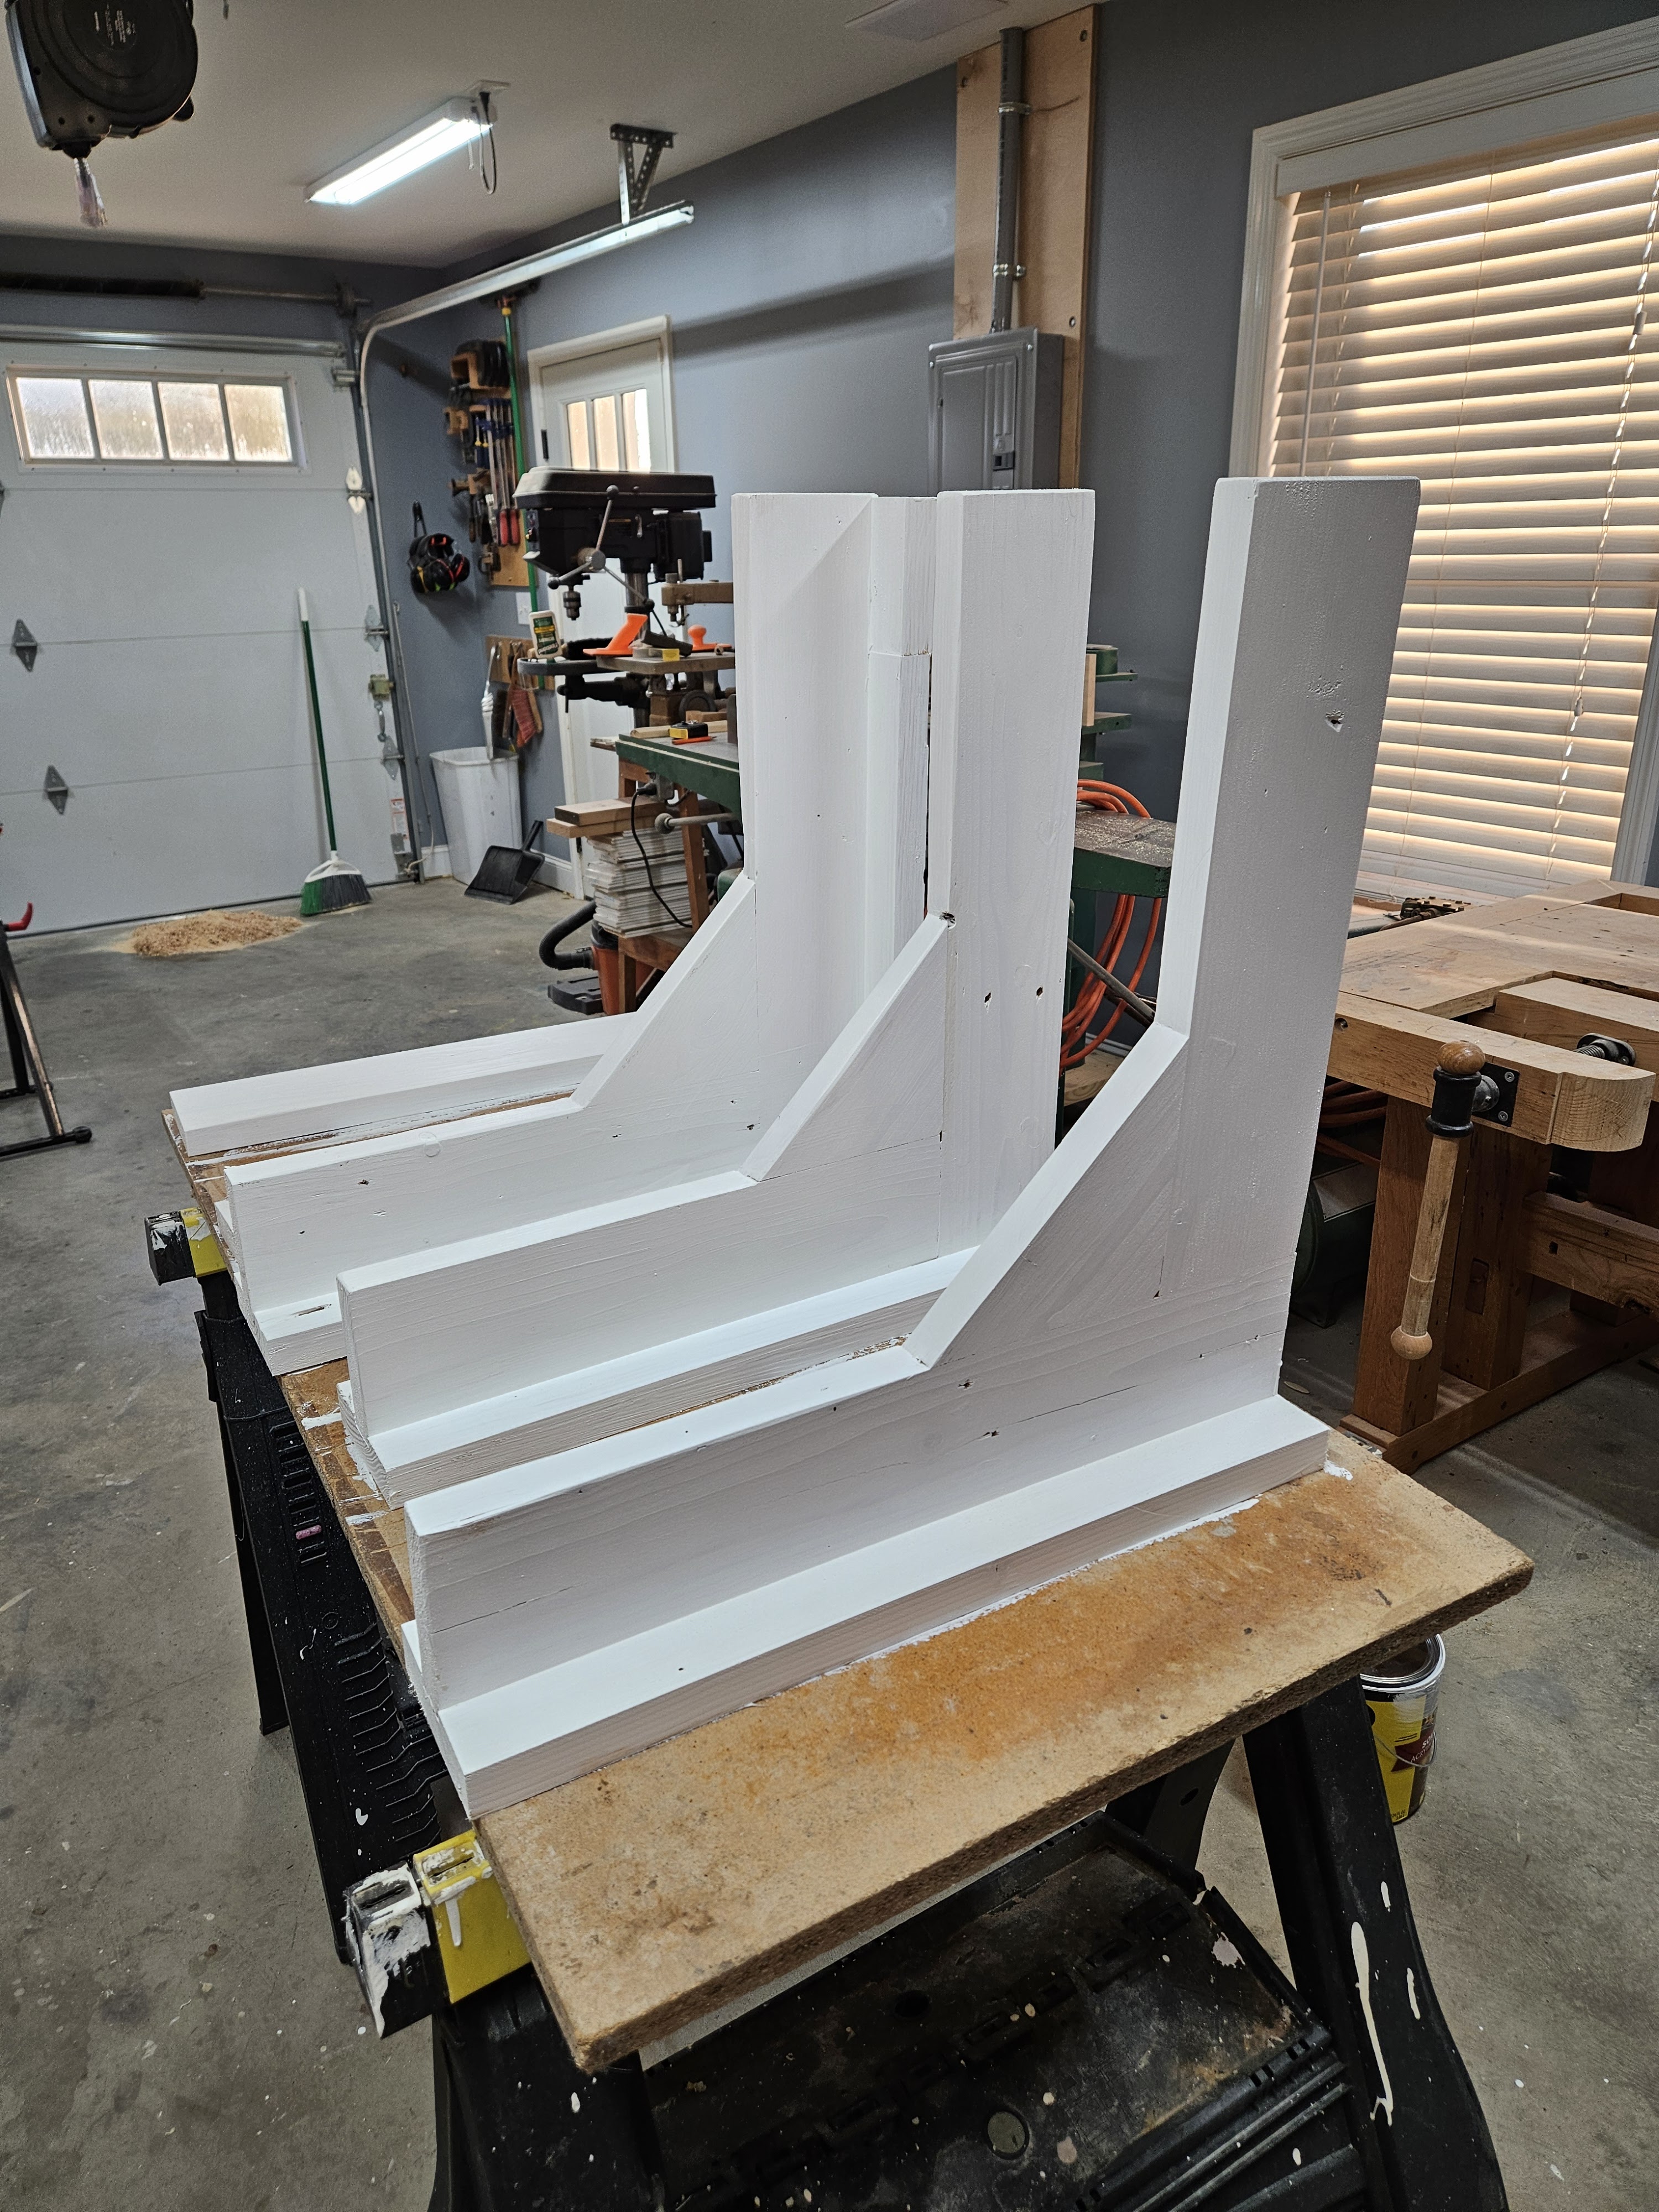
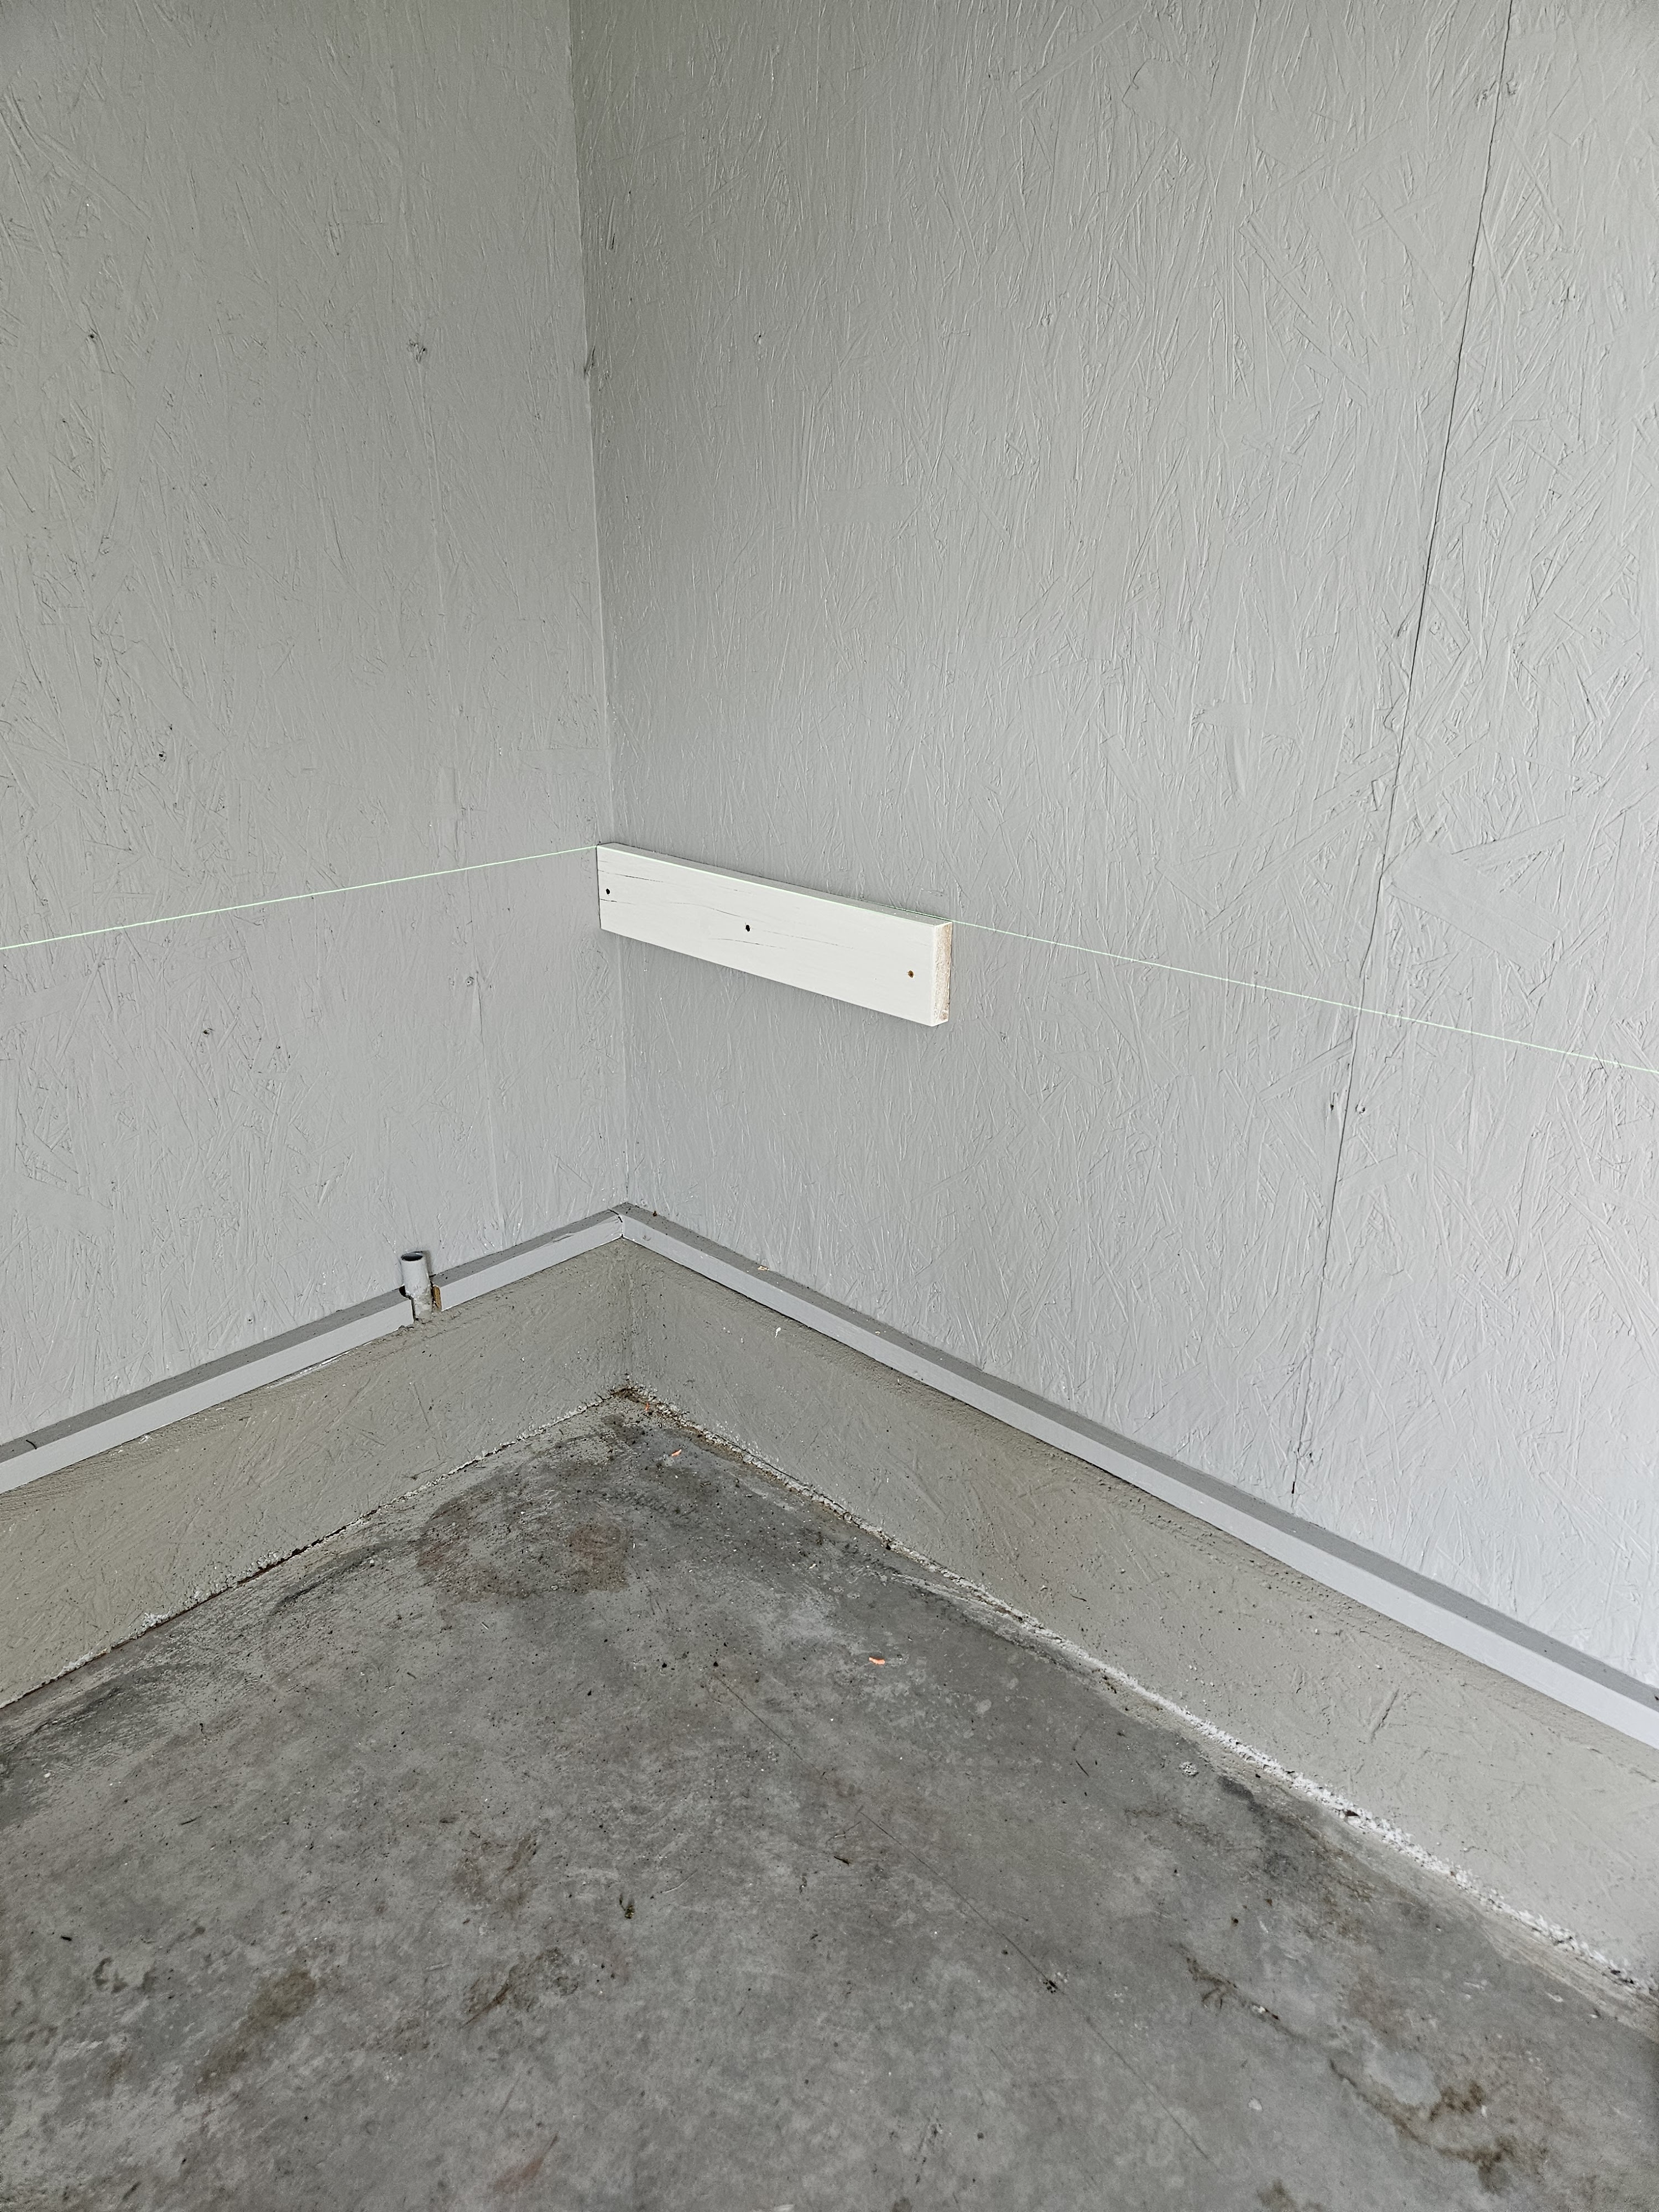
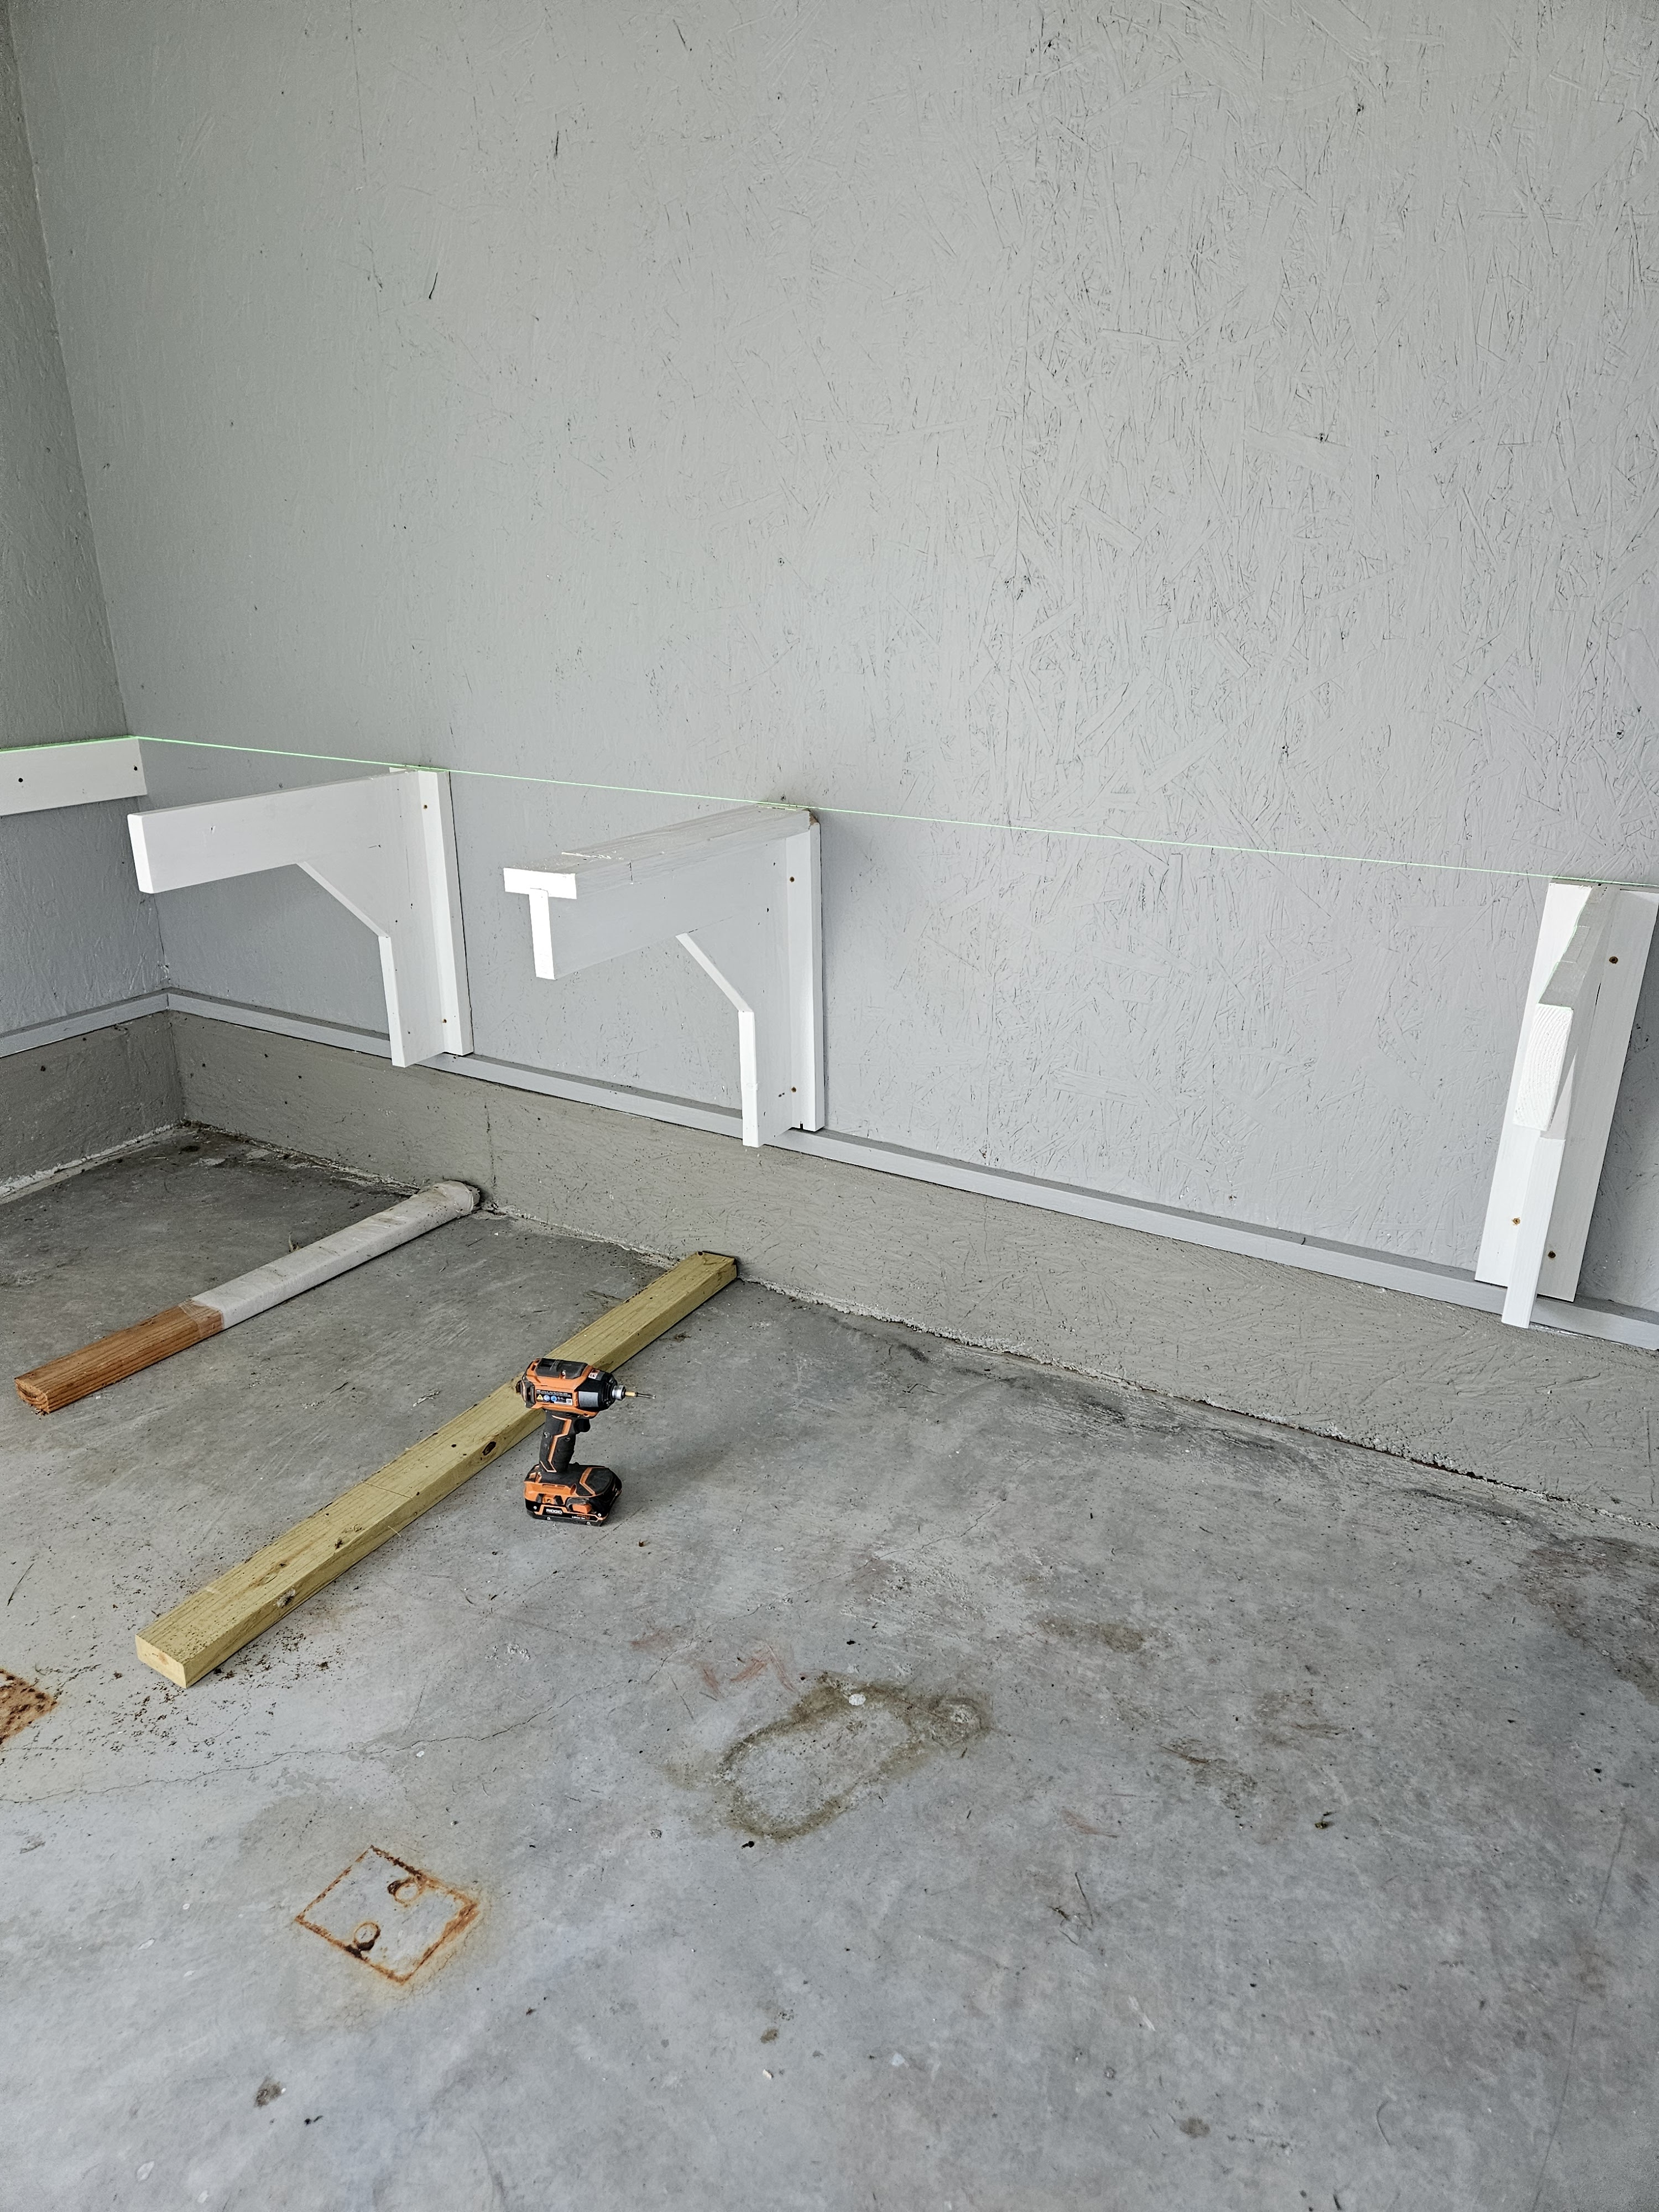
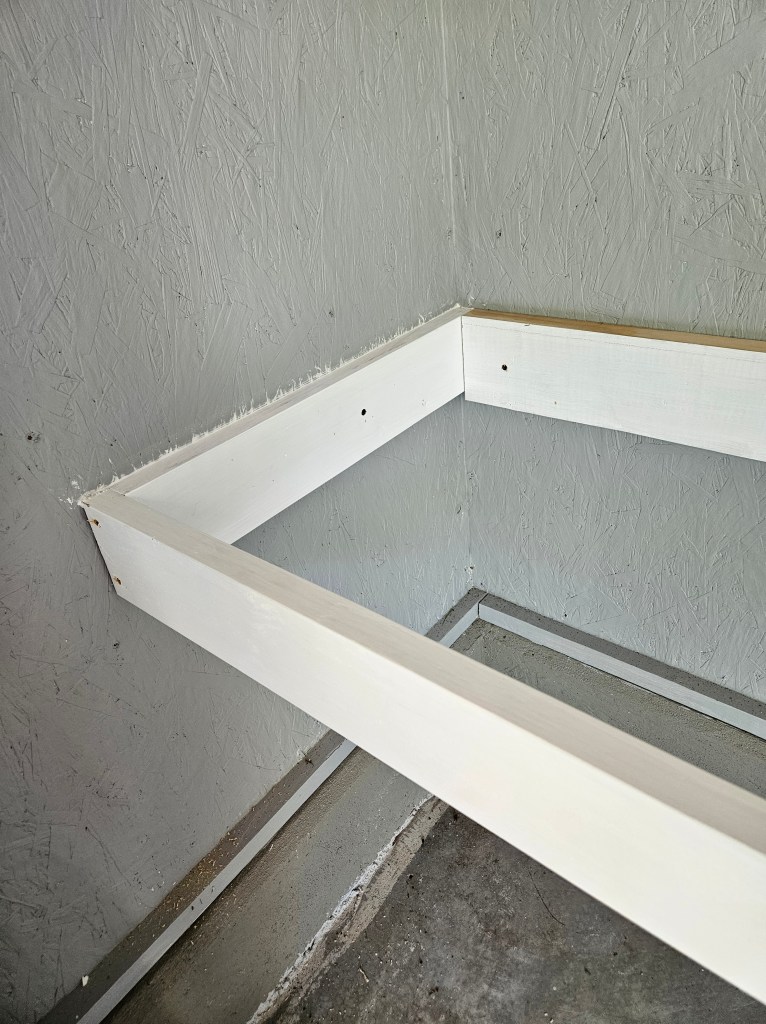
We didn’t want legs, so my husband built these super sturdy brackets to attach to the framing in the walls of the shed. The one in the middle has a top plate because that is where the 2 pieces of counter top will meet, and they needed to be supported.
He made these short pieces to attach to the wall, and the long board runs across the fronts of the brackets to hold them steady.
I wanted the finished height of the counter to be at 36″, so my husband set up the laser level at about 35″.
A laser level makes doing this kind of work so much easier because you don’t have to keep measuring and marking. I highly recommend it.
He started with the pieces that attach directly to the side walls.
Then he put up the center bracket where the pieces of counter will meet.
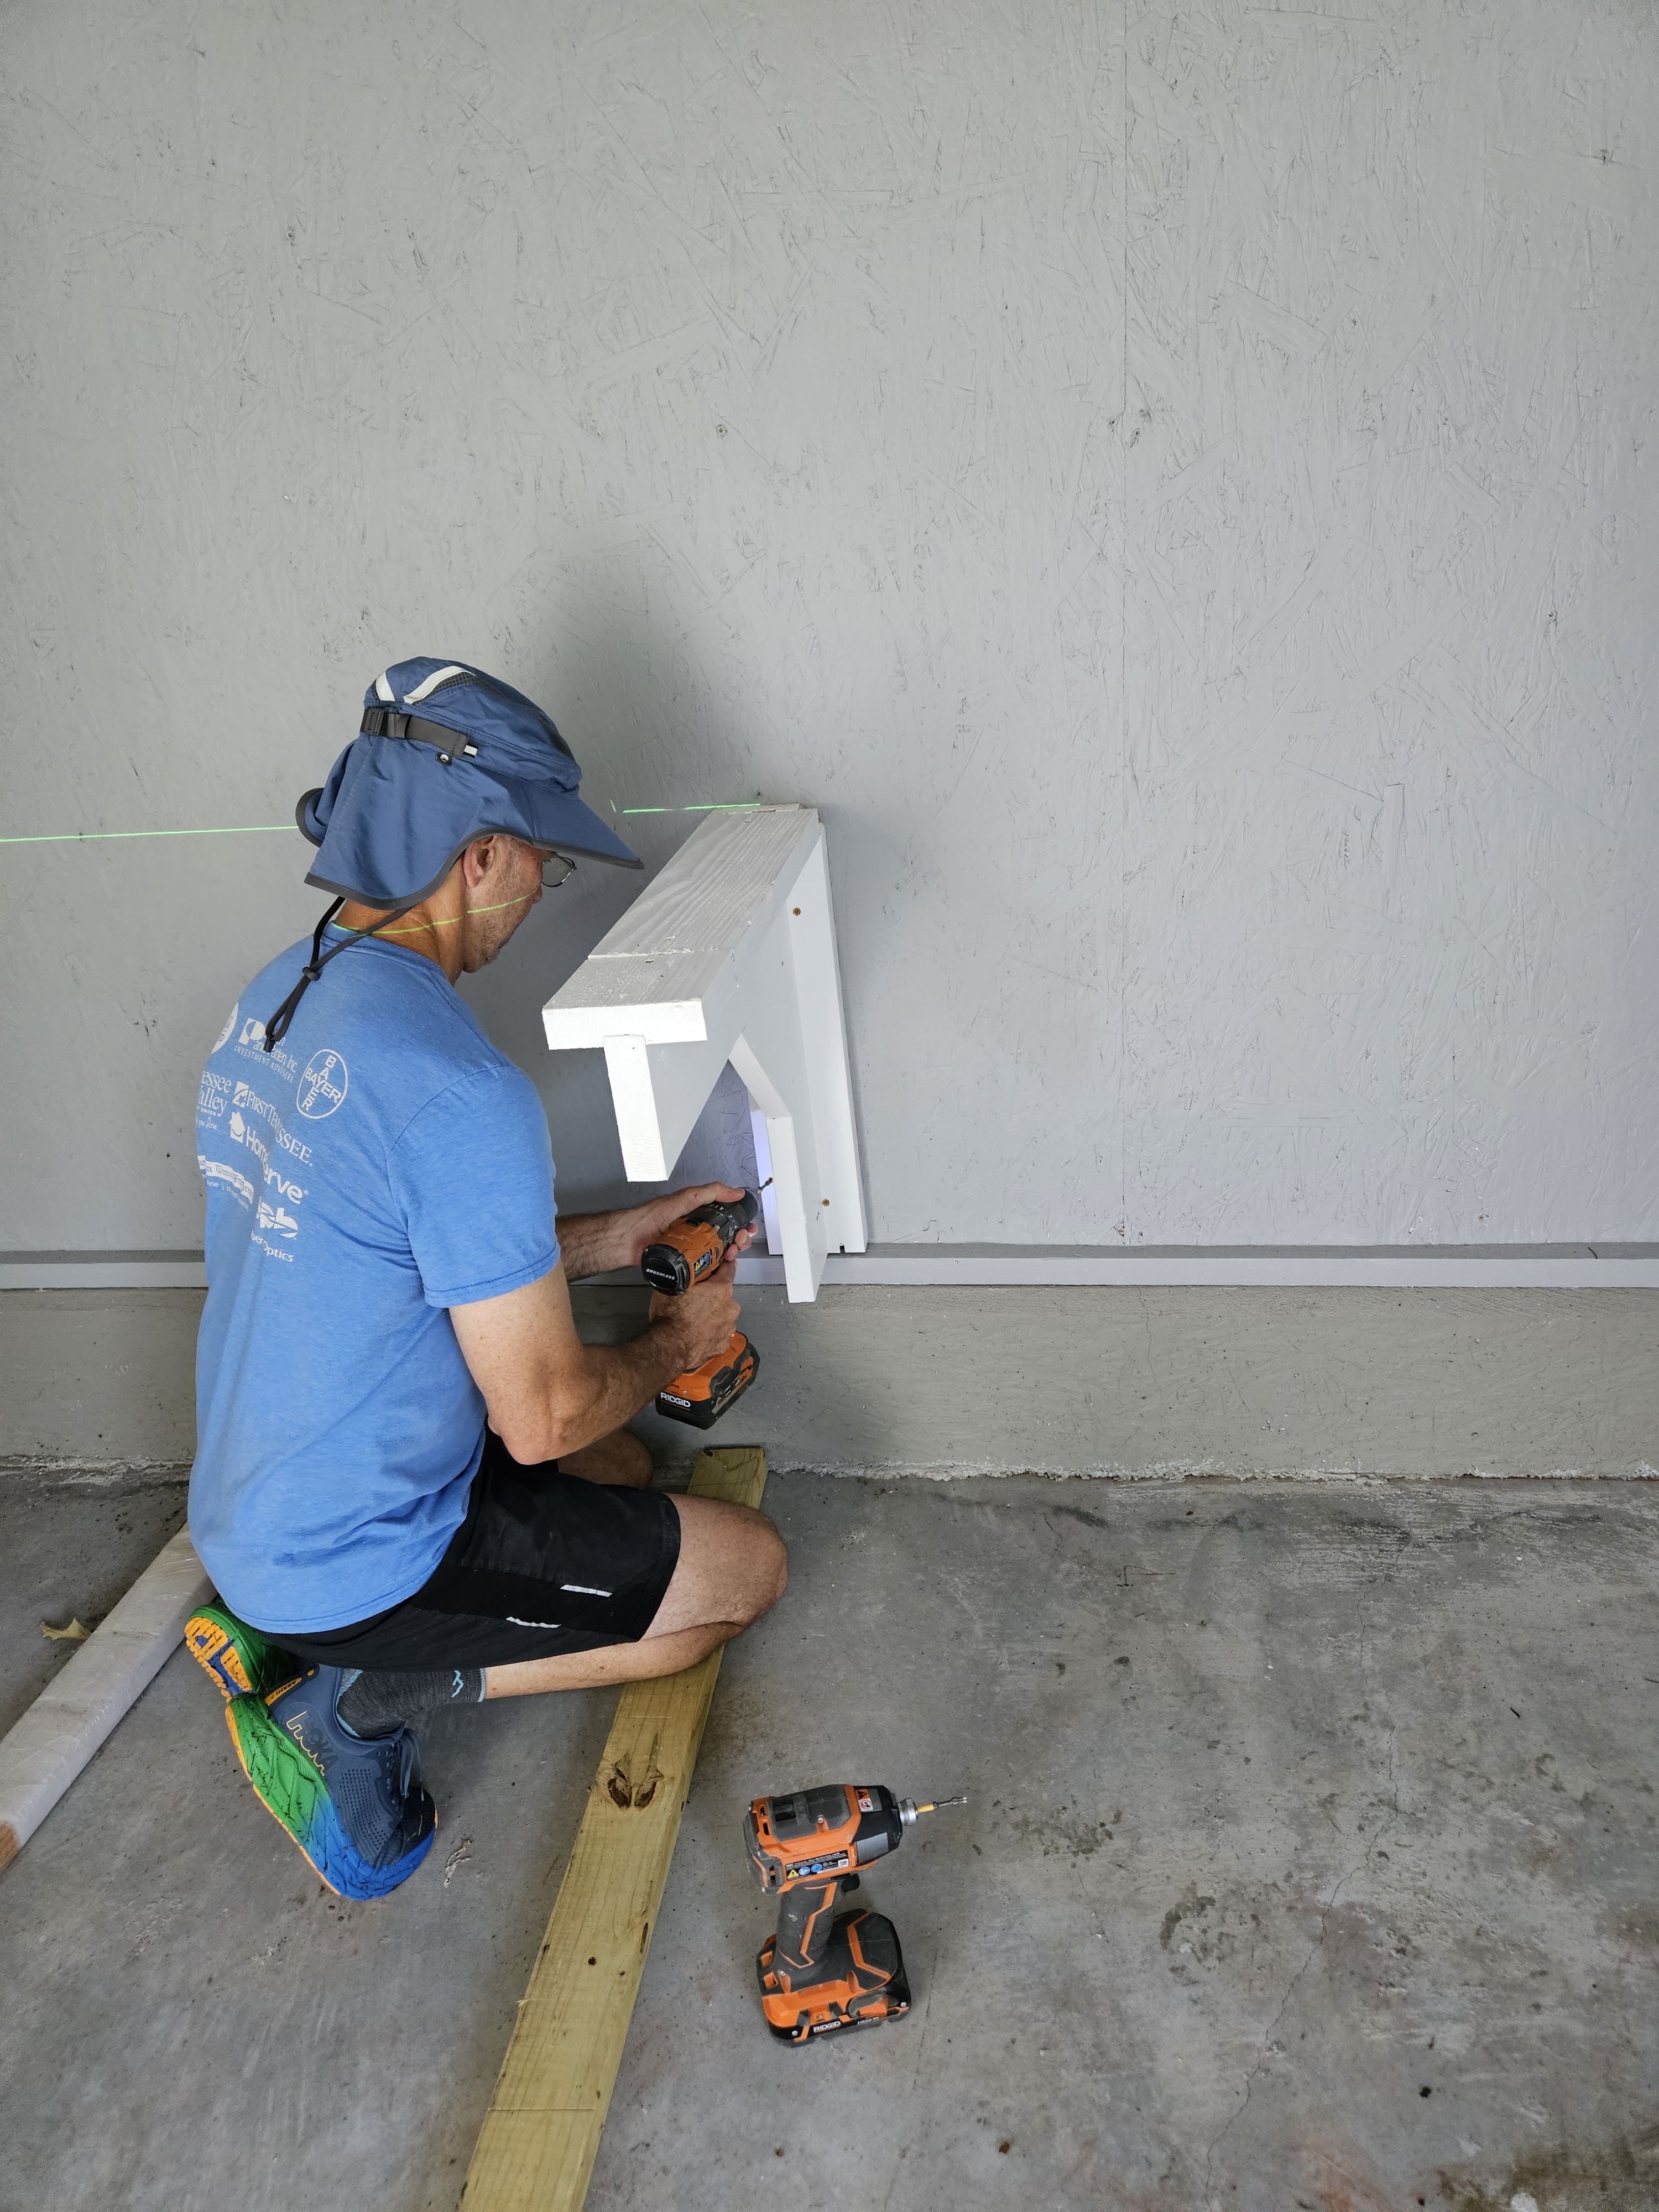
Then he put up the other two brackets.
Then he had to trim one piece of the counter top material. The total width is about 11′ 7″ and he had a piece that was 6′ even and another that was 5′ 8″, so he had to trim a tiny piece off. We couldn’t have planned this any better. (By the way, my husband works for Mars and they were renovating part of the plant and that’s where the counter top material came from–no cost in it which is really nice.) Because it’s man made, (it’s stone dust and some sort of plastic resin) it can be cut with the same blade that he used for the cement board ceiling we just put up in the ancient basement. (Before he cut it to length, we had to scrape all the adhesive off of all the pieces we were using. Not difficult, but it was really hot and humid, so it felt like more work than it actually was.)
While he was cutting the stone, I caulked between the brackets and boards and the wall. All the gaps. And it was so hot.
We got the first piece of stone in place.
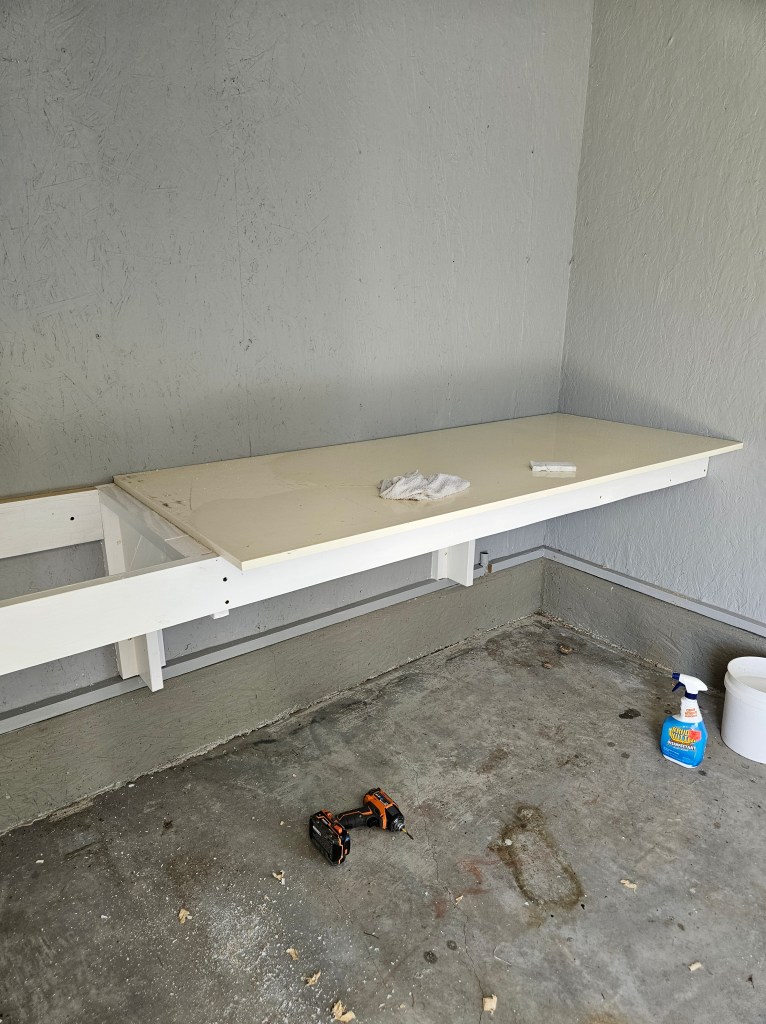
The counter tops were really dirty, and I had to SCRUB them with a magic eraser to get them mostly clean. There are still some little rust spots, but this is a counter in a potting shed, so they’re just going to have to stay there.

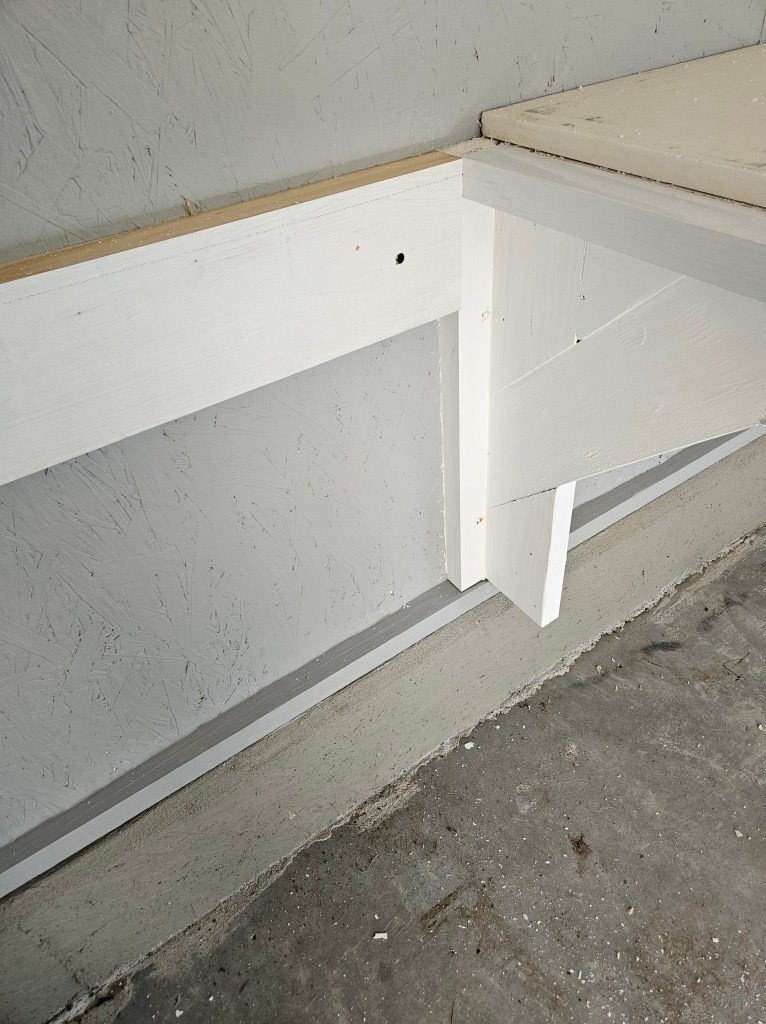
After we got both pieces of counter in place, I caulked the gap between the board that spans the fronts of all the supports on the front and behind the board. Yes, I was crawling around on the floor to do this.
I finished scrubbing the counters, and my husband cut the little backsplash pieces to length and we installed those with latex caulk. and caulked all the seams as well as the seam where the 2 pieces of counter meet. You can see that the brackets aren’t evenly spaced, but this is how it worked out to screw them to the framing.
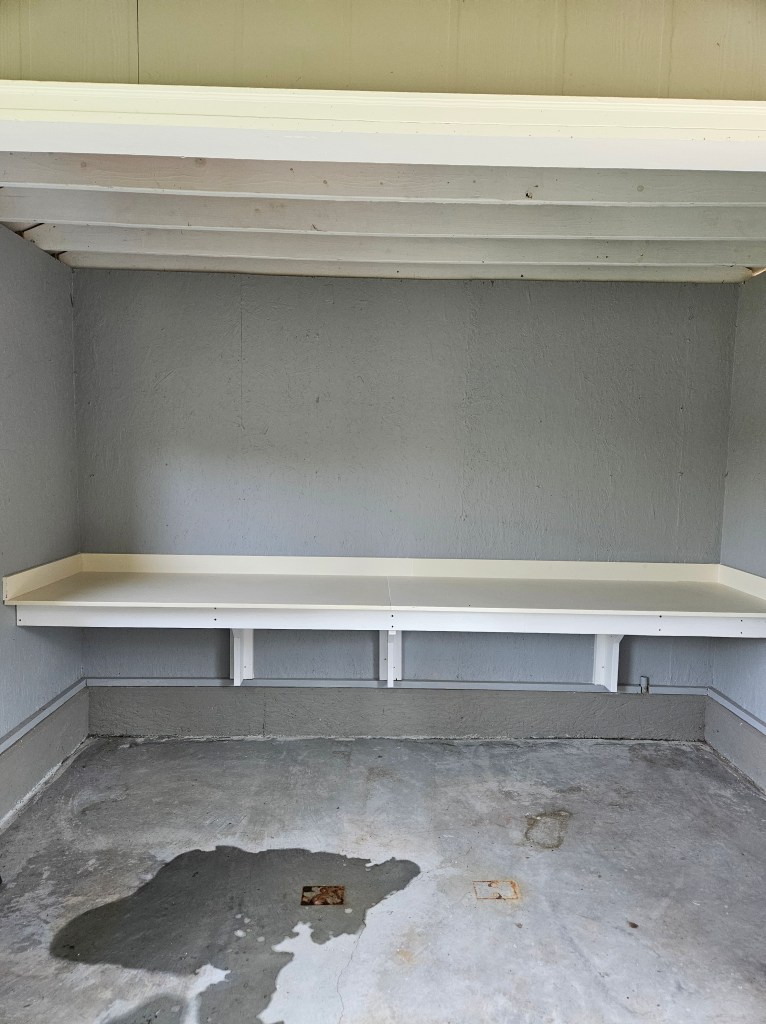
My husband took out the faux shutters that we put up when we built this addition to the shed thinking that it might get some air moving, but no such luck, since it faces North and we never get a wind from the north during the summer. So we’ll put that back up. He’s talking about getting a little solar panel that will generate enough power to run a little fan–that would be nice.
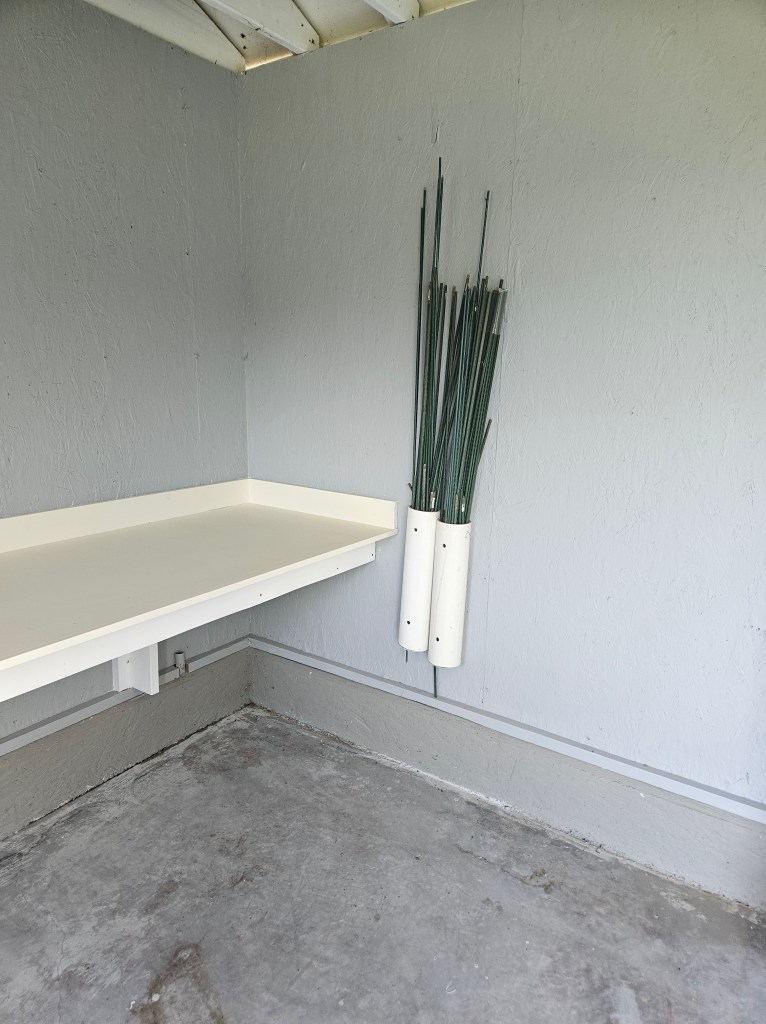
He also hung my garden stake storage back up on the wall. This is a great way to store these.
So, we still have some work to do. I am waiting on some organization stuff for all my nursery pots and trays, and other potting materials, like wooden tags for trays. Those are going to be a minute, because they haven’t shipped yet. We also need to move the metal trash can that I store my potting soil in under the counter. I have some hooks to attach to the boards on front to hang my potting tray and other stuff. And, we have to move these 2 cold frames that my husband built me in here to get them out of my way behind the shed.
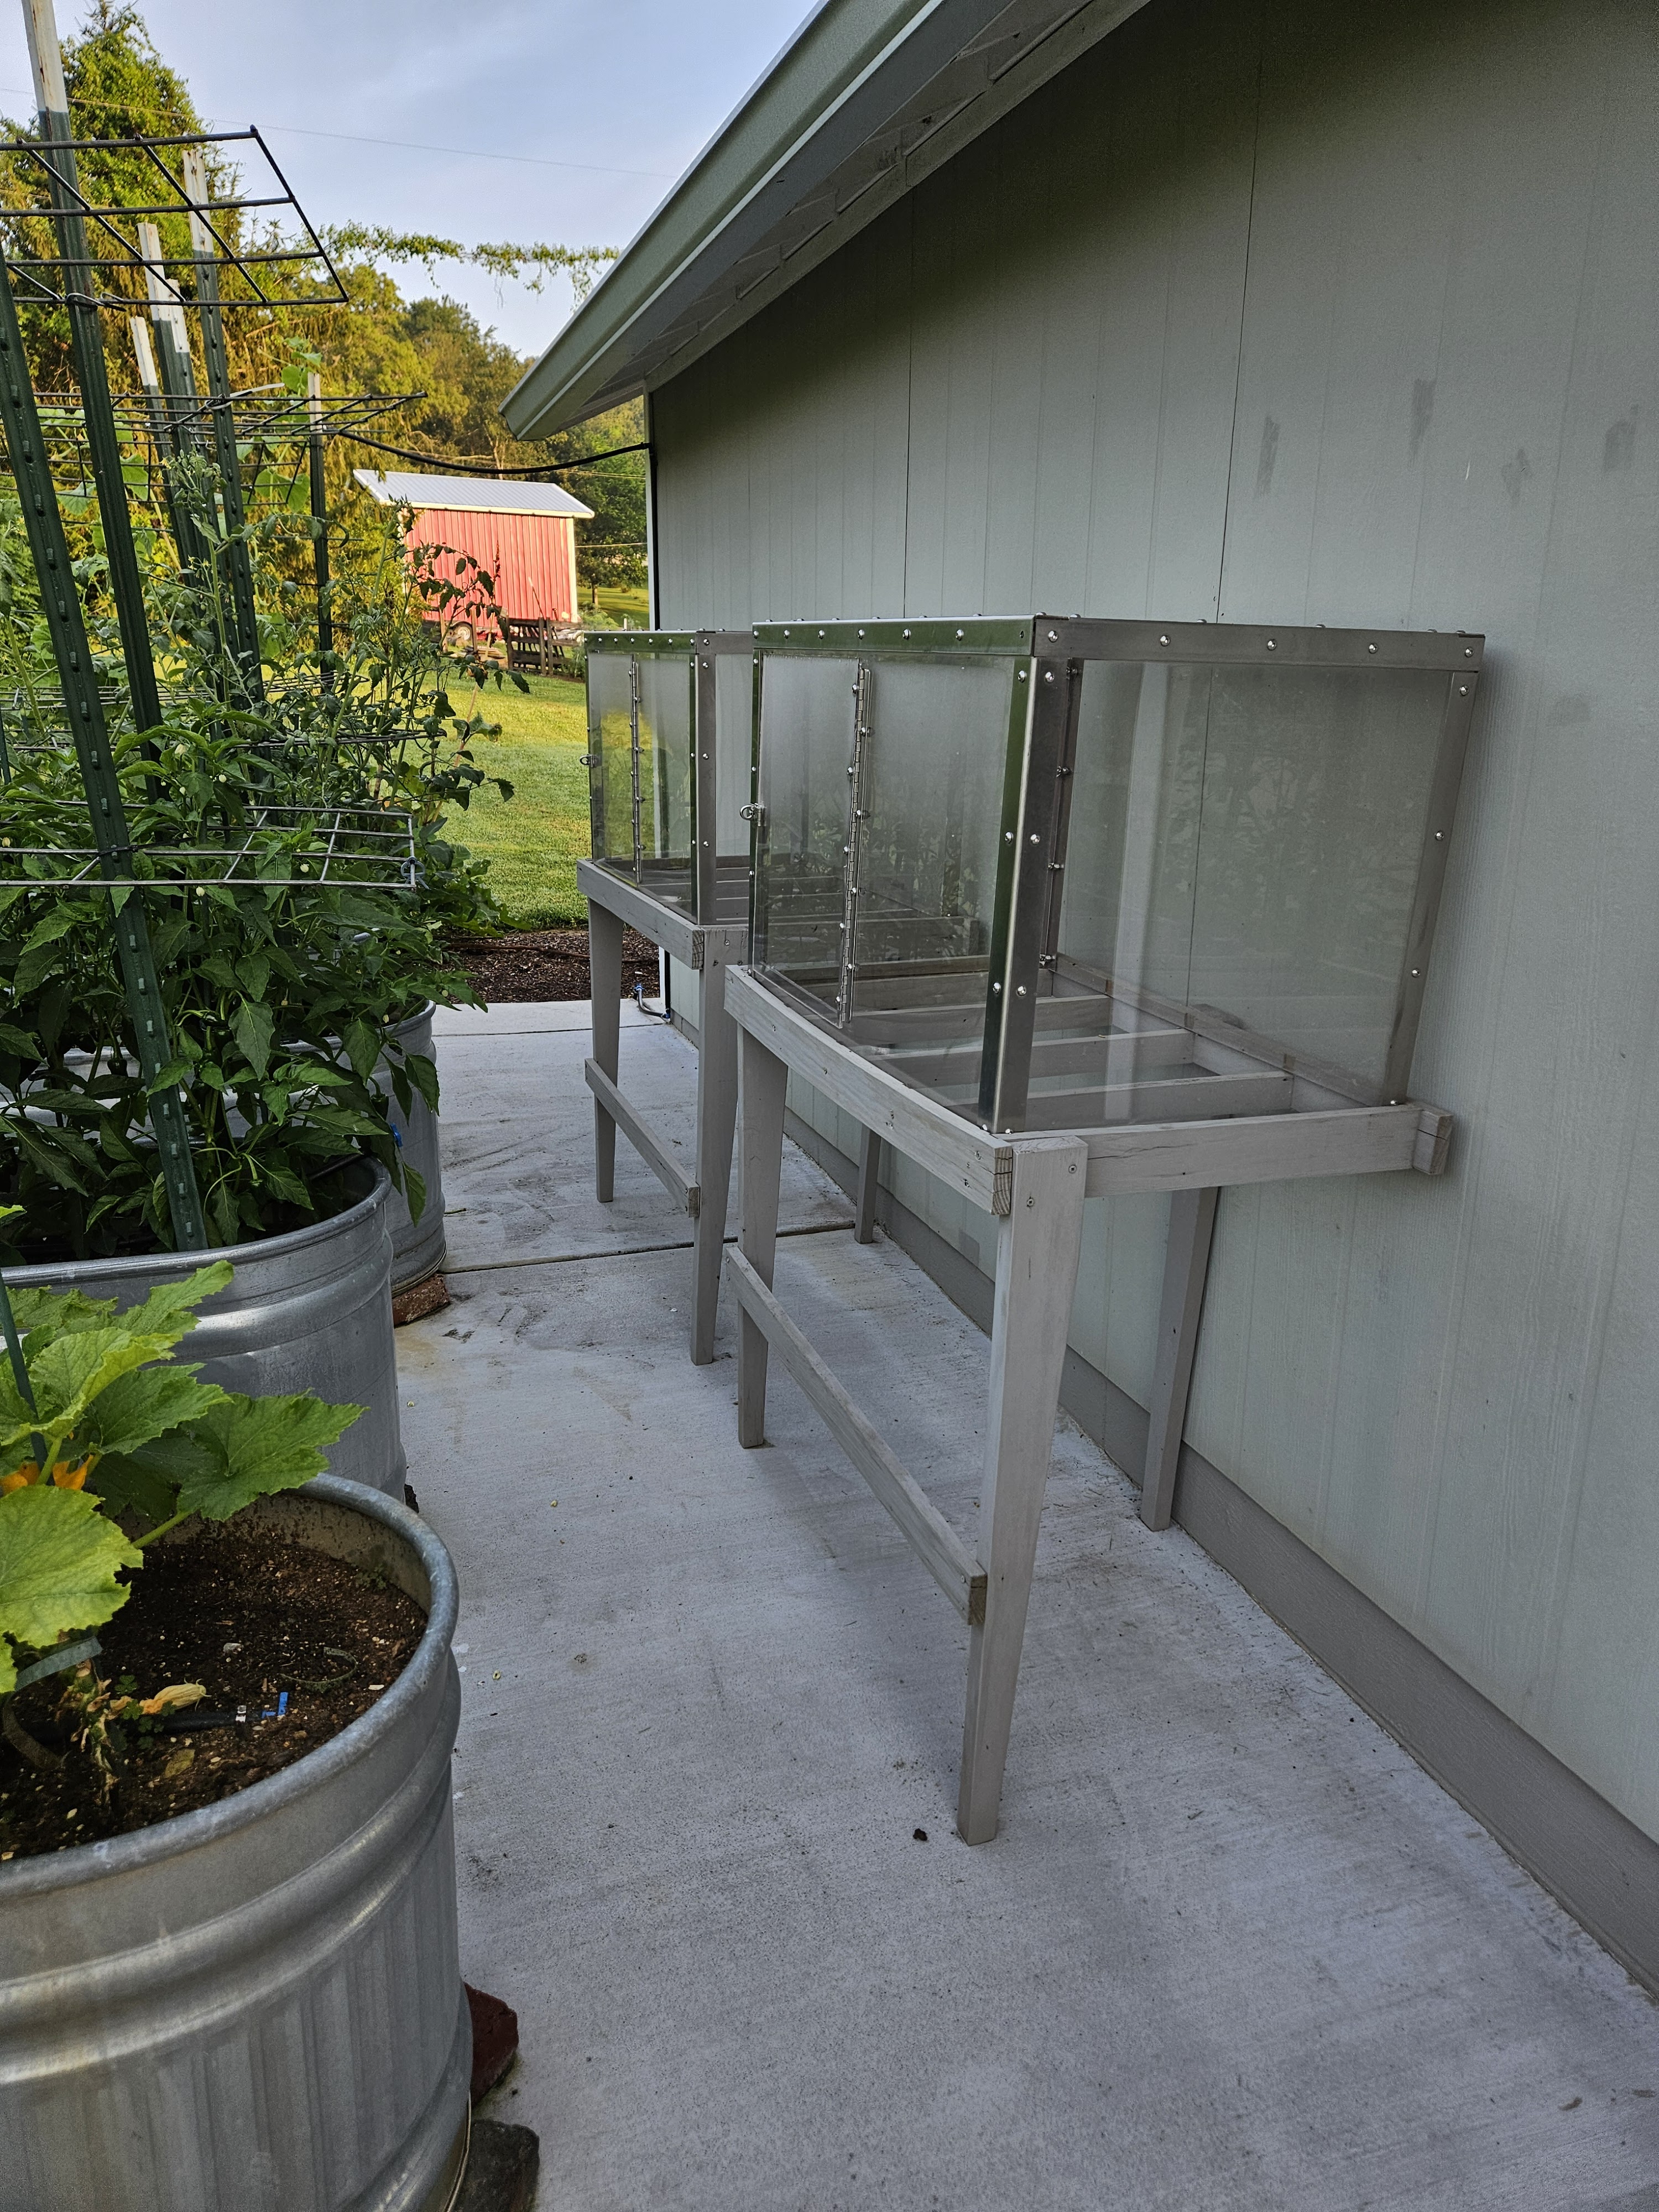
We need to rework them to make them more useful. They’re a good idea, just need to be refined a little. He made me a really big cold frame on wheels as a Christmas gift that I love. I used it this spring to start all my warm season vegetables and they did really well.
Anyway, after we did all that work, we went and floated in the river because, as I think I mentioned, it was so hot.
I will post again when we get the last few items completed.
