
We bought all the doors for the basement from a guy up near Toledo, OH. Most of them were painted. This is the door that we selected for the storage room. My husband thinks that this is an exterior door (a detail that will be important later on) so it’s thicker.
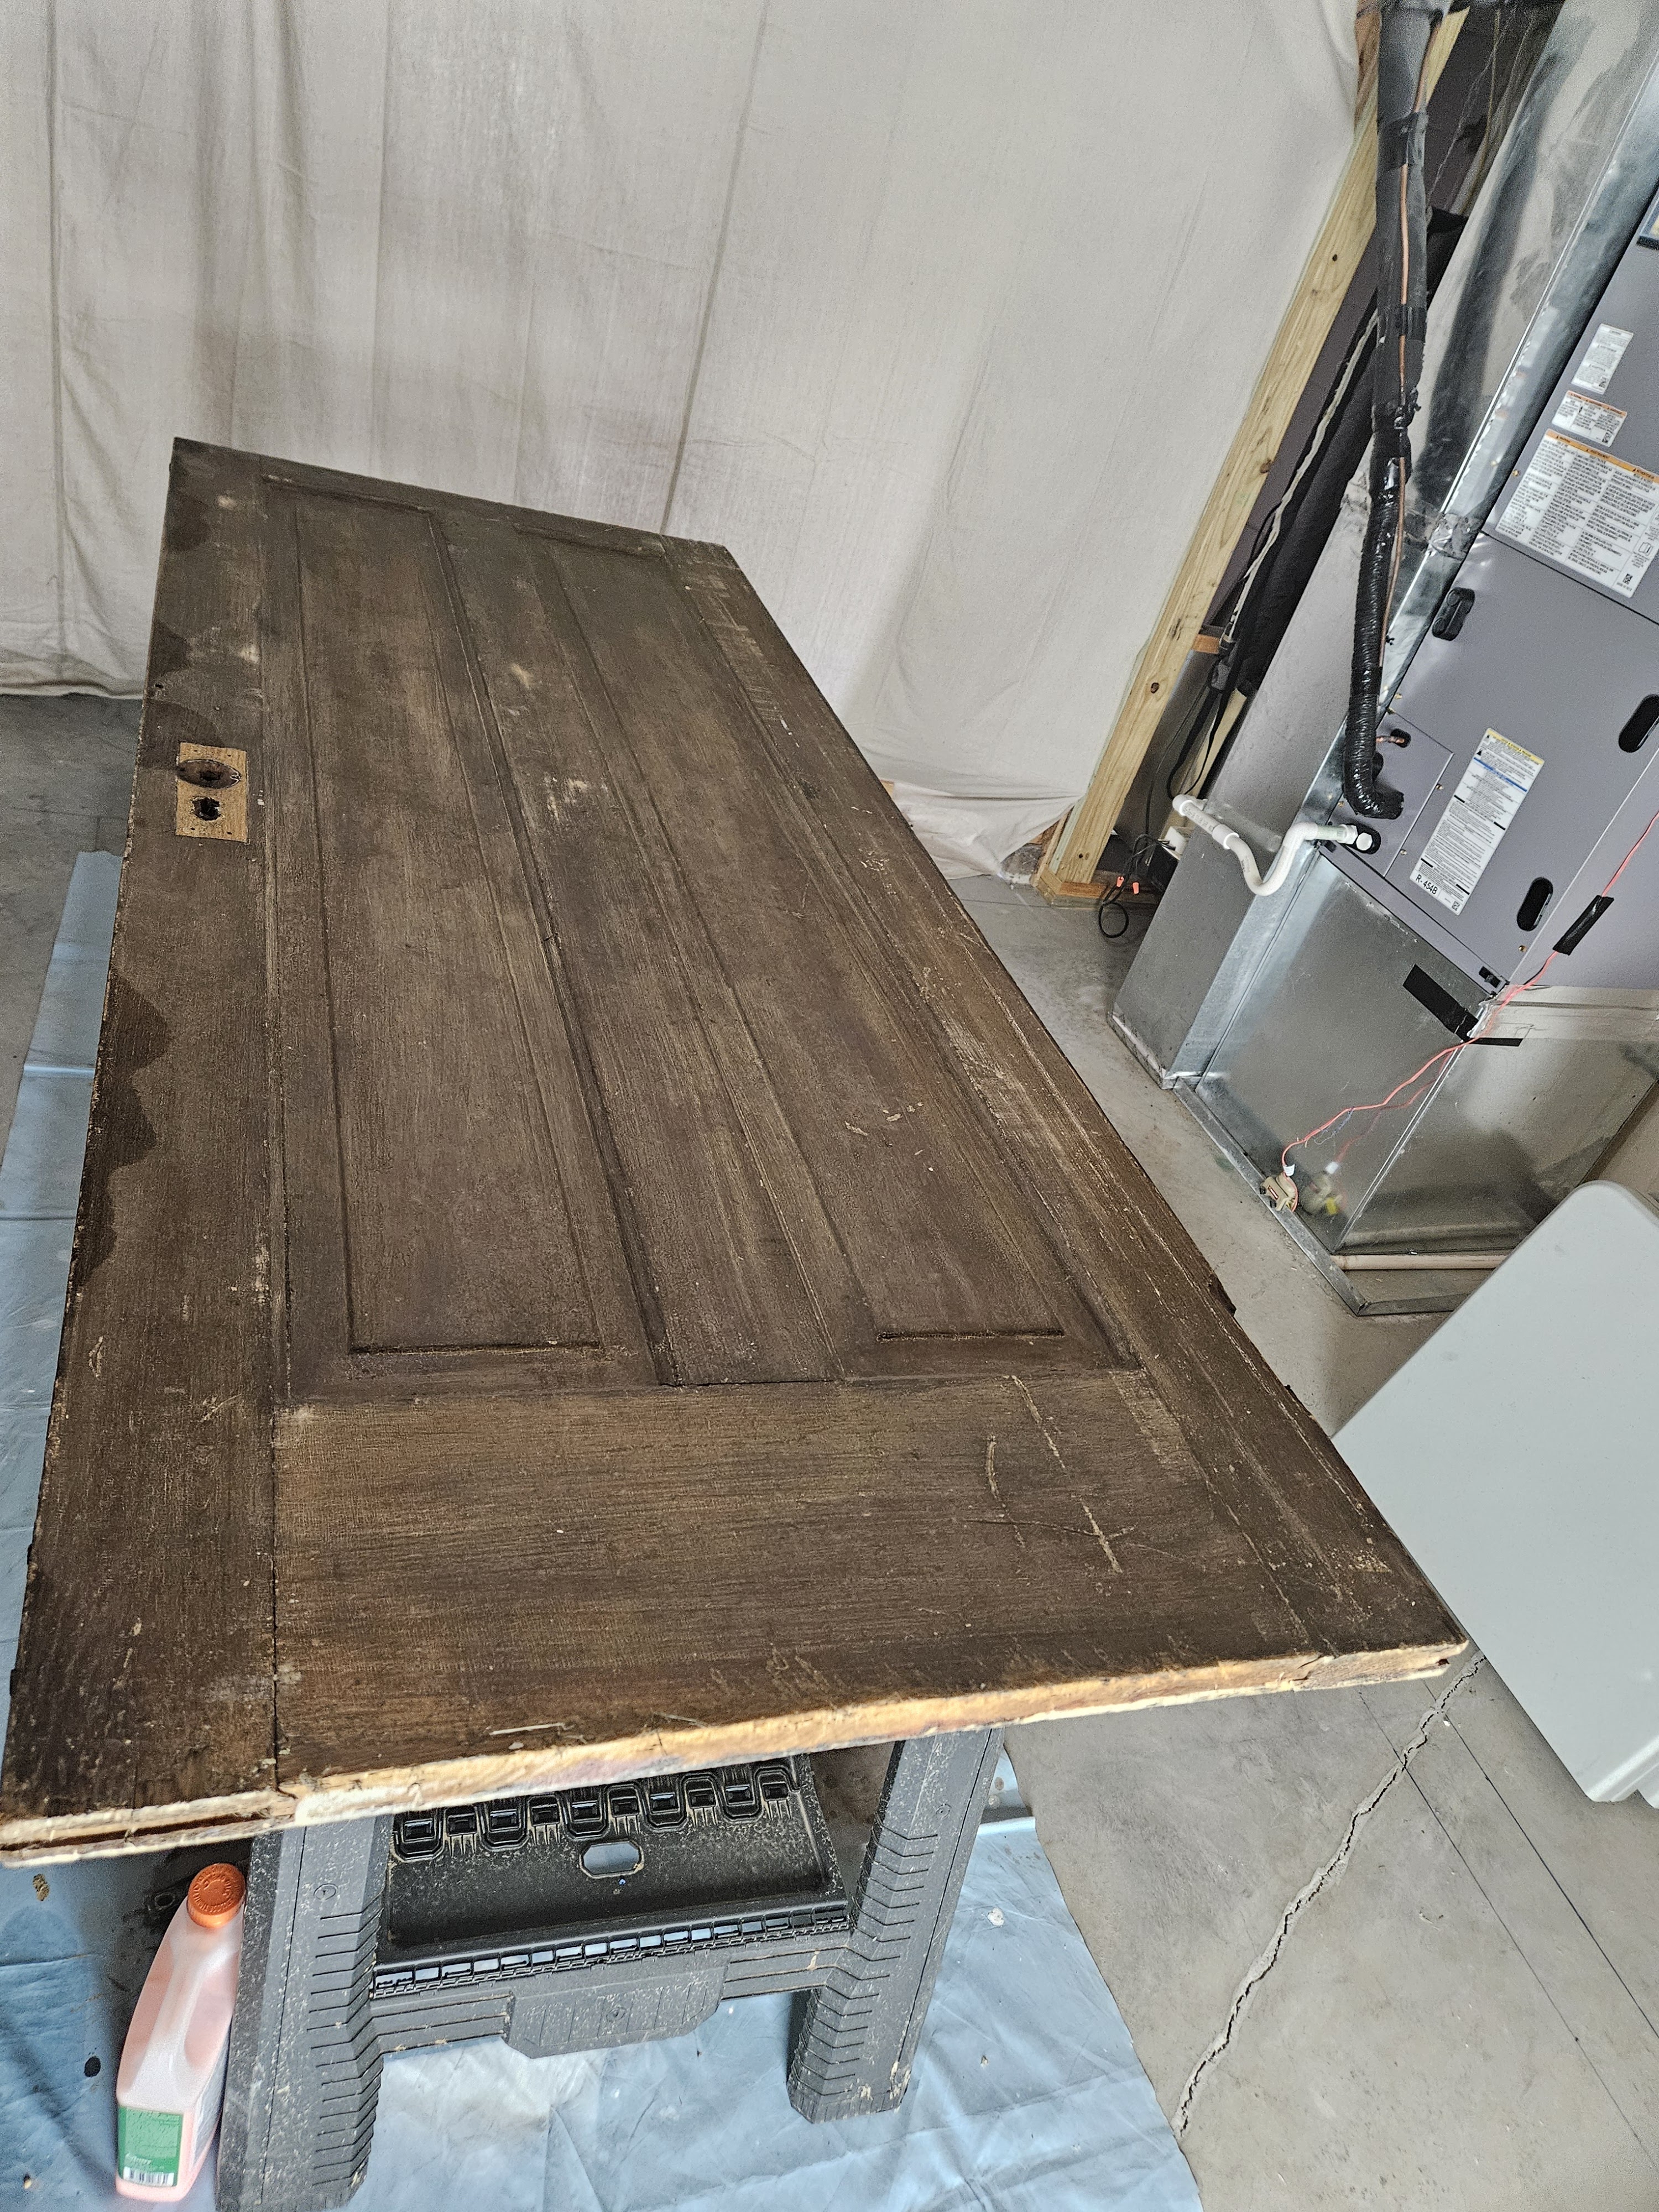
It has a pocket already cut for a mortise lock–and we have some mortise locks that we’ve picked up here and there on our travels. I believe that this door was “grain painted” because it has a light base paint, and what looks like stain over the top of that. (The base paint is a NIGHTMARE to get off.)
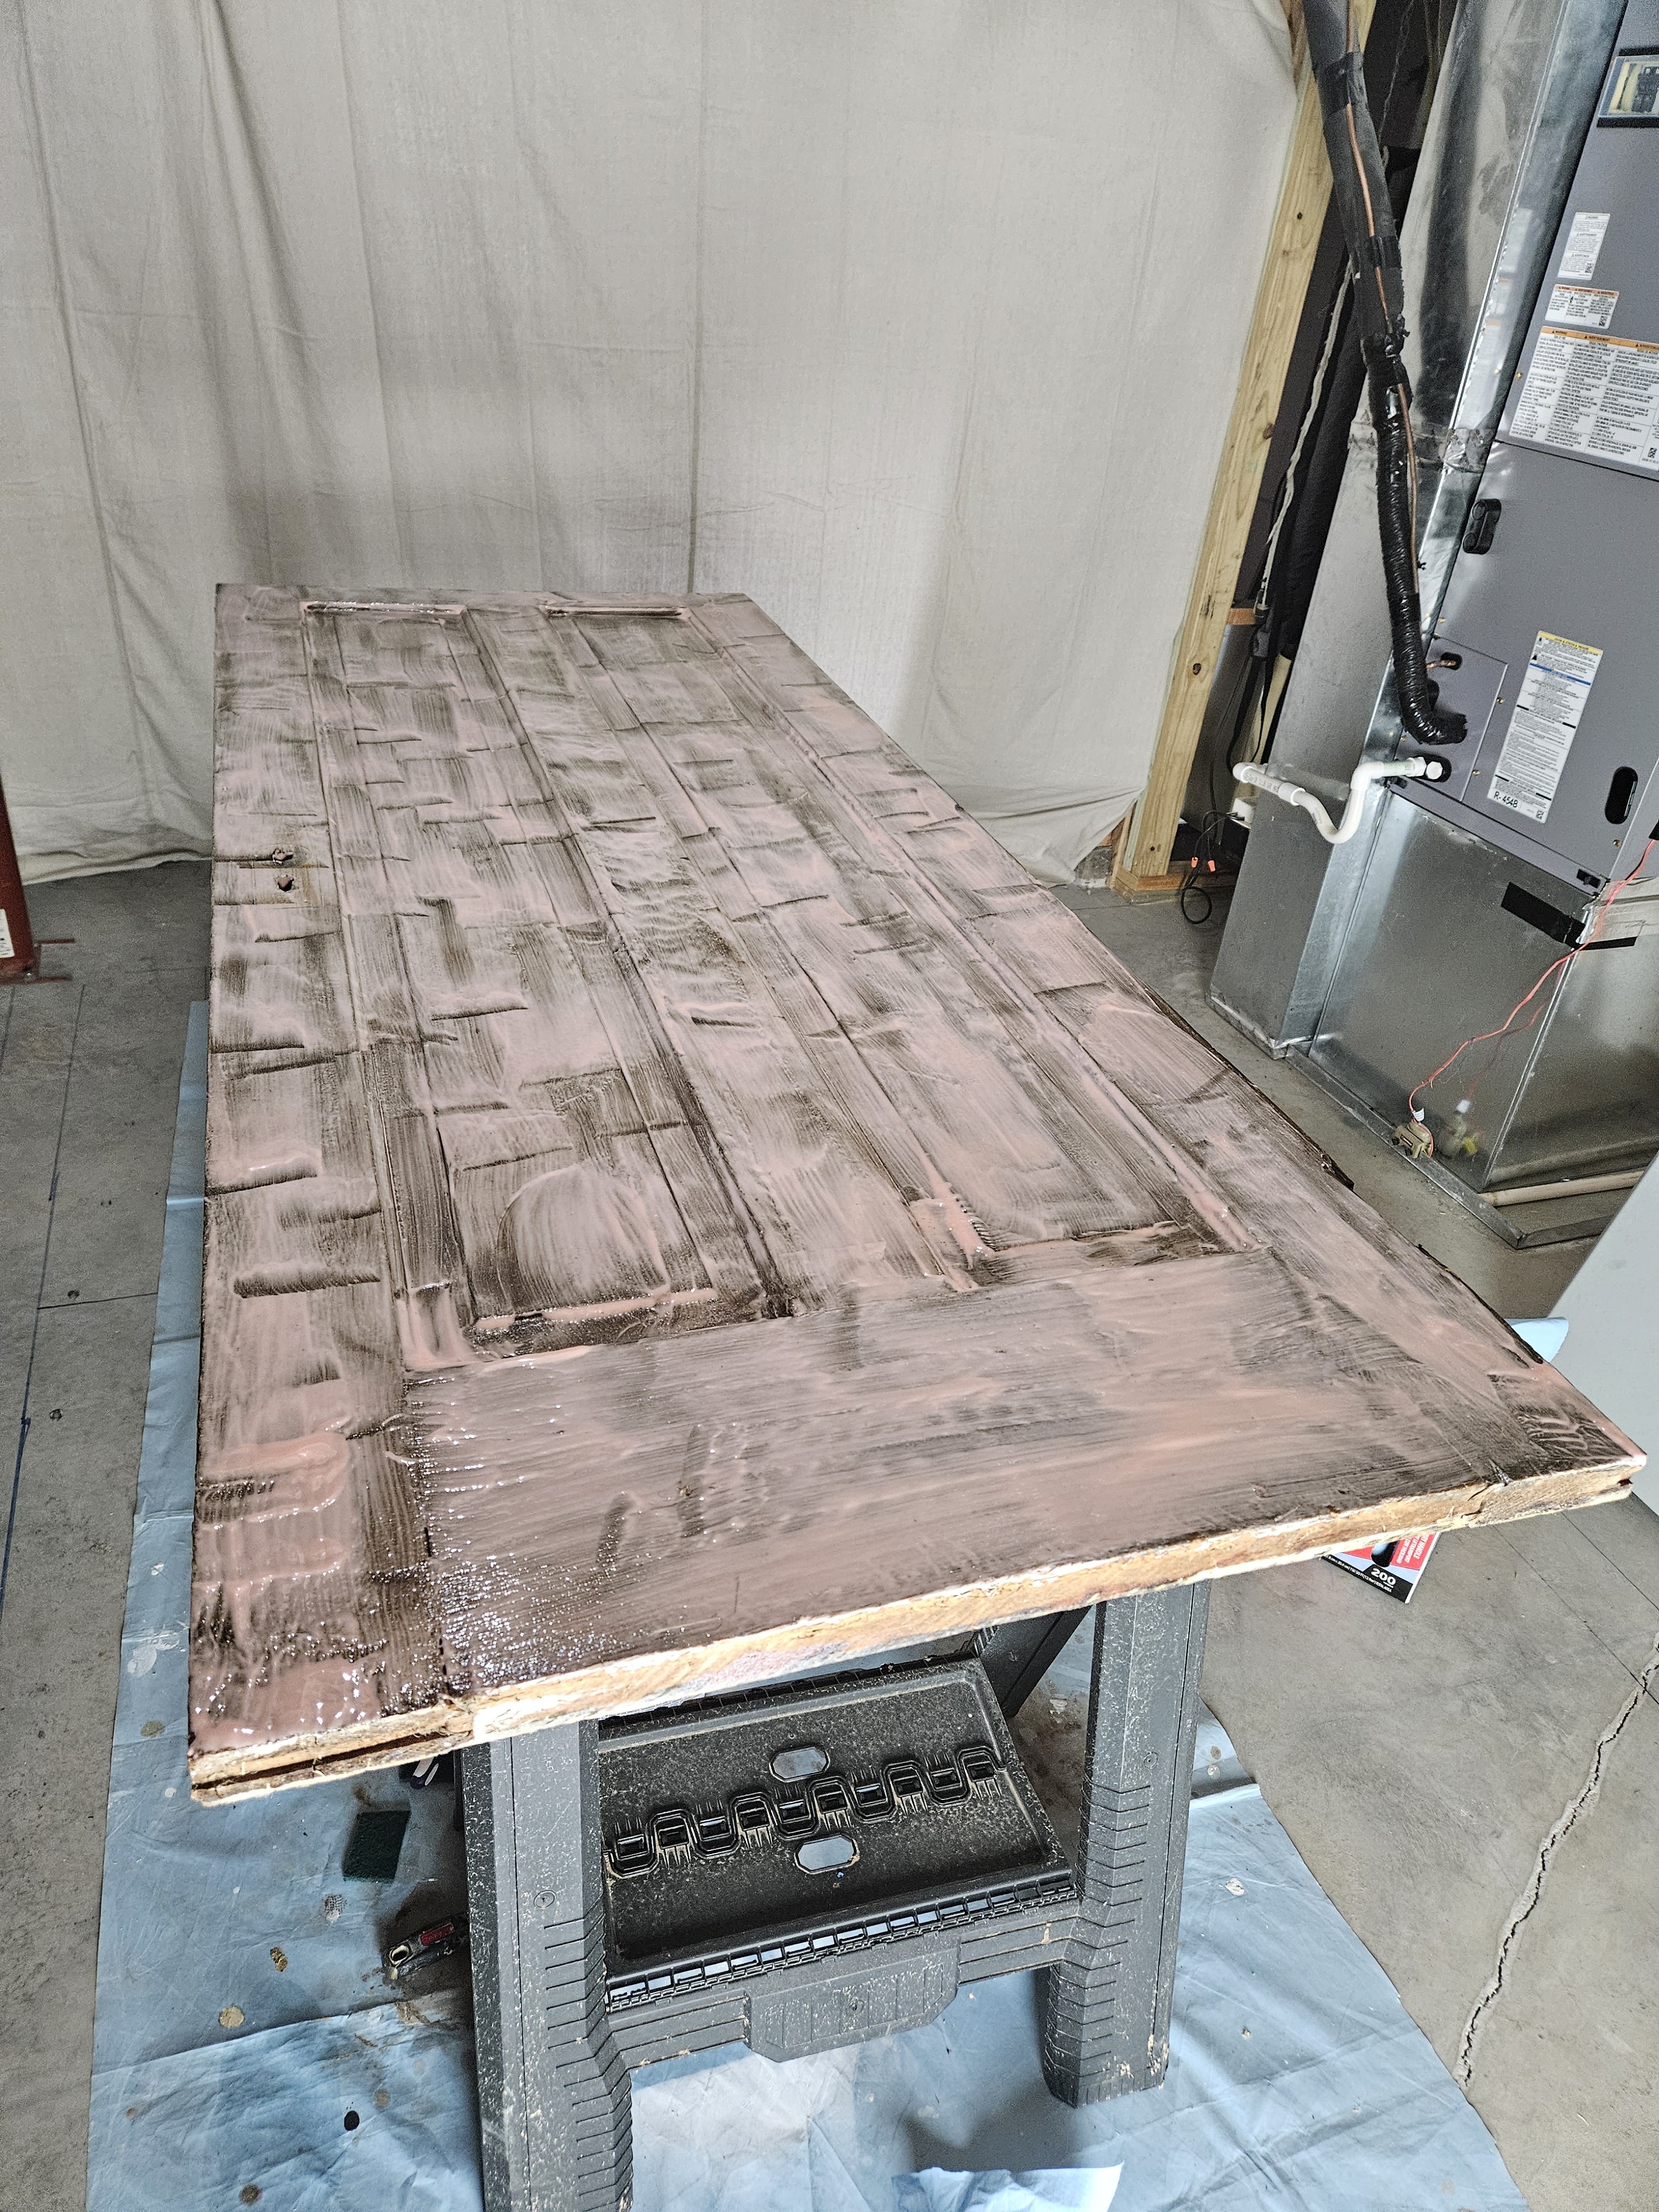
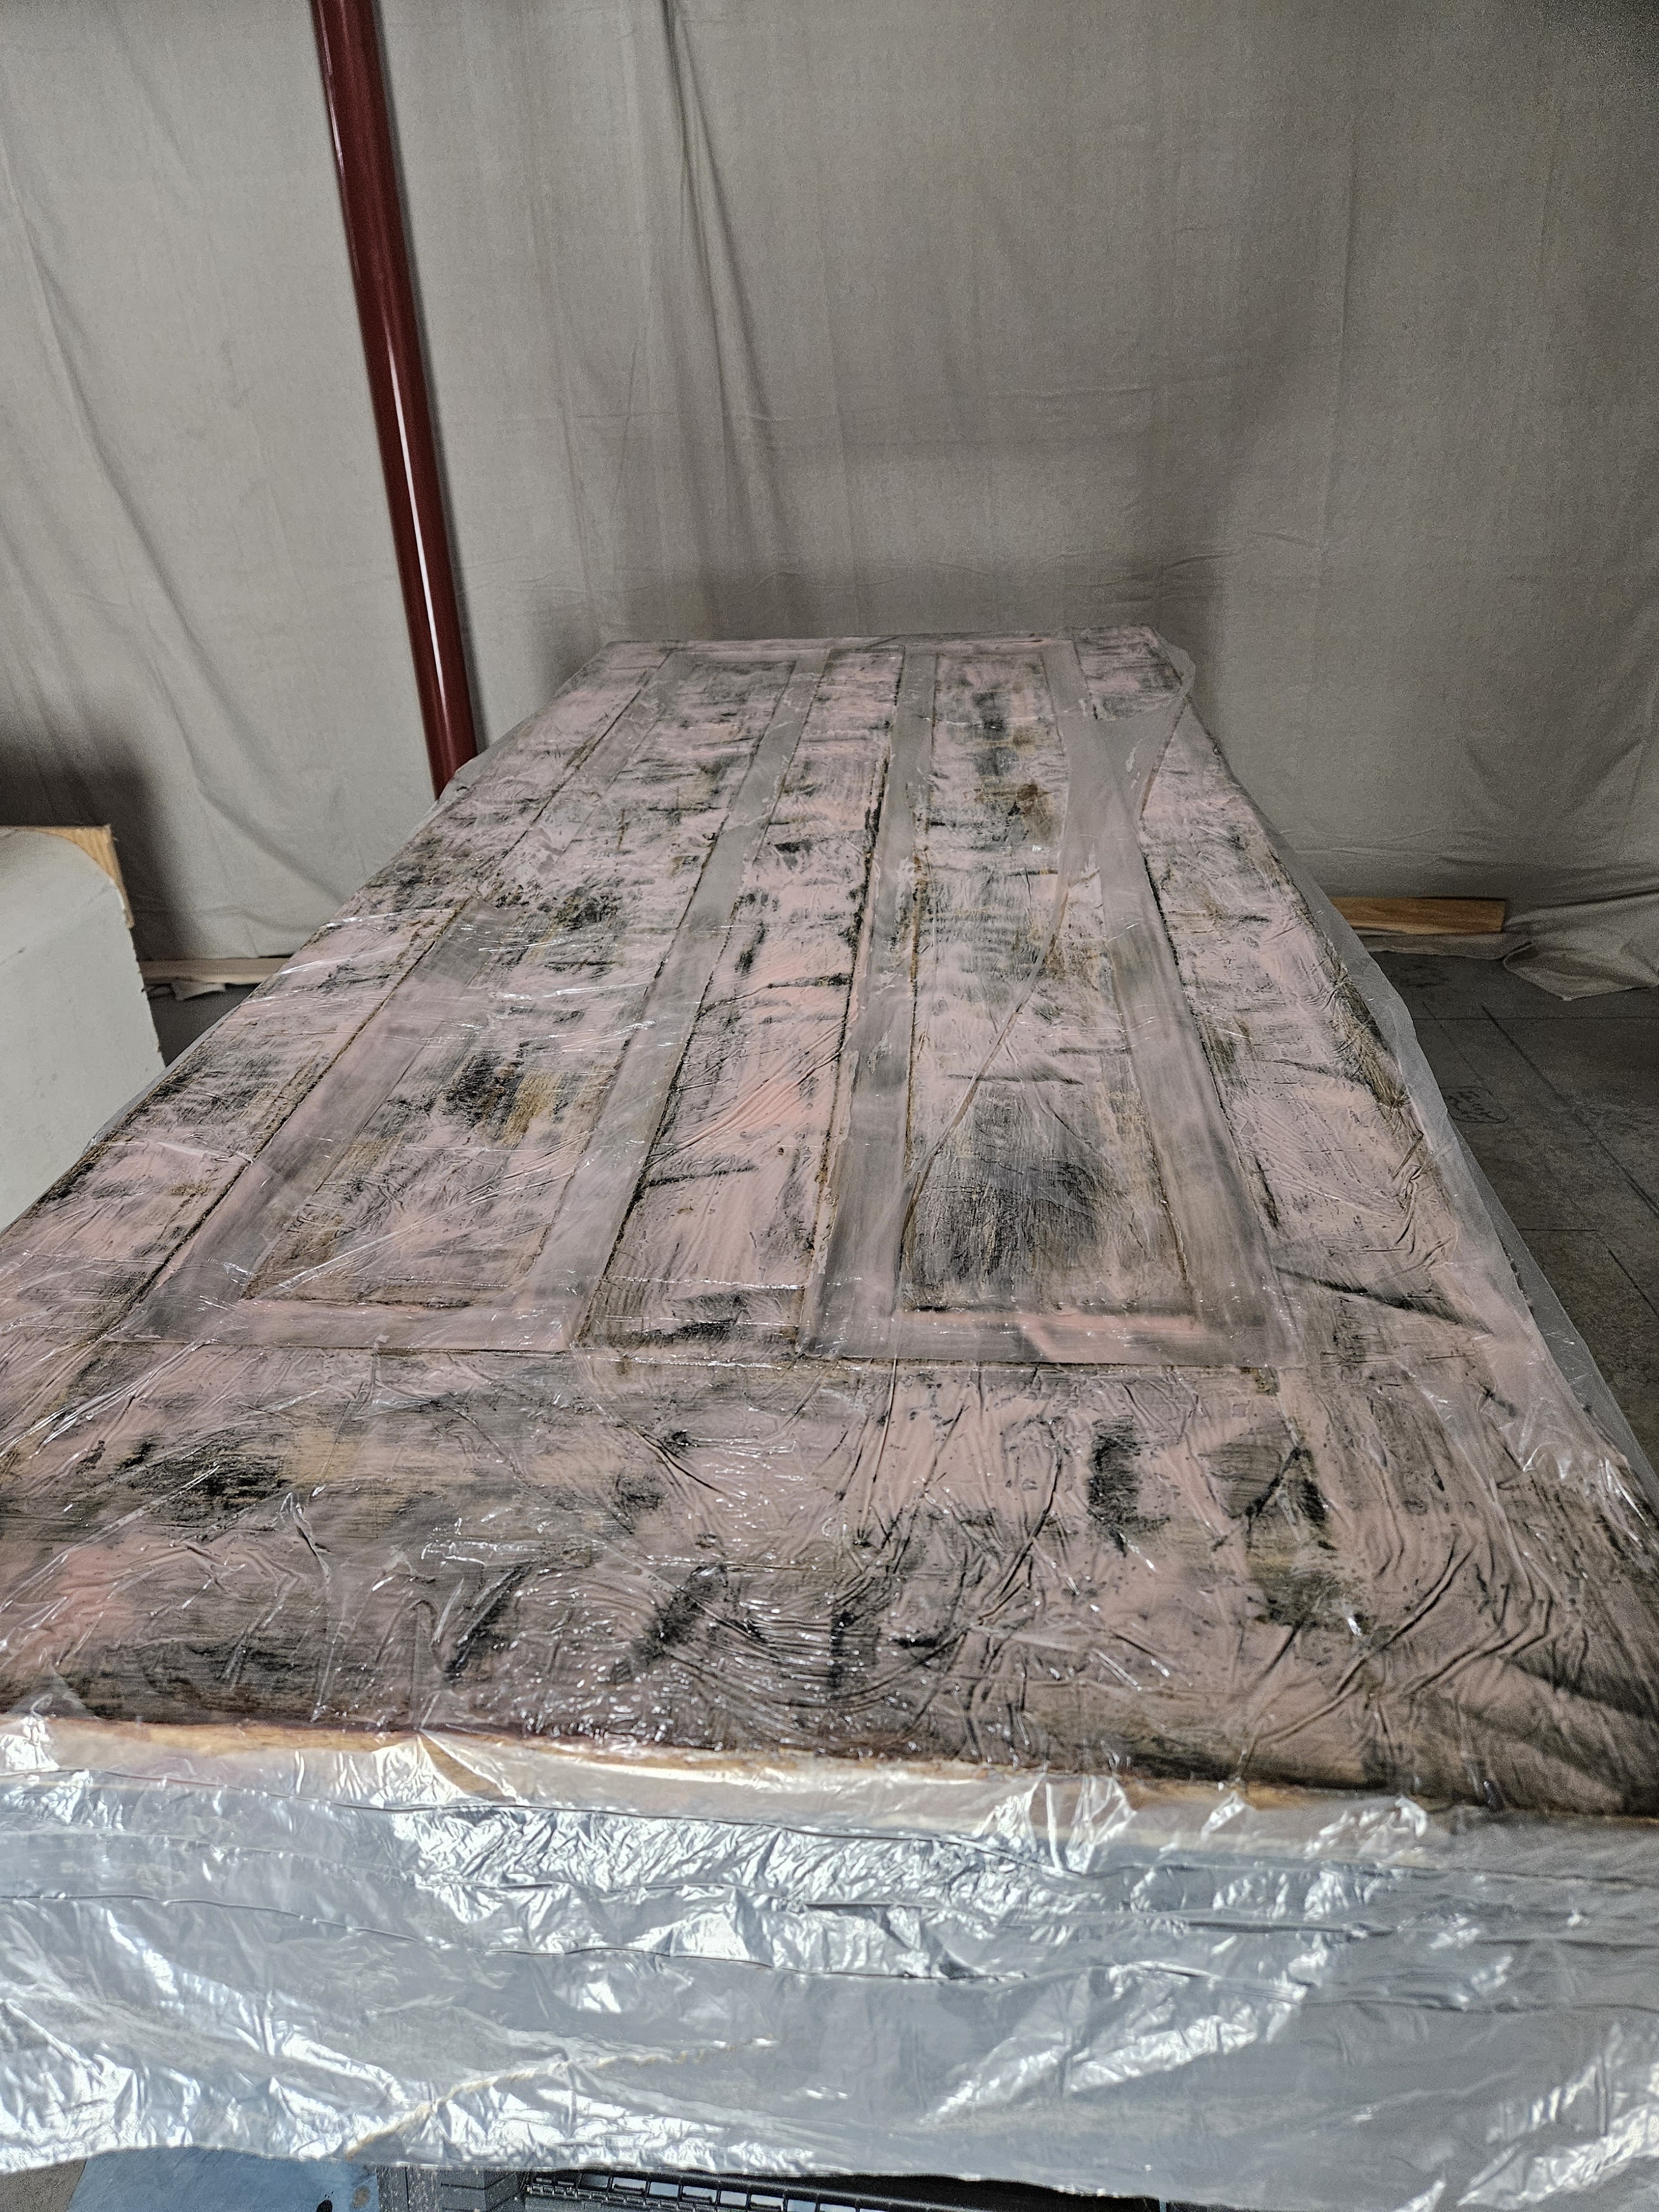
I used Citrustrip on the door to get most of the paint/finish off of it. I applied it LIBERALLY and then covered it with thin plastic sheeting.
Once it sat for about 8 hours, I scraped all the loose stuff off with a putty knife. I ended up having to repeat the process 2 more times. When I got to the bottom of it, I used a small stiff nylon brush and mineral spirits to clean the rest of the paint off. Here’s what it looks like on the interior side after that step:
I was really happy with how clean I was able to get it. I didn’t do the edges because my husband will trim those to square up the door.
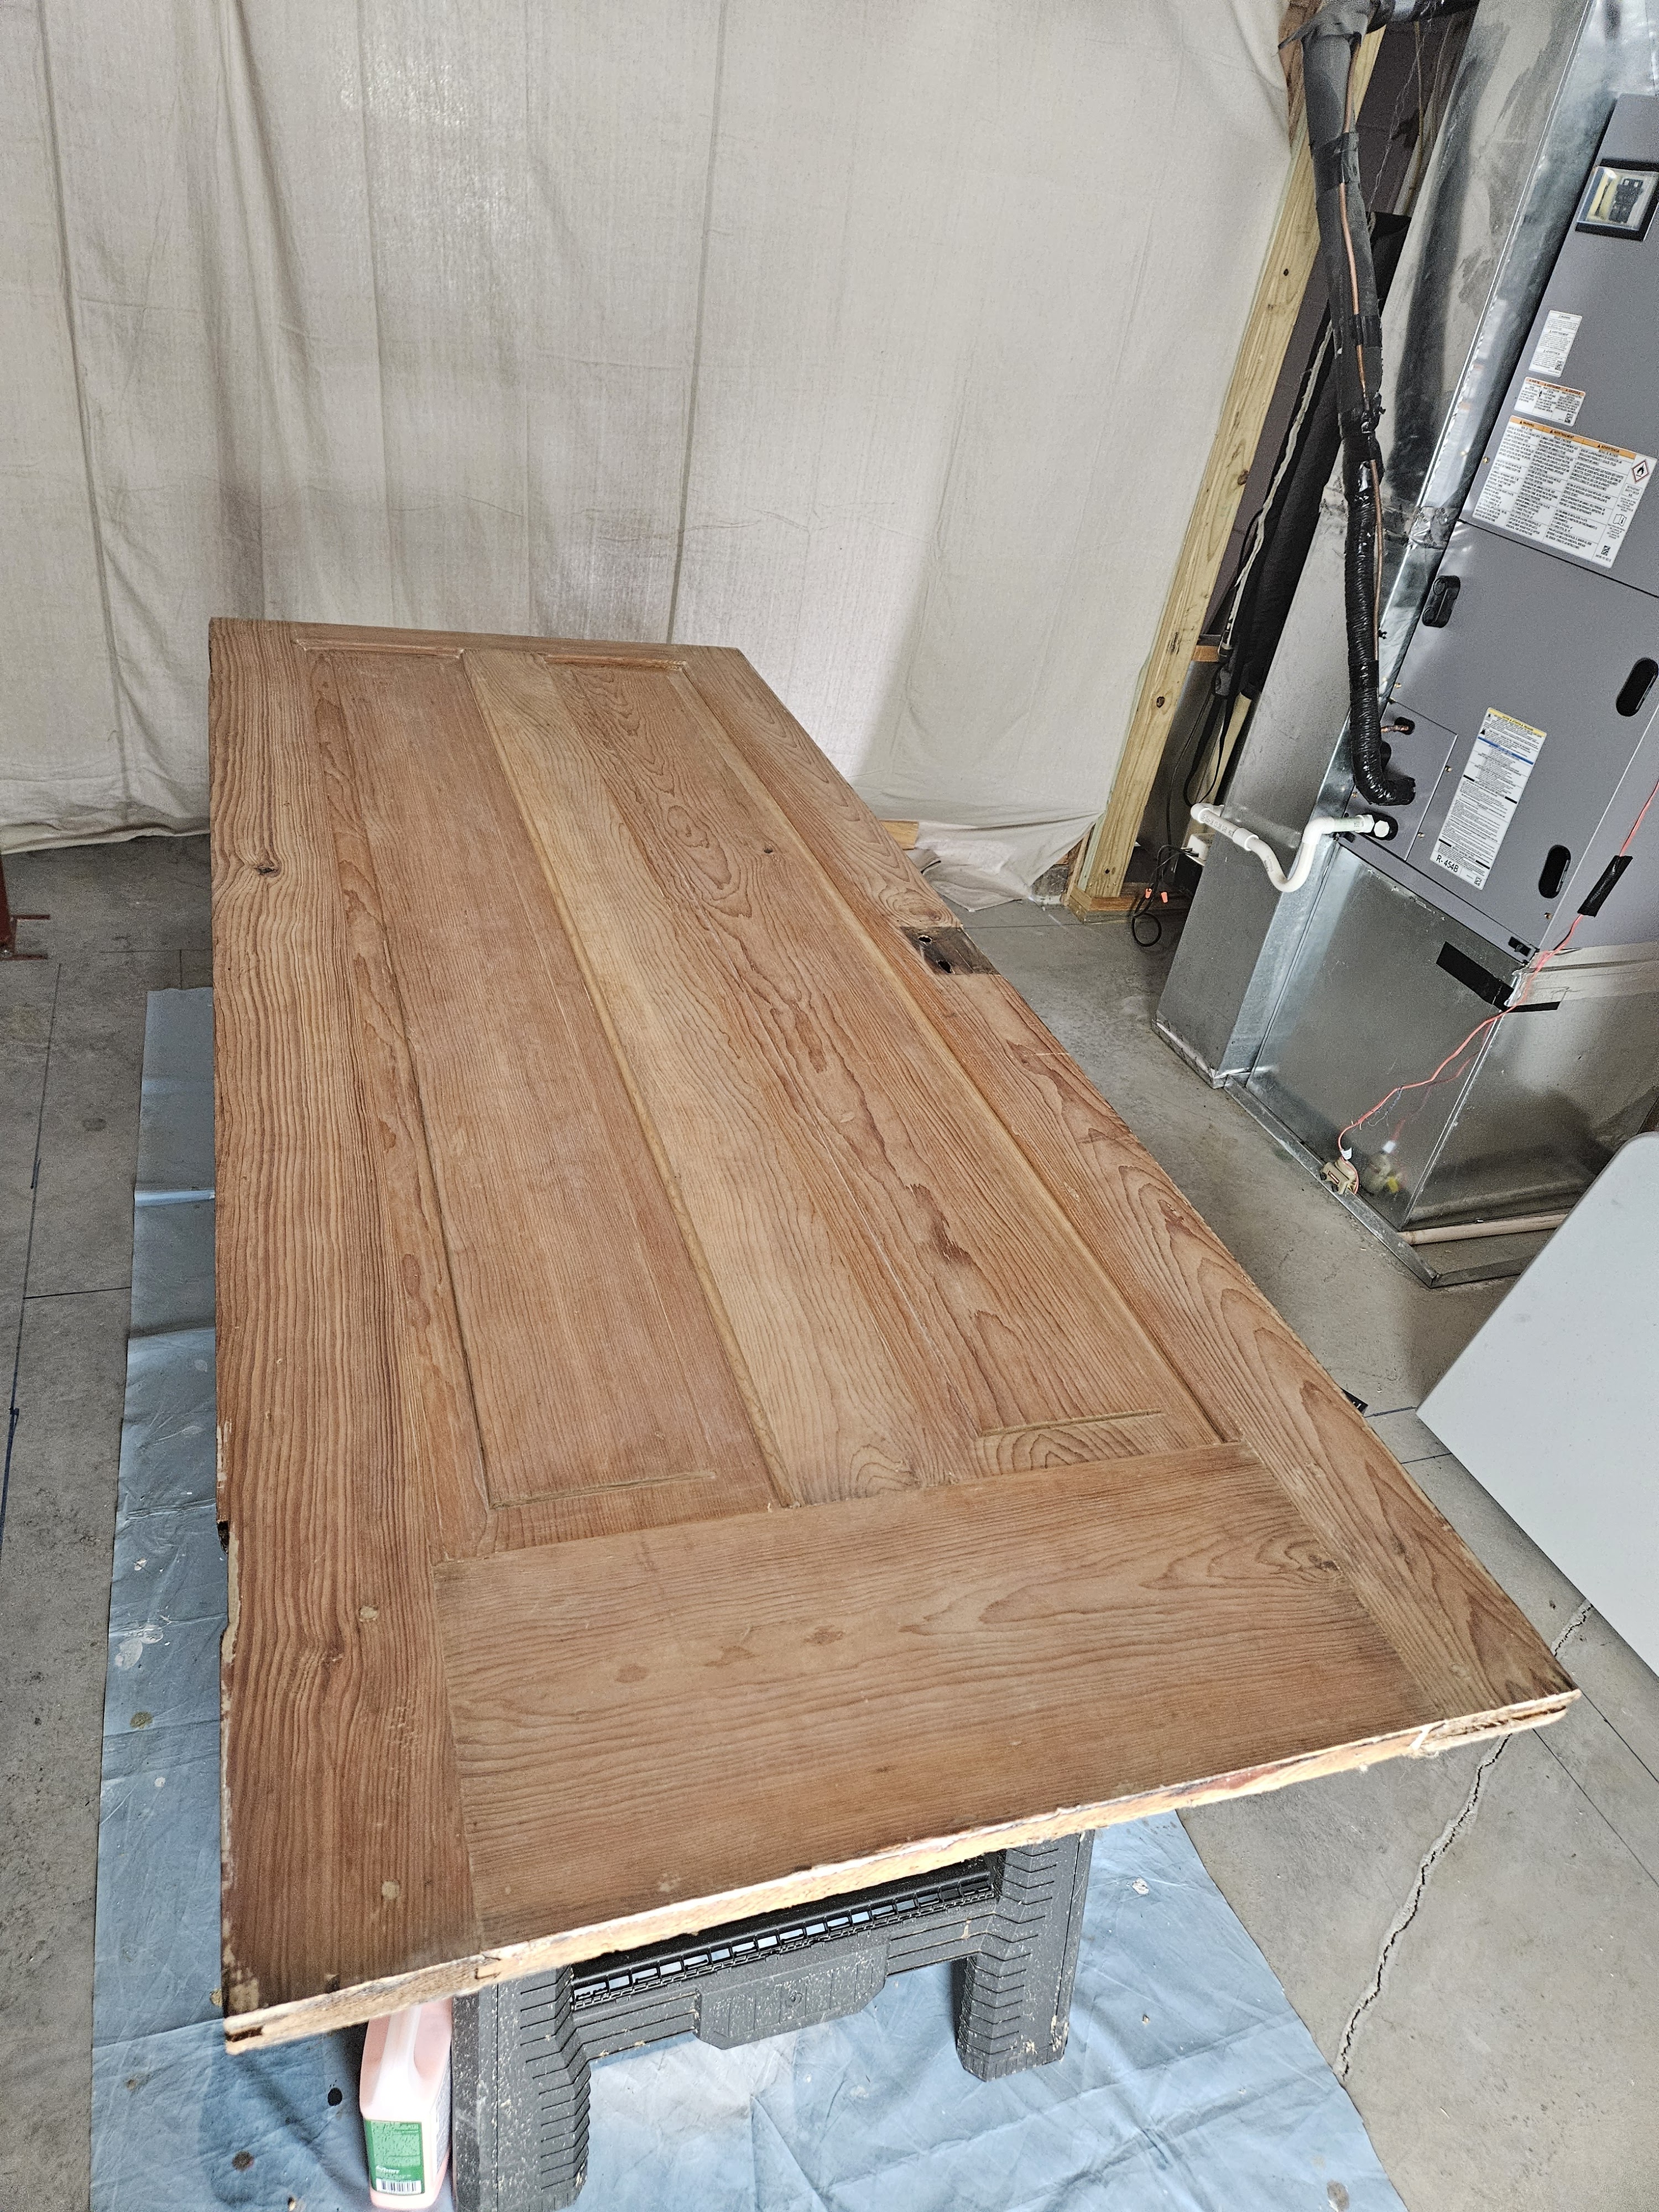
The exterior side of the door was a different story. When I got to the point where most of the finish was gone and I started brushing it with my nylon brush and mineral spirits, I was getting what looked like wet saw dust, so I broke out my little scraper. (We think that the top layer of wood oxidized/rotted a little and was really soft once it got wet from the chemicals.) I ended up having to scrape the whole thing a couple of times. My husband is doing the detail work because I am not very good at that.
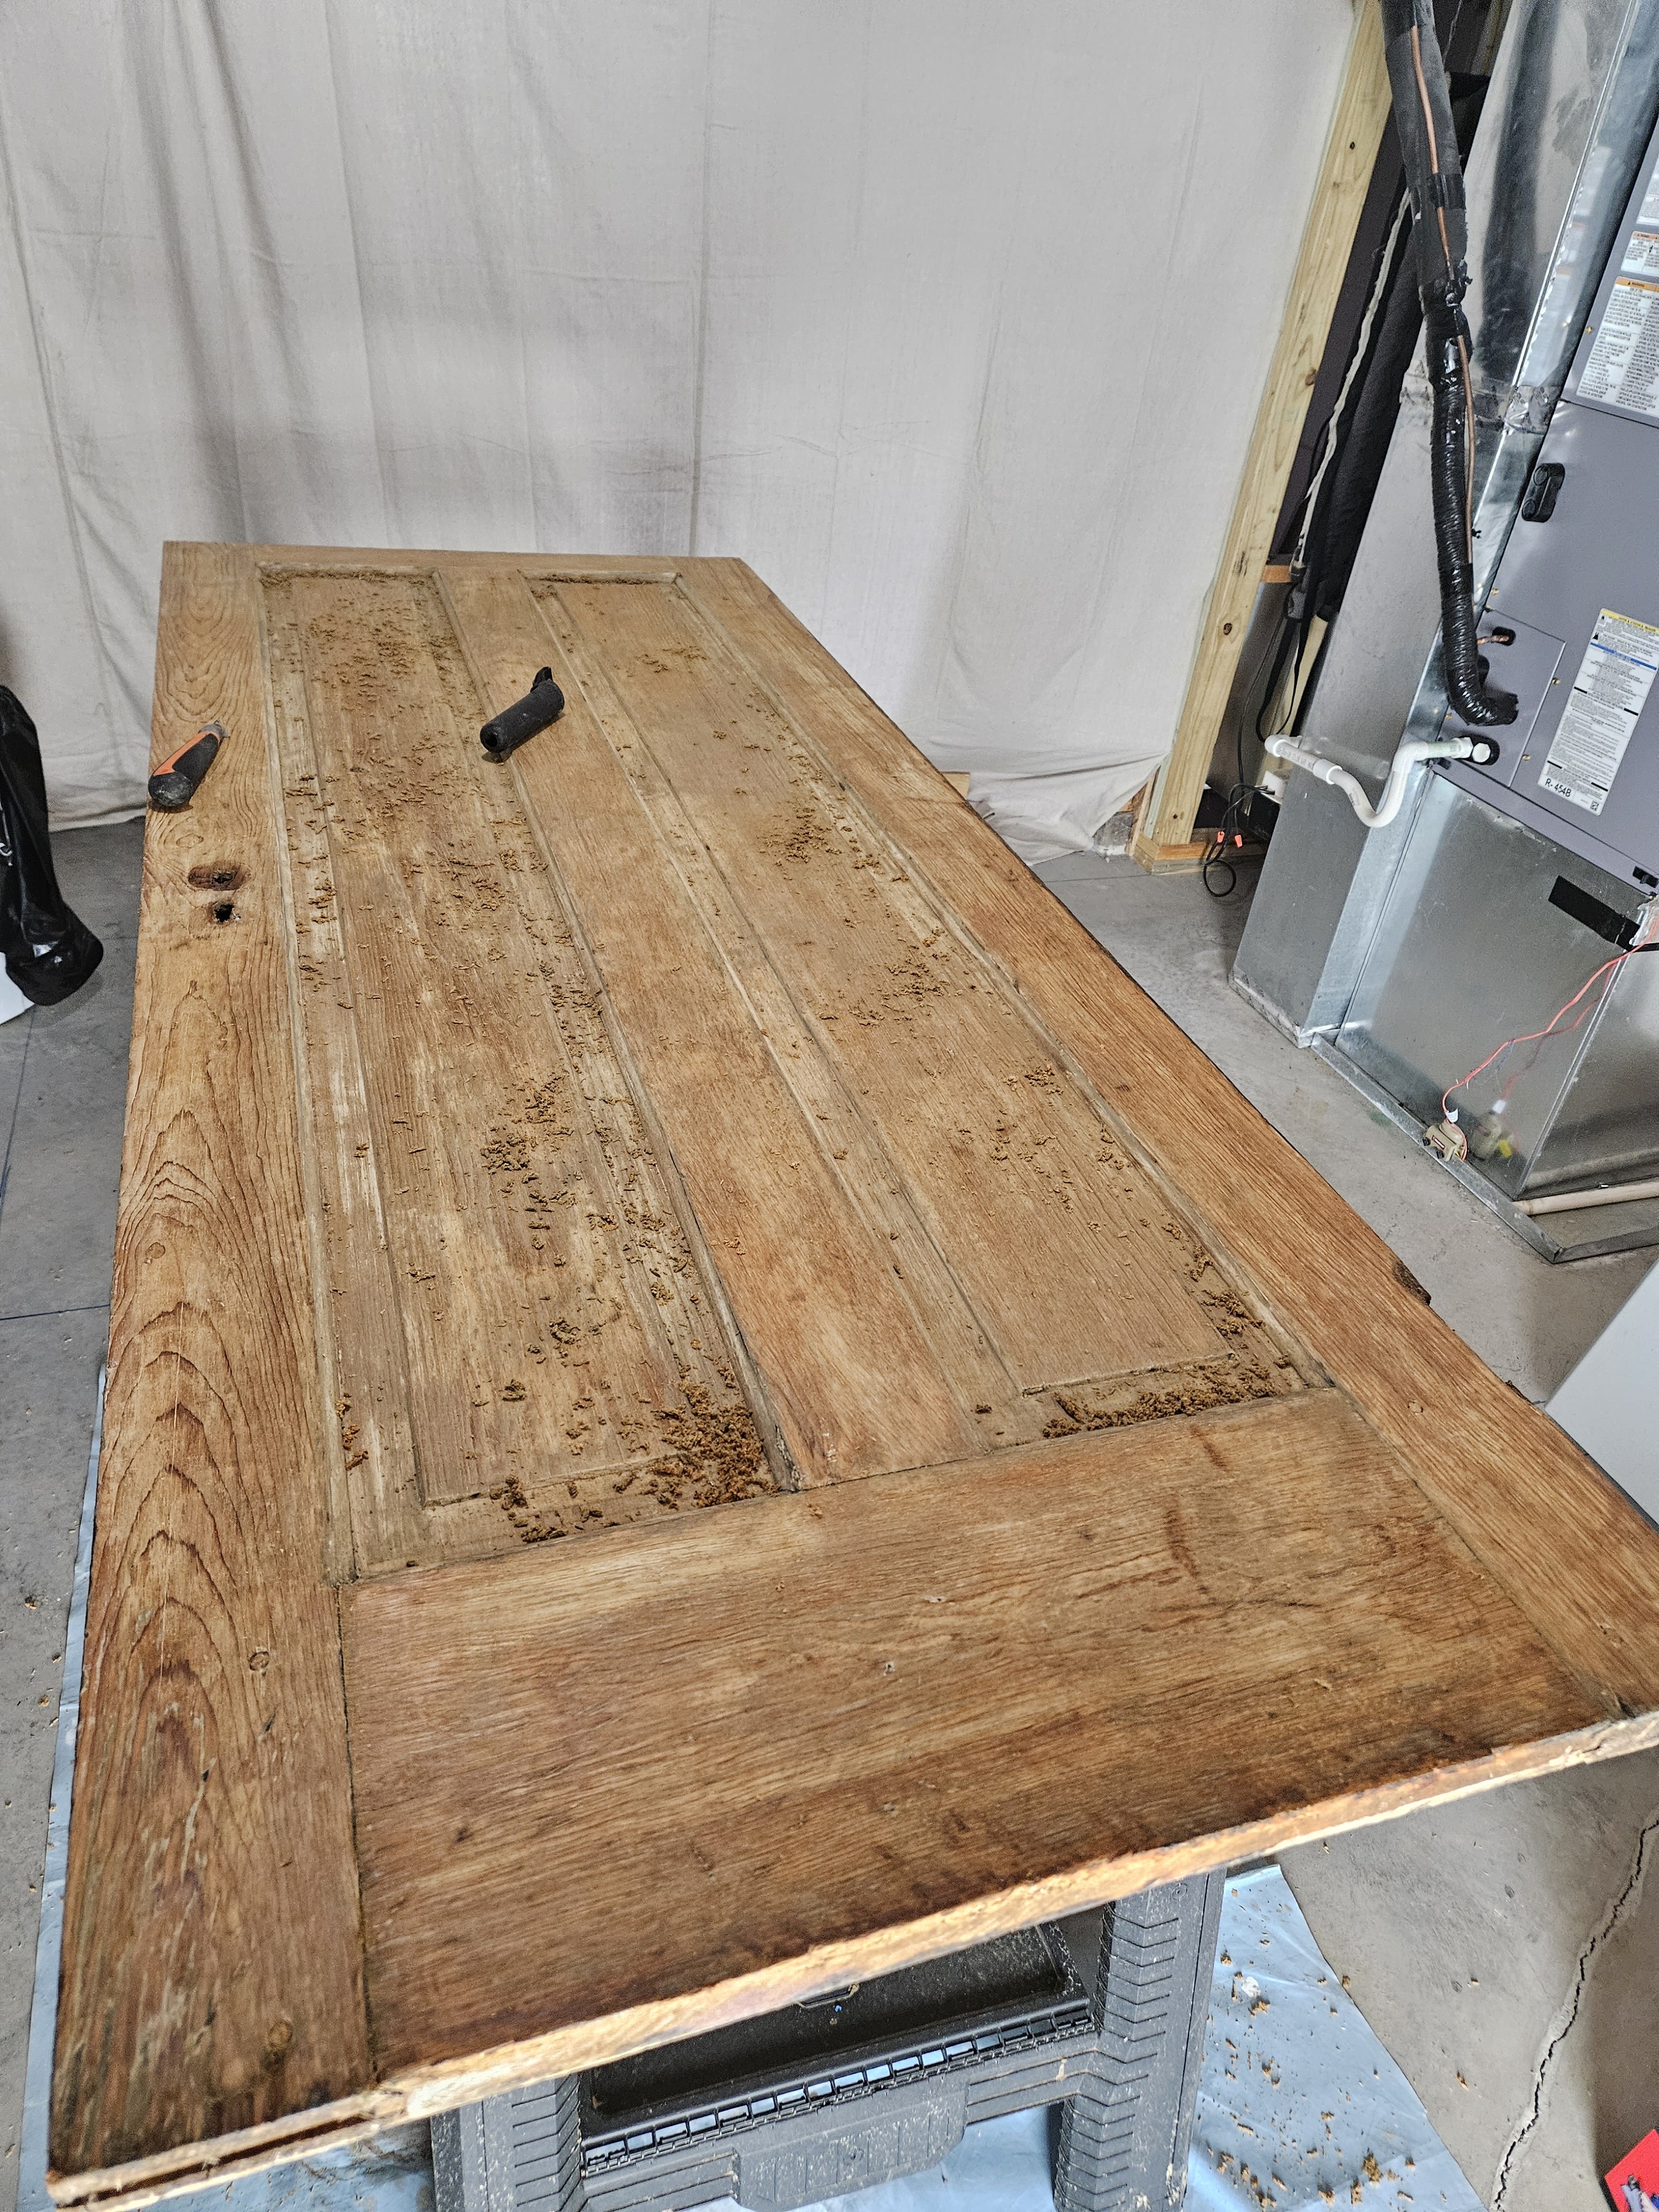
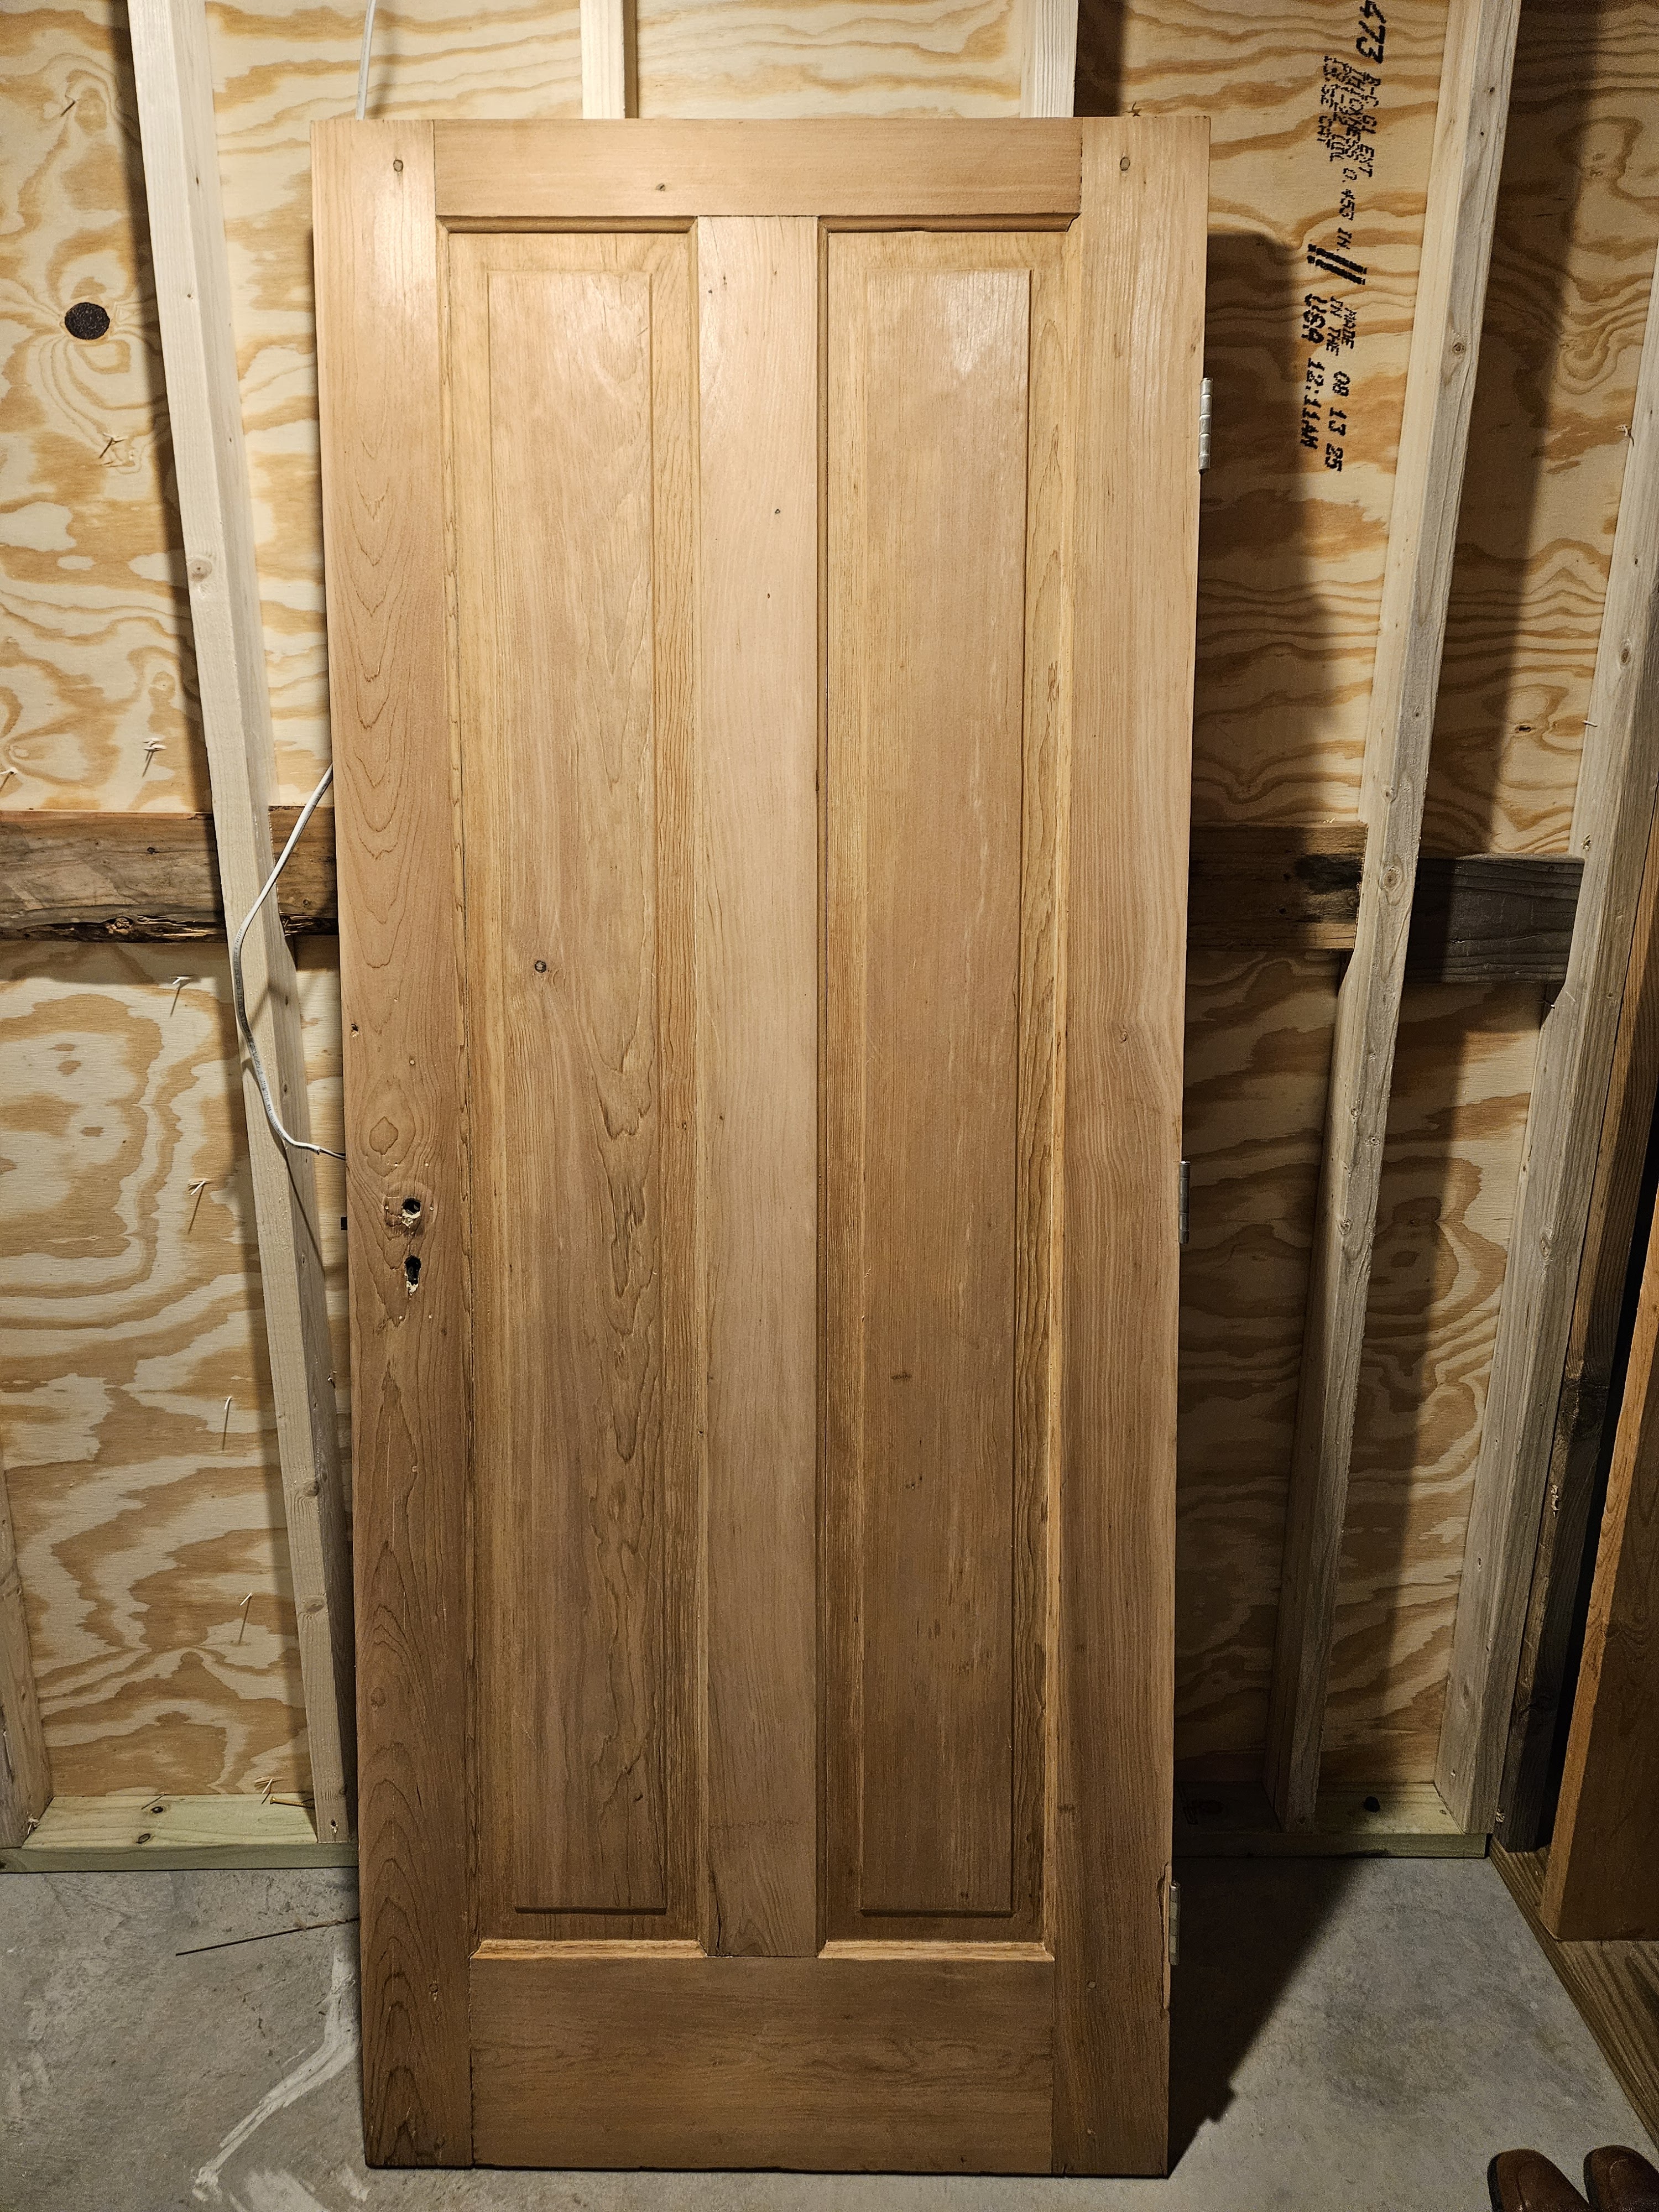
This is what it looked like once I was finished scraping it and sanding it. My husband took over from here.

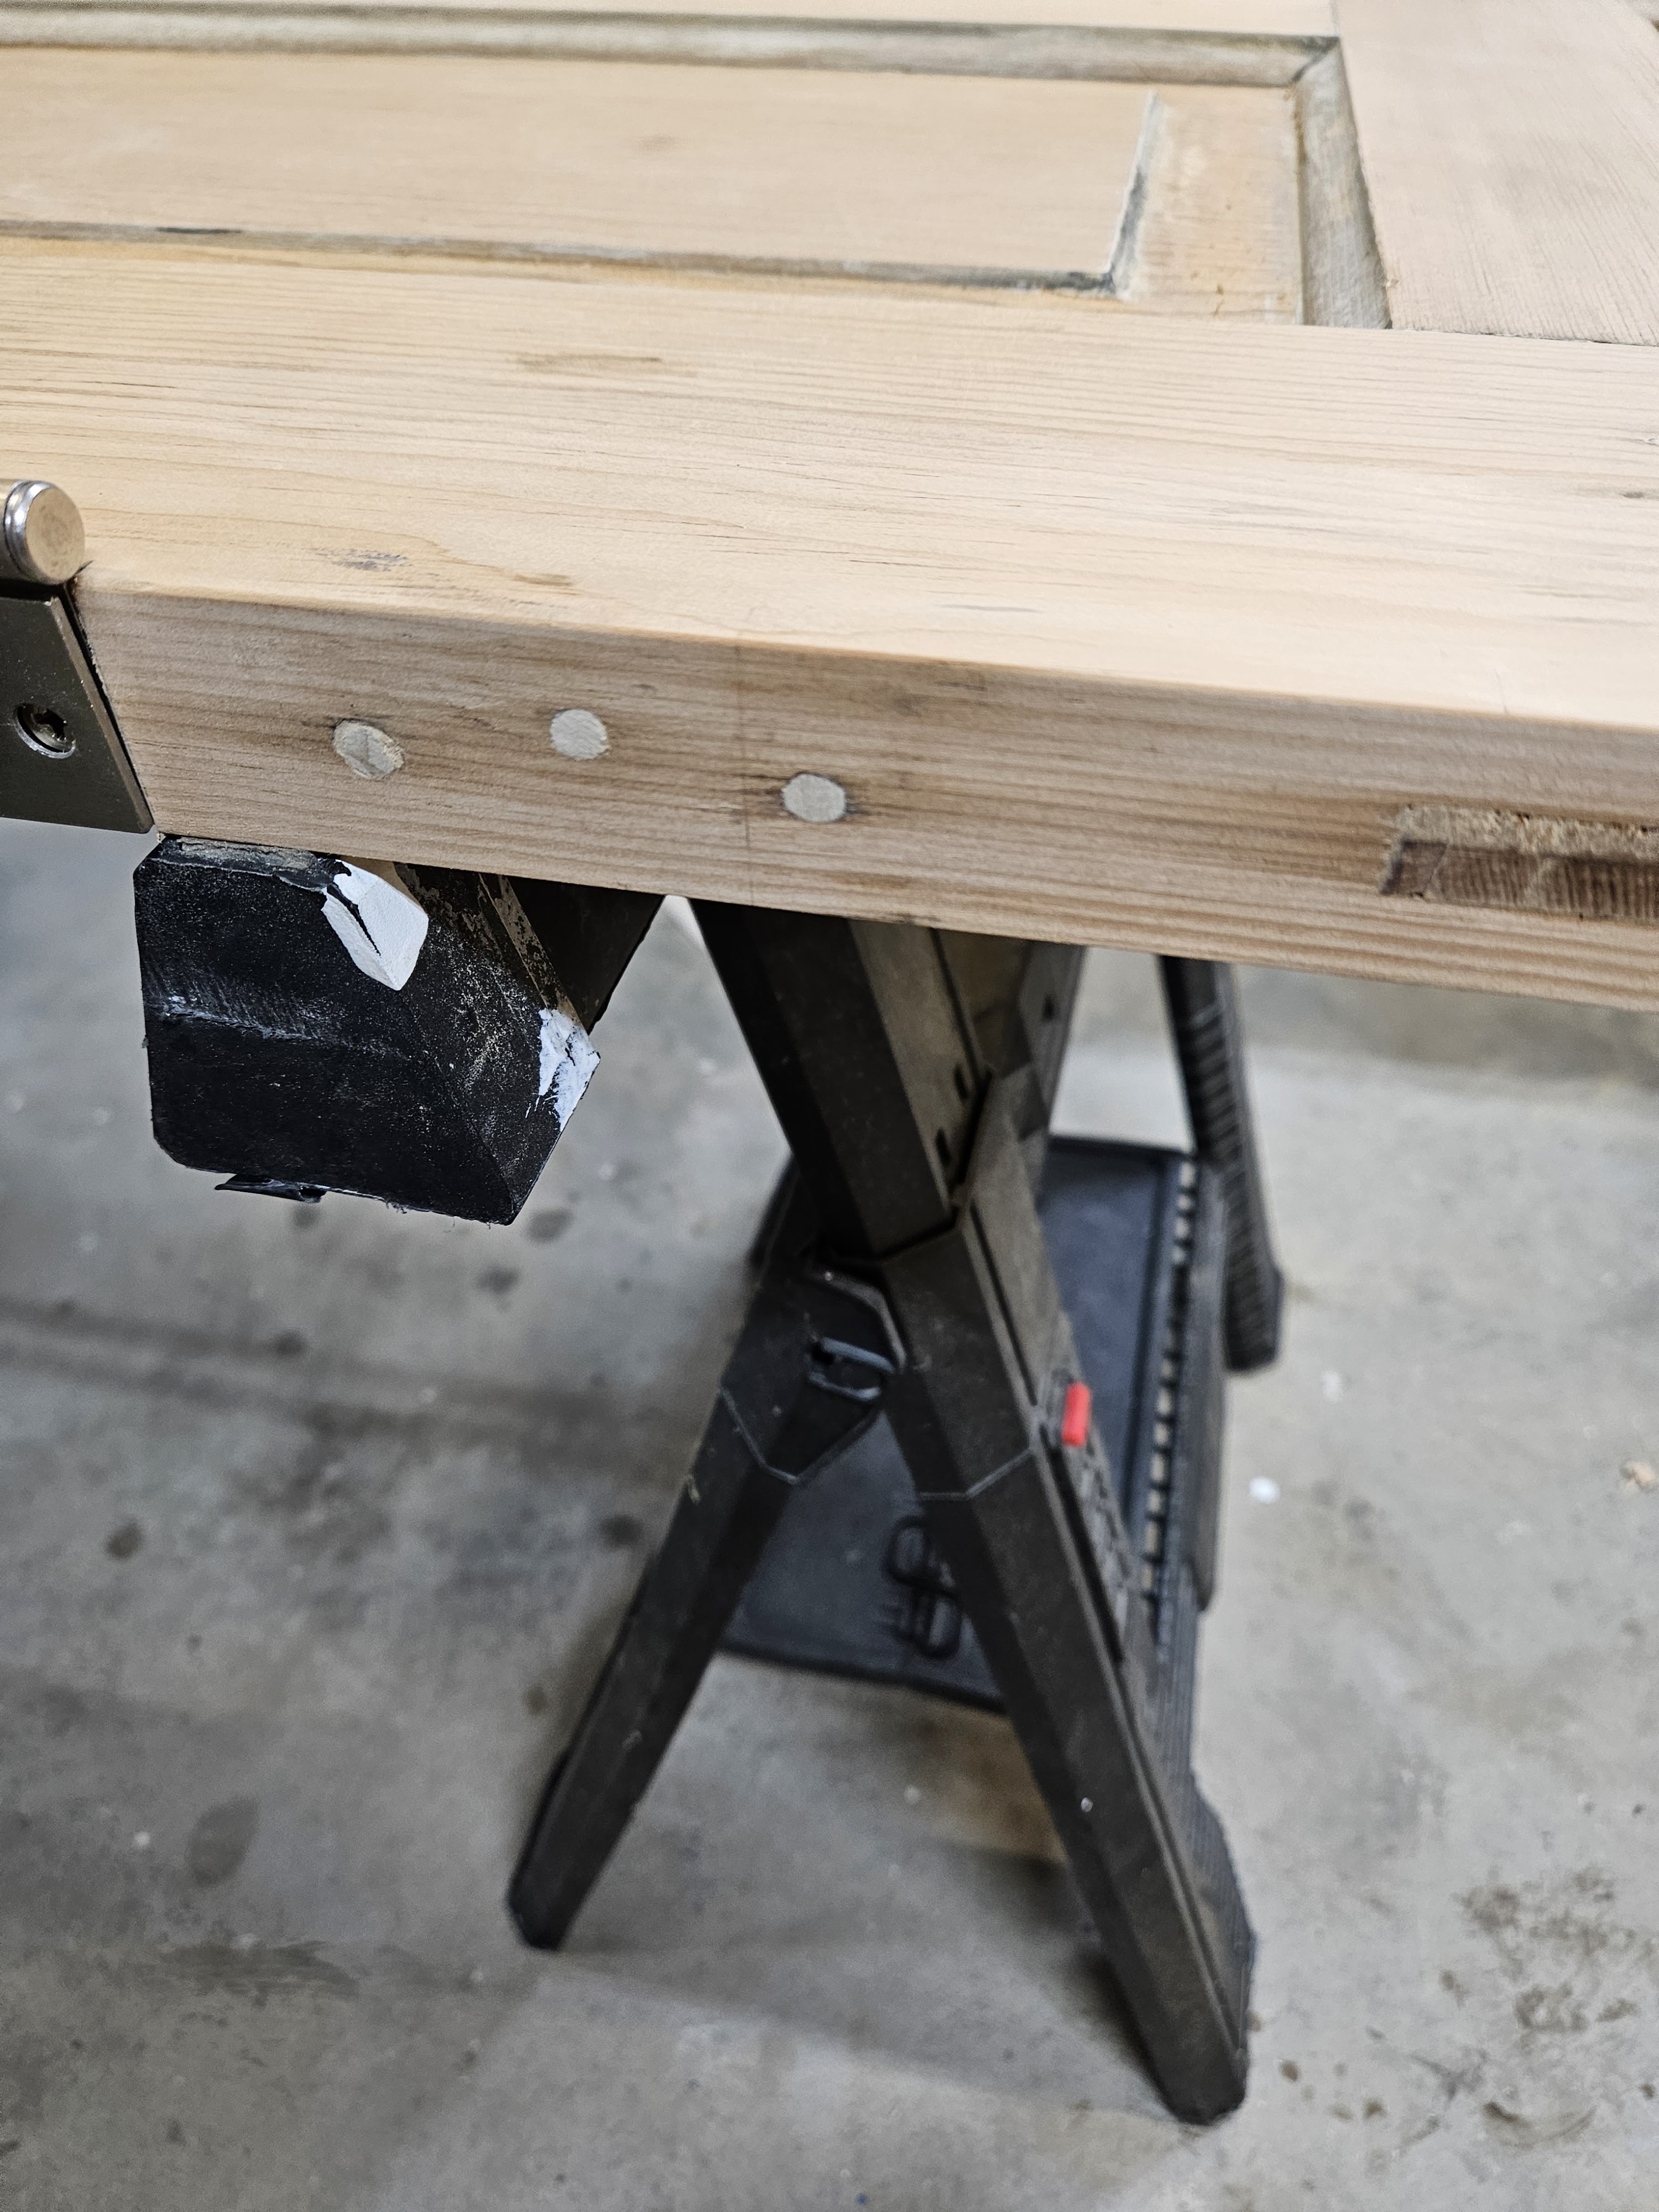
One of the first things my husband did was to square up the door to make sure that the edges were parallel to each other in each direction. (I’m not including a photo, because it wouldn’t really show anything.) Then he used some pine and a plug cutter and plugged the original screw holes from the original hinges. Originally the door only had 2 hinges, but this is an exterior door, so we decided to use 3 hinges to ensure that it didn’t sag in the frame.
He had to patch the door where there was some tear out. Not surprising given the door’s age.
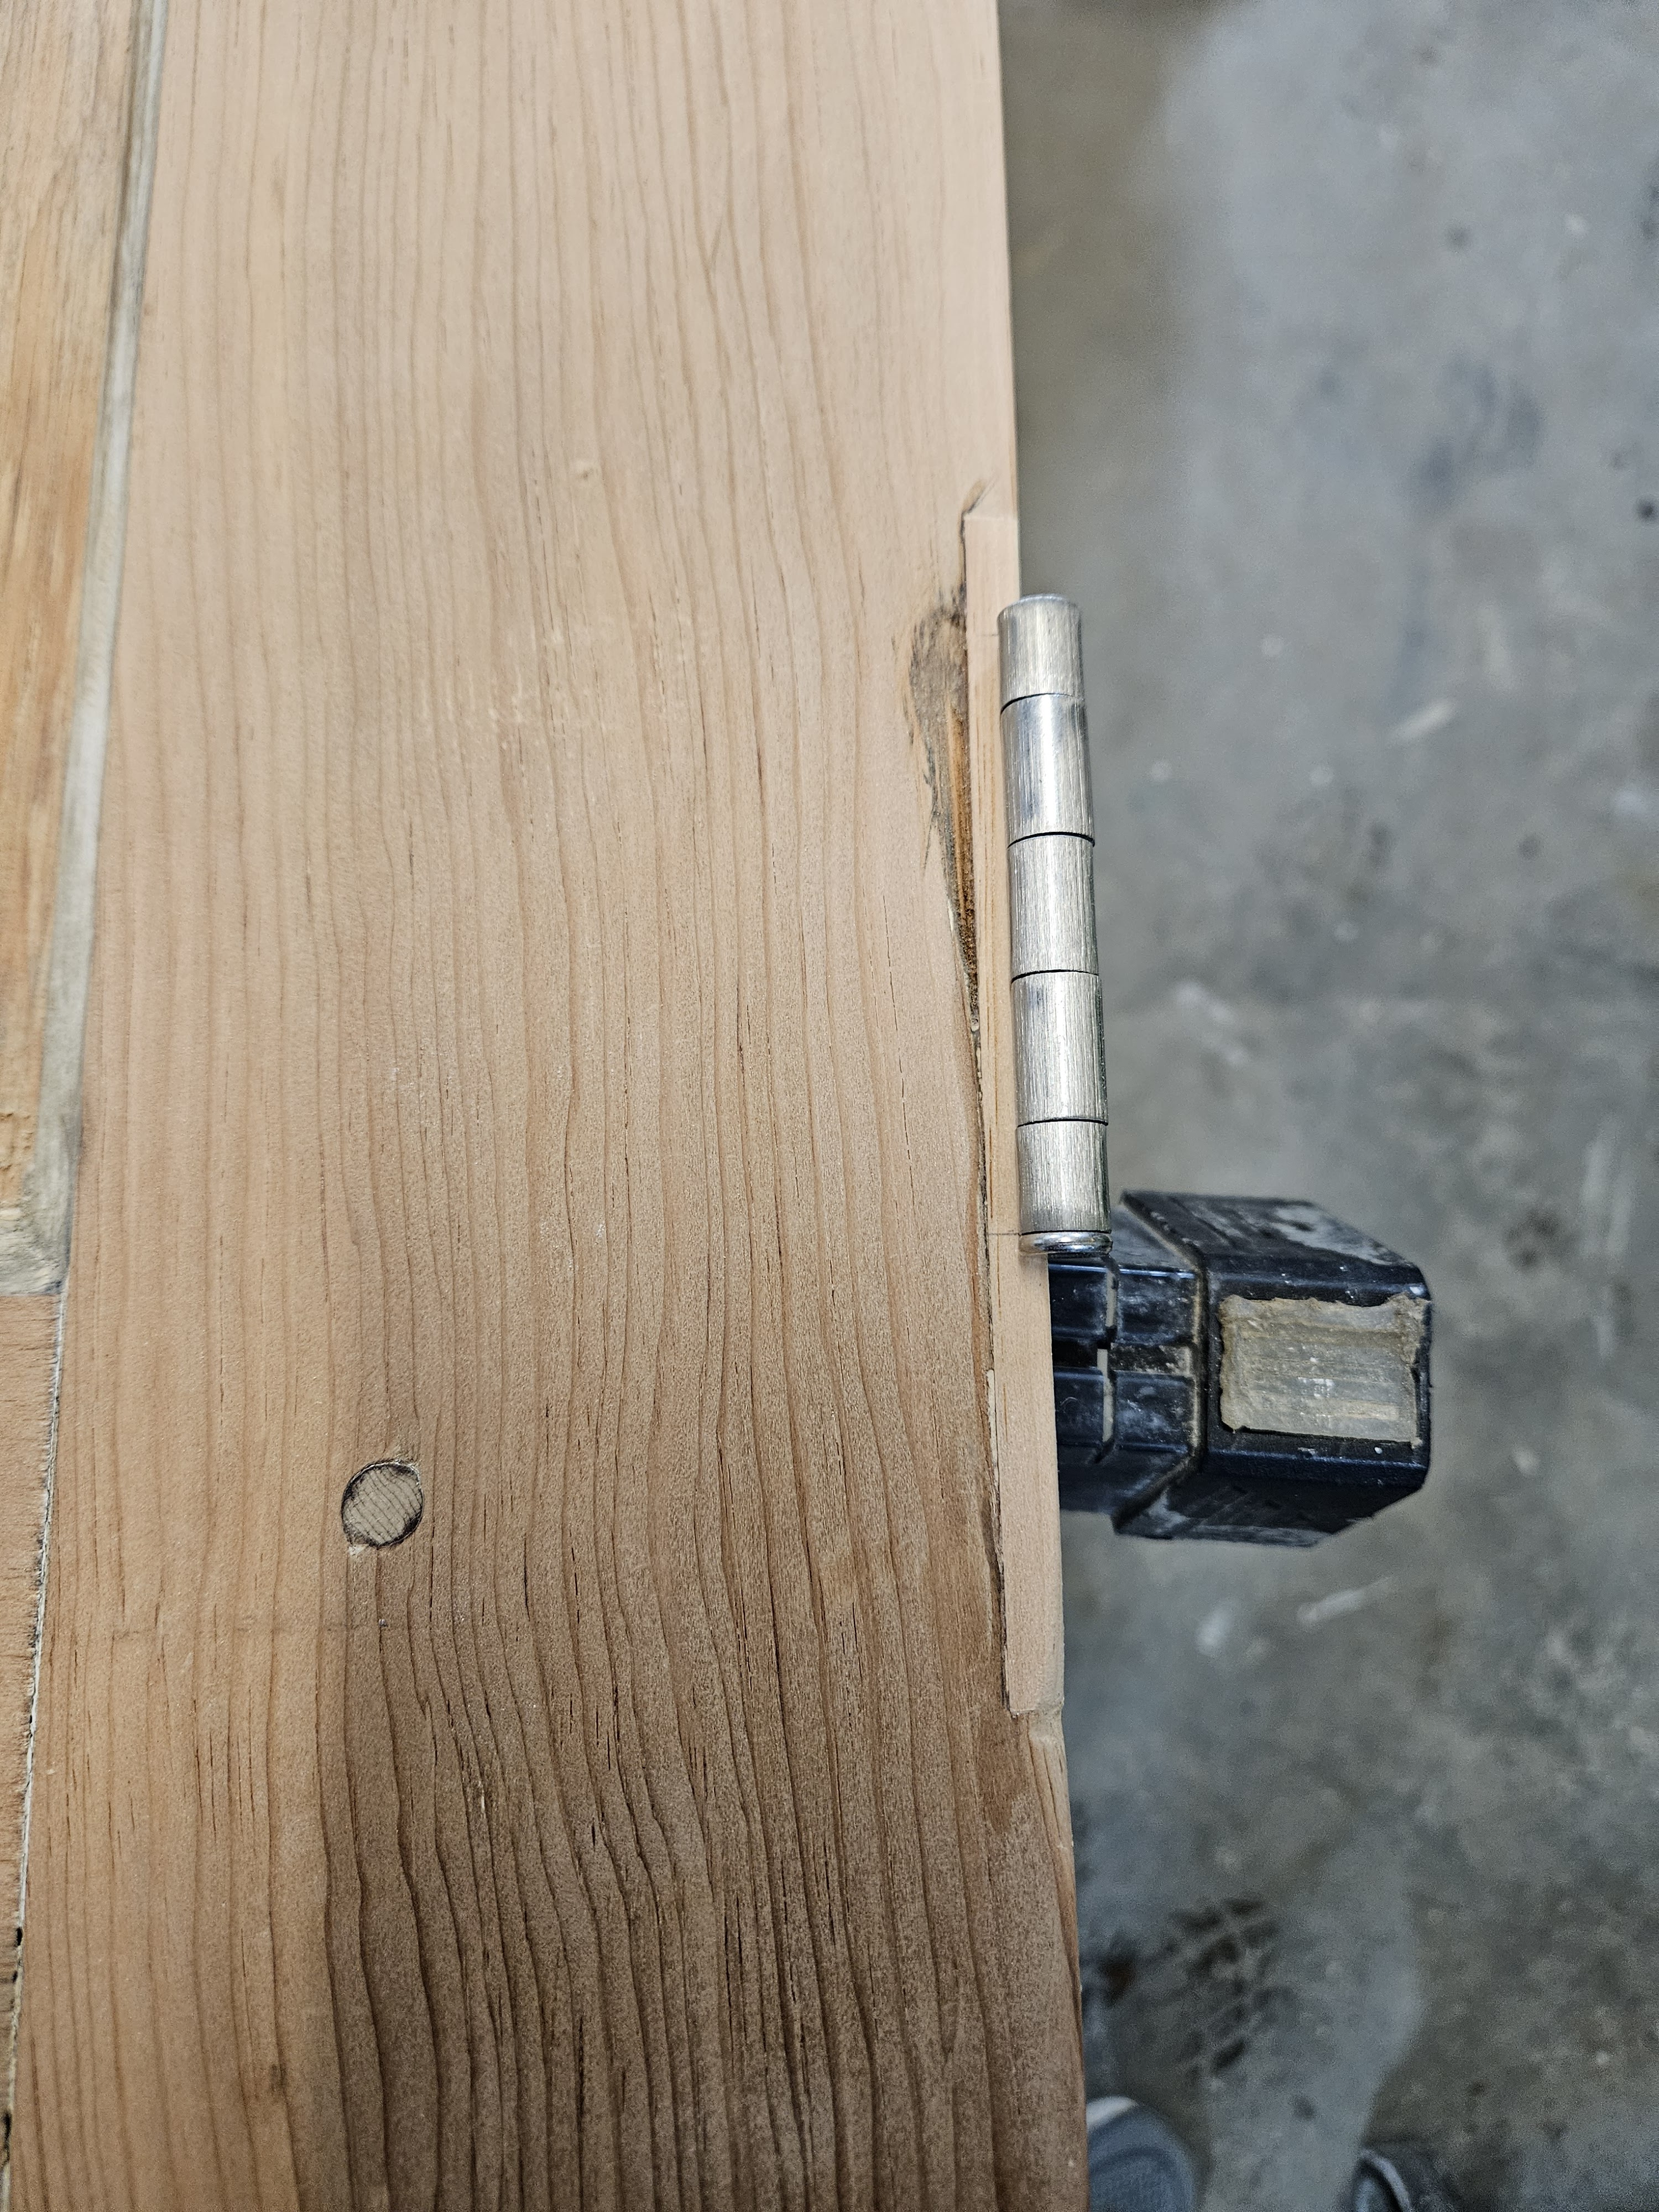
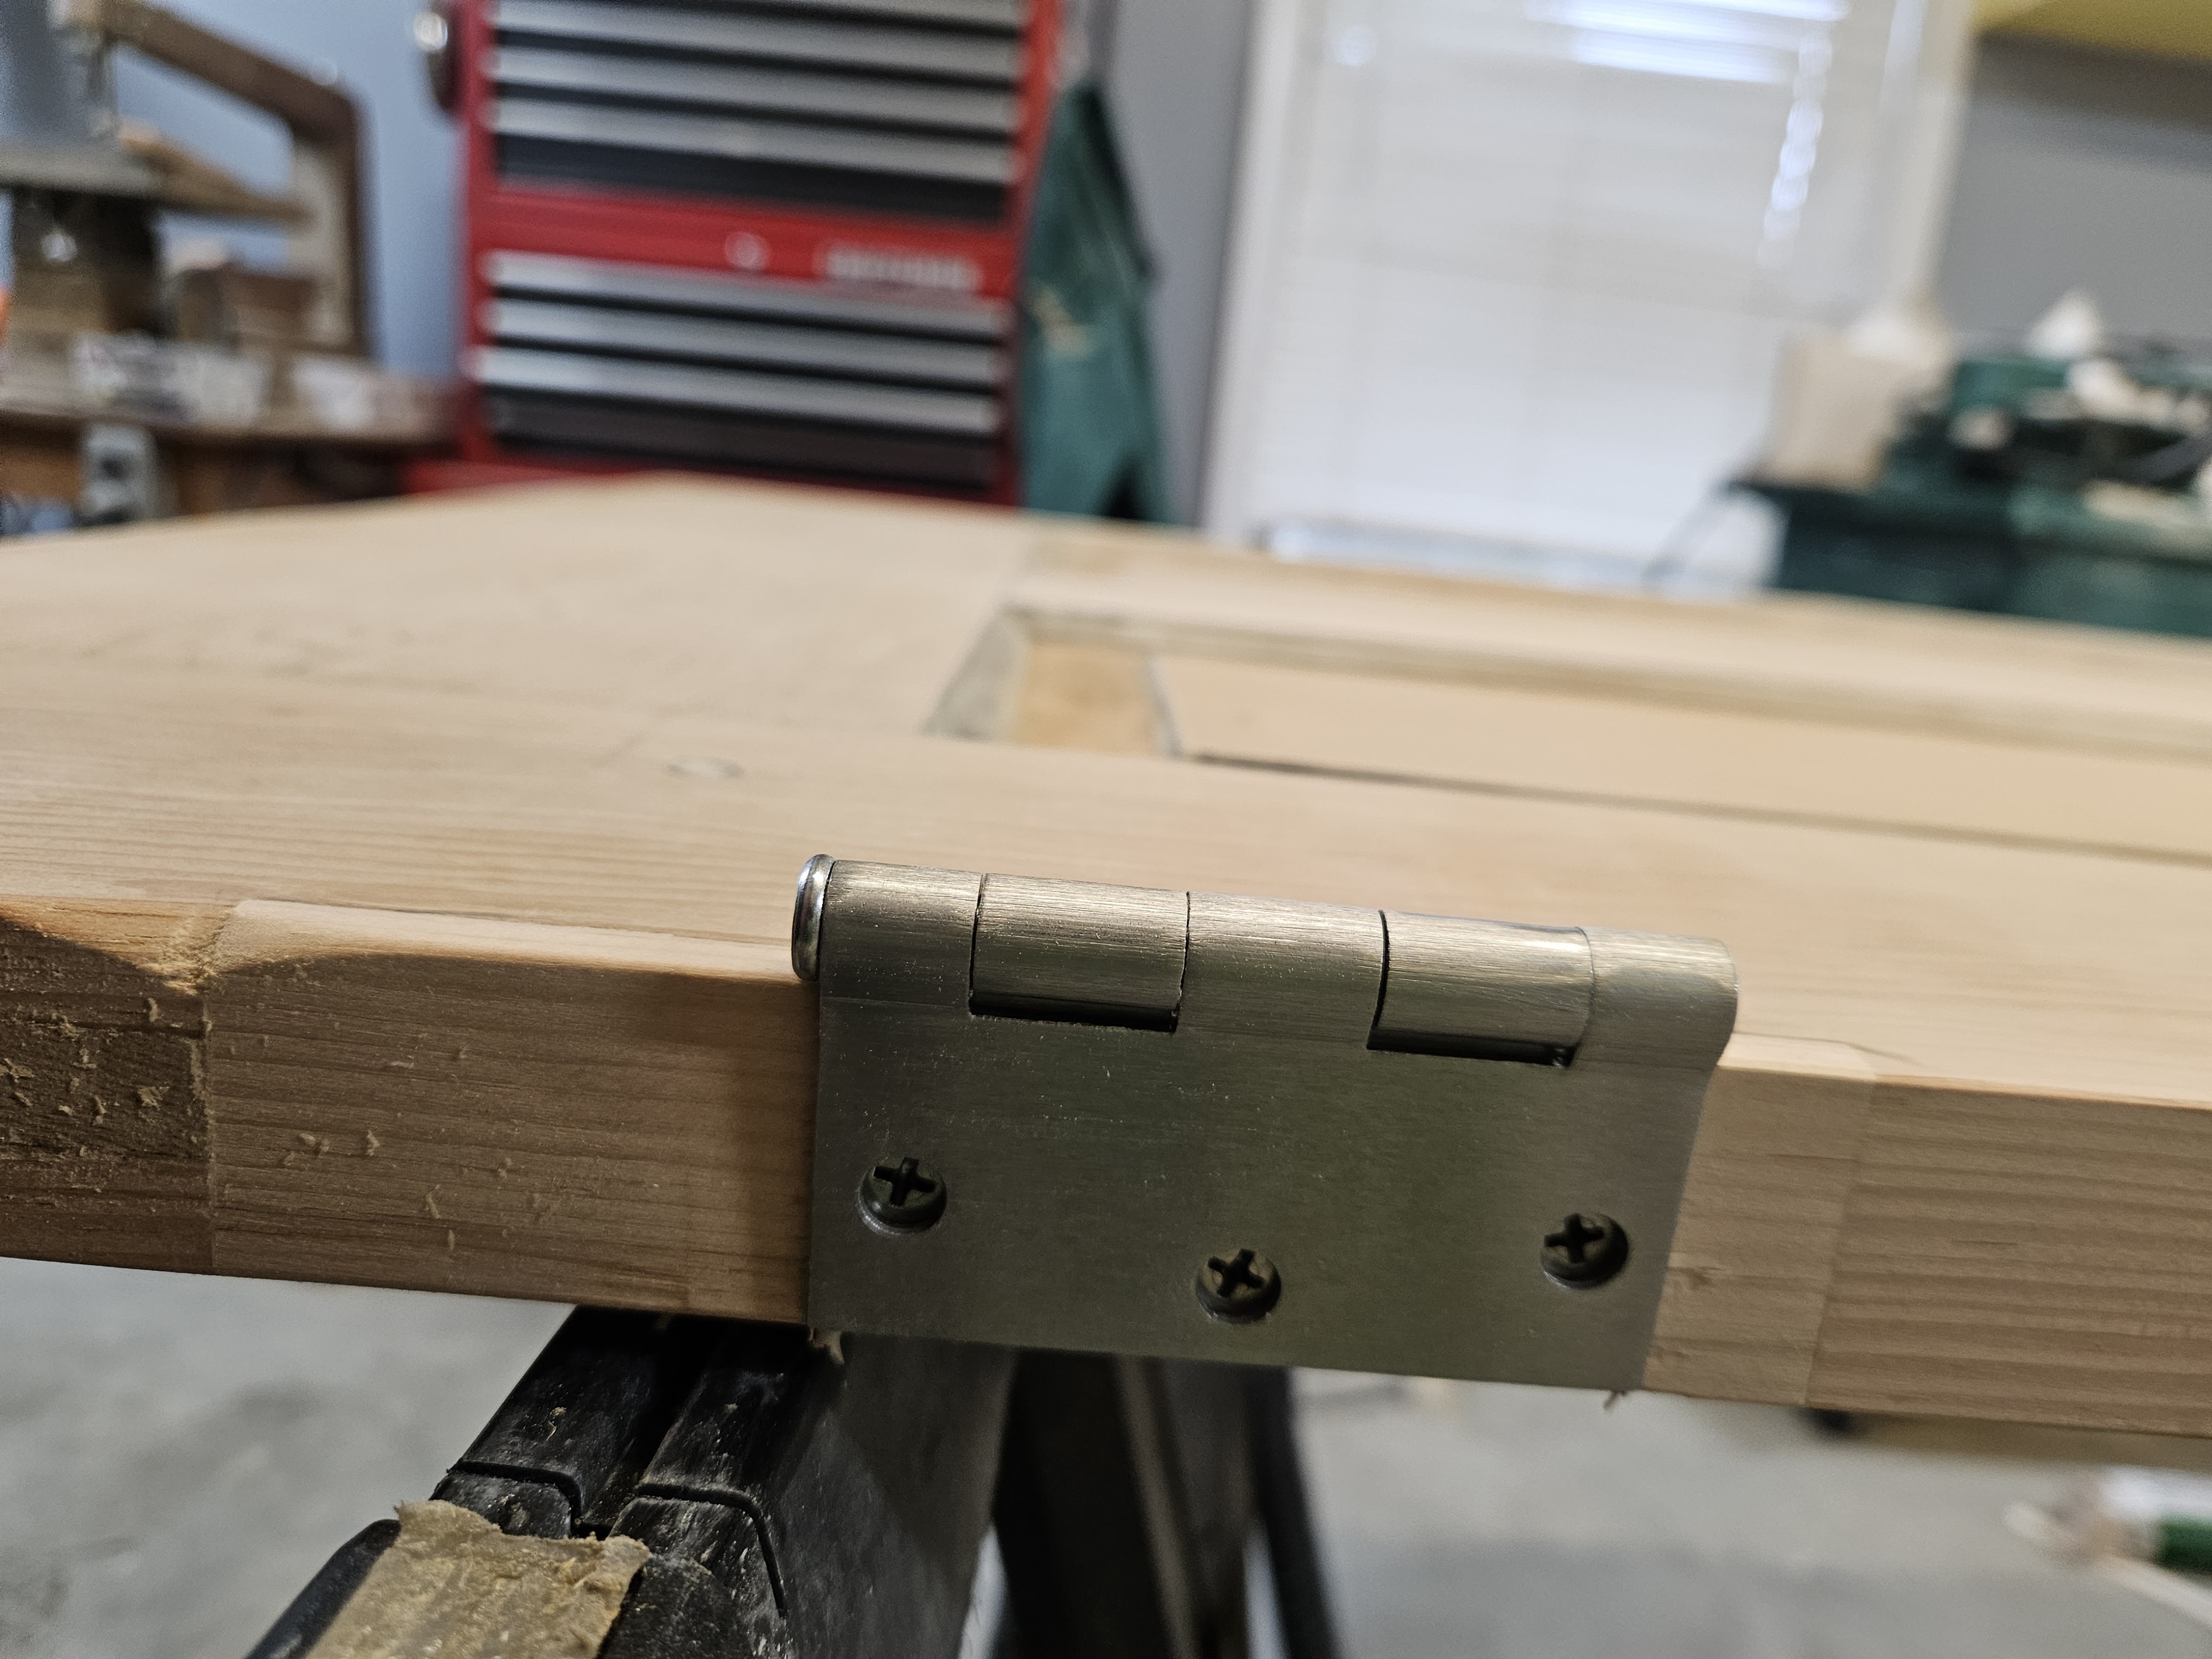
Then came the most stressful operation, which is cutting the pockets for the hinges into the door and into the frame. These have to be super exact or your door won’t swing right, or will want to fall open if it’s not pulled to. These are just modern hinges from the home improvement store.
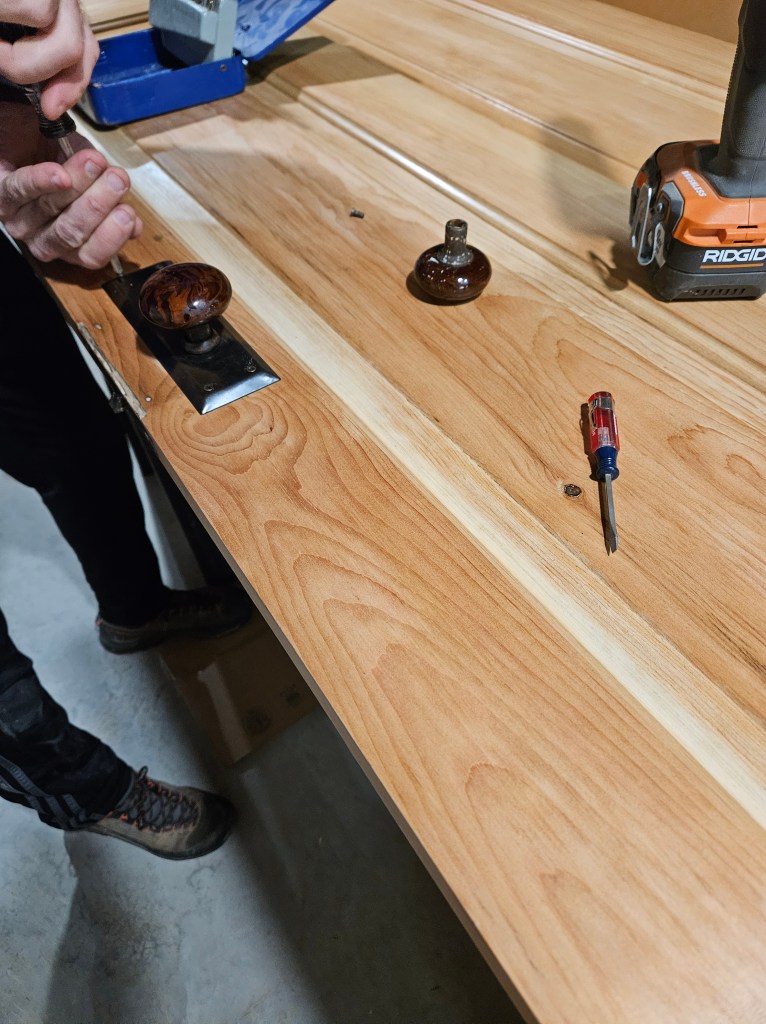
Then came some exciting news. During our travels over the years, we have purchased old mortise locks and old rim locks when we’ve found them. This door was meant to have a mortise lock, so I pulled out the two that we had in our stash, and one fit into the pocket pretty perfectly.
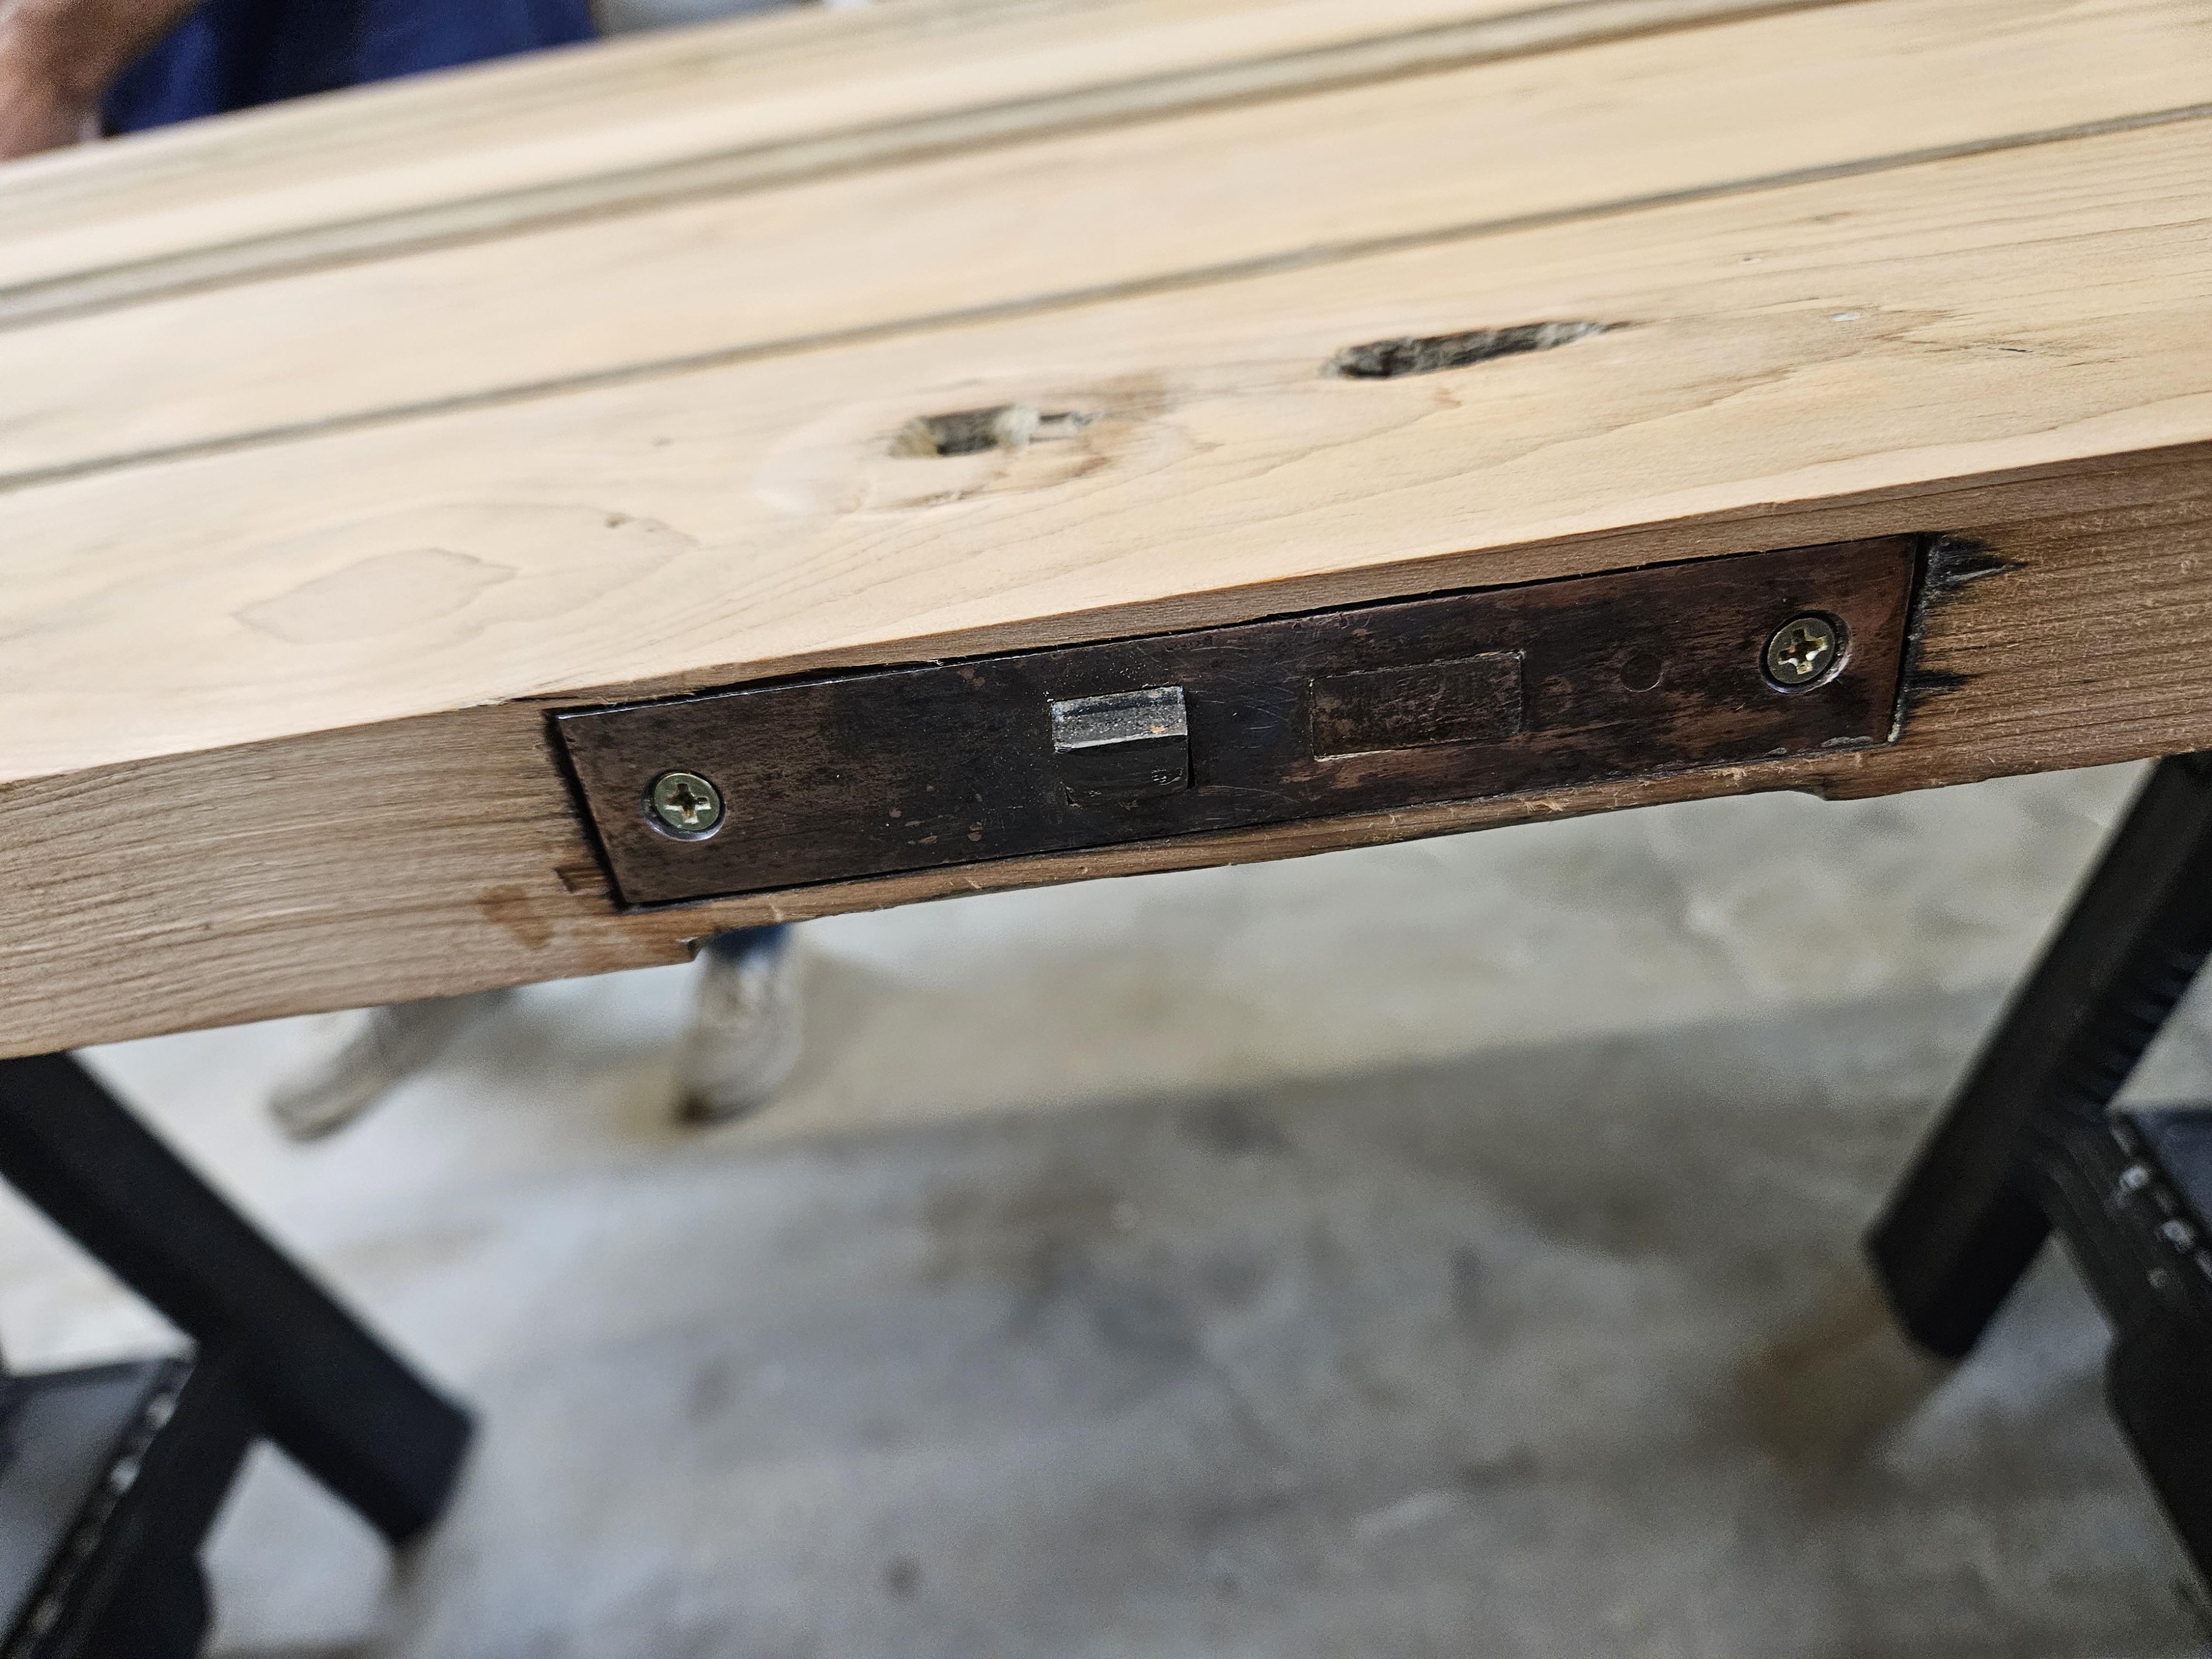
AND, the holes for the knob and the key lined up perfectly as well.
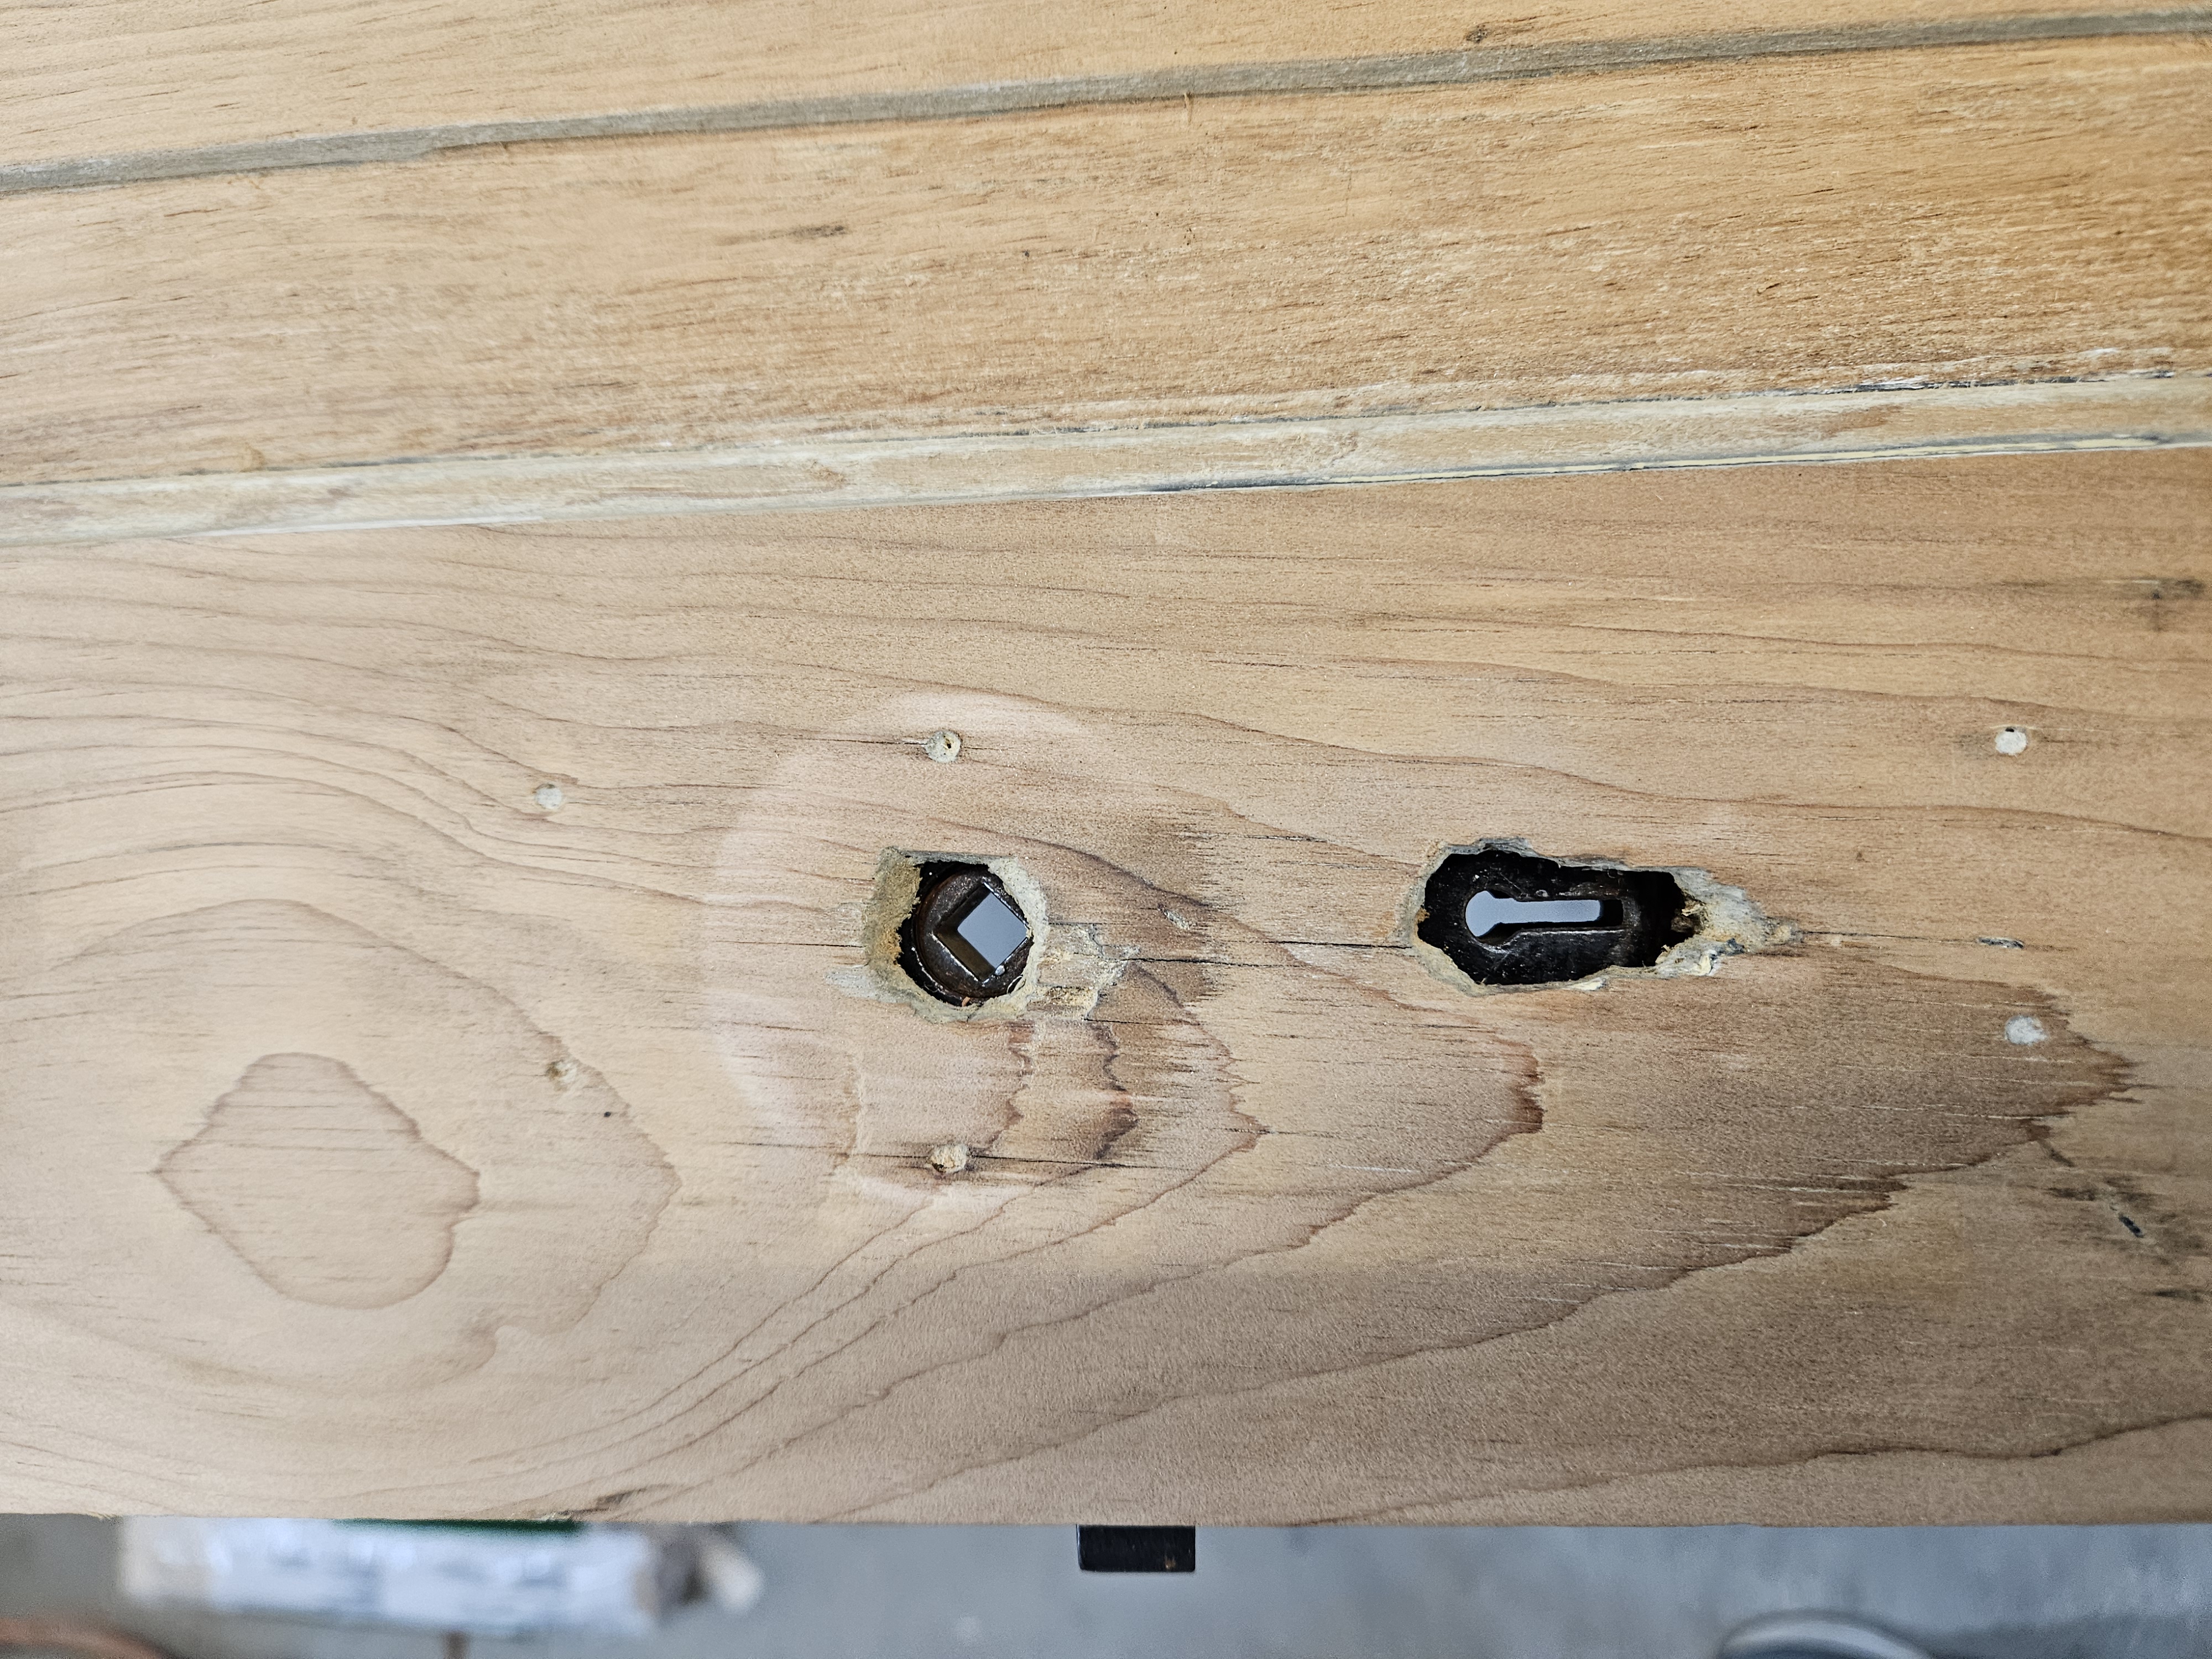
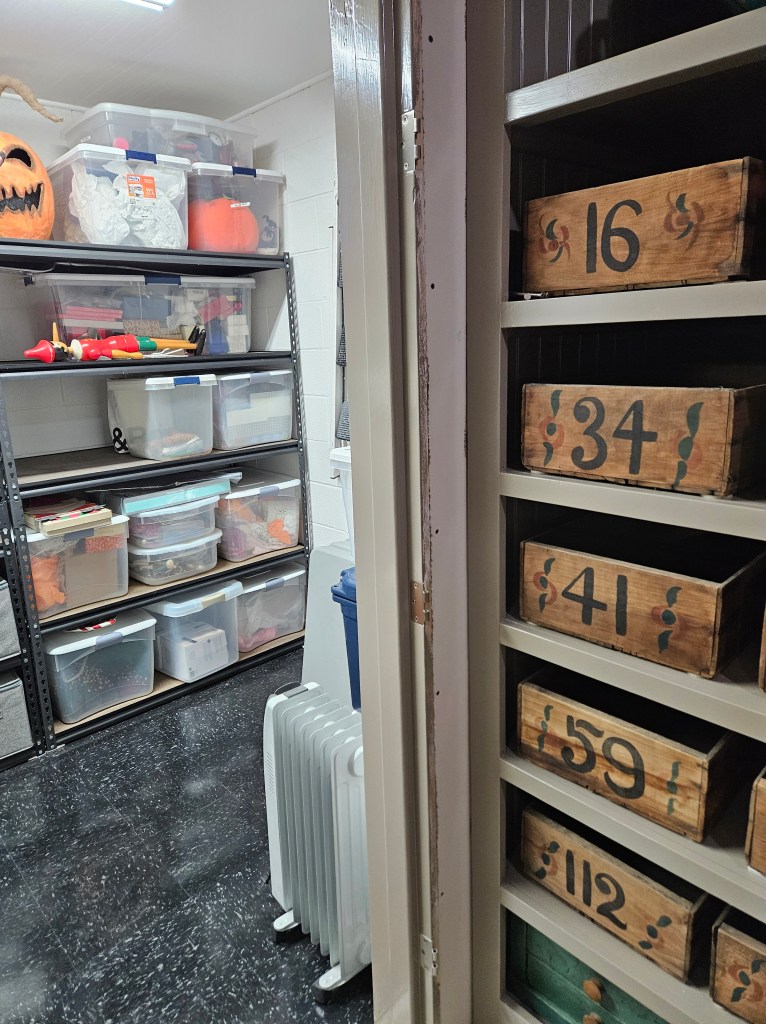
There is an antique shop in Waynesville, OH that specializes in old door hardware. (We bought a complete rim lock from them–rim lock, catch, and knob–a few years ago.) I have contacted them about getting a back plate to cover the holes in the wood and give it a finished look. We also need to get a striker plate for the door frame. Update: I ended up going to Ohio to drop some items off to be auctioned by EBTH, so I went to the shop in Waynesville and found back plates and a striker plate for this door, and a couple others–STUNNING, as you’ll see at the end of this post. (I also found a bunch of antique doors for our son’s house.)
My husband then started on scraping and sanding the detailed parts of the doors. This is a SUPER laborious process and has the added advantage of also being tedious. He really is a saint. This is the door after he finished that process.
In the meantime, I started working on painting the door frame. I used painter’s tape to protect the pockets for the hinges so they didn’t get filled with paint. (Only a couple of the doors we purchased came with door frames, so my husband has had to learn to make them. He’s made 6 door frames already and our oldest just bought some old doors that will need frames too.)
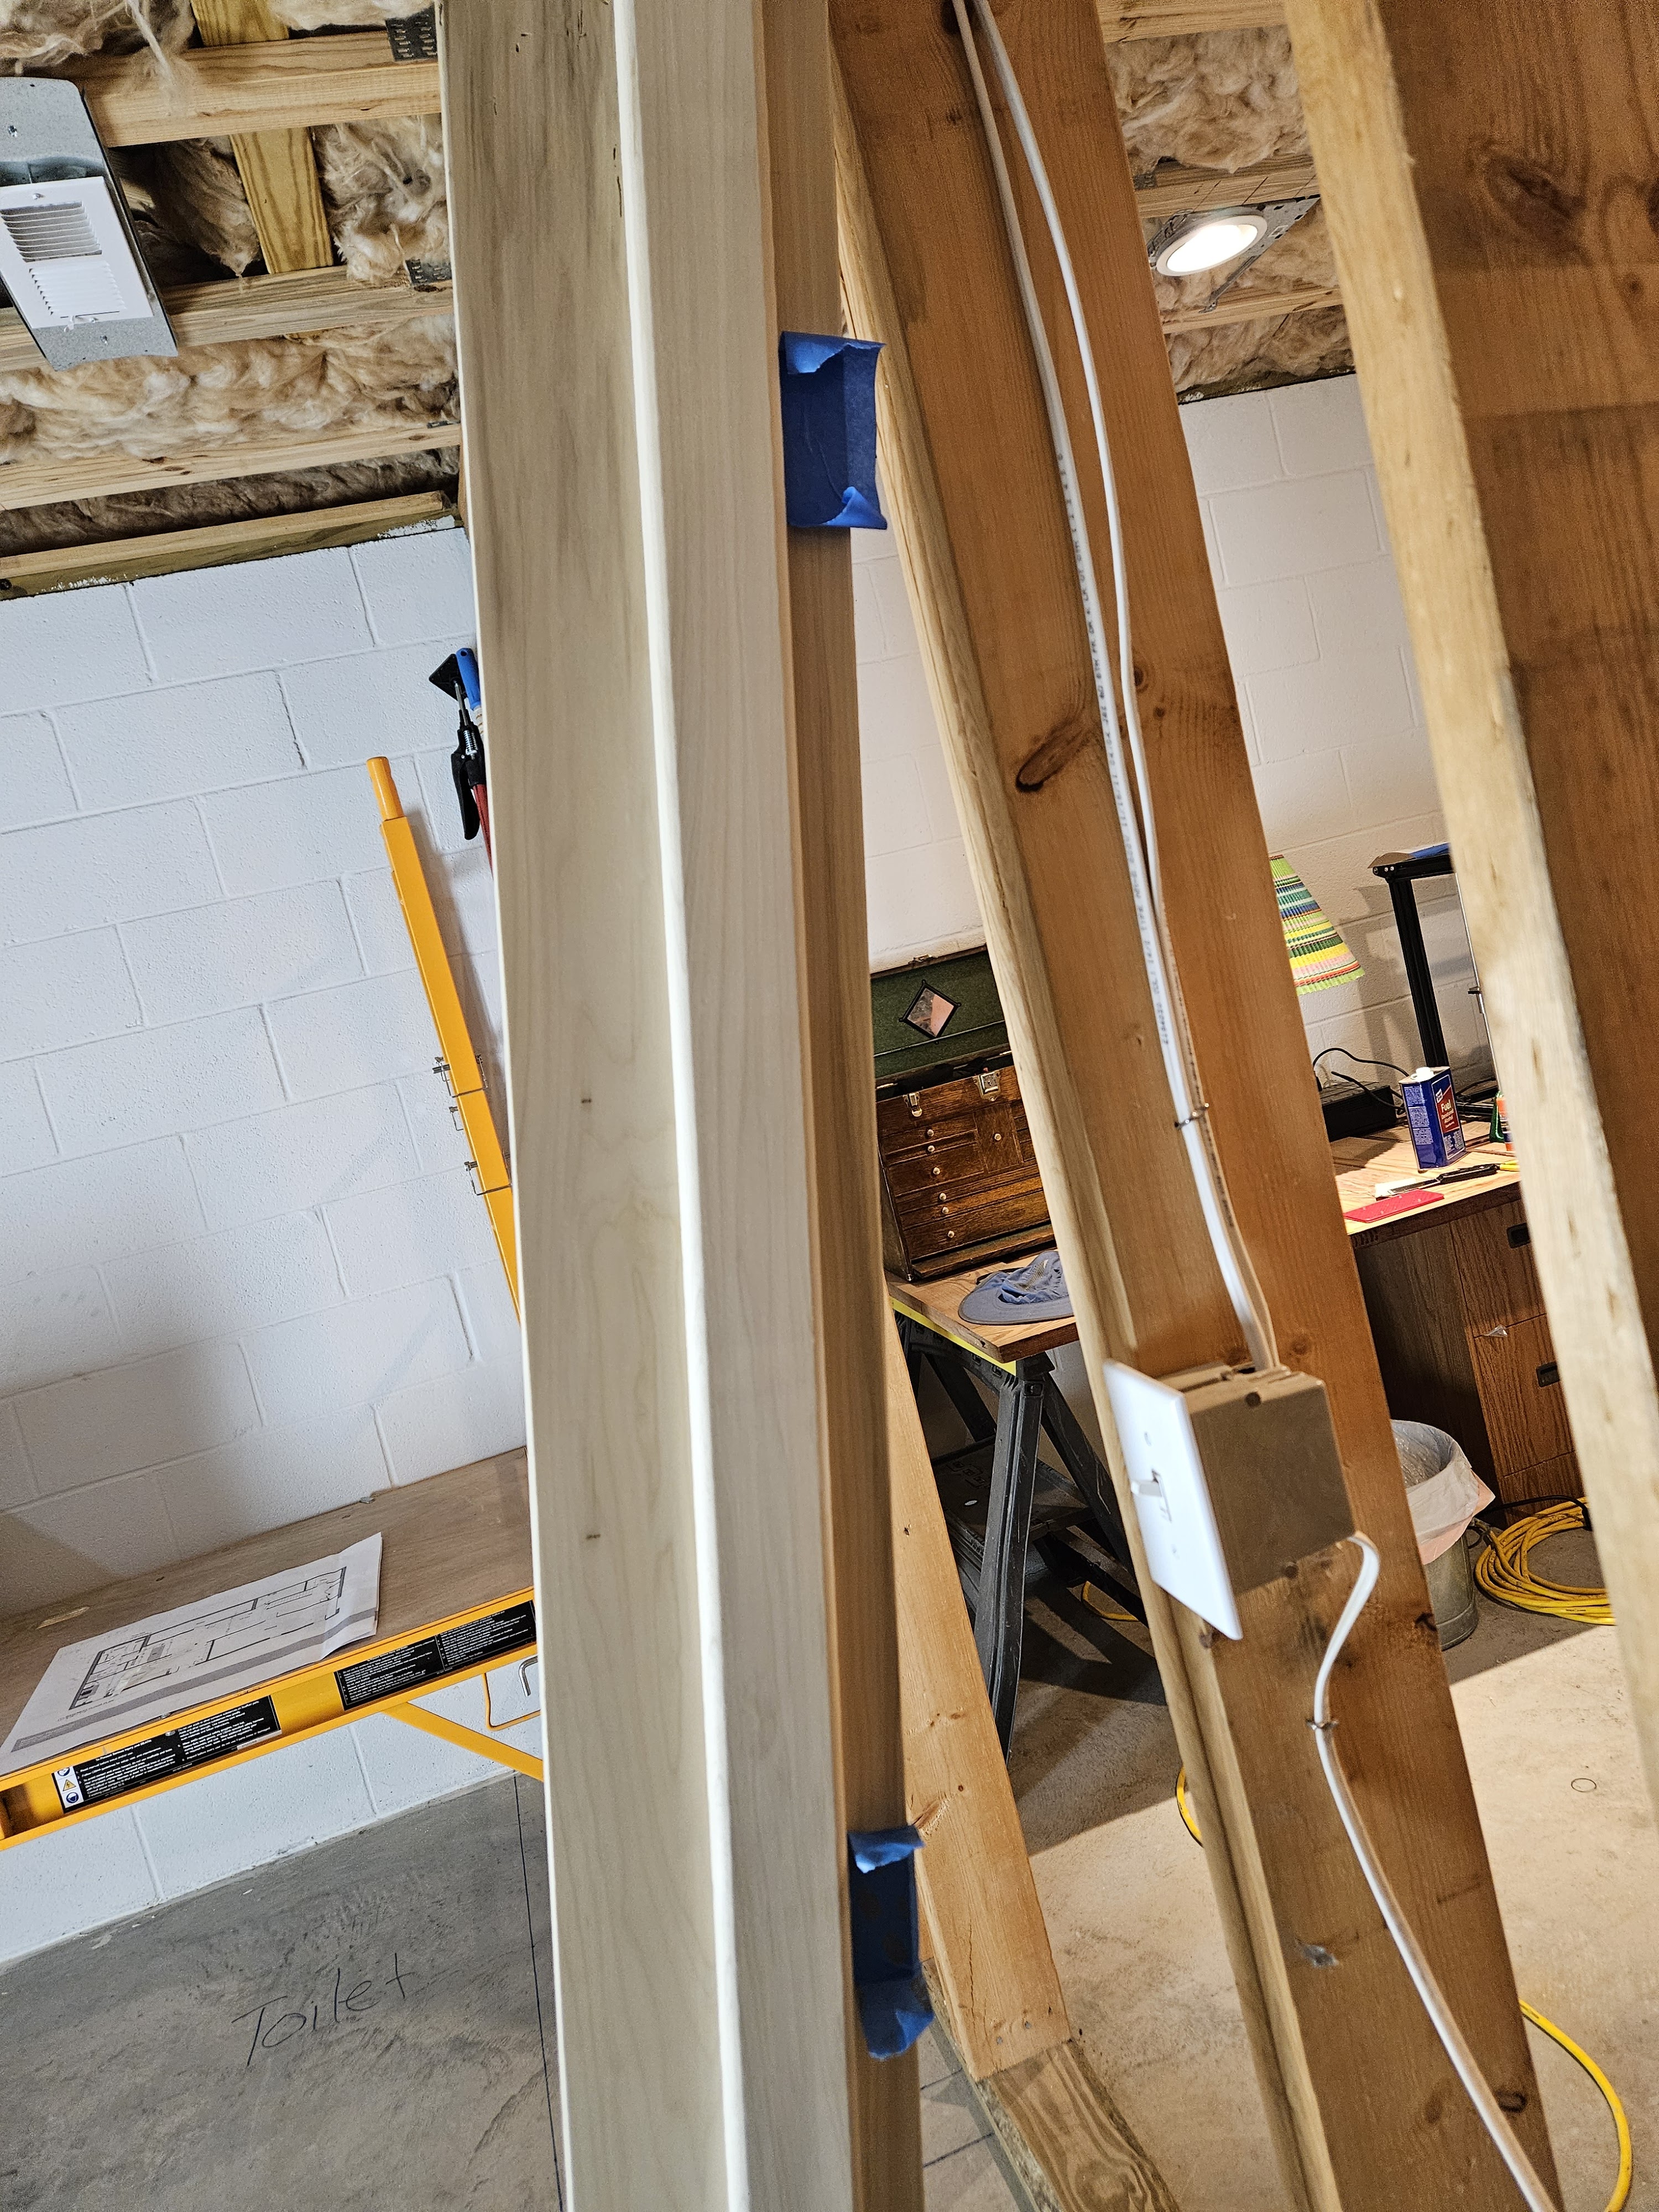
Then I primed the door twice, sanding between coats, and after the second coat, and then we installed the doorframe so that I could put the topcoat on. (It’s much easier to paint standing up than on sawhorses.) I put 2 coats of topcoat on, and then we waited a few weeks to put the hinges back up.
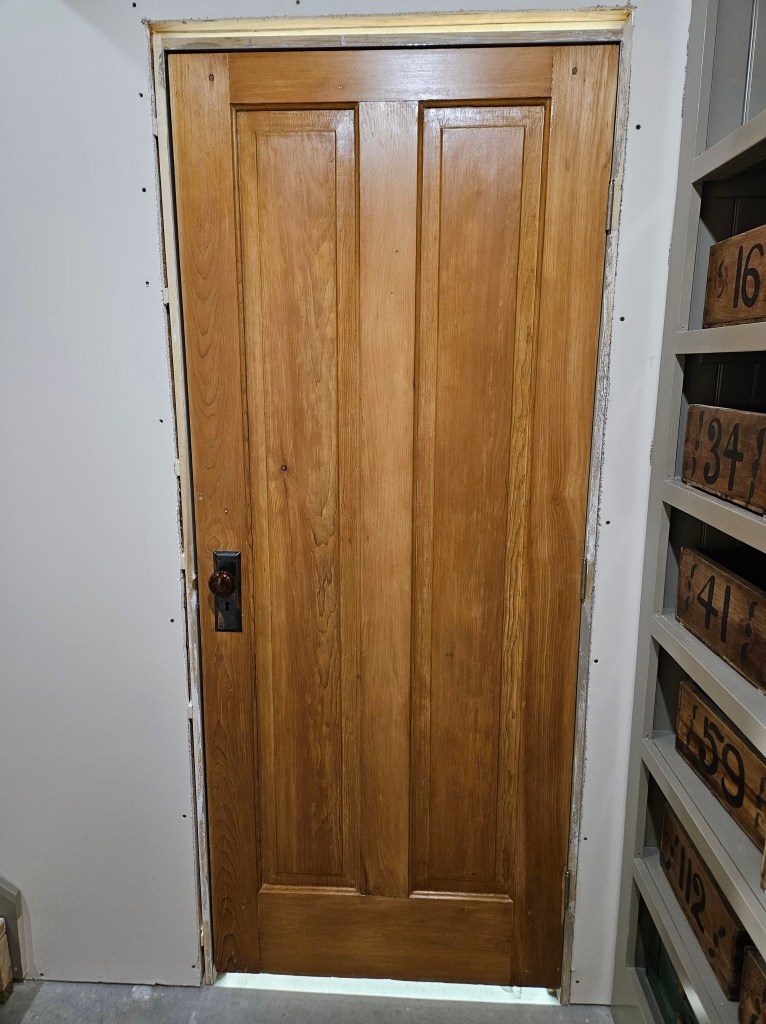
In the meantime, we decided that it was unlikely that we would get nice enough weather to be able to use lacquer on the doors (because it has to be done outside because of the fumes), so we did a little test with Polycrylic, and liked how it looked. (We were looking at these two finishes because they don’t yellow with age.) So, I tack clothed the door and put three coats of wiping Polycrylic finish on both sides of the door. My husband installed the back plates on both sides and then refitted the knob. (I had to order knobs for this door and two closet doors that are nearby, so they all had to match. I already had a rim lock that came with a knob for another door that is on the same wall as the other two, so I bought knobs that match the rim lock knob. I found them on eBay.) The coloration of the knobs inspired the backplate choice.
Then it was time to hang the completed door.
The amount of work in this door is kind of ridiculous, but it really is gorgeous, and perfect with everything else that we’re doing in the basement. We have more work to do on the other closet doors before we can sand them and finish them, but getting this one to the finish line has given us a little momentum to keep going.
The weather over the next couple of weeks is forecast to be unusually warm and my husband is off of work, so, even with the holidays, we’re hopeful that we can make more progress on the basement.
