
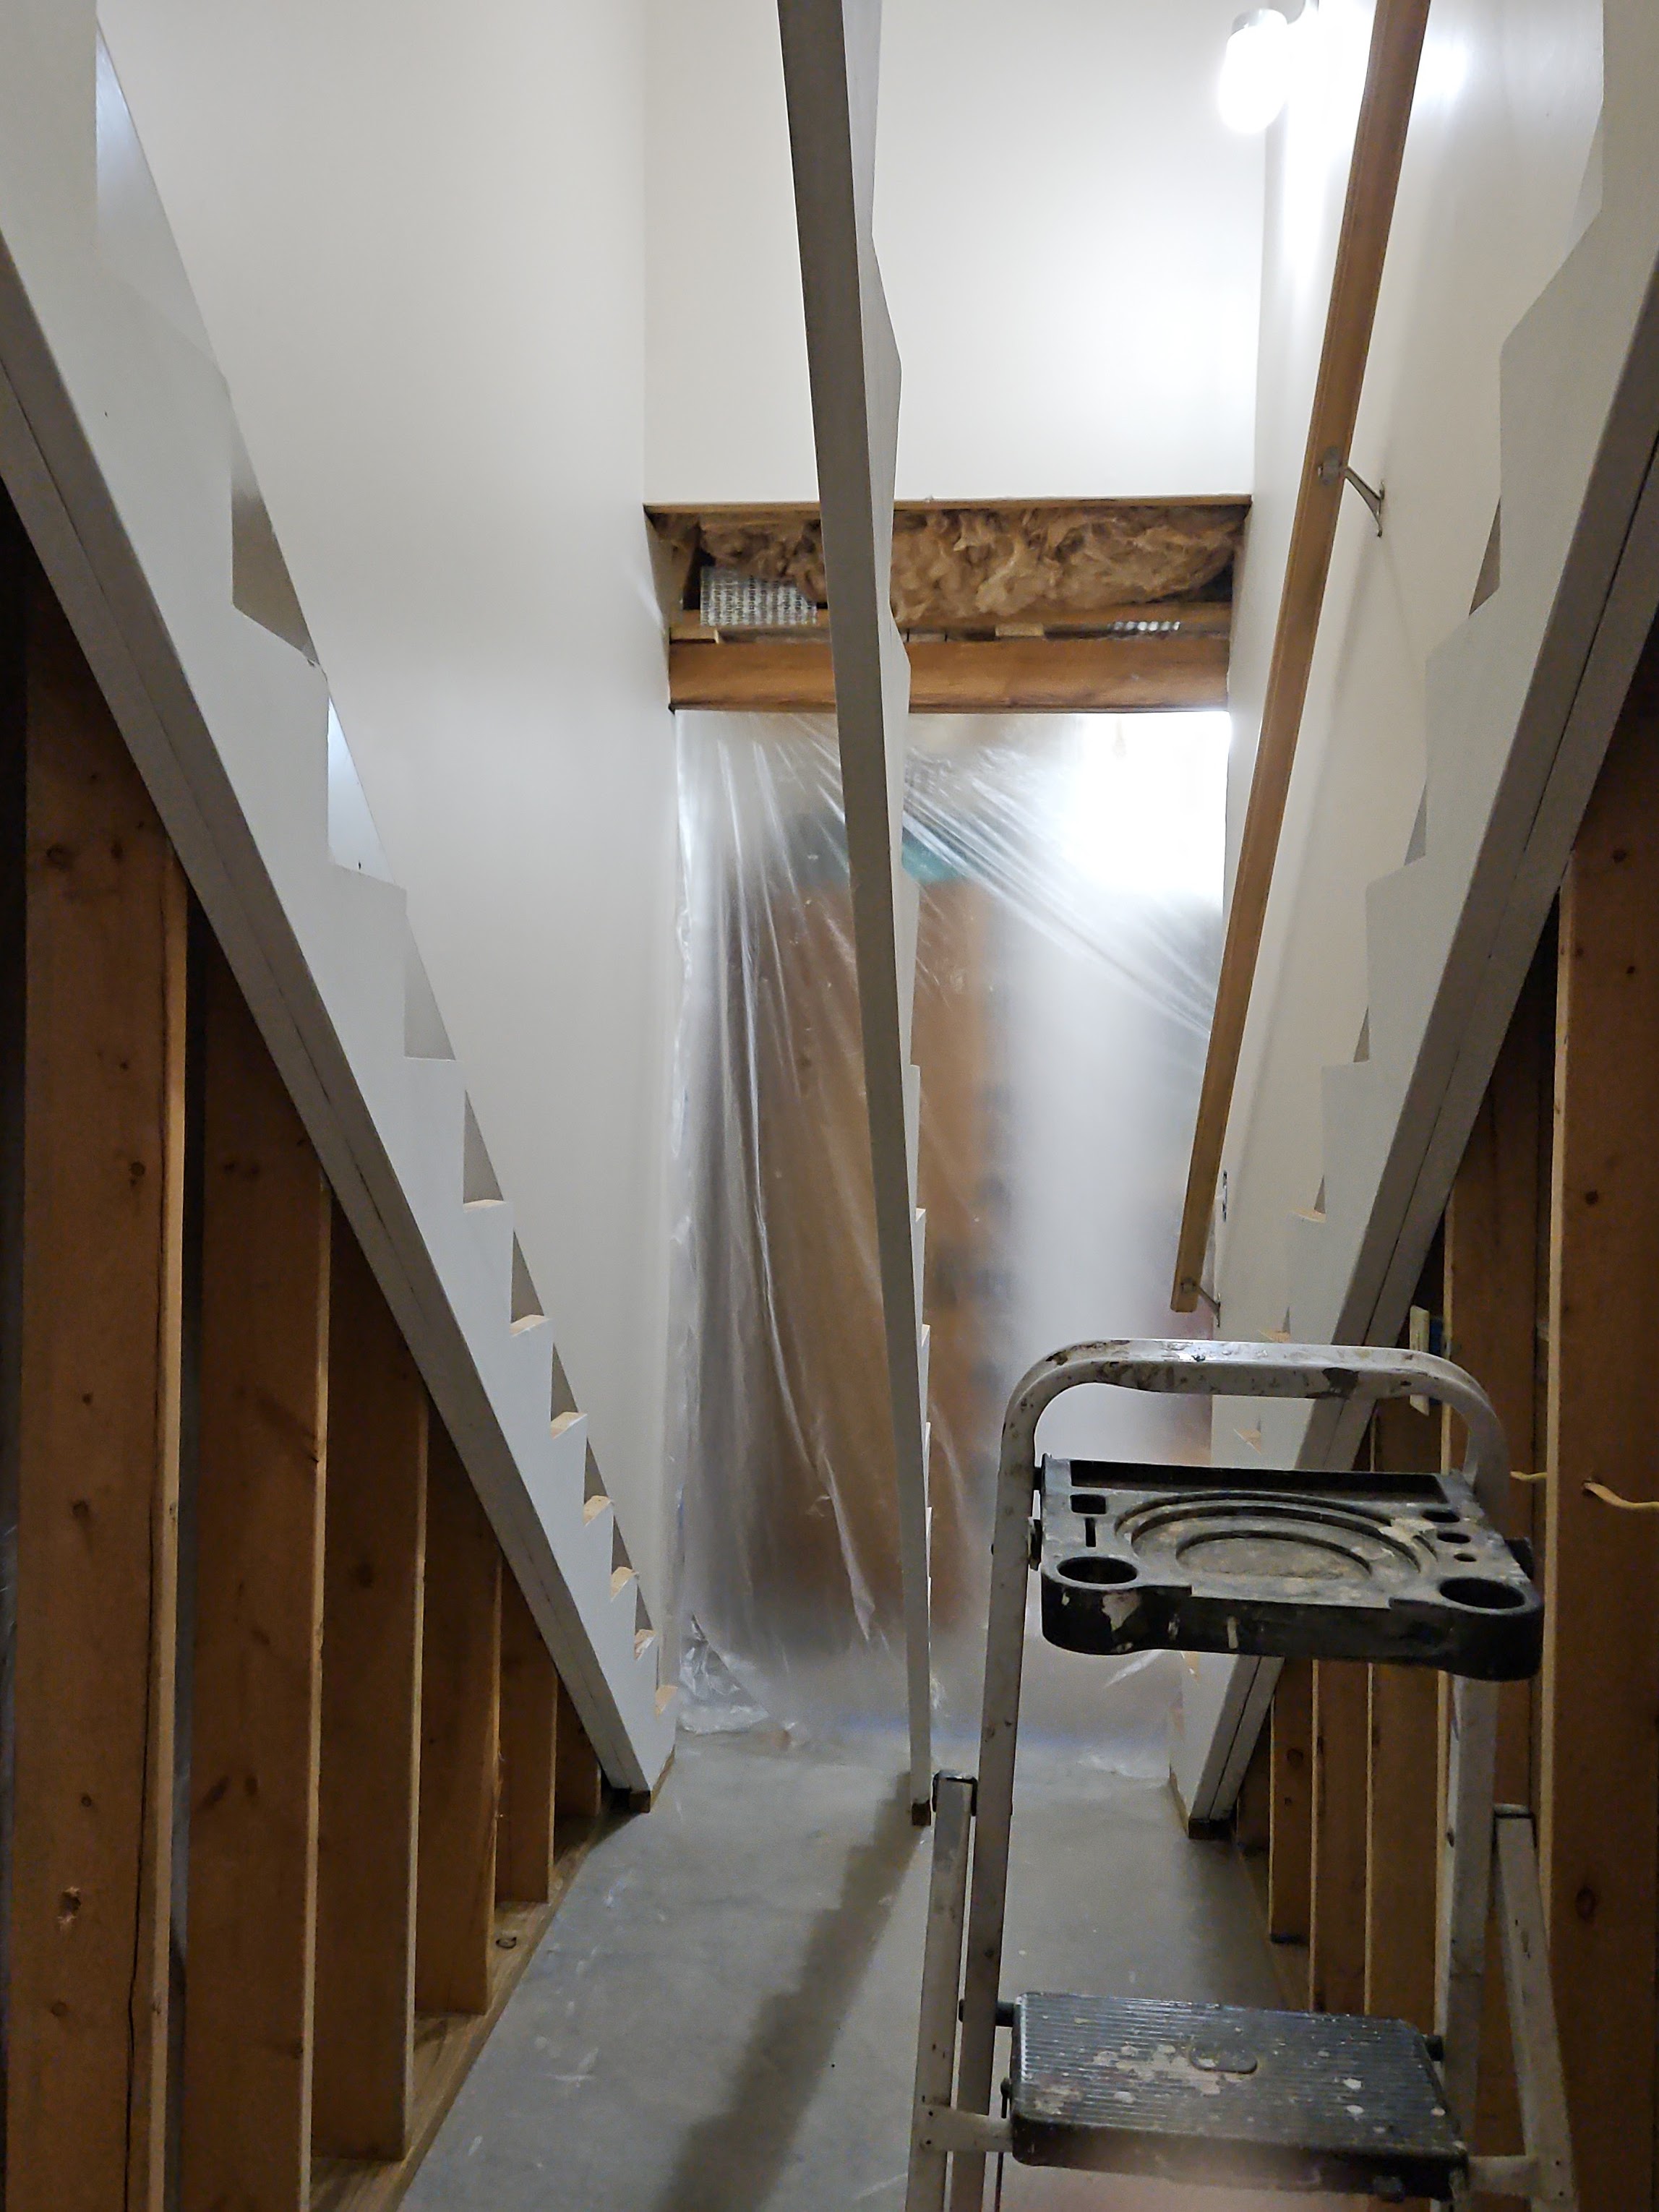
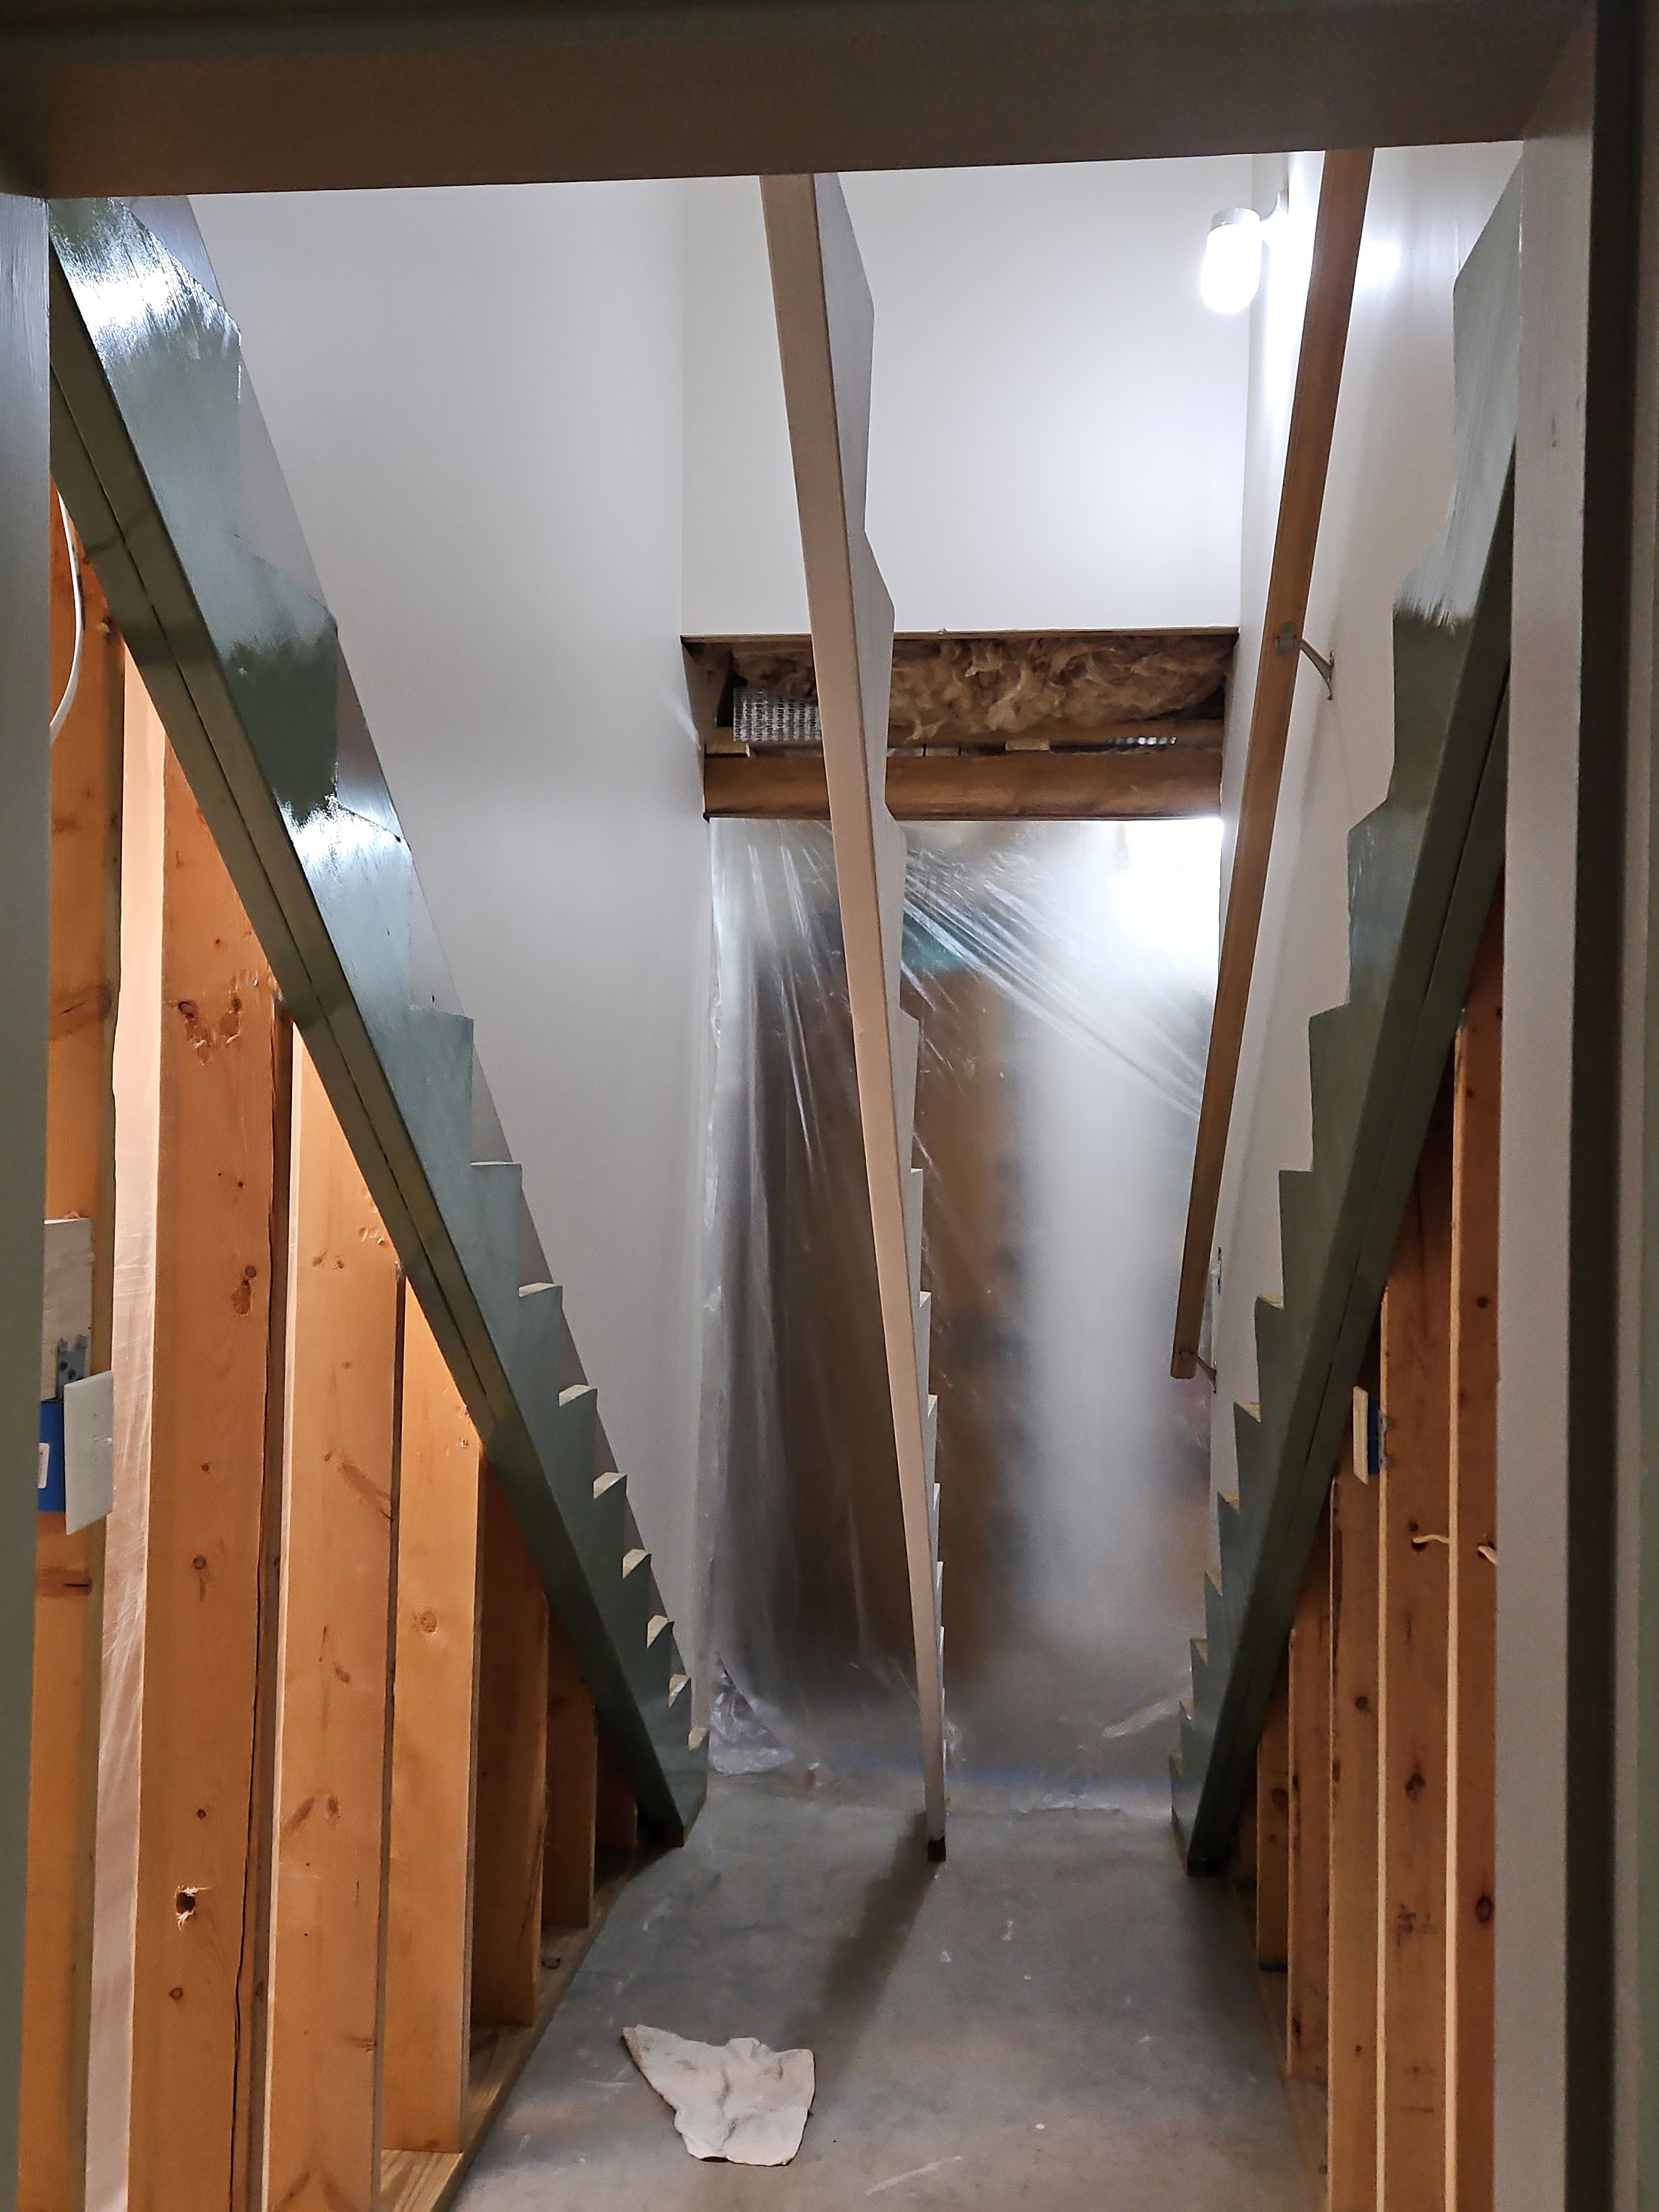
We are getting ready to start getting the quartersawn oak treads and risers in place so we decided that if there ever was a time to finish the closet under the stairs, this was it.
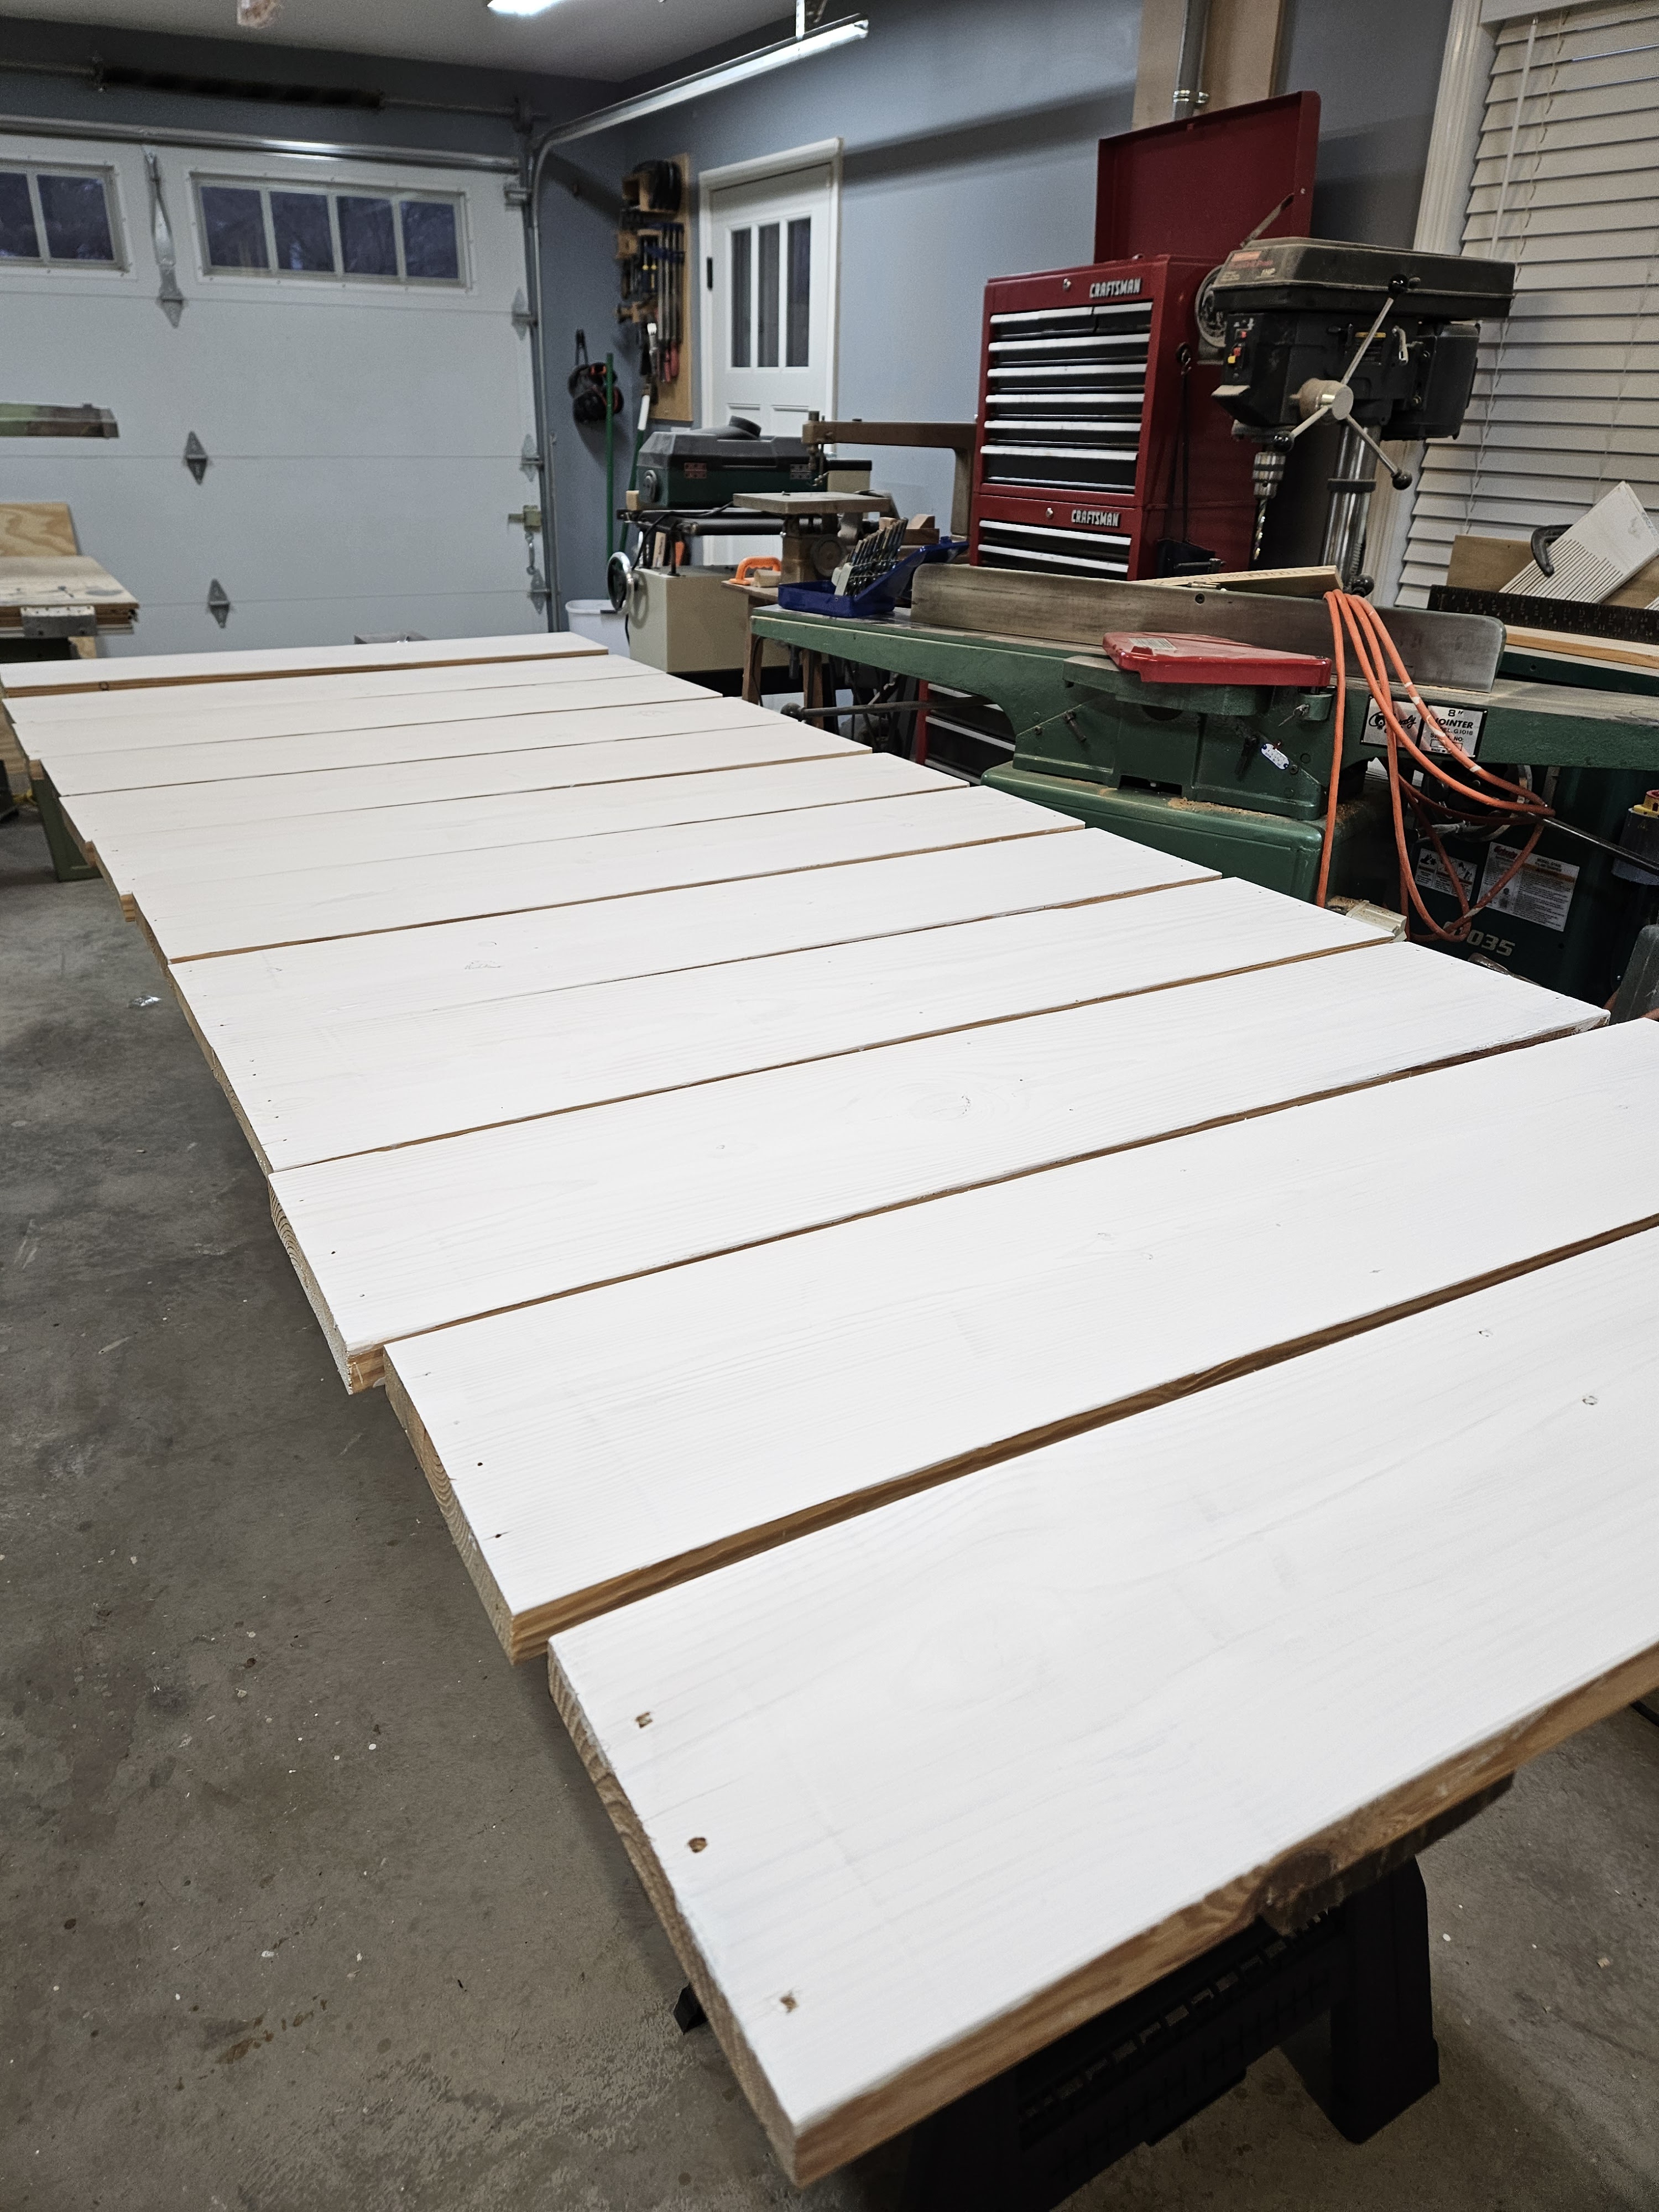
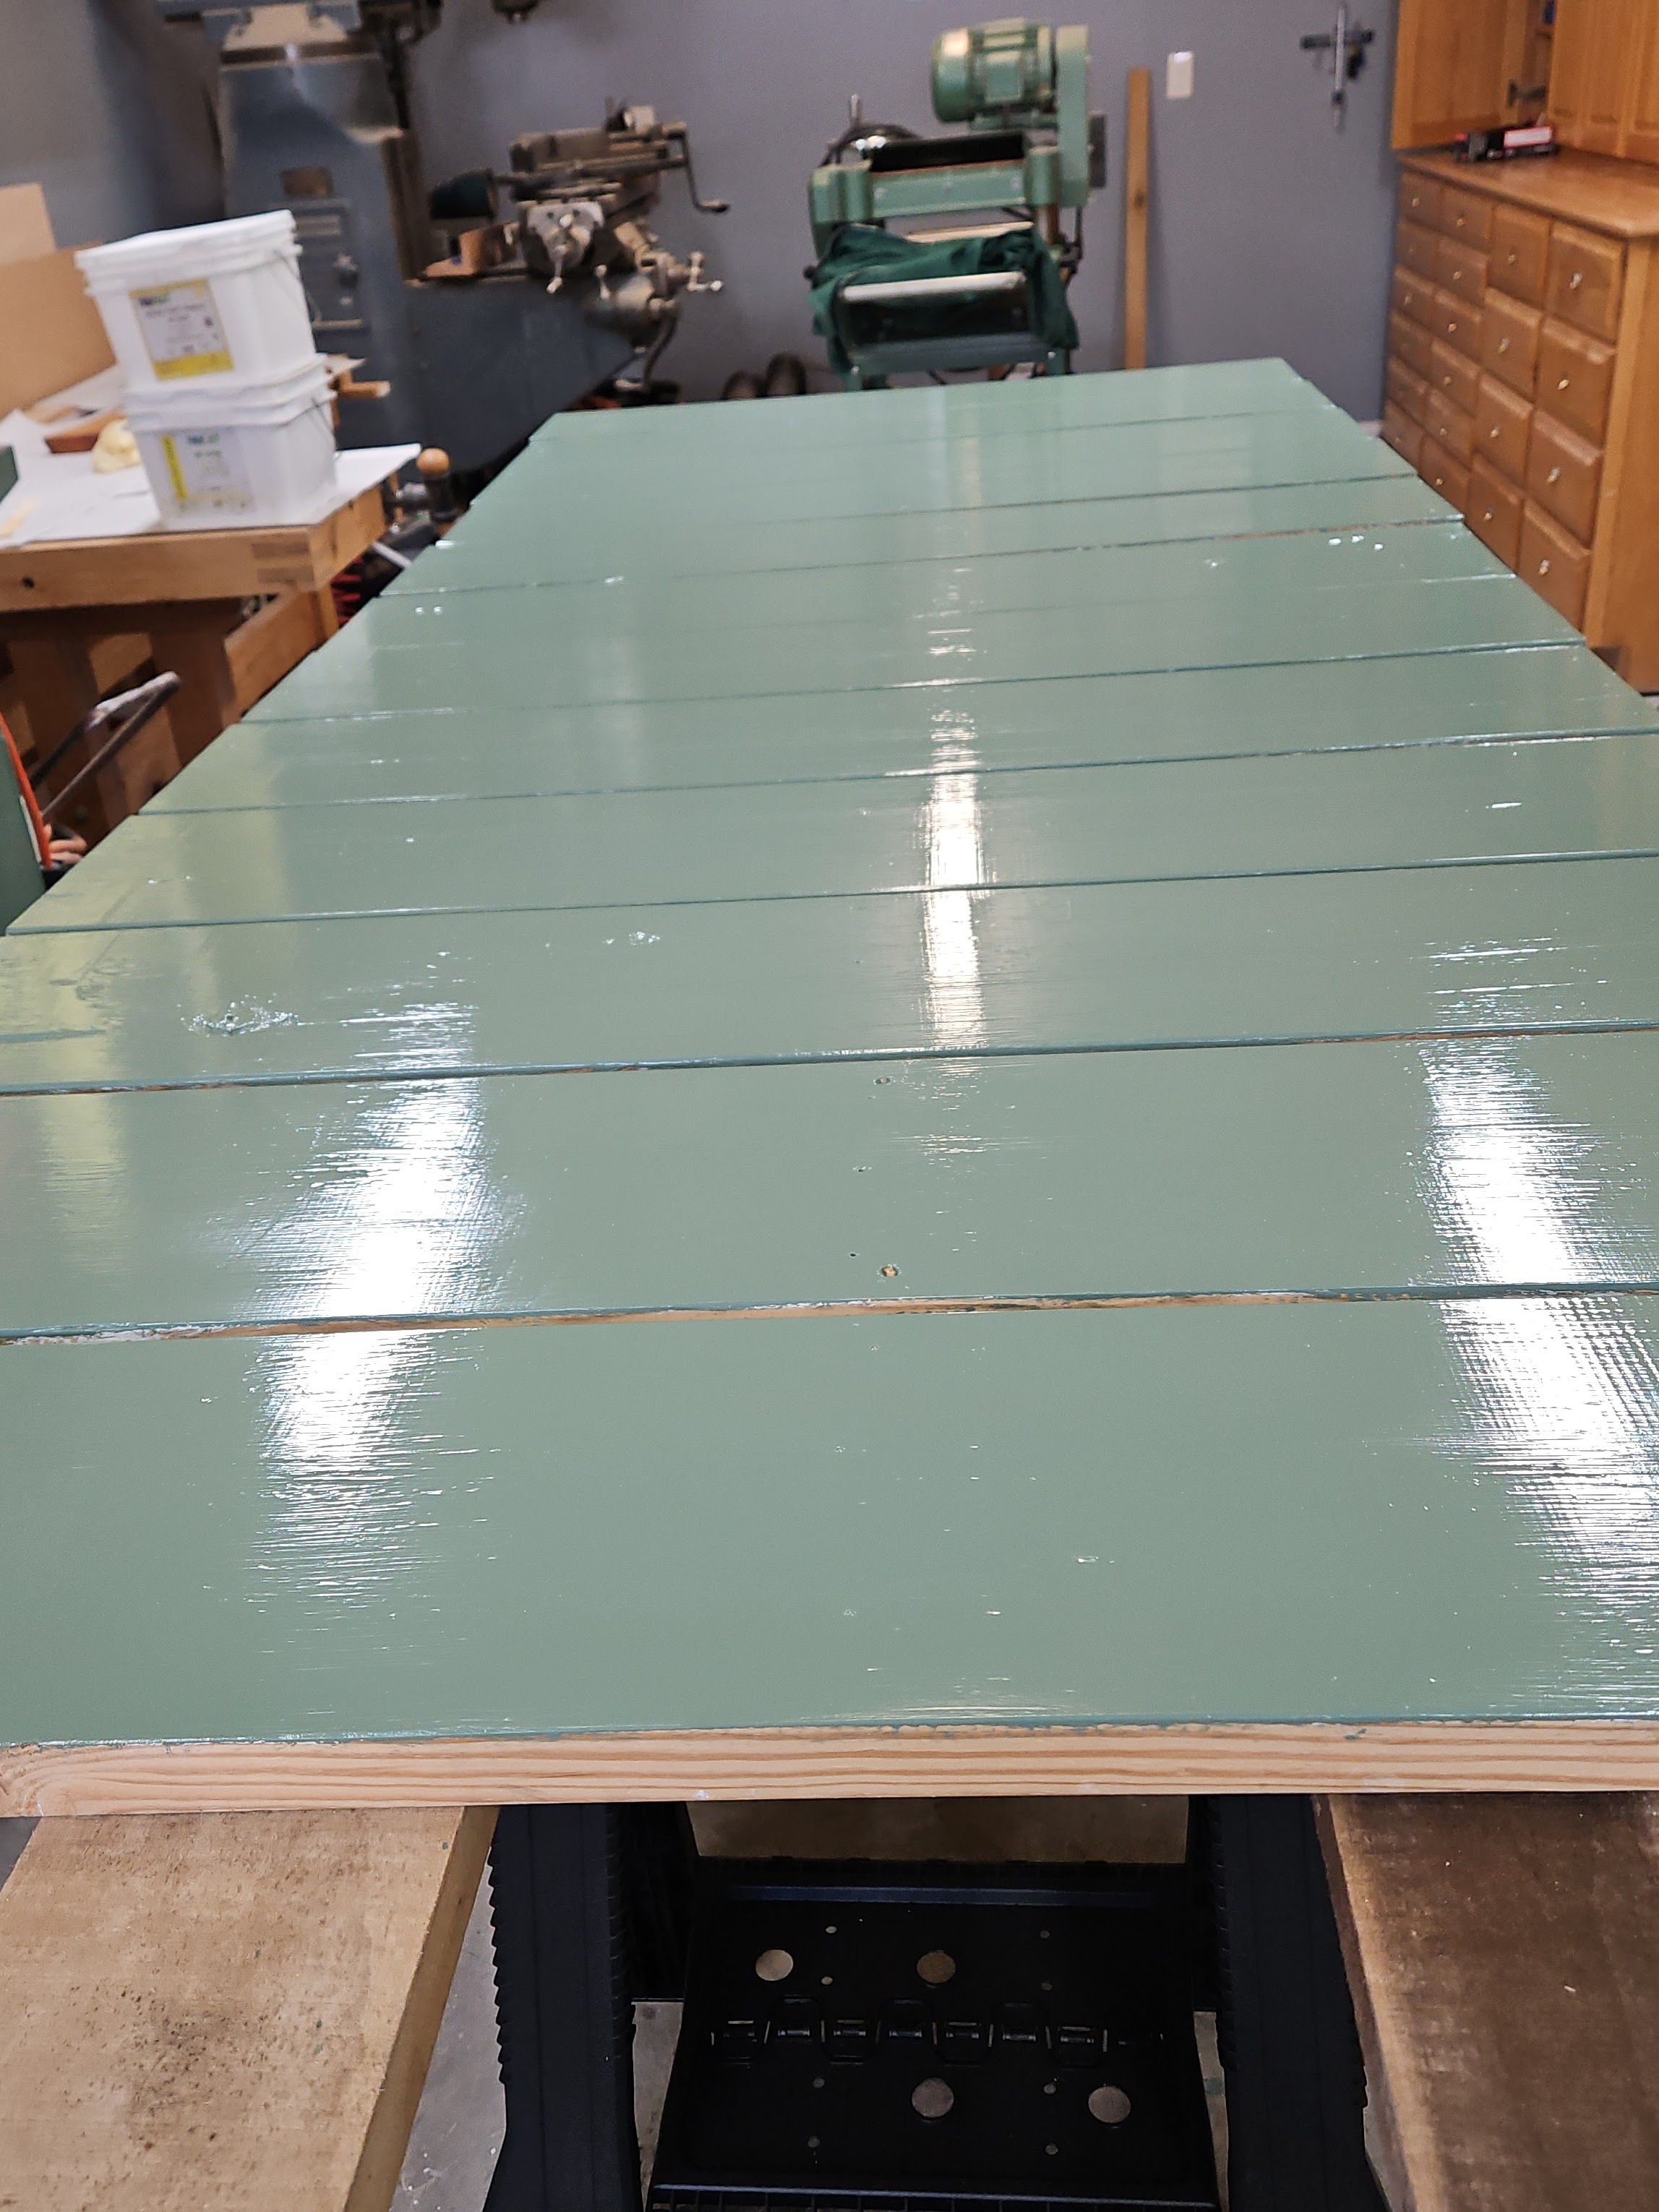
I mentioned in a recent post about what we’ve been working on, that my husband had planed the pine stair treads in preparation for putting down the hardwood. As he was thinking about what you would see from the closet under the stairs, he decided that we (I) should prime and paint the stringers, and the undersides of the pine treads green (Privileged Green by Sherwin Williams) and that we should completely finish both sides of the risers so you would see the green against the brown of the quarter sawn oak.
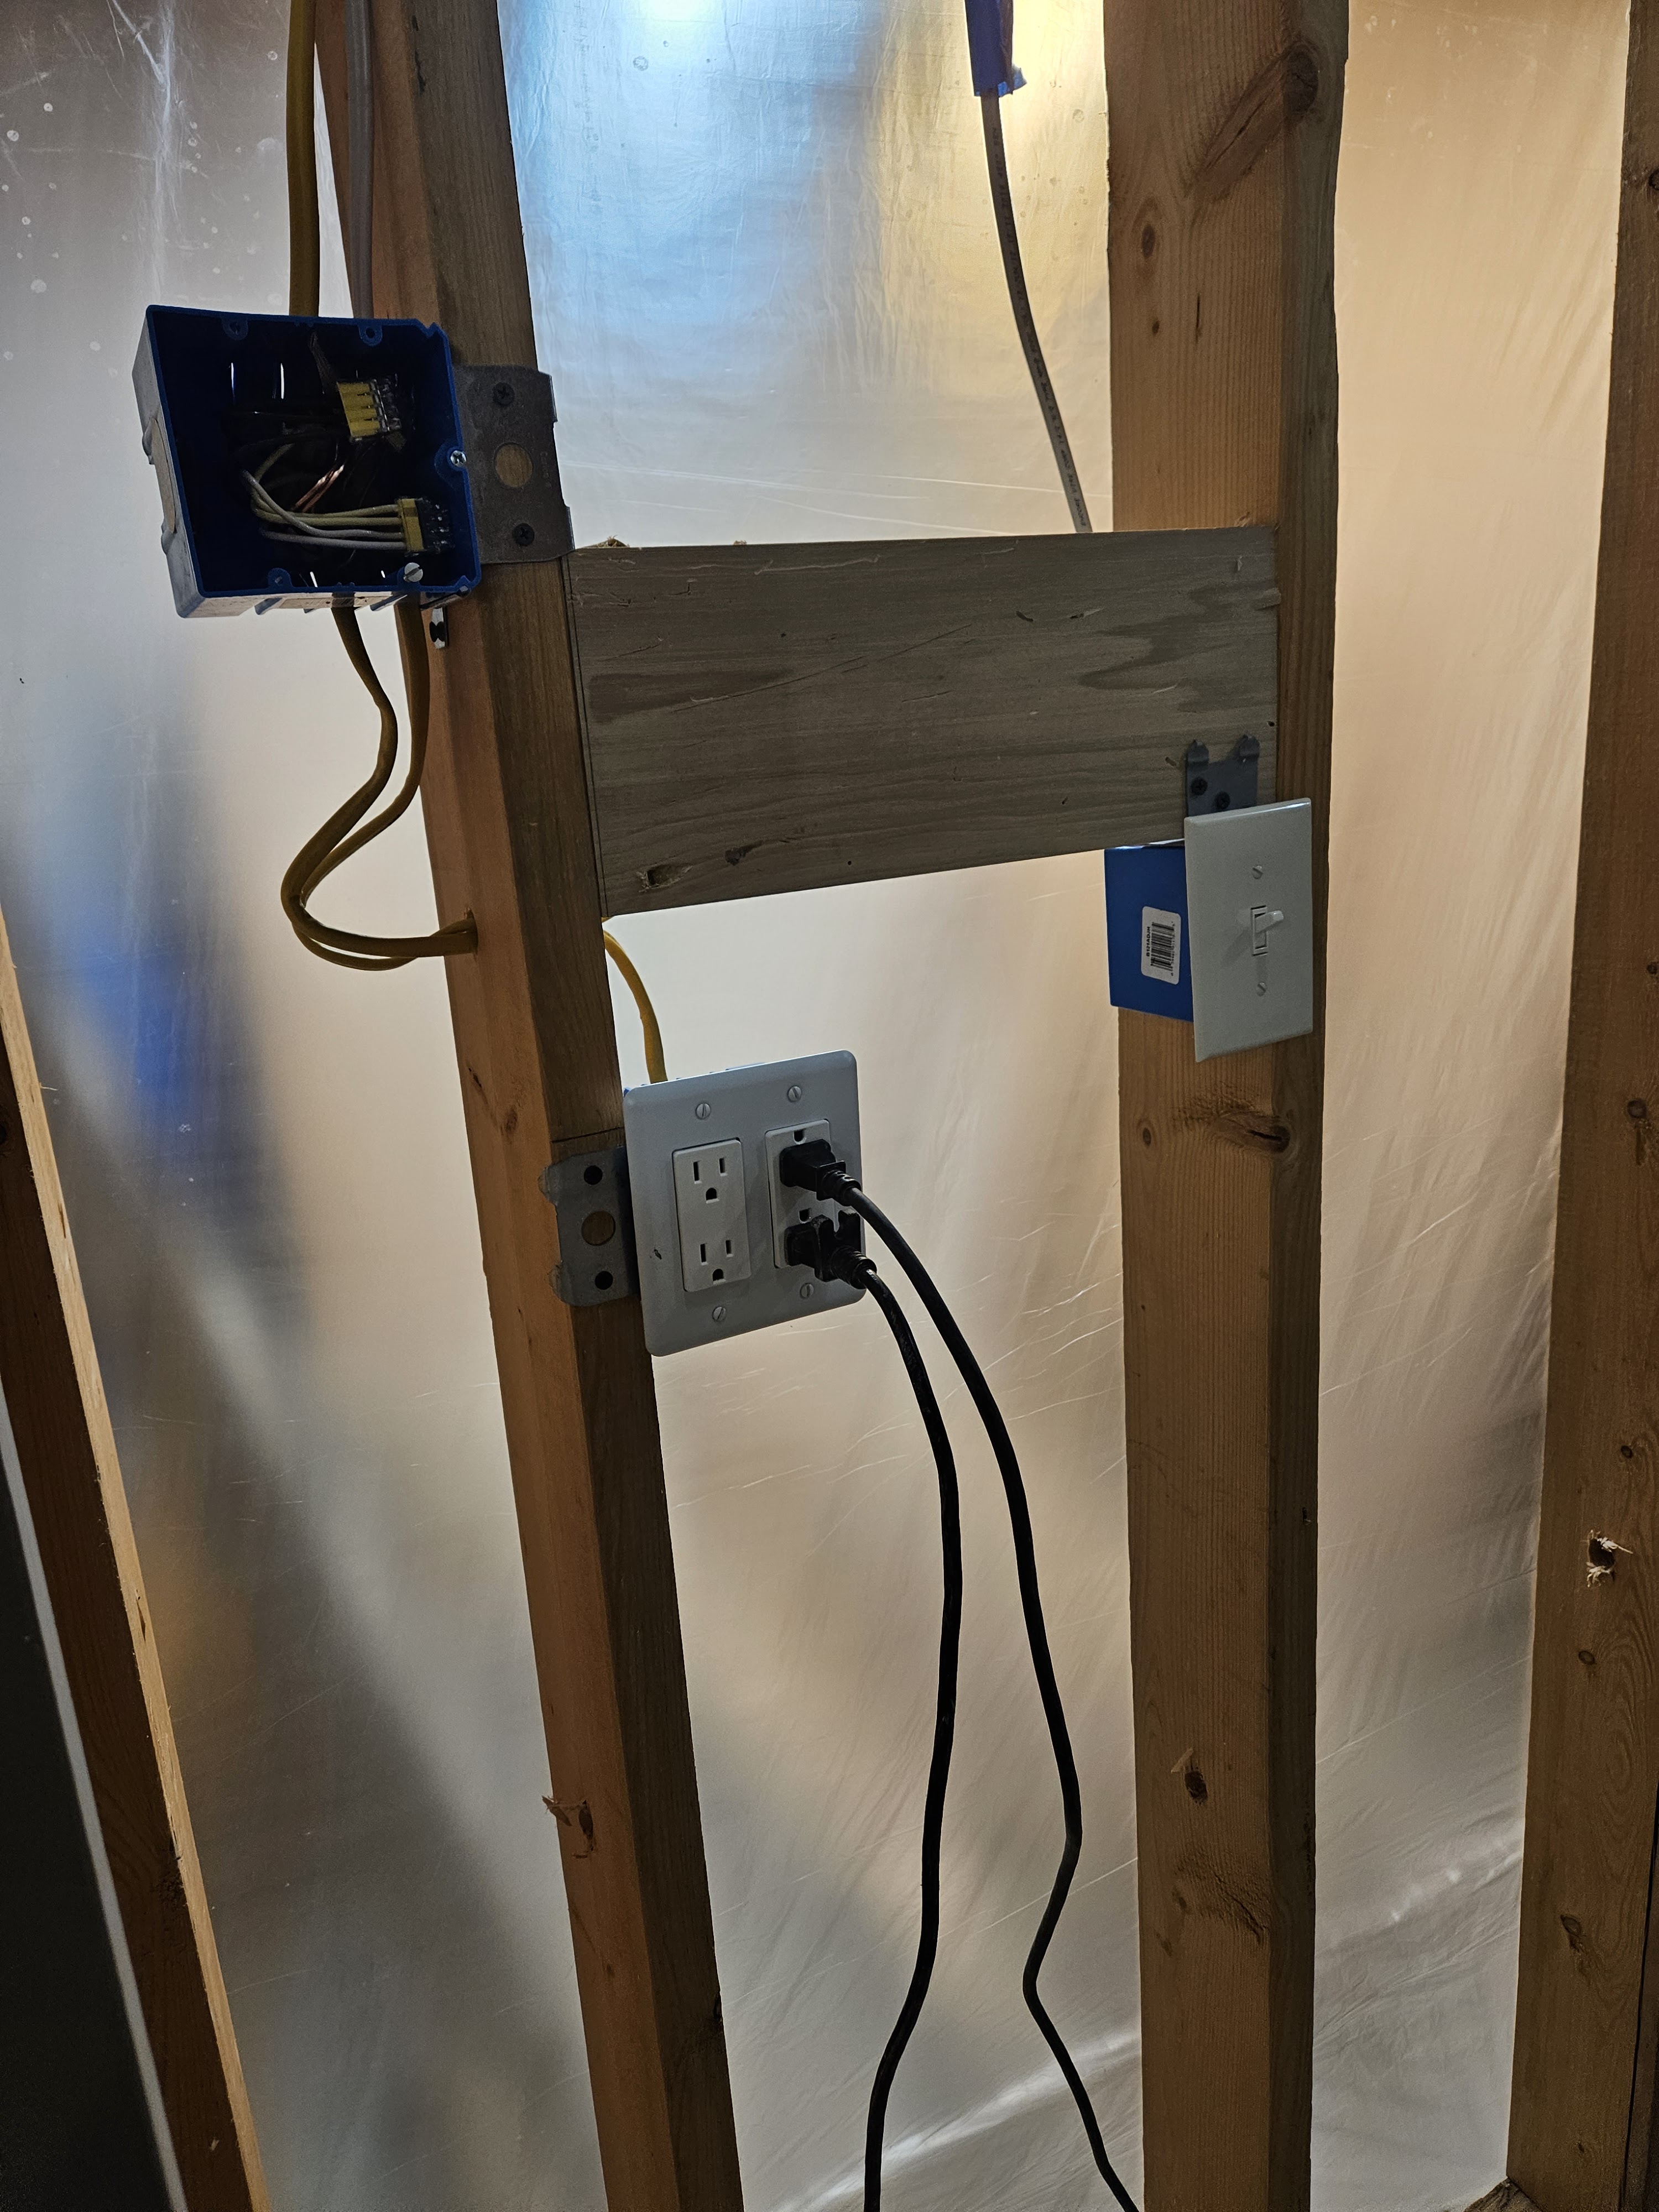
I truly expected this to be an AWFUL project, but since it is in a closet that NO ONE is likely to go into, my husband has relaxed his normal standards for prep work and allowed me to prime with only a little sanding that he helped me with. However, before I could prime, we had to deal with the holes that they drilled through the stringers to run power to what will be my husband’s office, and where they overcut the stringers.
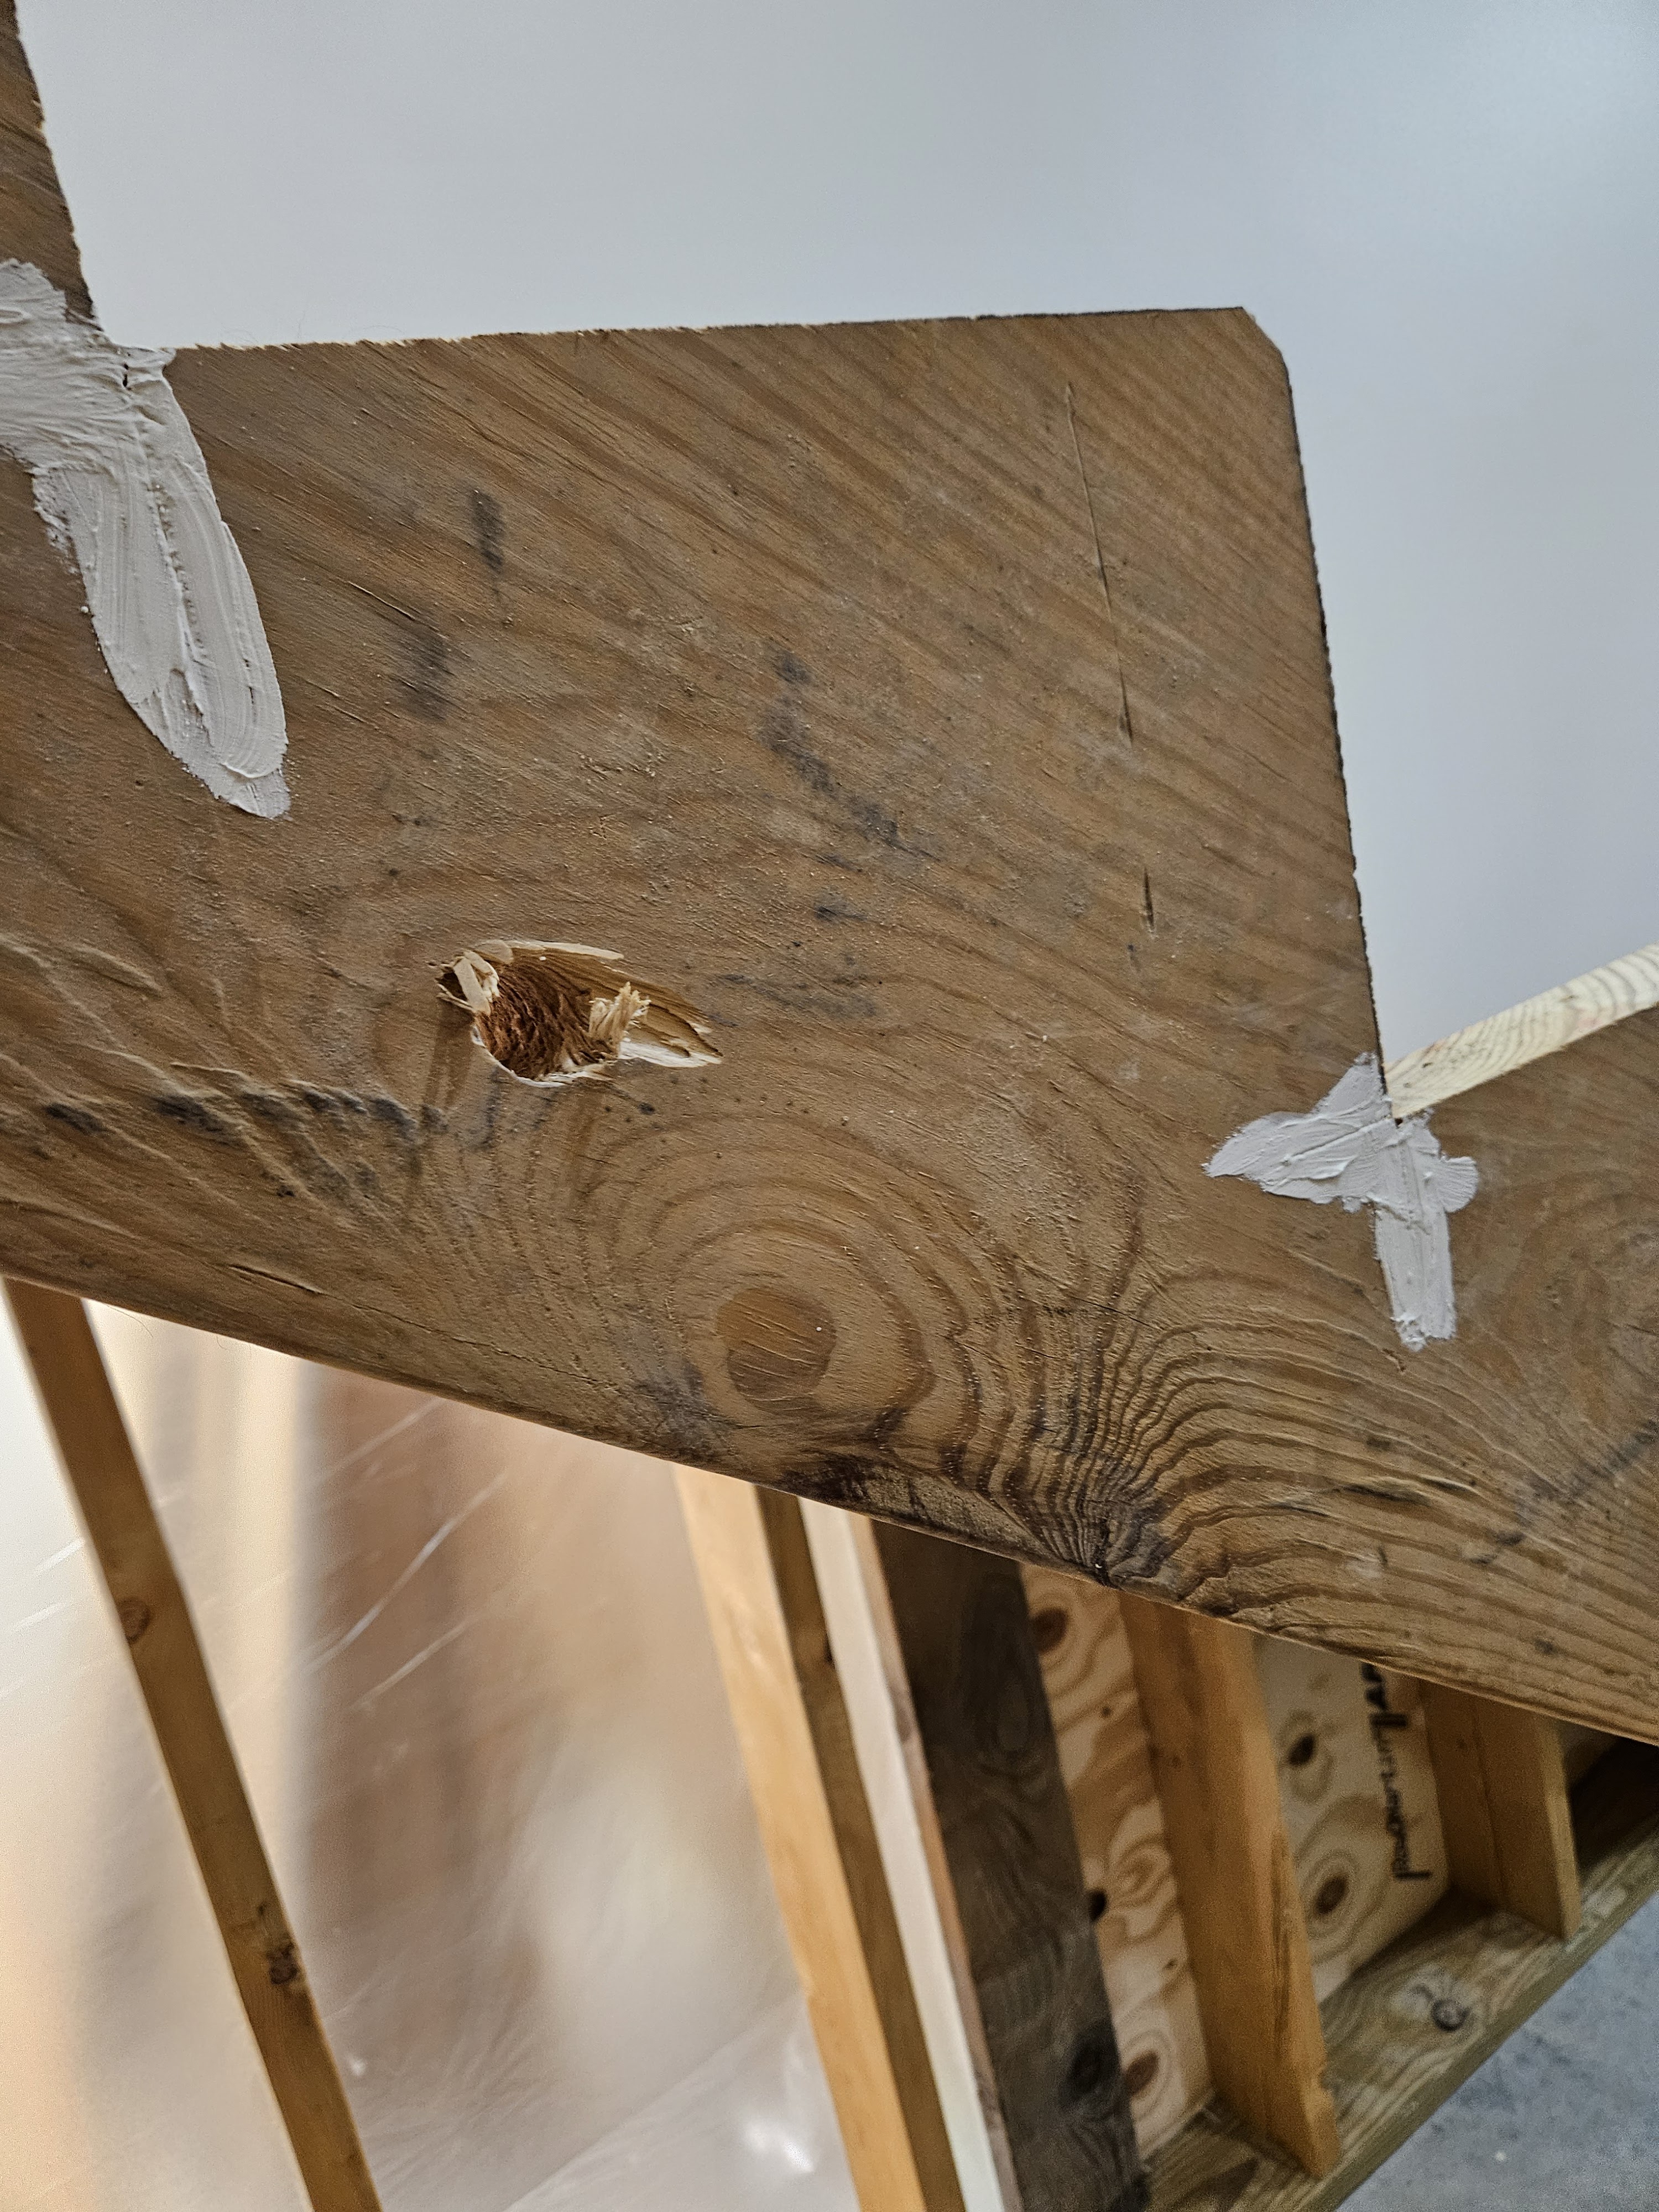
I used white wood filler for the overcuts, and I happened to have wooden dowels that were just the right size to mostly fill the holes. I sanded all the patches smooth and primed the stringers twice.
I also had to prime and paint the stair treads.
While we were at it, my husband rerouted some electrical, added wiring and a switch for an eventual light fixture, and added some outlets (the VR server will go into this closet, so he also ran conduit out into the main room.)
Then I painted the stringers.
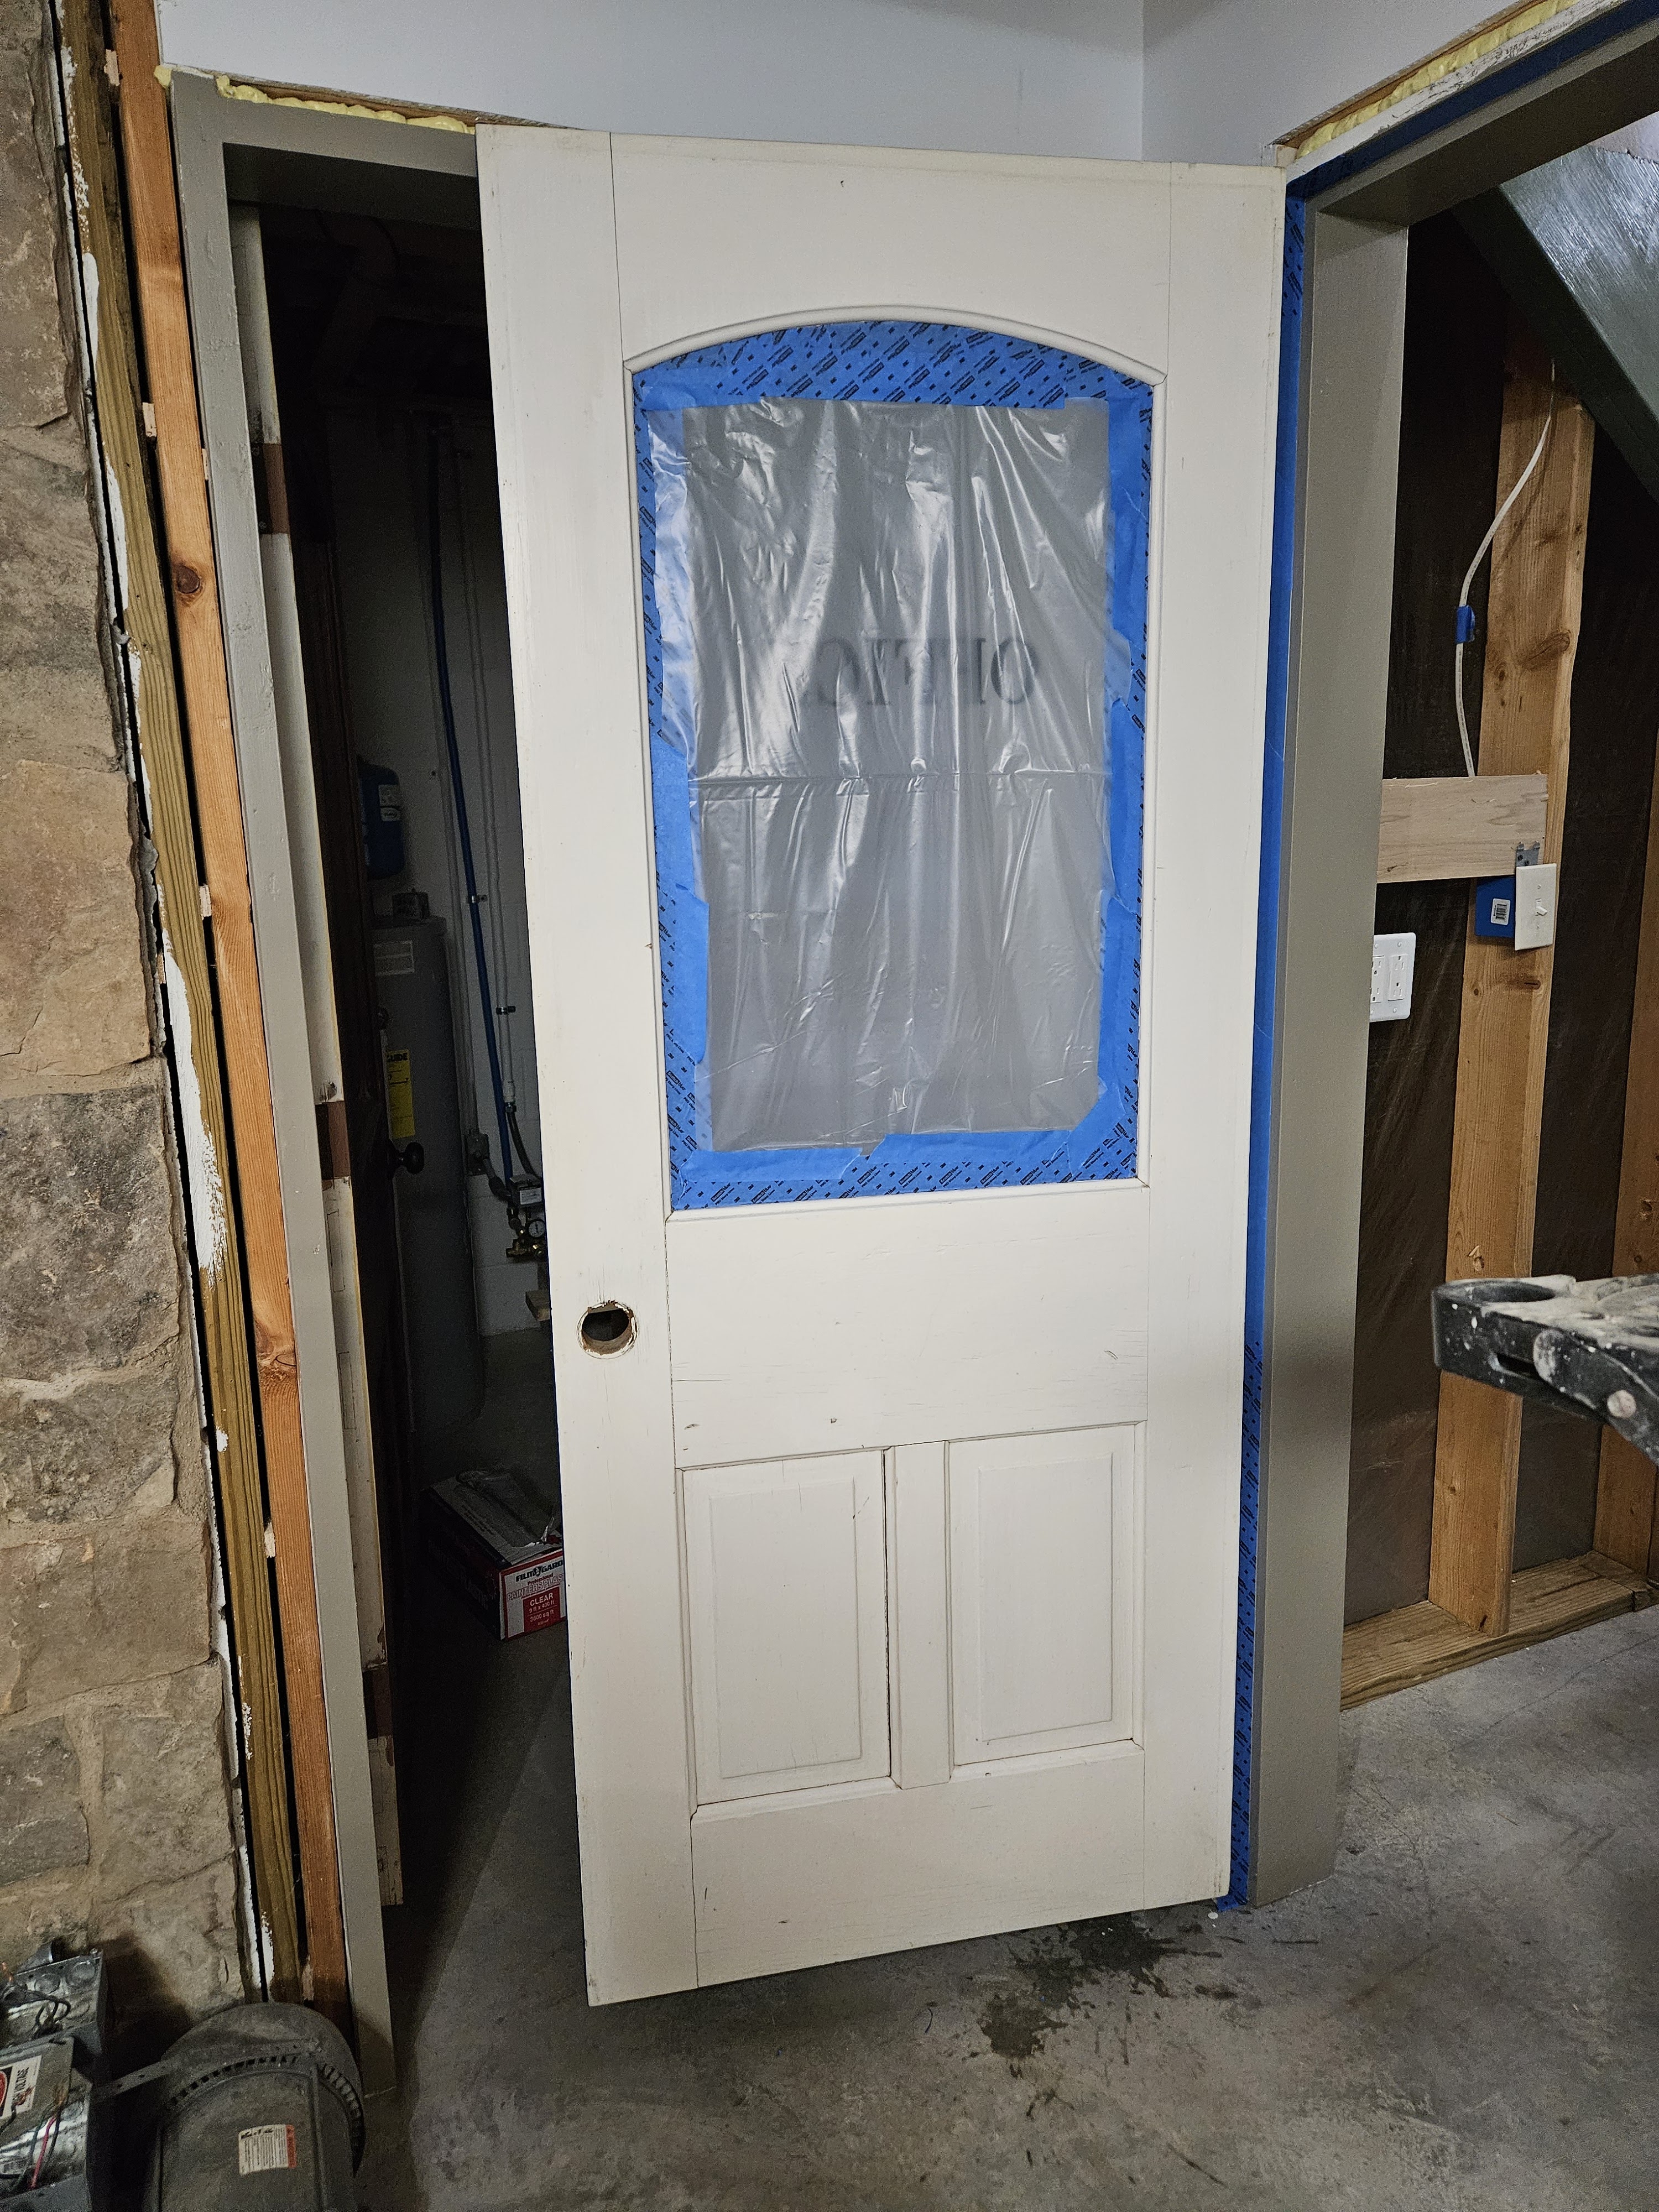
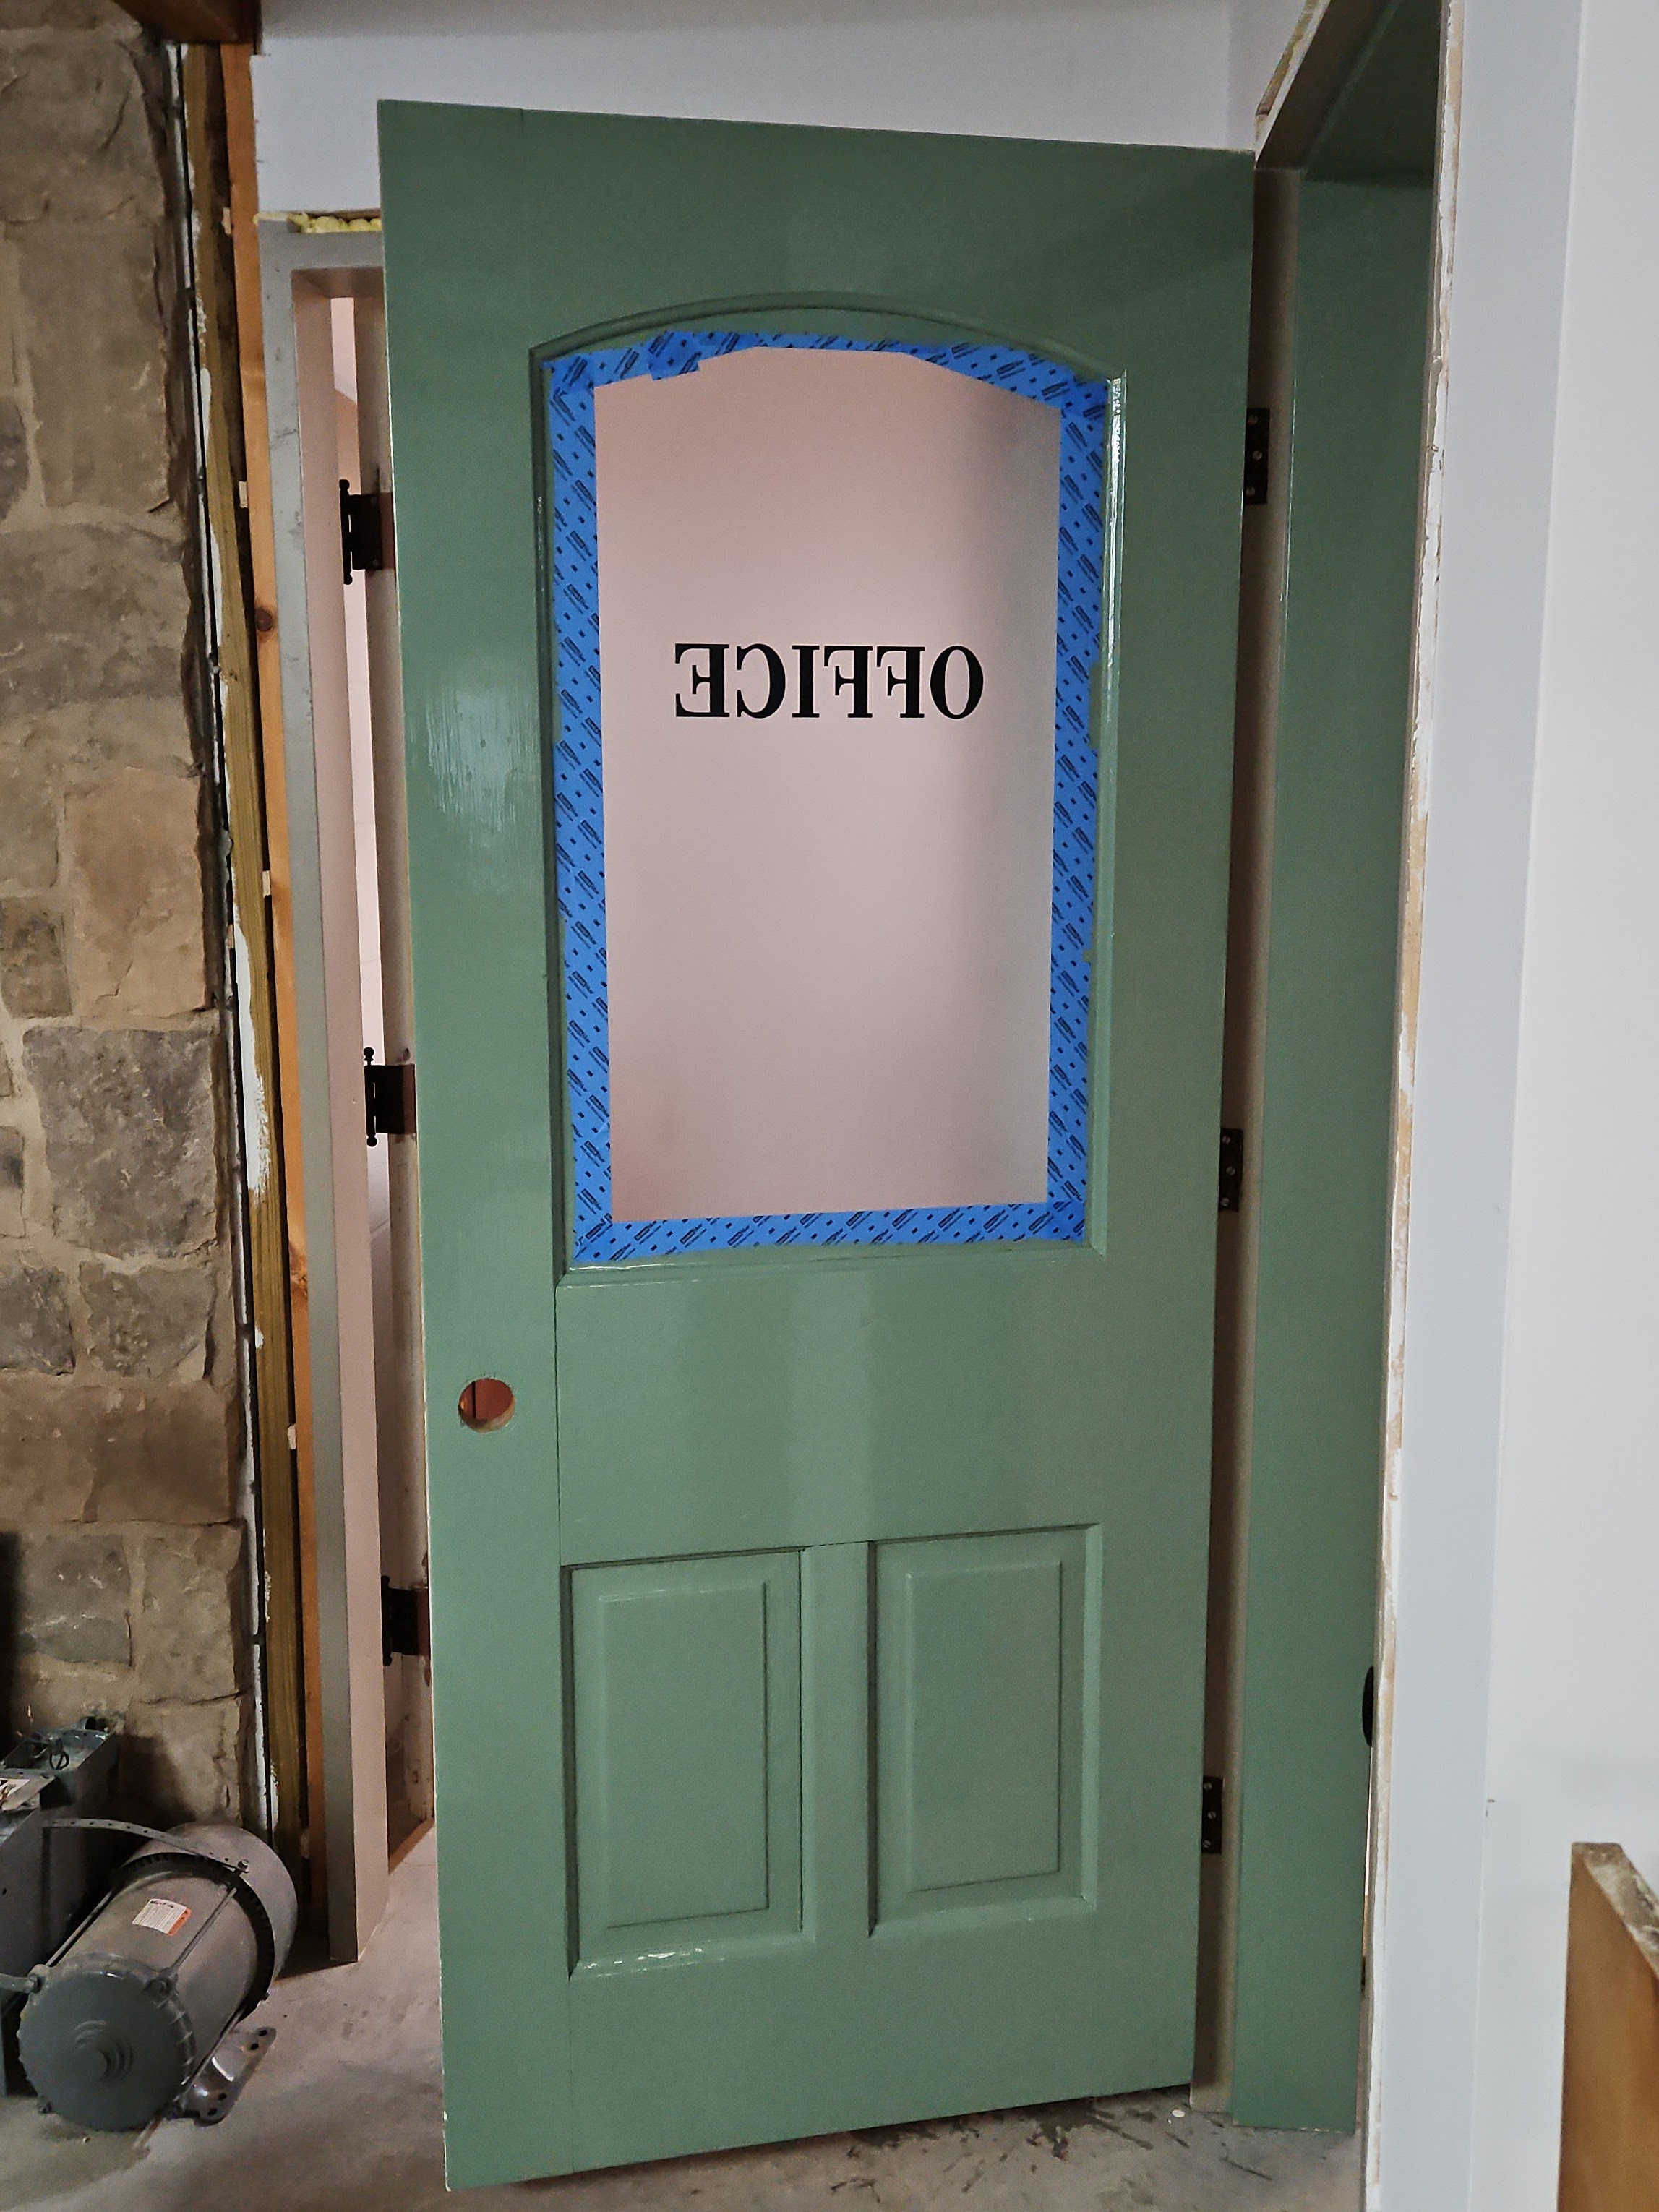
We also painted the inside of the closet door and door frame. We had to tape it well and cover it with plastic and take the knobs off.
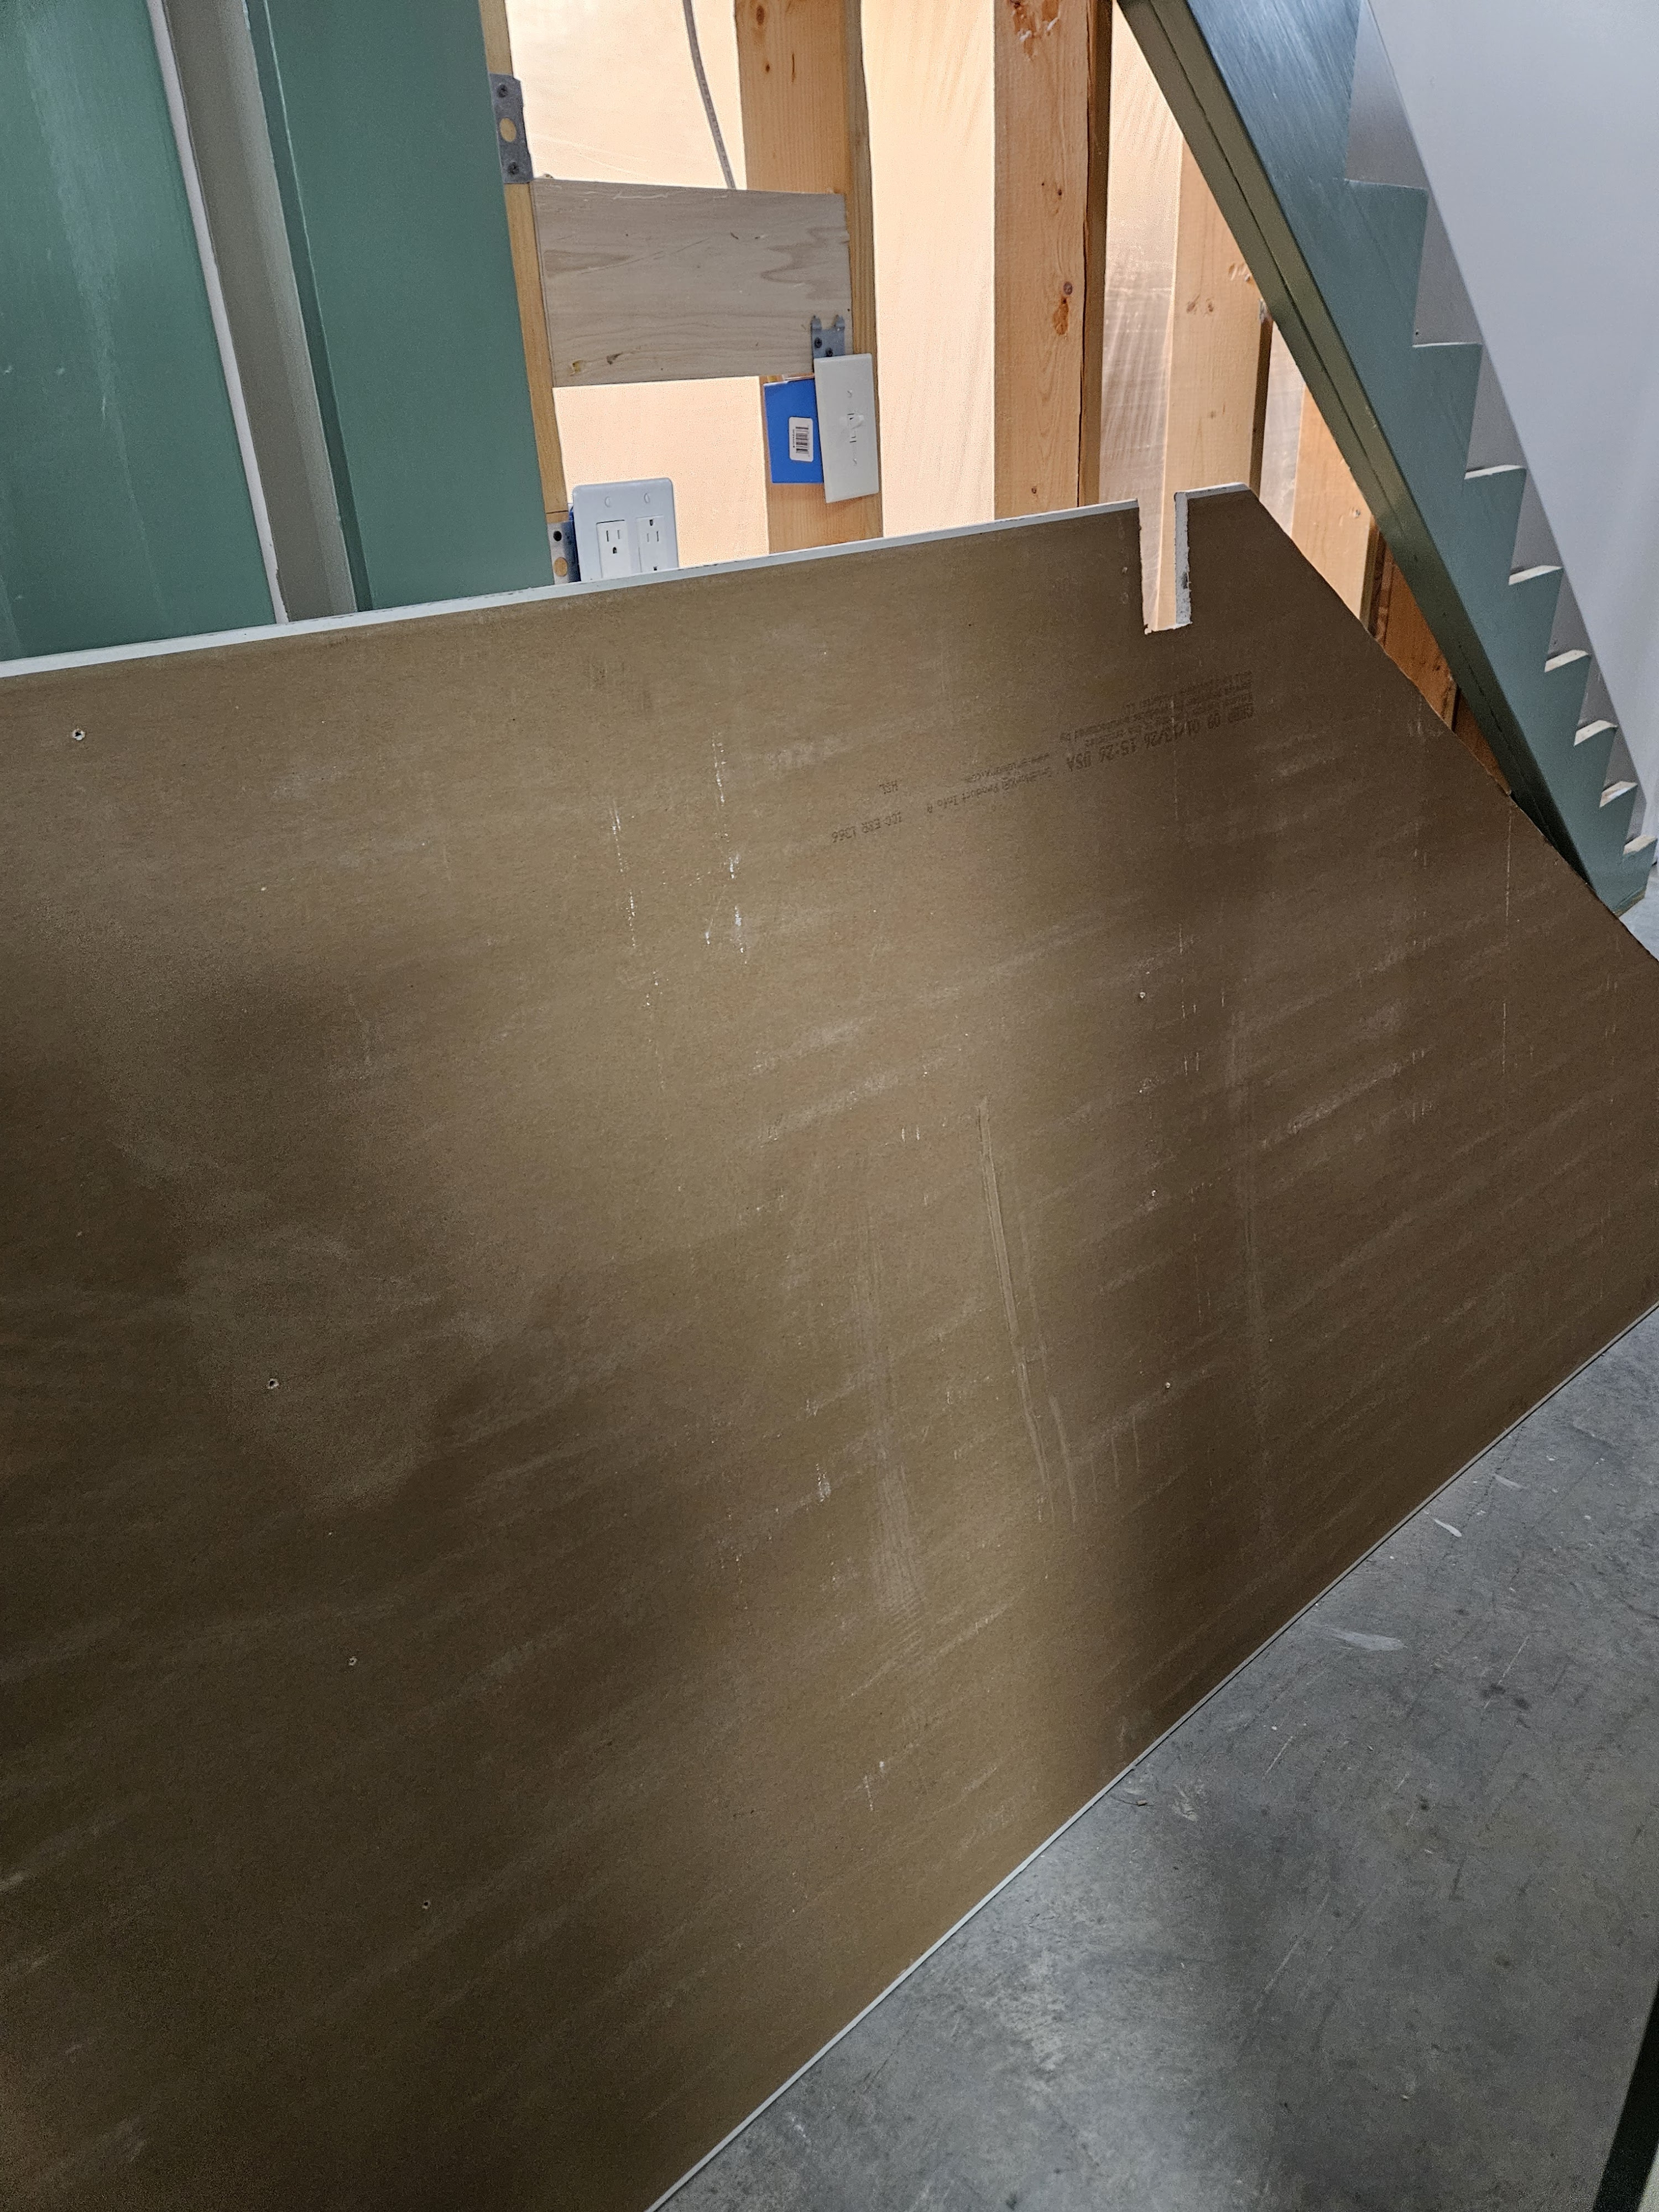
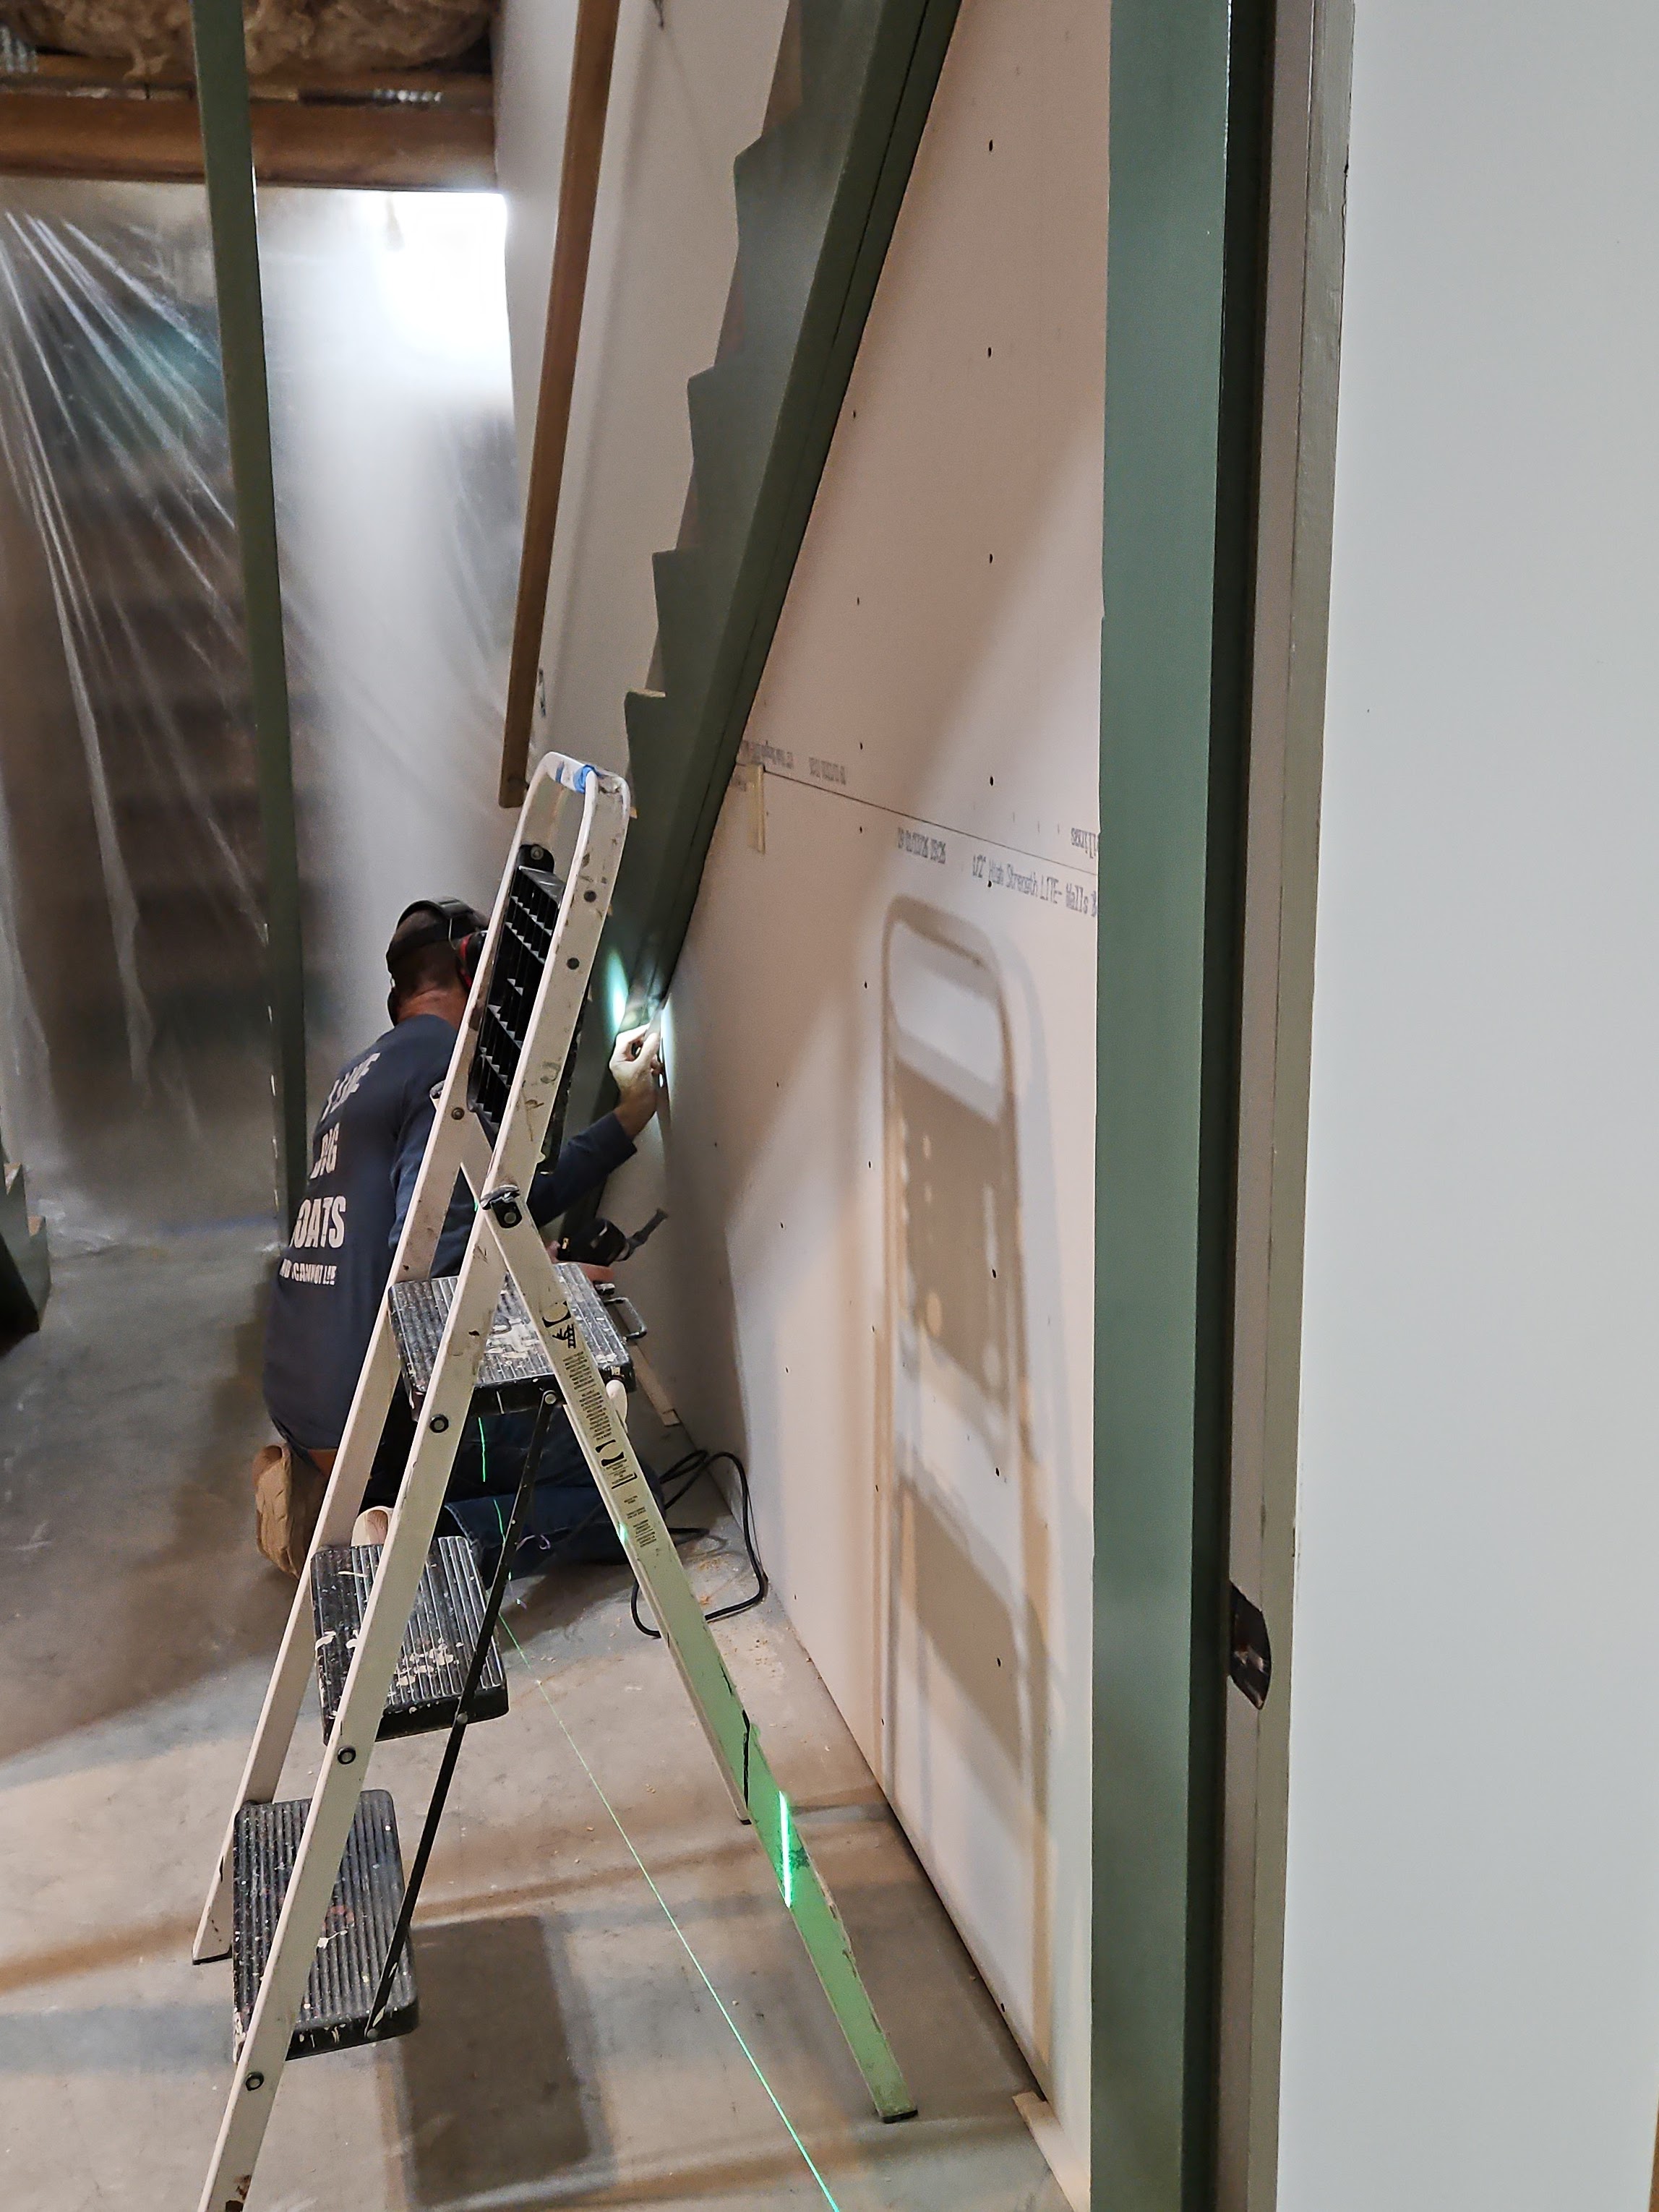
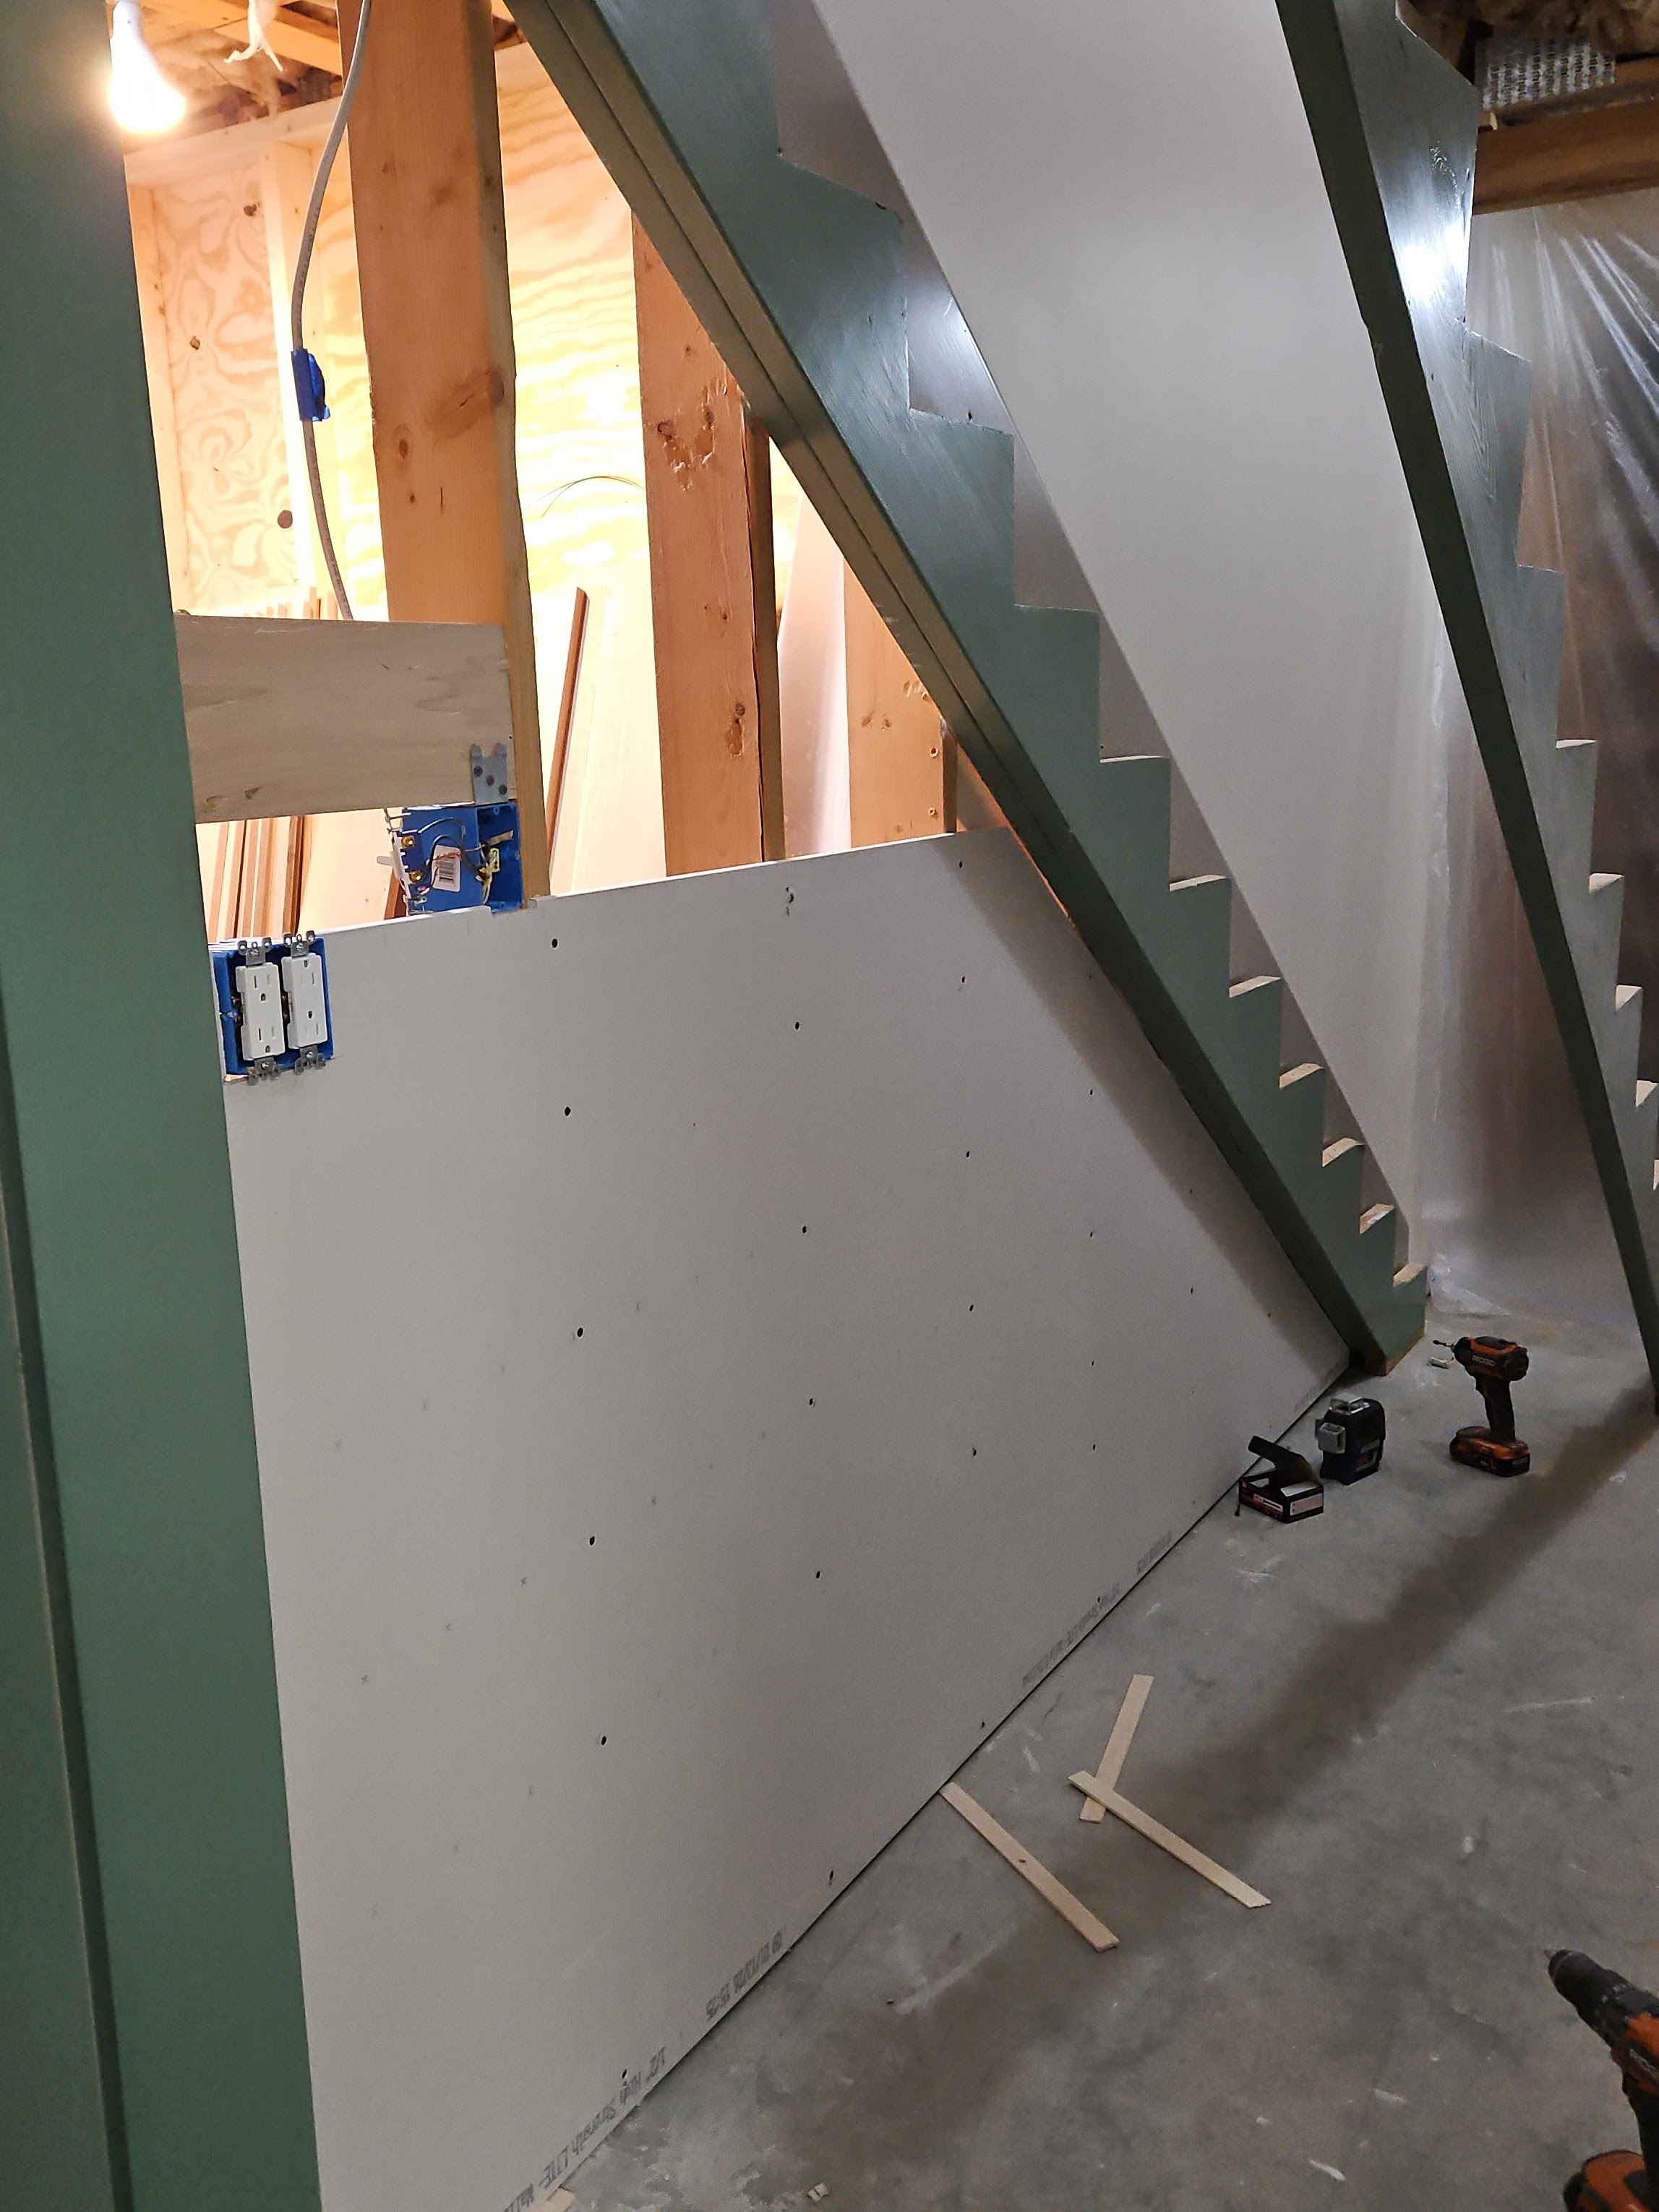
Then, we were forecasted to get some wintry weather, so (just in case we got snowed/iced in) we went and got 2–12′ sheets of drywall, 2–8′ sheets of drywall, and some 2 x 4 x 8′. framing lumber My husband did most of the work getting everything fitted, and I came in and drove all the drywall screws with the help of a laser level to keep everything straight.
We are planning to paint the inside of the closet a light color, so you can get an idea of what that will look like from these photos.
My husband then turned to taping and mudding the walls and finishing up the wall with the door in it. The wall with the door in it was a little fiddly because the door frame is extra deep, so my husband had to fur that out so that when the drywall was installed, it would be flush with the door frame.
We also needed to get some trim to use against the stringers, baseboard, and door casing molding primed and painted. That was my job.
After all the drywall was installed, it was a lot of really dusty sanding. My husband did all of that, and it really didn’t take very long.
Then priming and painting the walls. Priming went really slowly because I used a little roller and a brush. Once that was dry, I put on the top coat. I ordered a 25% brushwood (the trim color in most of the basement) tint and it ended up a little darker than I expected. We’ll use this up in closets, etc.
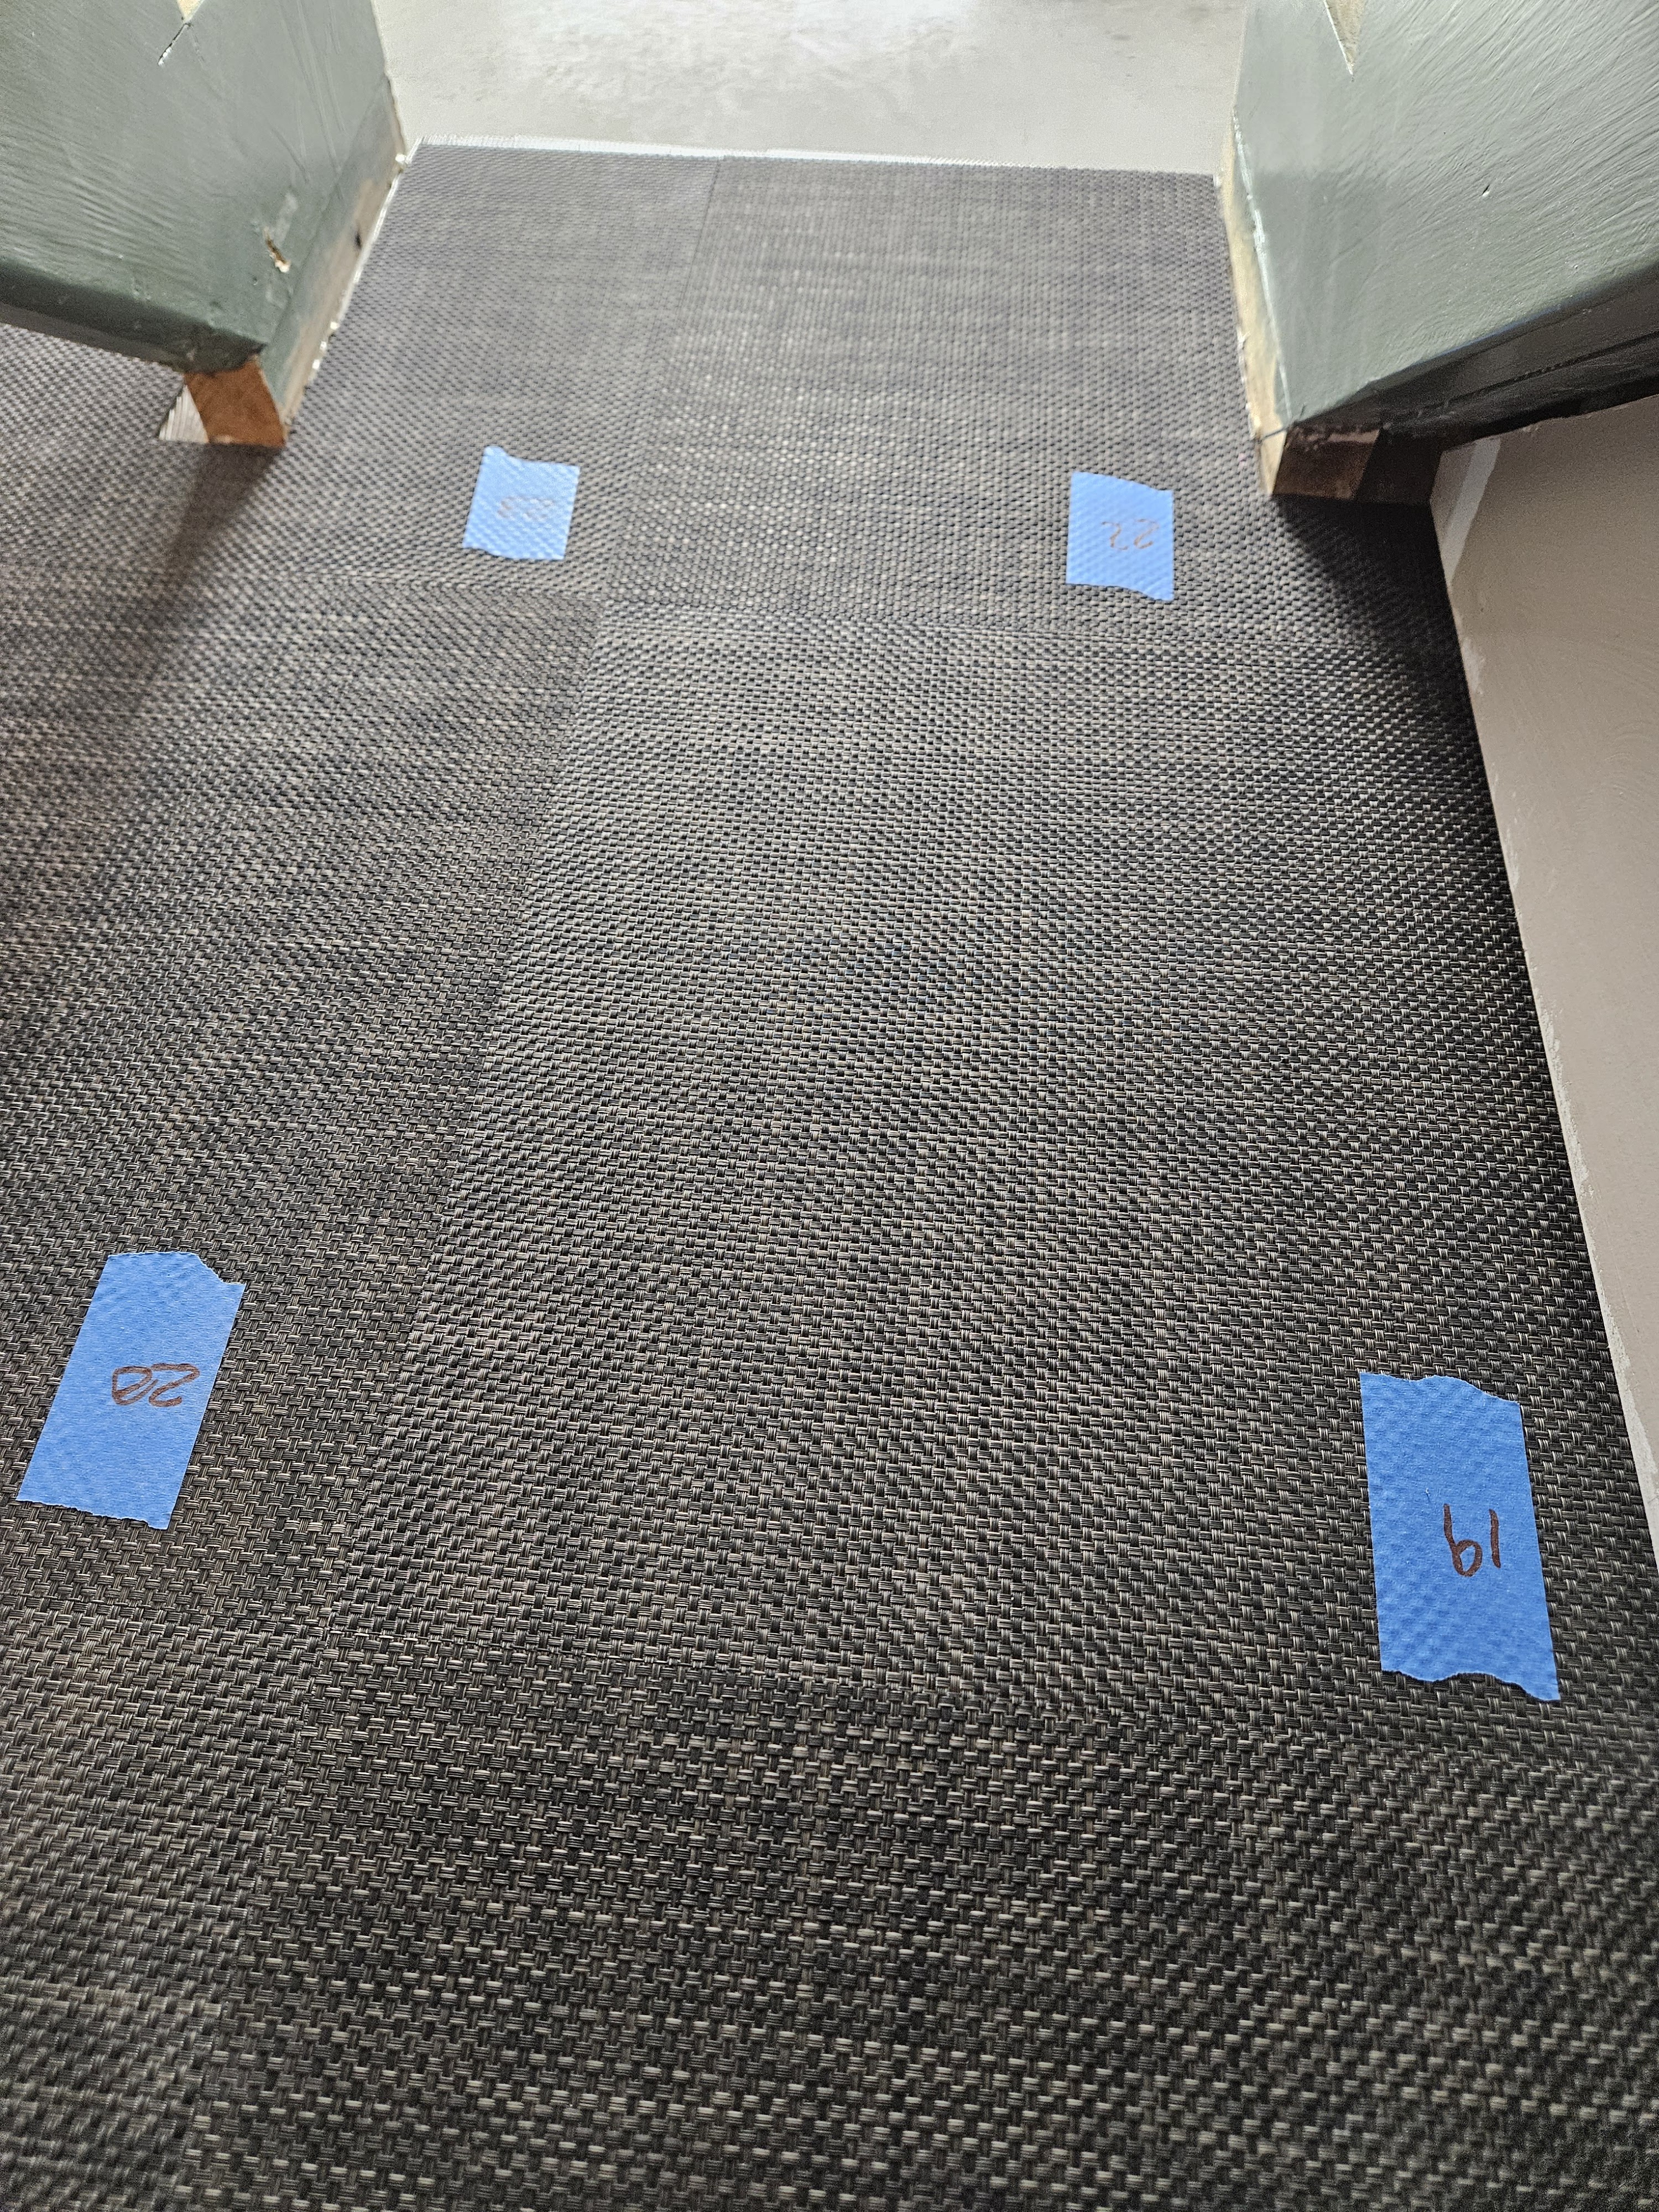
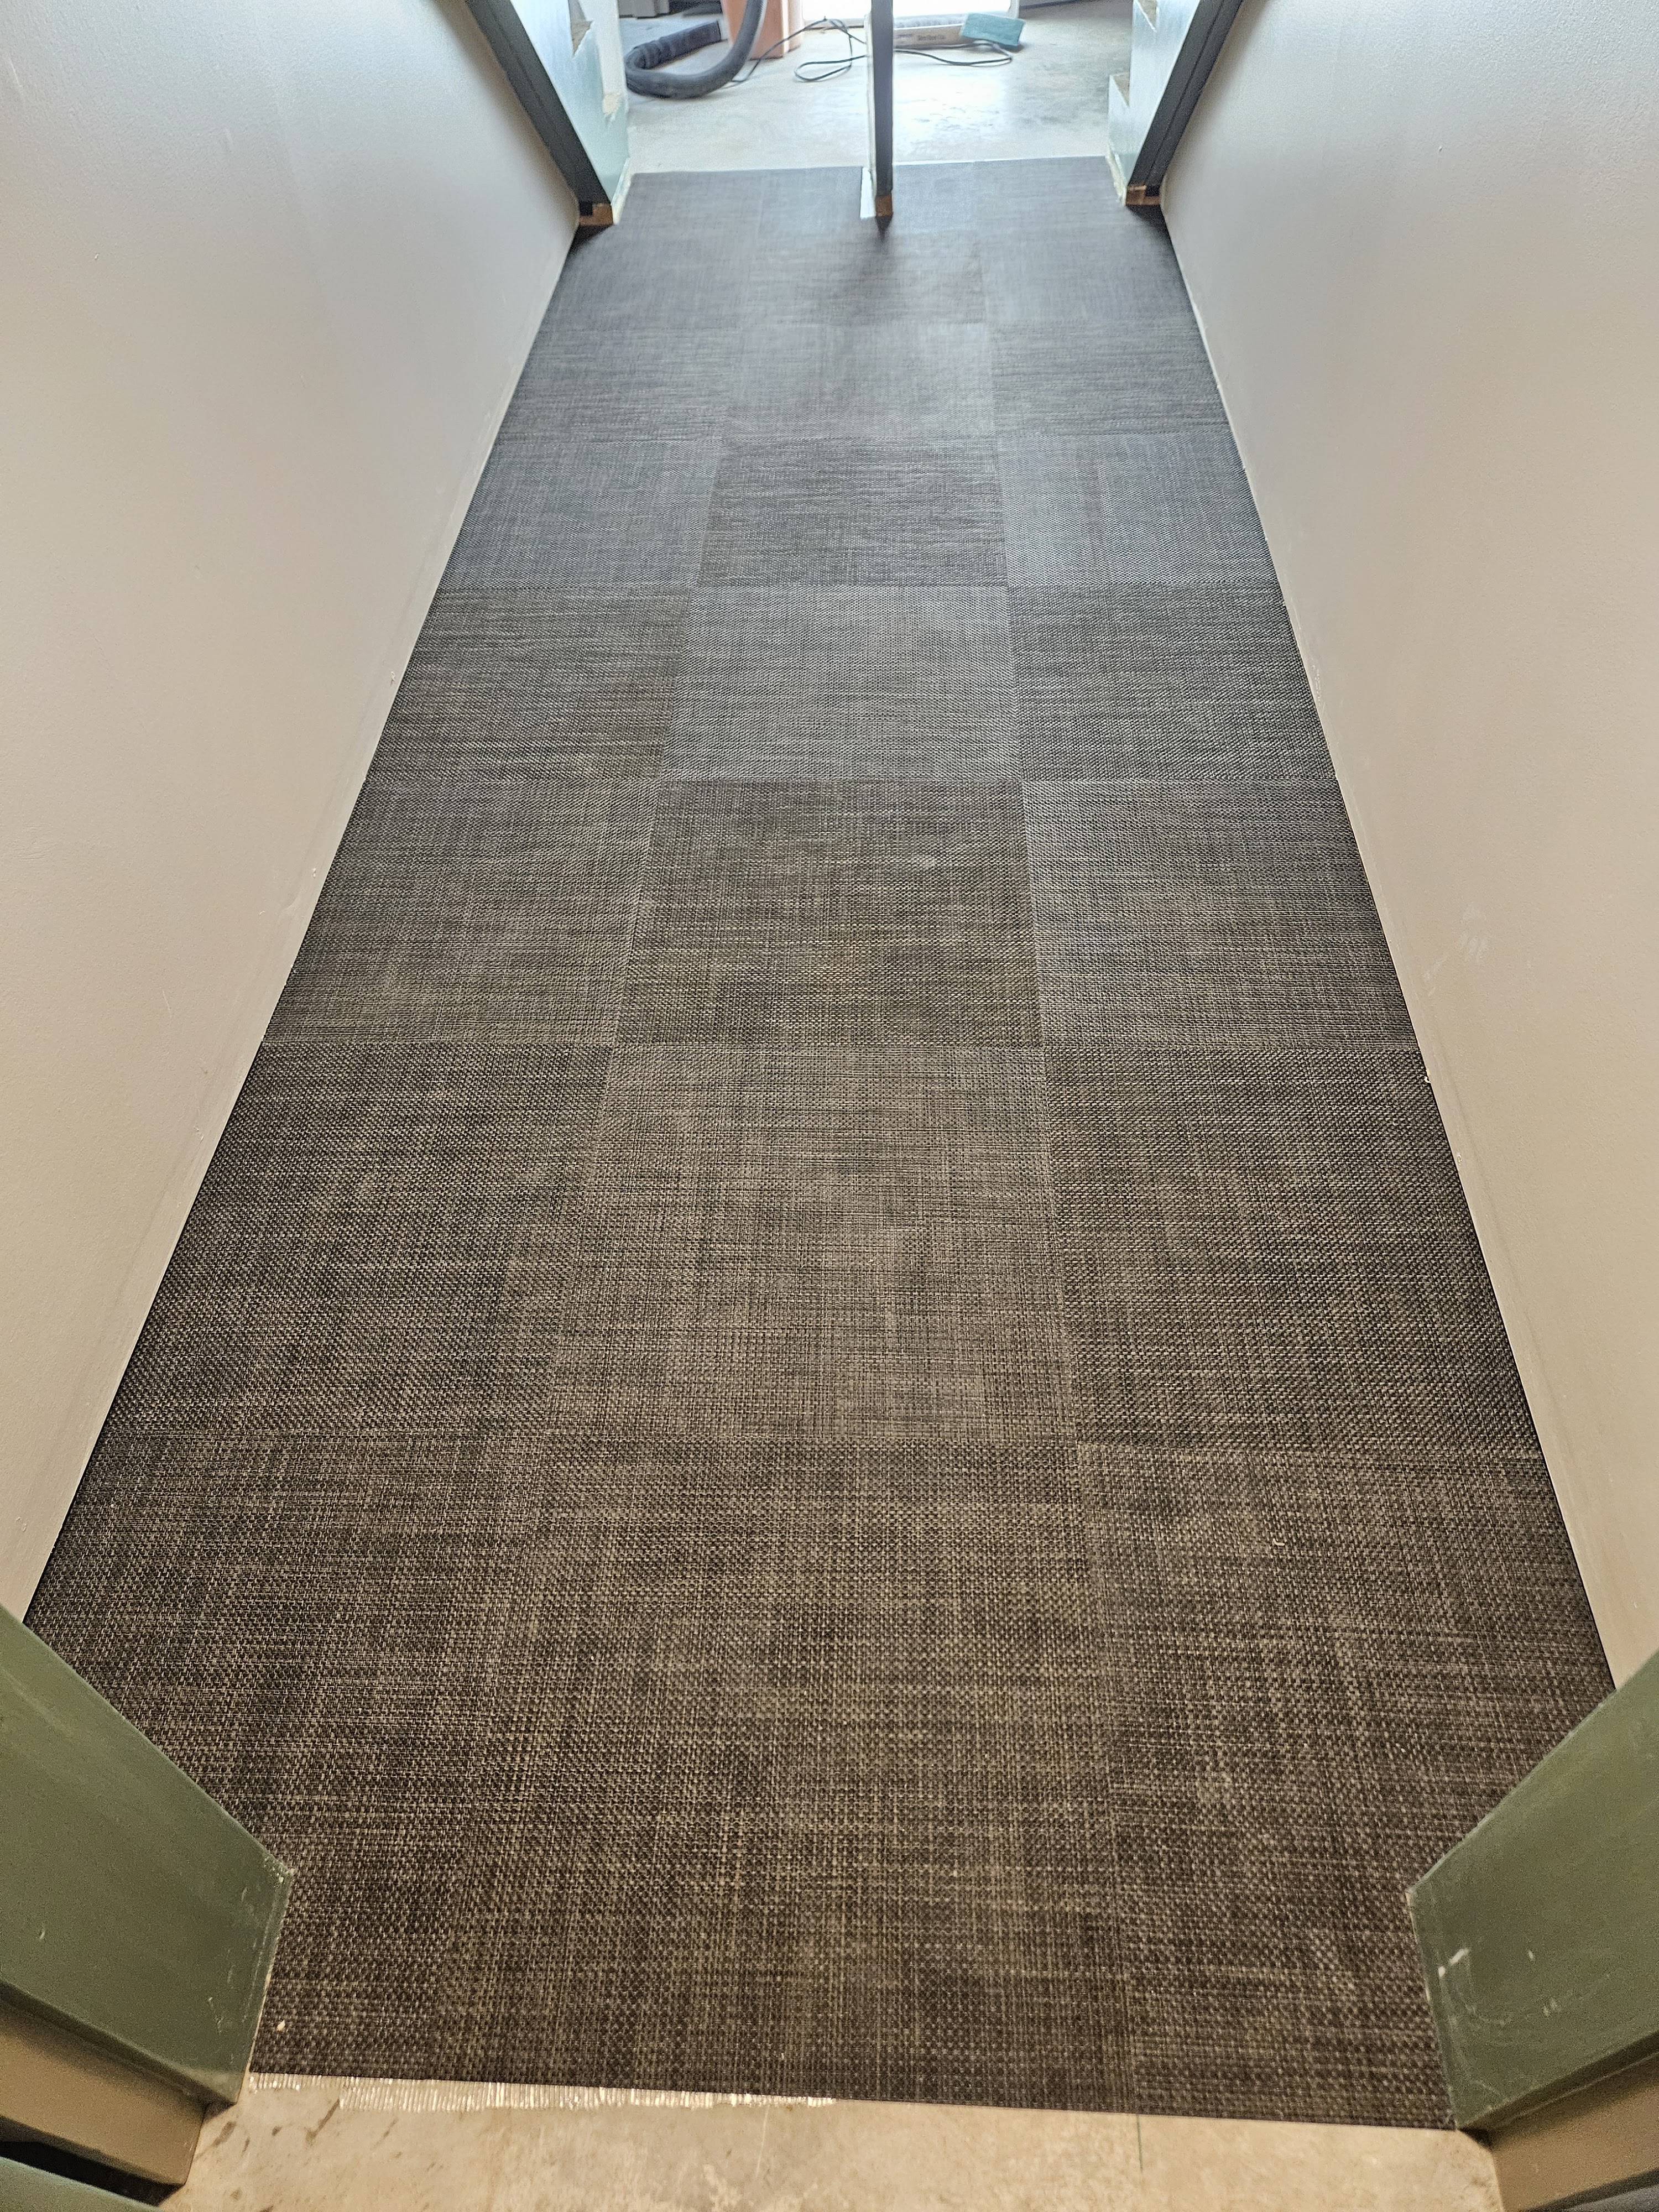
Before we could put the stair treads back on and the molding up, we needed to put down the flooring in the closet. We planned to use Armstrong VCT tile like we had used in the storage room, but no one carries it in stock. When I was talking with a local flooring company, she mentioned that I should go to the Habitat ReStore in Dalton, GA (about 45 minutes away) because she said that they had TONS of flooring. Boy, she was not exaggerating. This is a 36,000 sf warehouse and at least 1/3 of it is flooring of all kinds (Dalton has all the big flooring manufacturers). I found a VCT tile with a woven overlay by Summa for $.50/sf–and who can argue with that price. I sent my husband a photo and he liked it. Here’s the photo I sent to him:
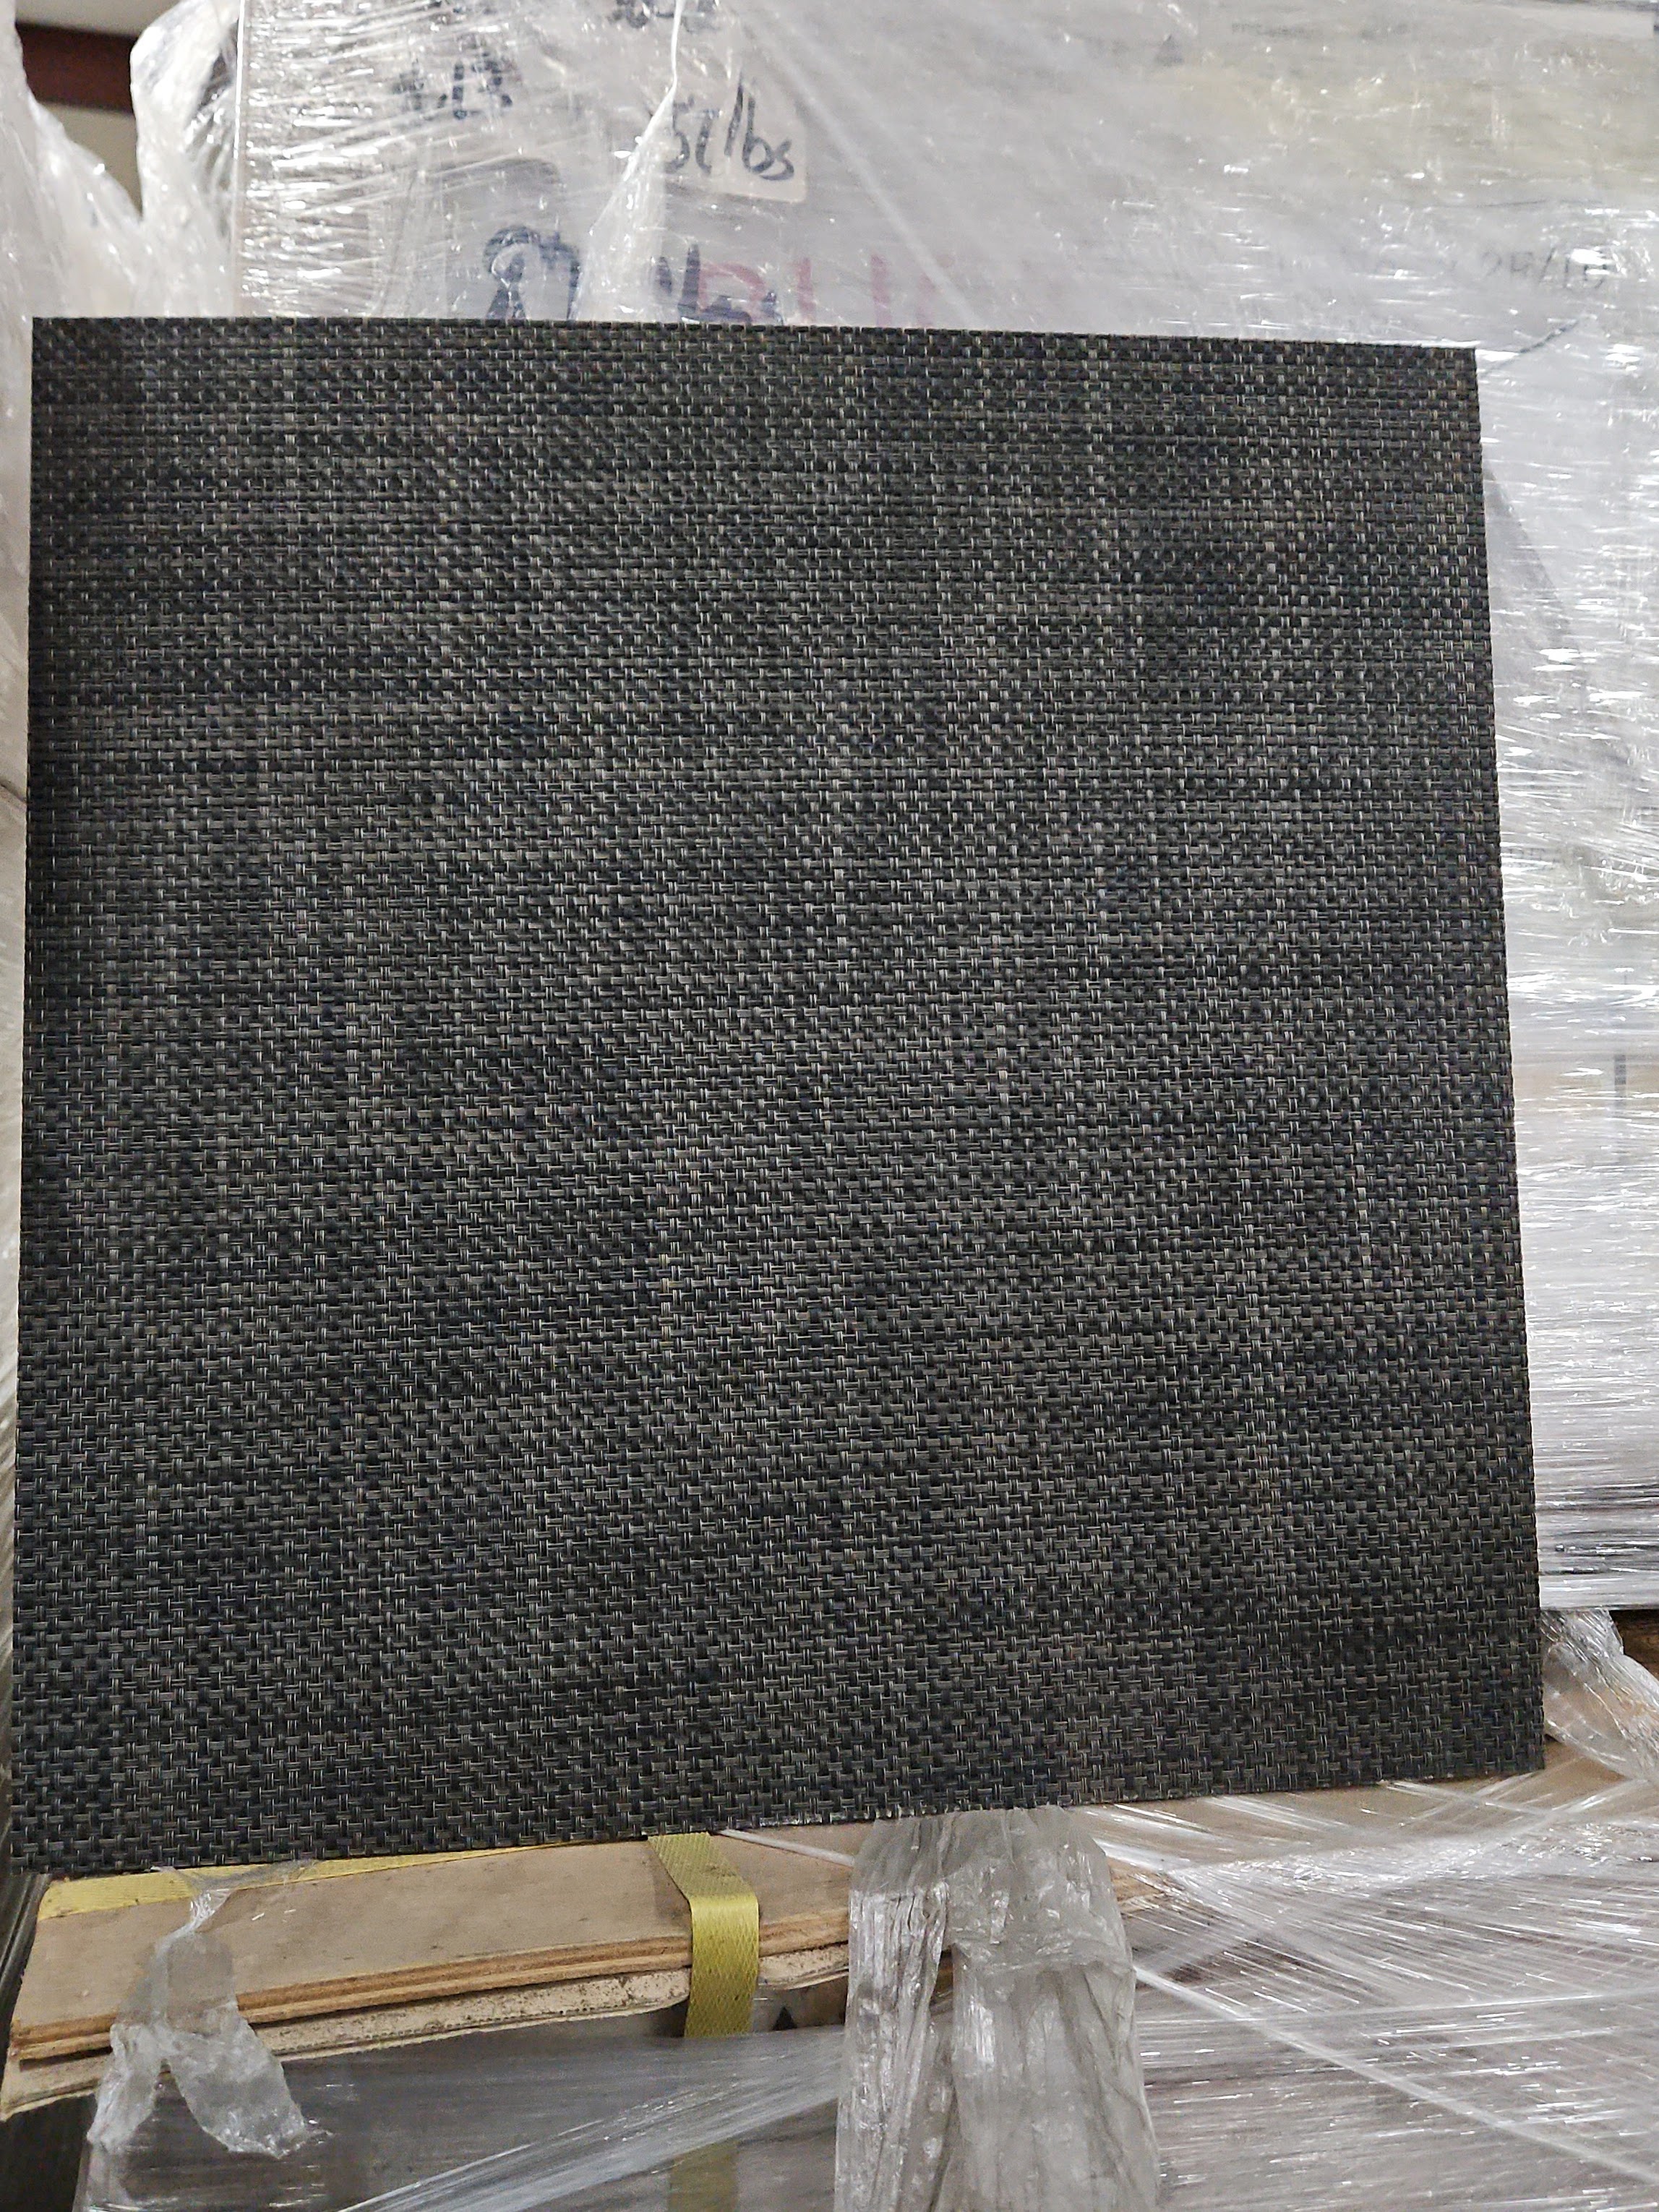
They are 18″ square, so it only took 24 tiles. I bought a bunch because we’re going to use it in the rest of the closets and storage areas. These don’t need to be sealed like the VCT tile, so once the adhesive is cured/dry, we can walk on it, etc.
The next step was to get the light installed just above the door.

Once that was in, we installed all the molding–against the stringers, and the baseboard, and the molding around the door.
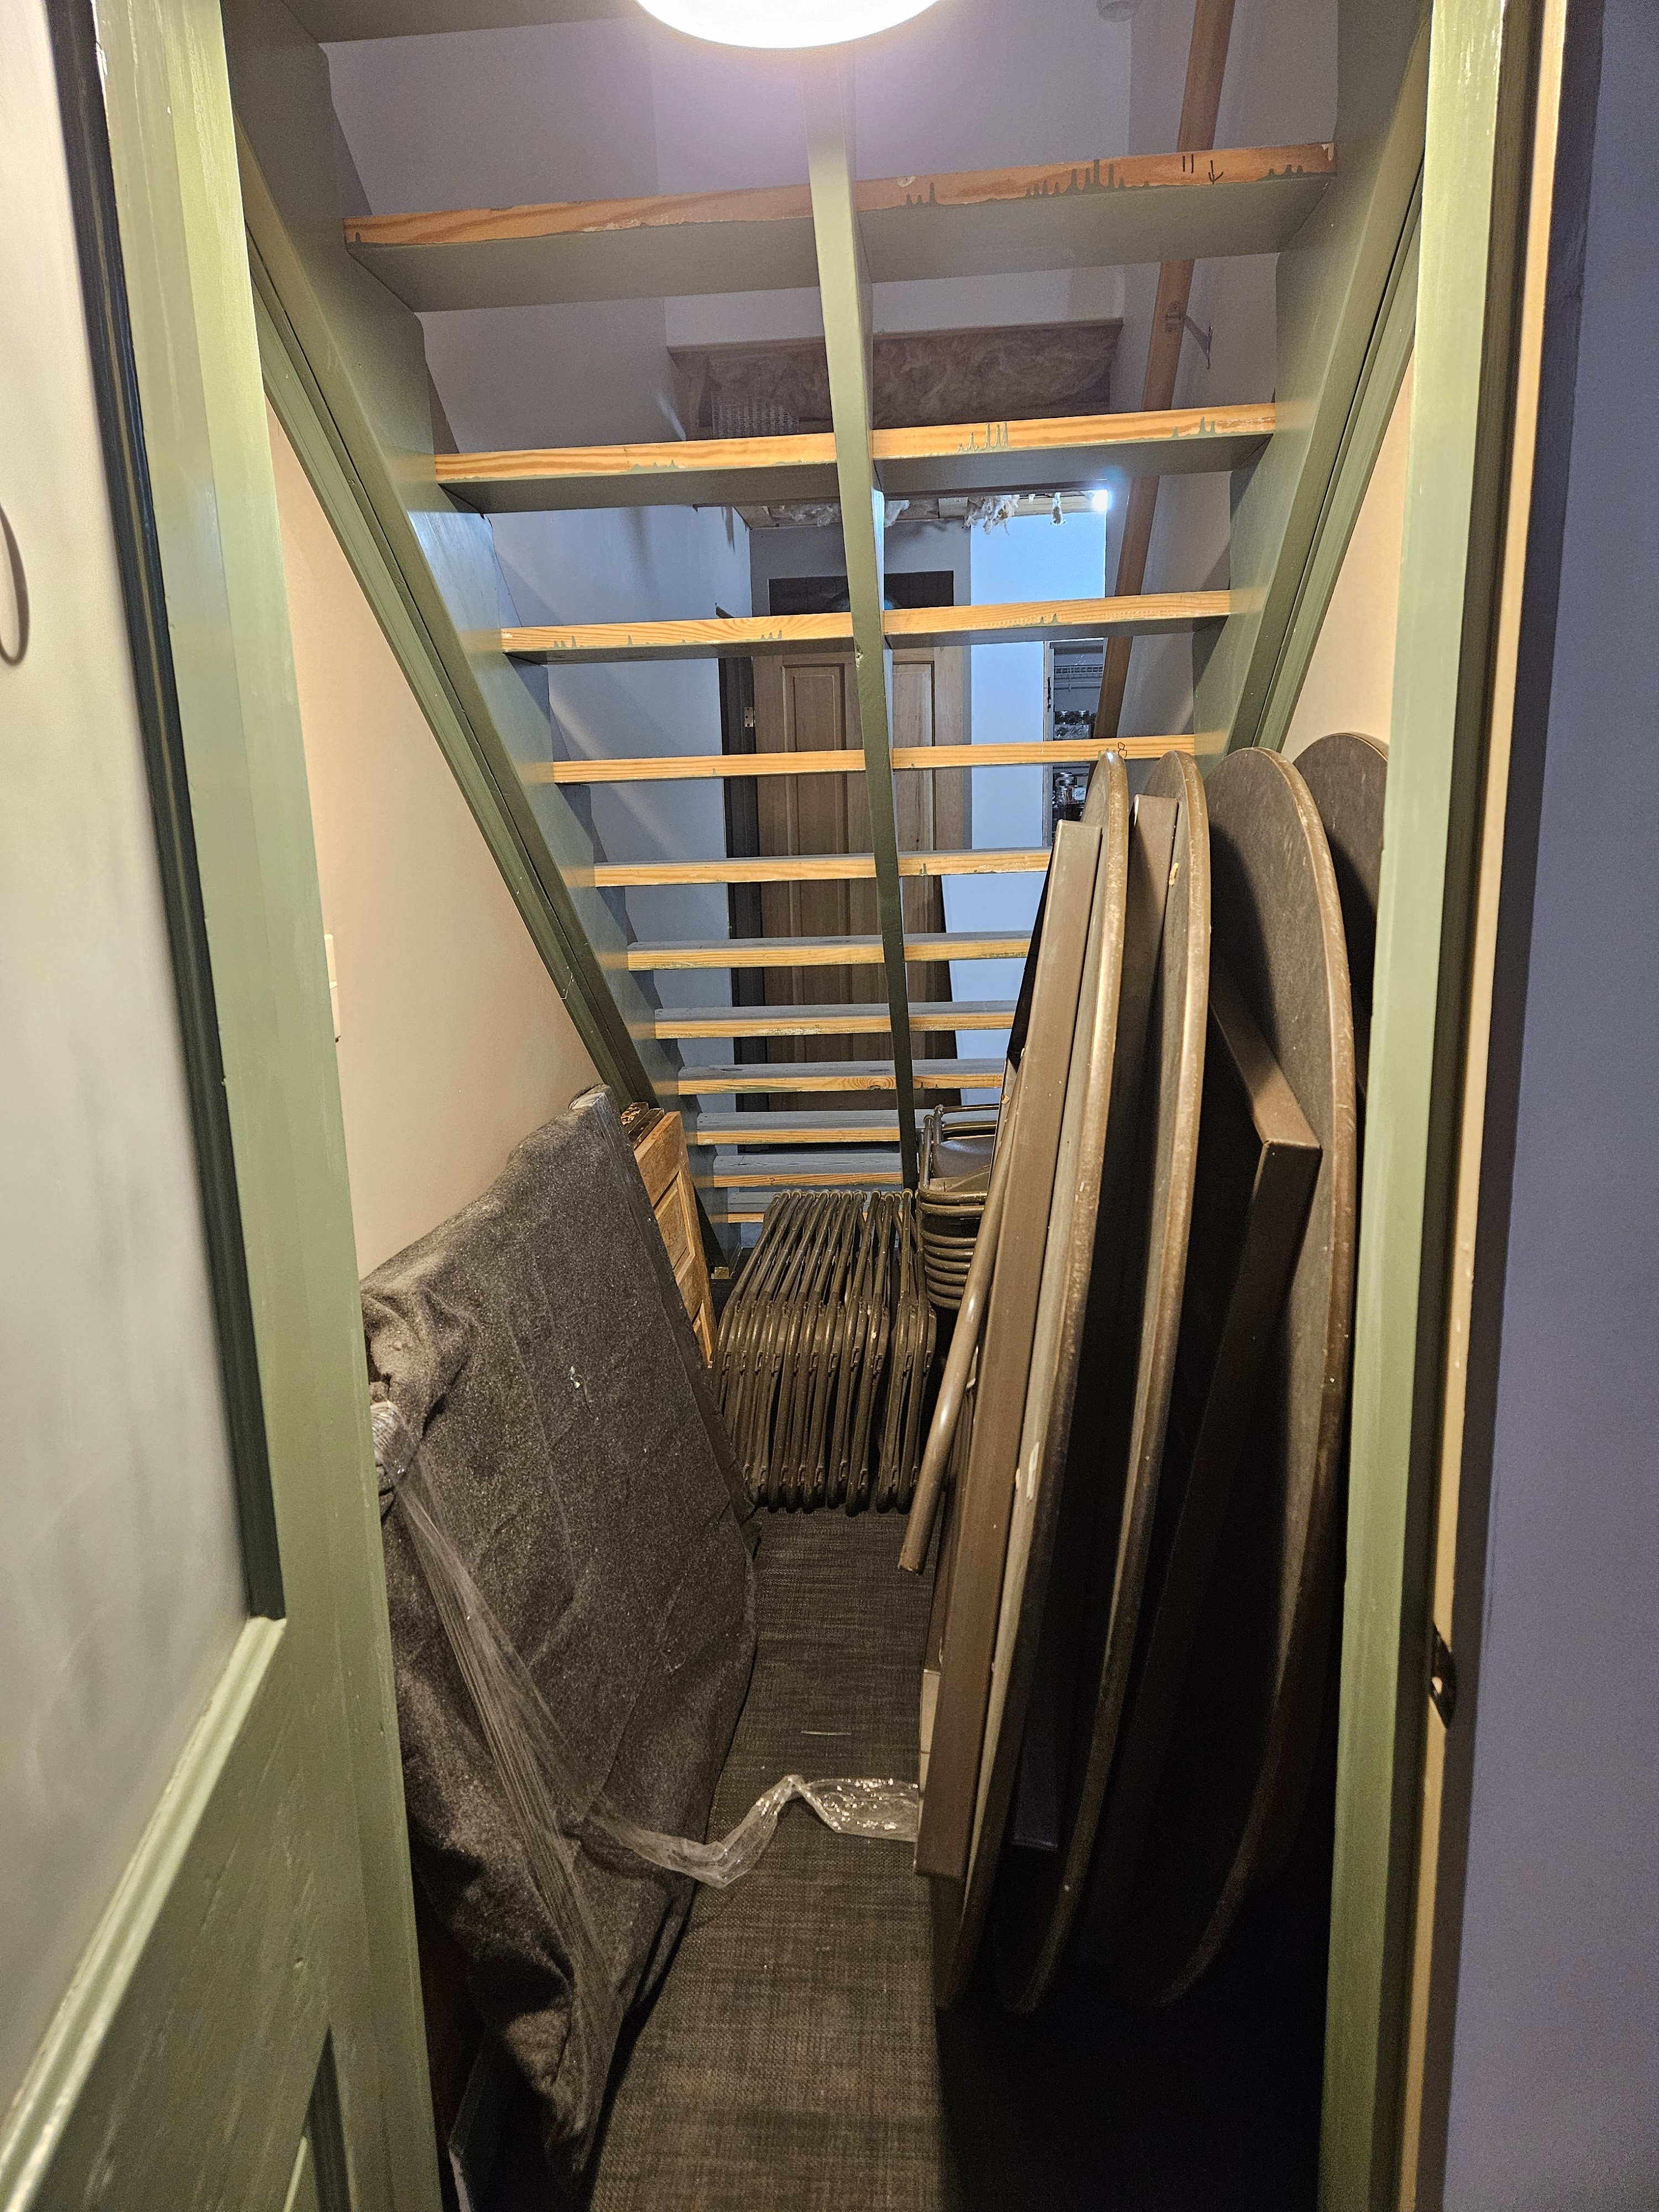
Now that all of that is complete, we will reattach the pine treads so that we can start on the stairs in earnest. I’ll post more about that later.
This project took SEVERAL weeks because my husband has some big projects going on at work and had to travel a few times during this project.
