We have not made much progress on the basement with my surgery and then the holidays, but picked it up again this weekend. The weather this weekend was really cold and windy, and then also rainy/misty on Sunday, so a perfect weekend to stay inside.
We have one long block wall in the basement that forms one of the walls of the storm shelter under our front porch. When they framed the storeroom on one side of this block wall and the room that will be Mike’s office, eventually, on the other side, they didn’t take into consideration that in order to fur out the block wall, the stud walls for the storeroom and the office needed to be proud of the block wall by about 2″ so that the finished drywall would be one smooth continuous plane.
So we started thinking about what we could do to solve this problem because it would be difficult to reframe the doorway into the storeroom, and we didn’t want to have to reframe the office wall. We talked about using thin brick, but decided that we aren’t talented enough to maintain a straight level line across a 20′ span. So then we looked at stone veneer, and decided from a cost and capability standpoint, that was the right material. The stone will end up about 1/2″ proud of the finished drywall, but we can live with that.
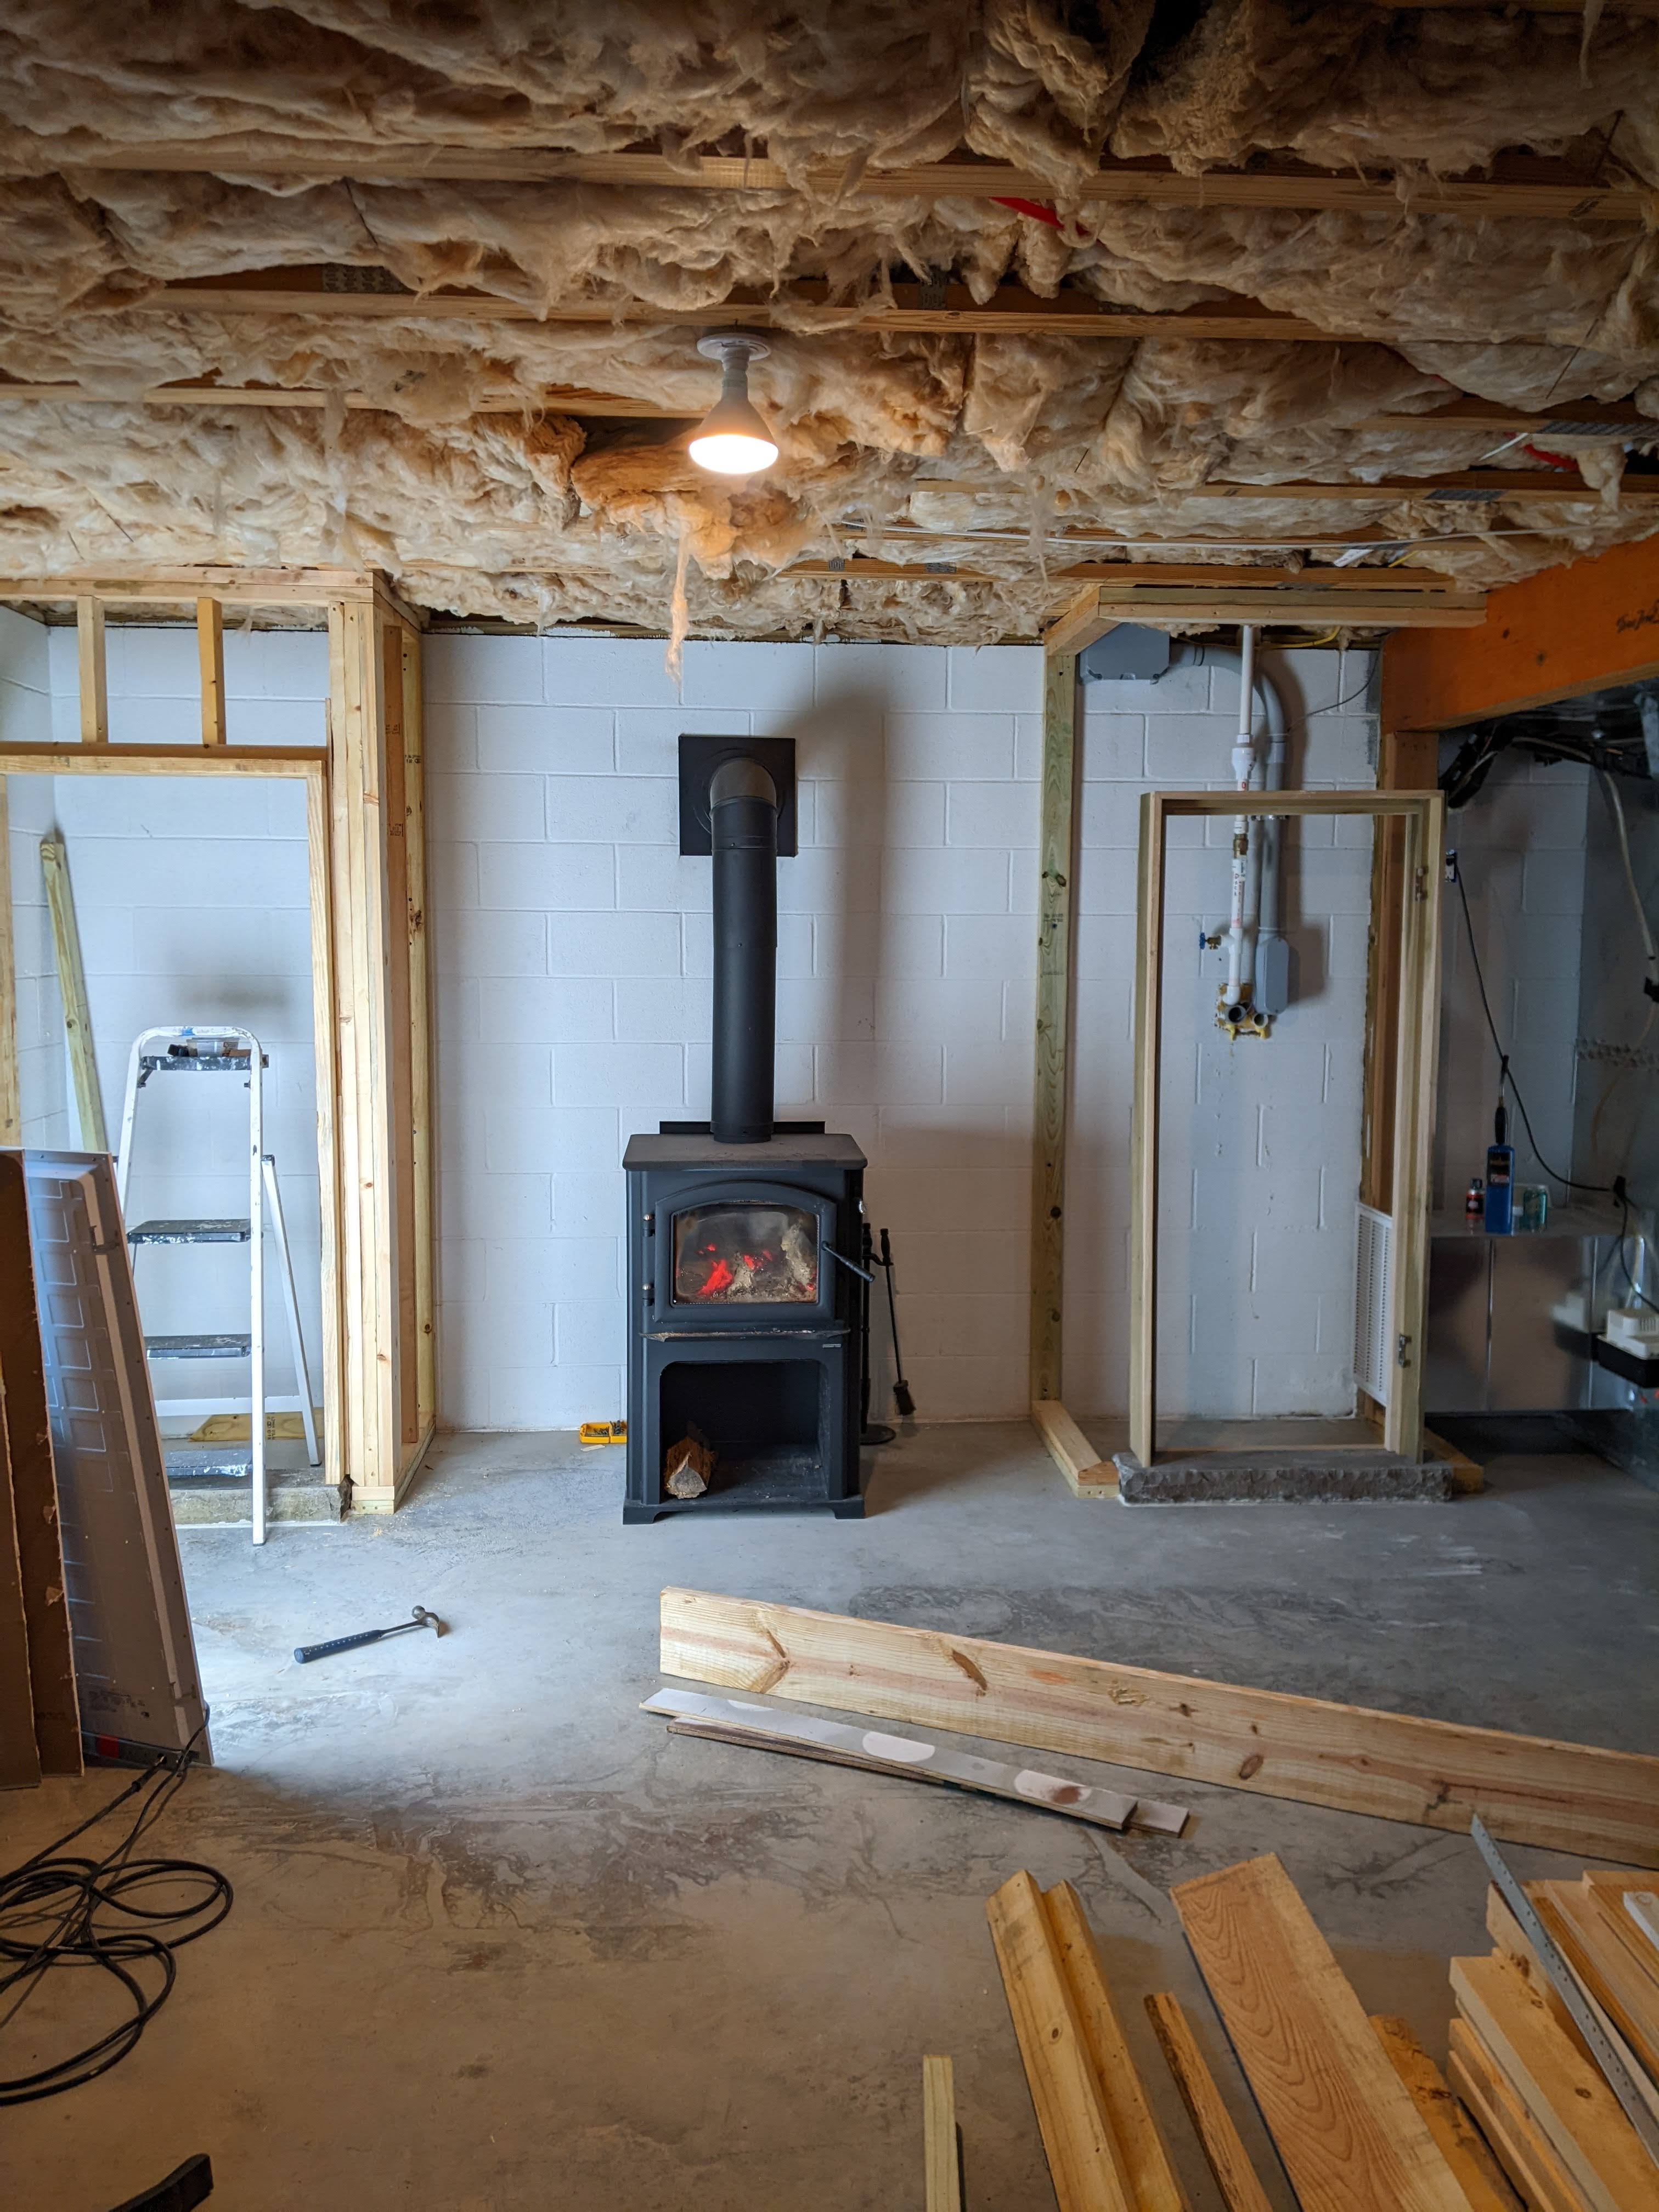
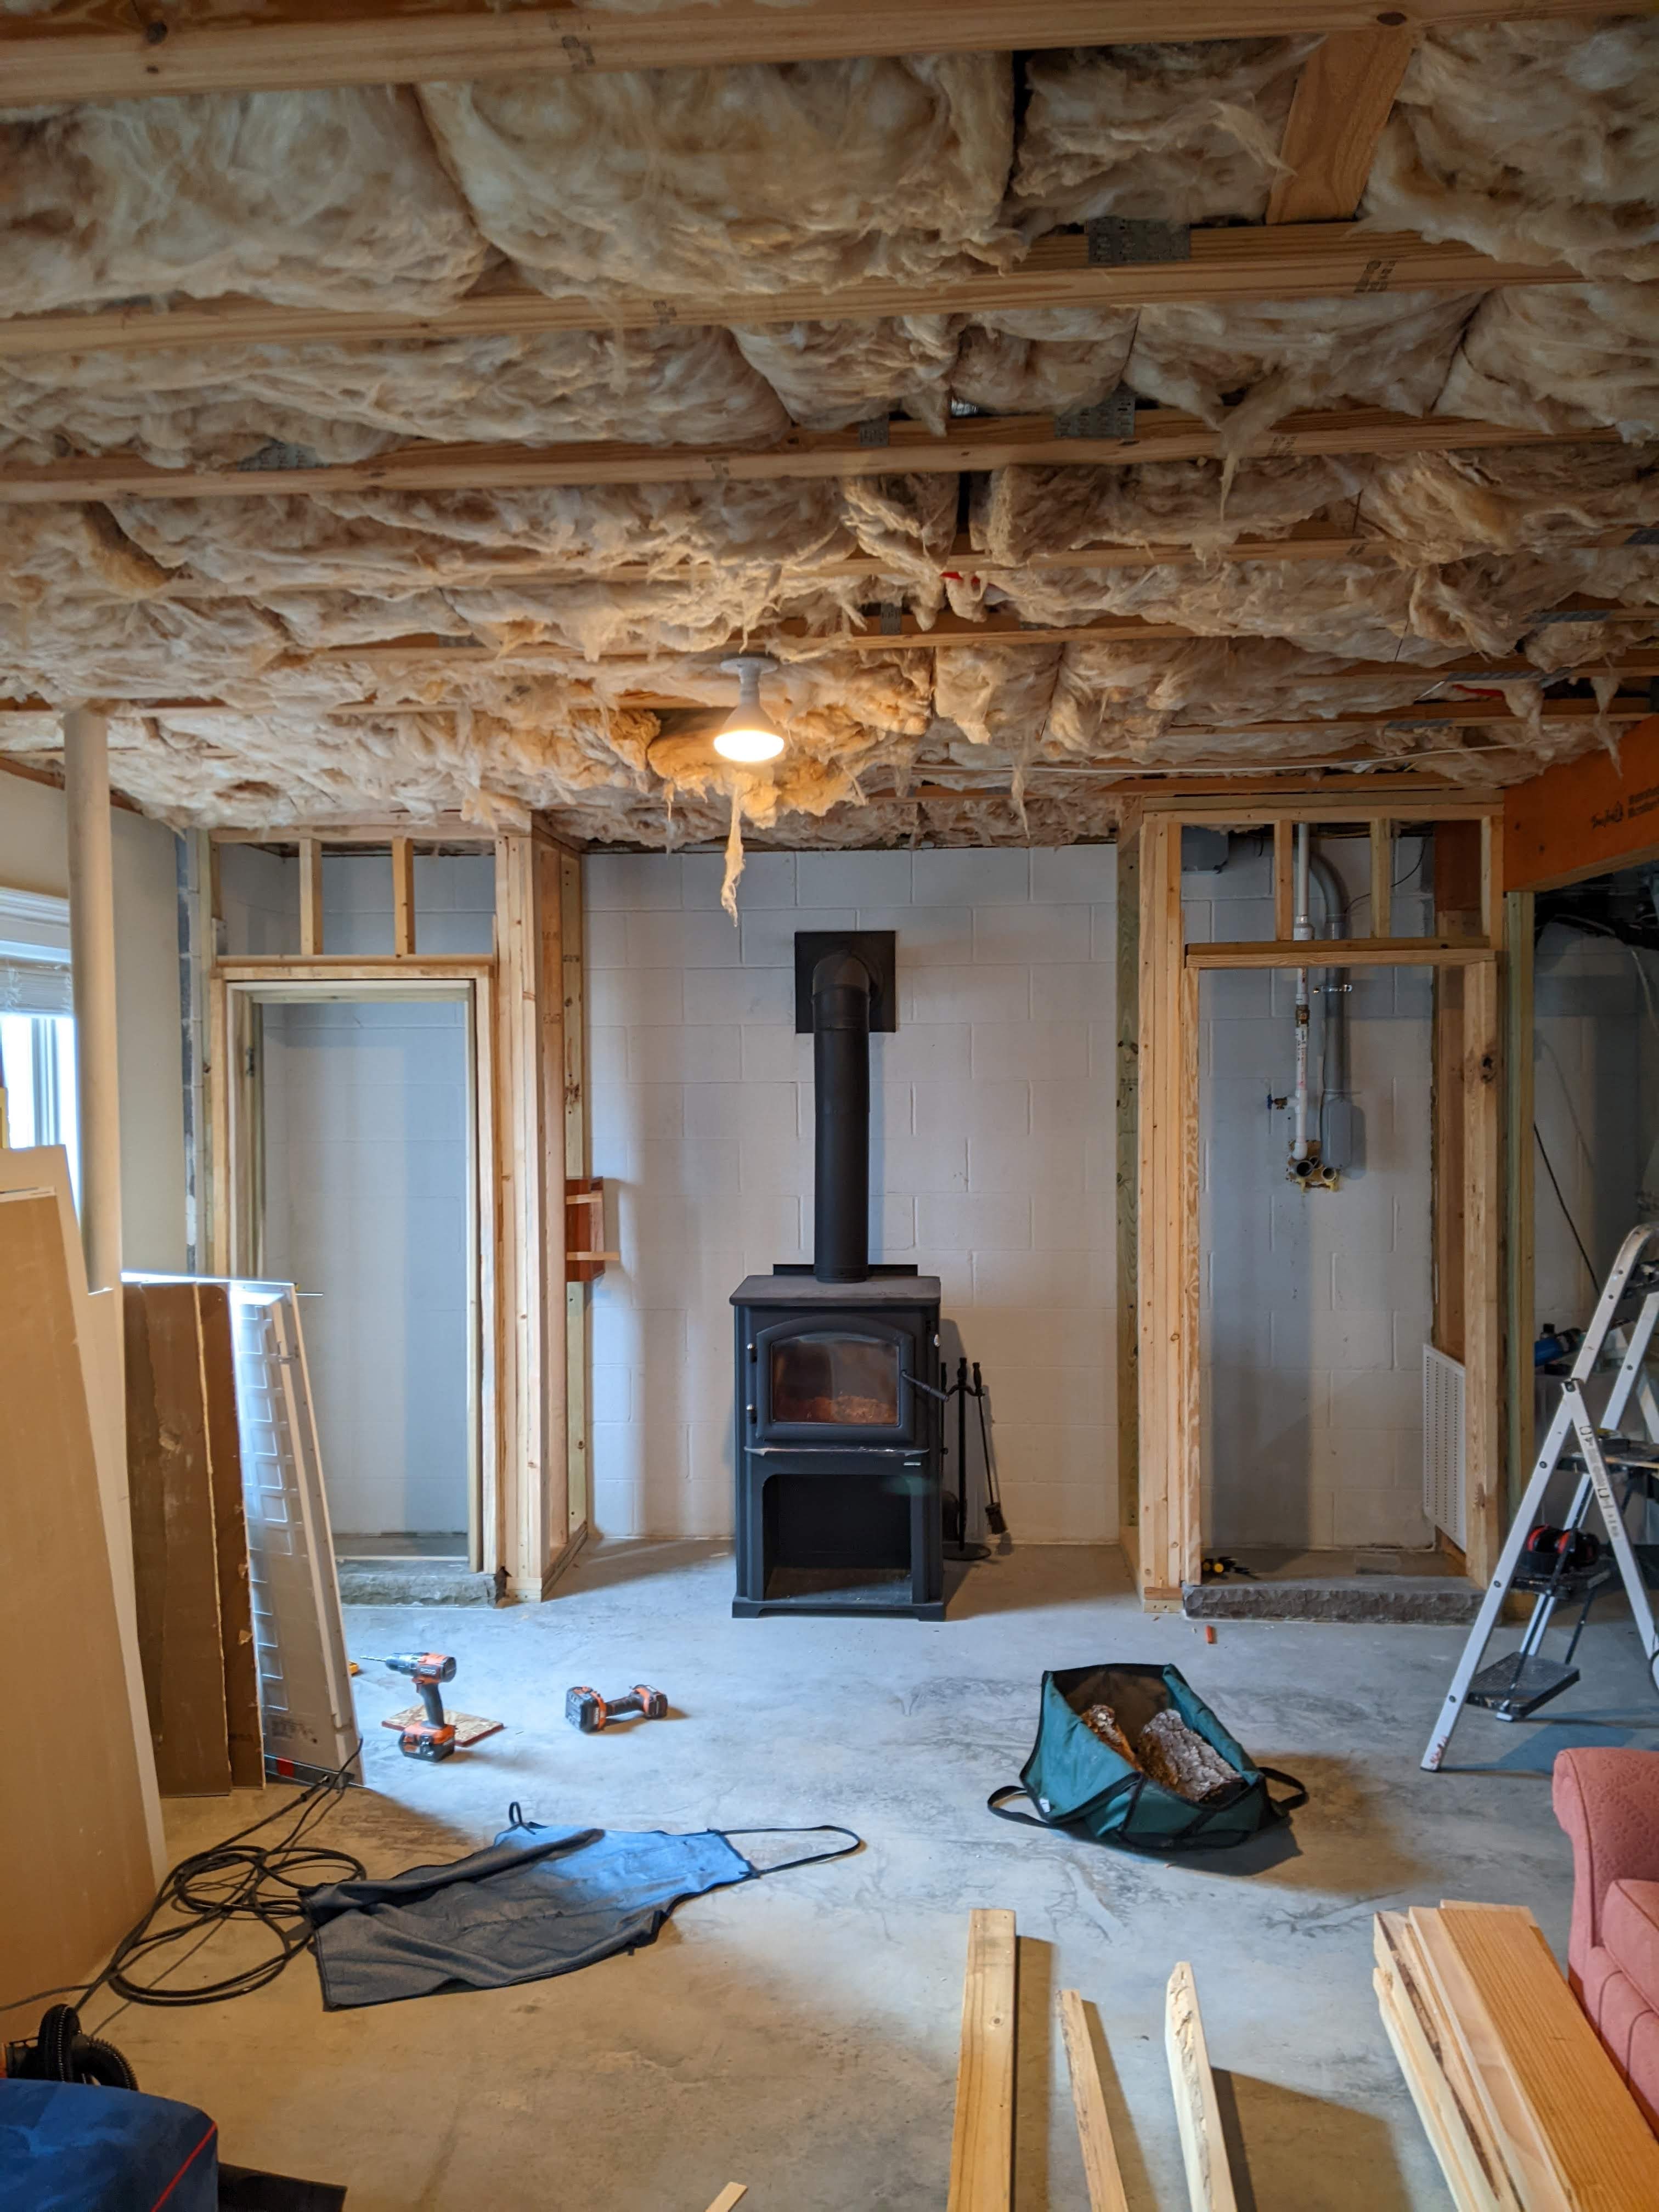
We also have a section of block wall that will be part of the “living room” in the basement. We put a wood stove on this wall in 2021 to serve as auxilliary heat for the upstairs, but it also is the primary heating source for the basement which can be pretty cold, as basements tend to be. On this wall, you can see where utilities that go down to the dock come through this wall. We decided to build a closet around this area since we have to maintain access to it. Because we had to build a closet to the right of the stove, we also built one on the left so that it looks intentional. There are going to be enough weird basement things that we’ll have to build around and can’t disguise that we are trying to disguise what we can.
Back in the summer, I started looking for a source of the stone veneer product. Ultimately, we went to a local stone quarry in August that does some cut stone, and also stone veneer. We were primarily looking at the stone veneer product to see the colors and the thickness of the product so we knew what we were looking at from a construction/framing standpoint. However while we were there, we also looked at the cut stones because we had toyed with the idea of putting a stone threshold in these two closets to give them an authentic “root cellar” look and also because the doors are really short. (The doors were clearly meant for a closet or cupboard because they are about 70″ tall. ) The quarry had a couple of cut pieces of stone that were the right size–and they were only $40 for the two pieces. Unbelievable!
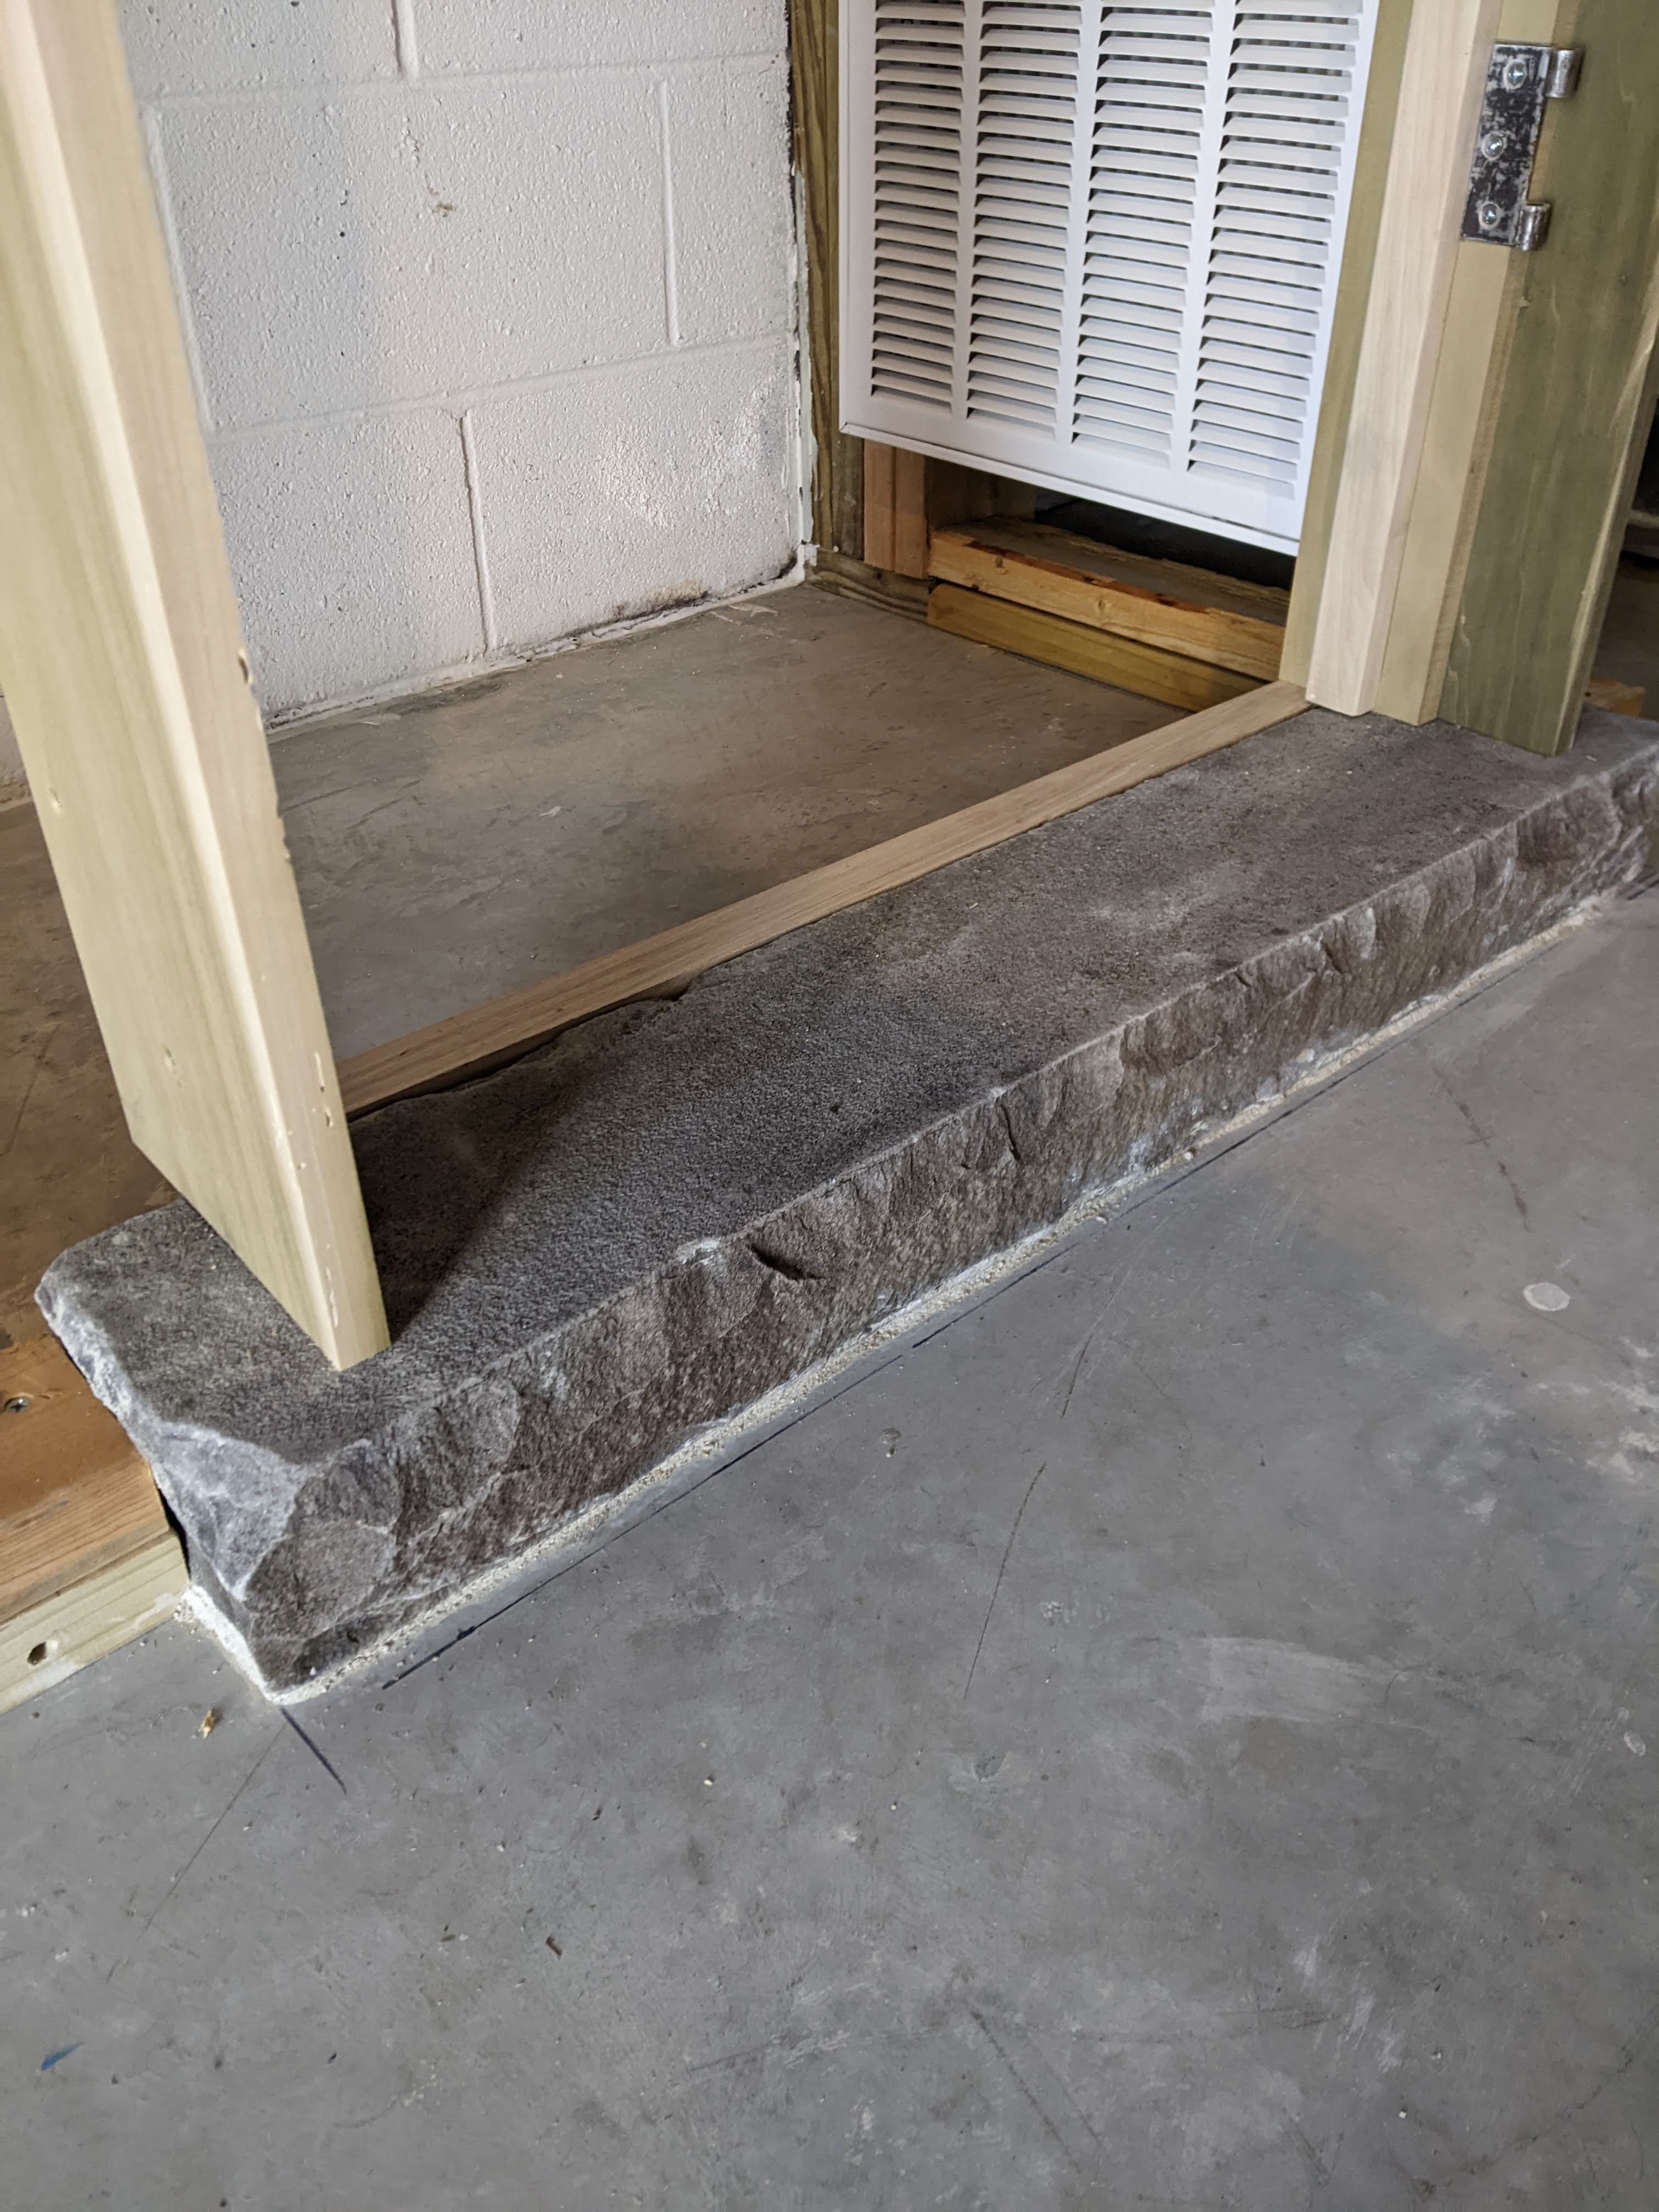
Those had to go down first. Mike mortared them to the floor so that they can’t move, and then started framing around them. He also had to build the frames for the antique doors that we are using for these closets so that we could build an envelope for them.
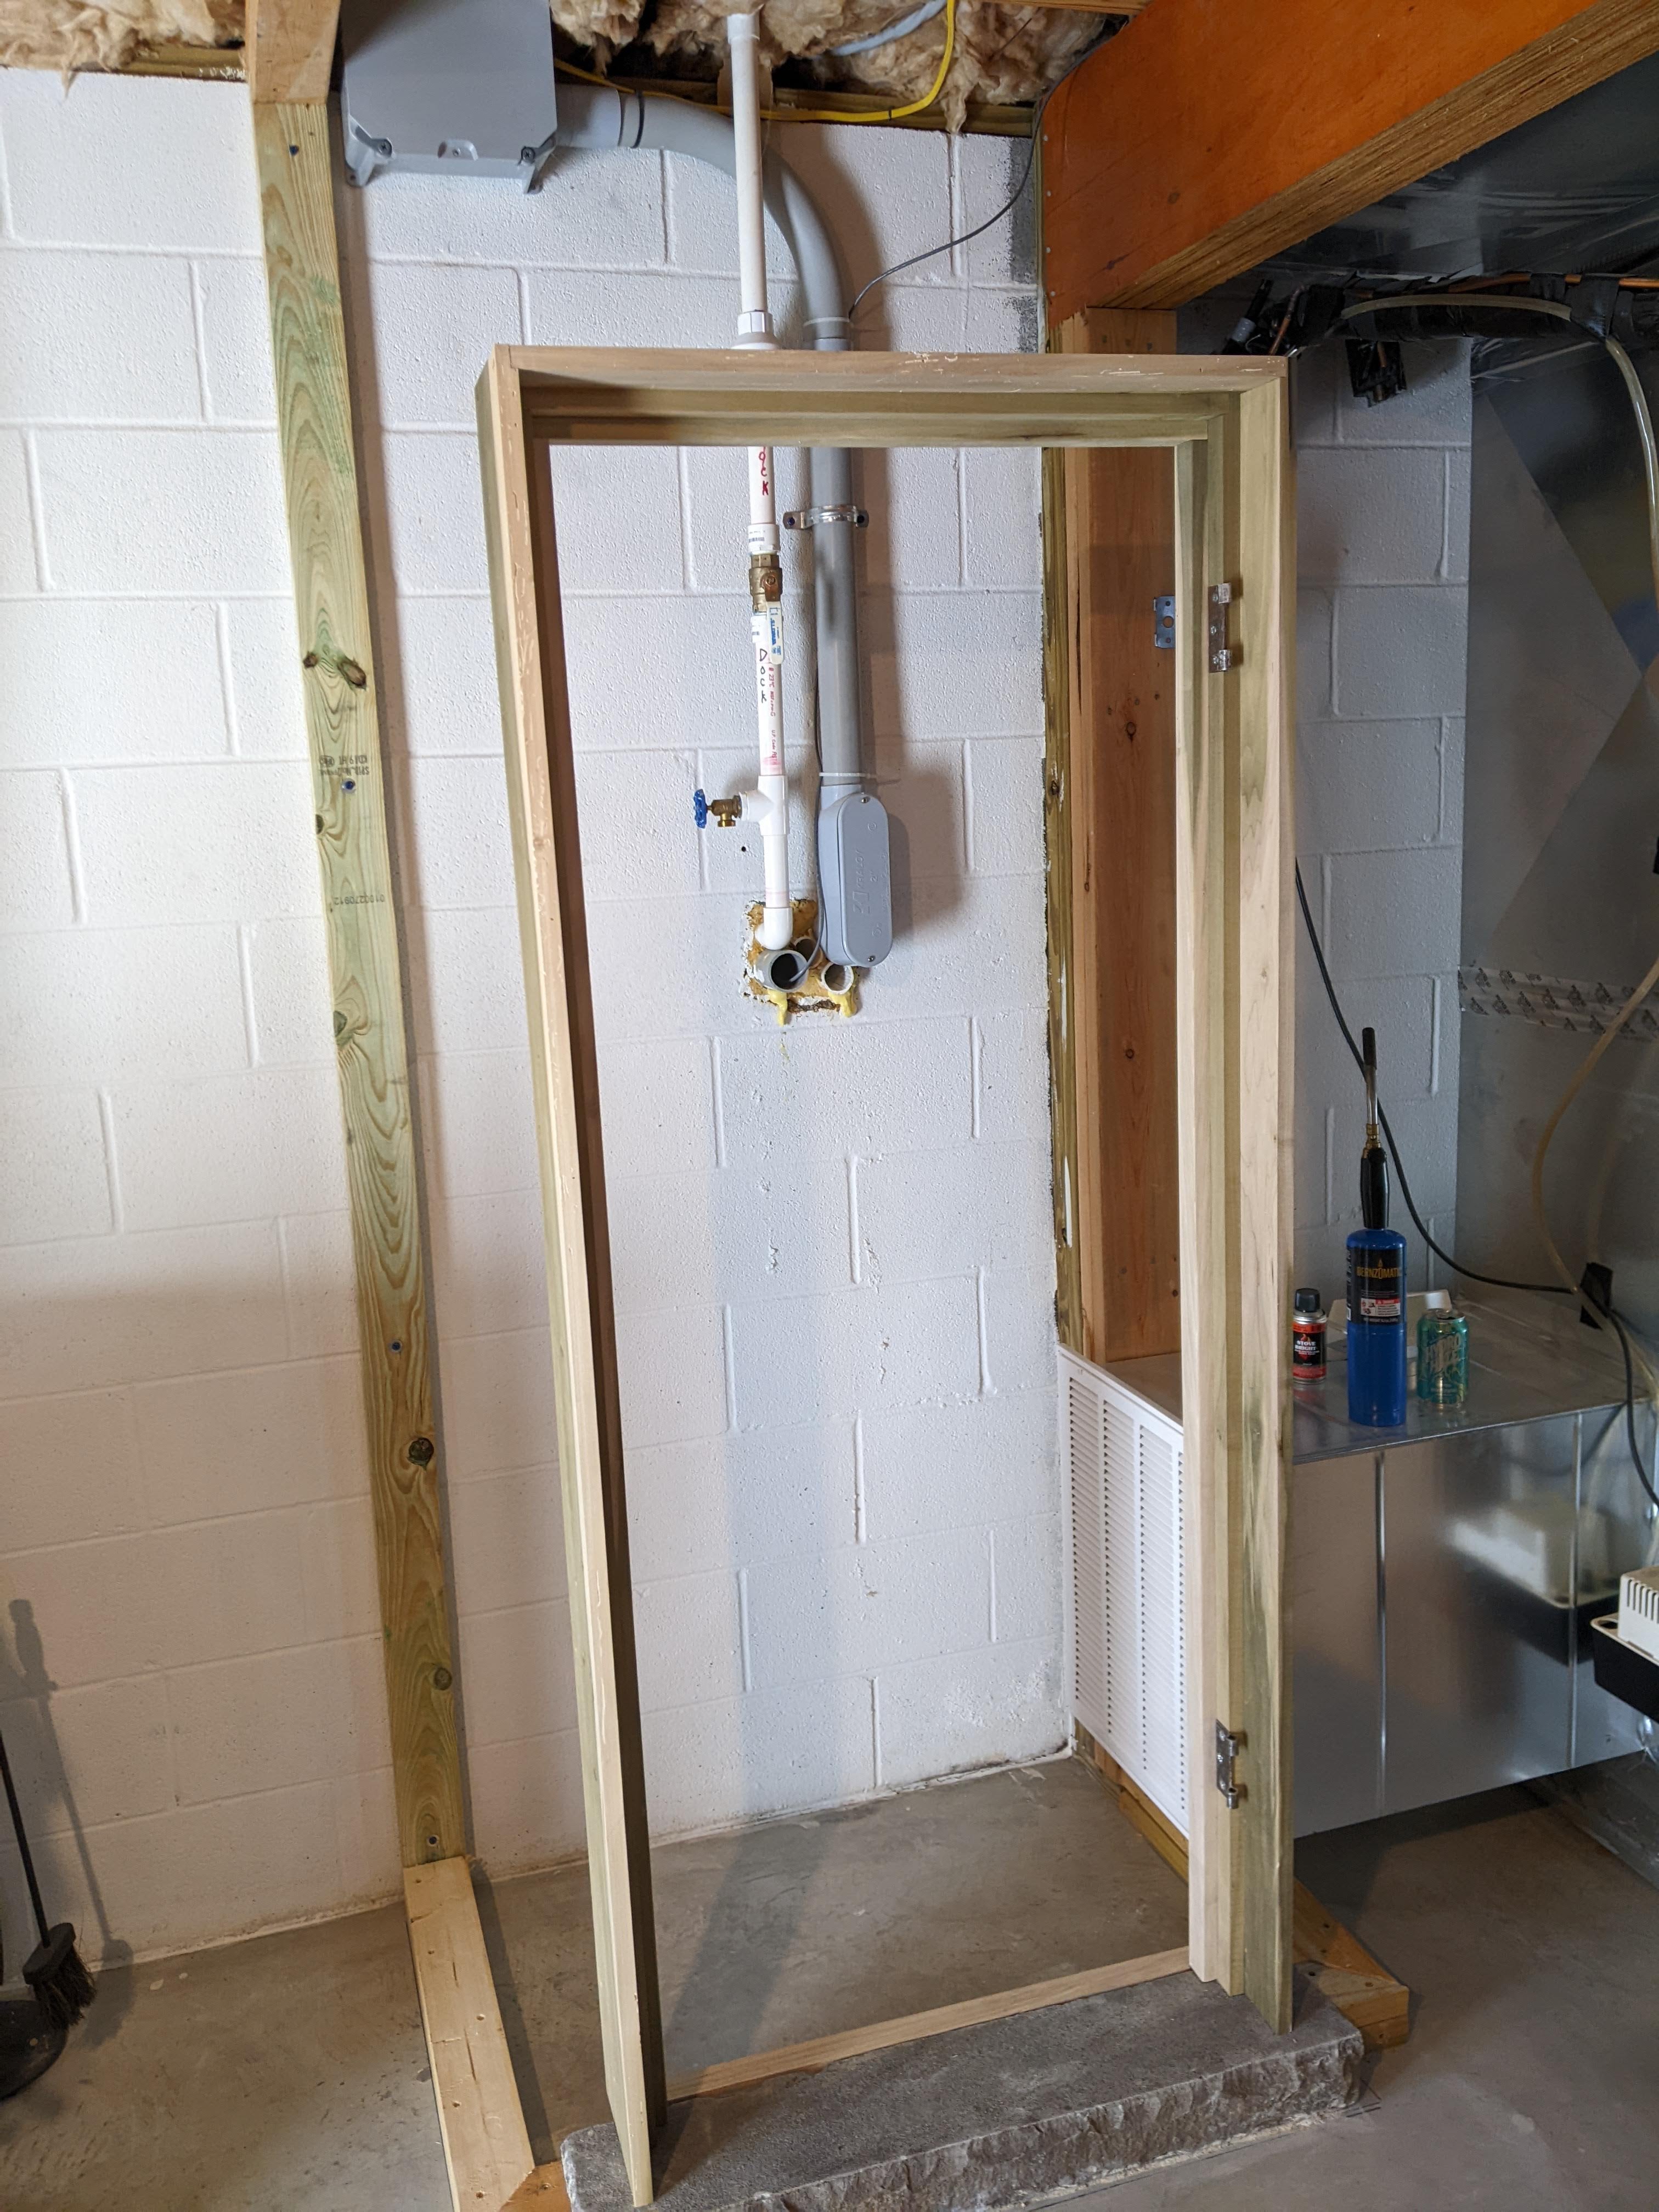
Here is the door frame sitting in place on top of the threshold. Mike built the door frame extra deep so that a good bit of the stone threshold will show when the closets are complete. We decided that even though the stone veneer product is only 1-1 1/4″ thick, we were going to need to build some stout walls for the closets to ensure that they didn’t buckle under the weight of the mortar, stone, and grout. We plan to overgrout the stones to give it an old stone foundation kind of look, so even more weight than is necessary from a functional standpoint. Mike started the framing with a pressure treated 2 x 4 against the floor and exterior block wall, and regular 2 x 4s on the ceiling. Then he put another 2 x 4 on top of that. Then we added more 2 x 4’s to attach the OSB and cement board to.
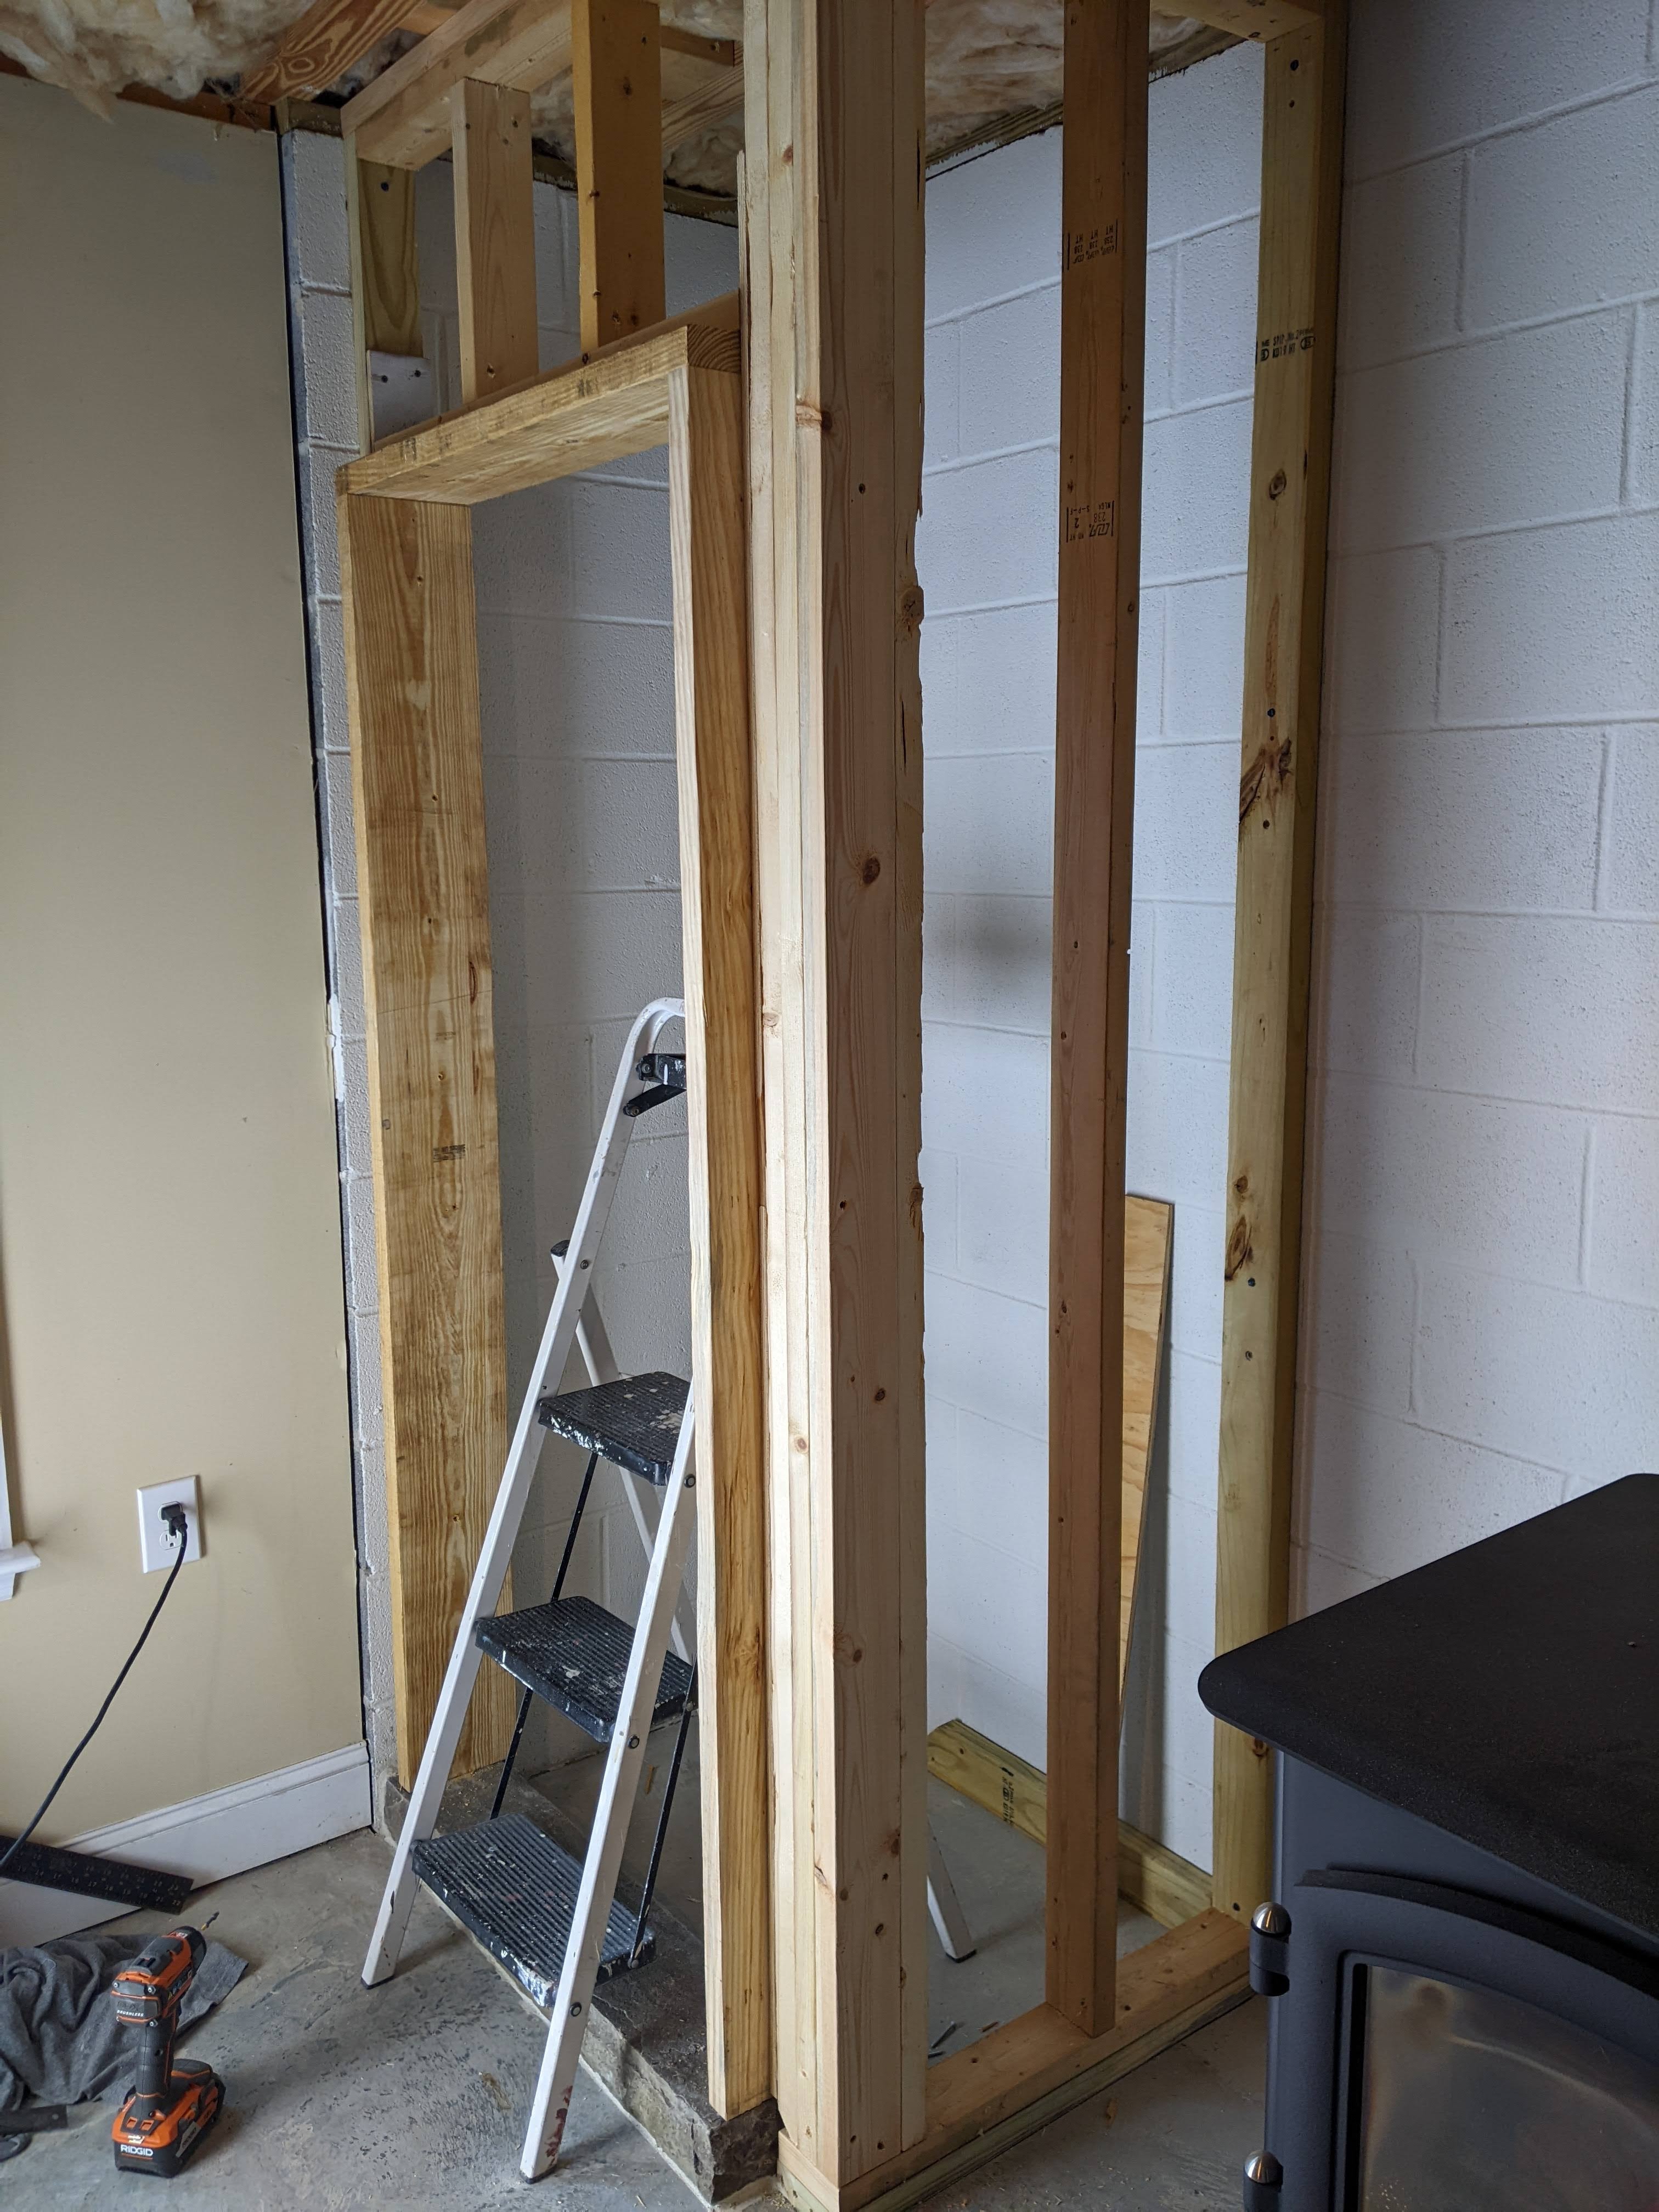
It’s hard to tell from the photos, but these closets are only about 6 square feet of floor space.
Both closets are just about framed up, but we have several more items that we have to take care of before we can close them up with OSB and cement board on the outside, and drywall on the inside.
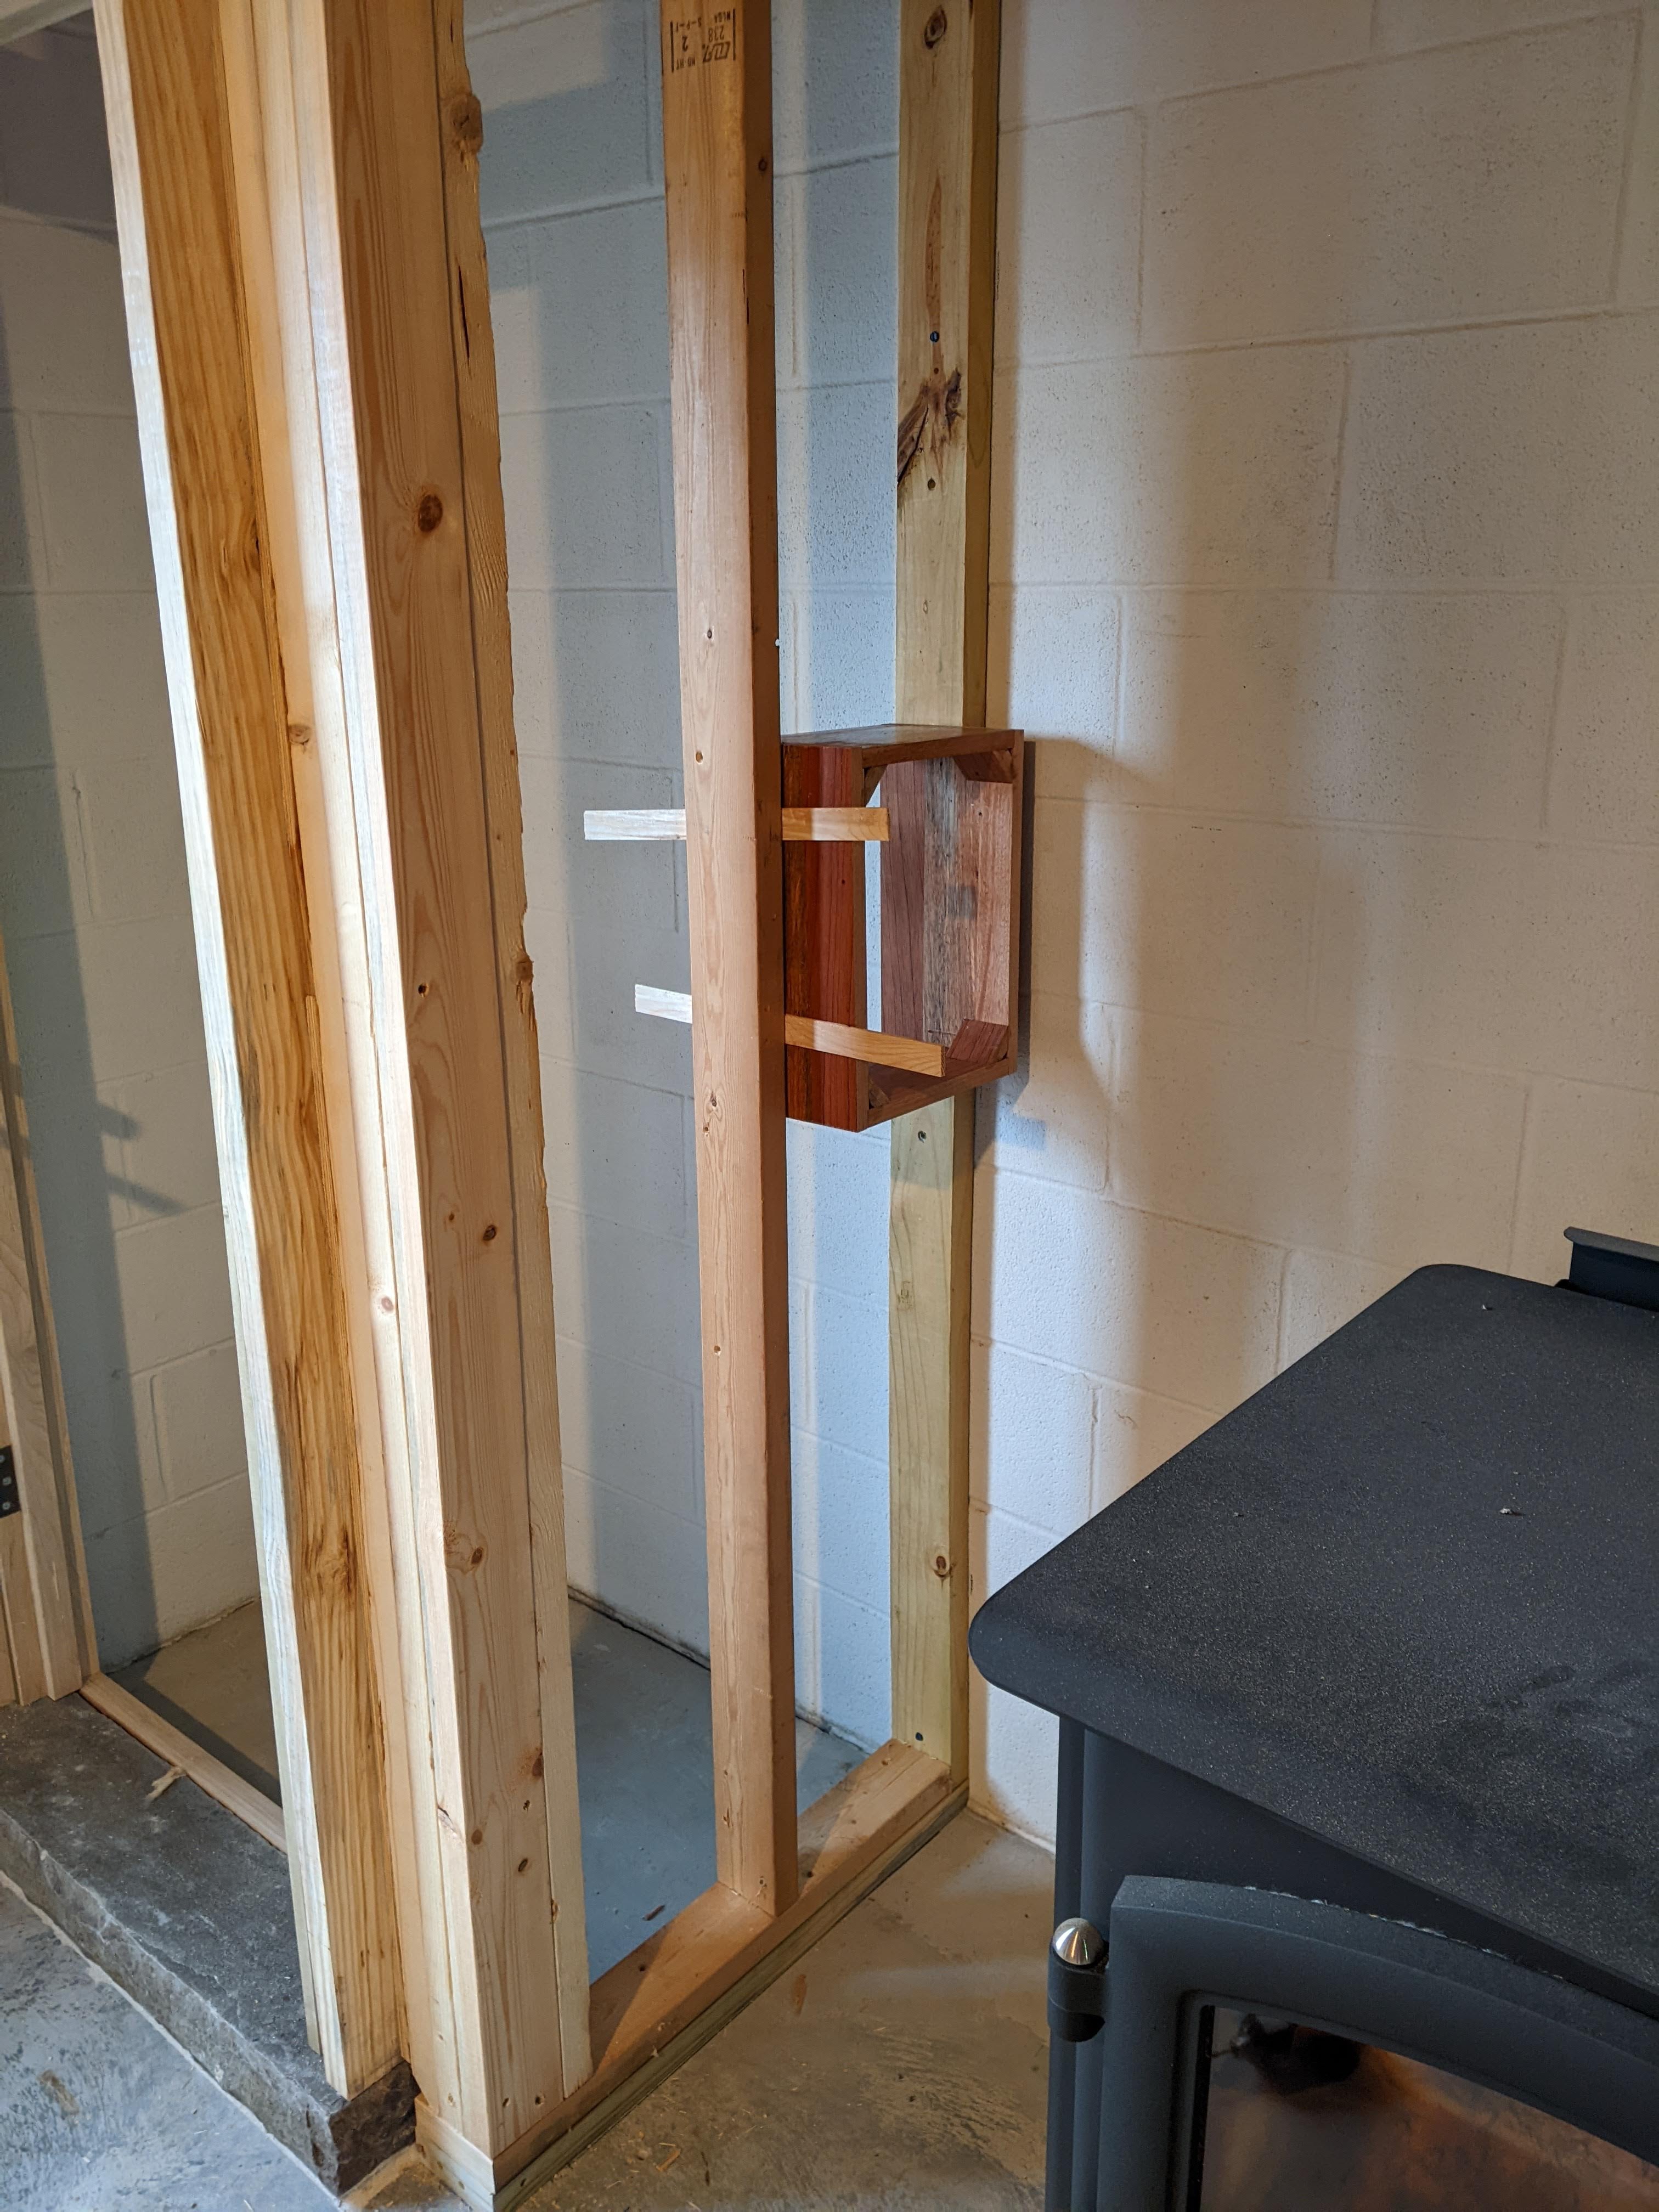
We are going to add a fan to the closet on the left of the stove to blow air across the stove to optimize the heating in the basement. We will also need to add an intake vent to that same closet. We built a box for one of the vents and dry fit it. Yes, it’s mahogany because that is what we had.
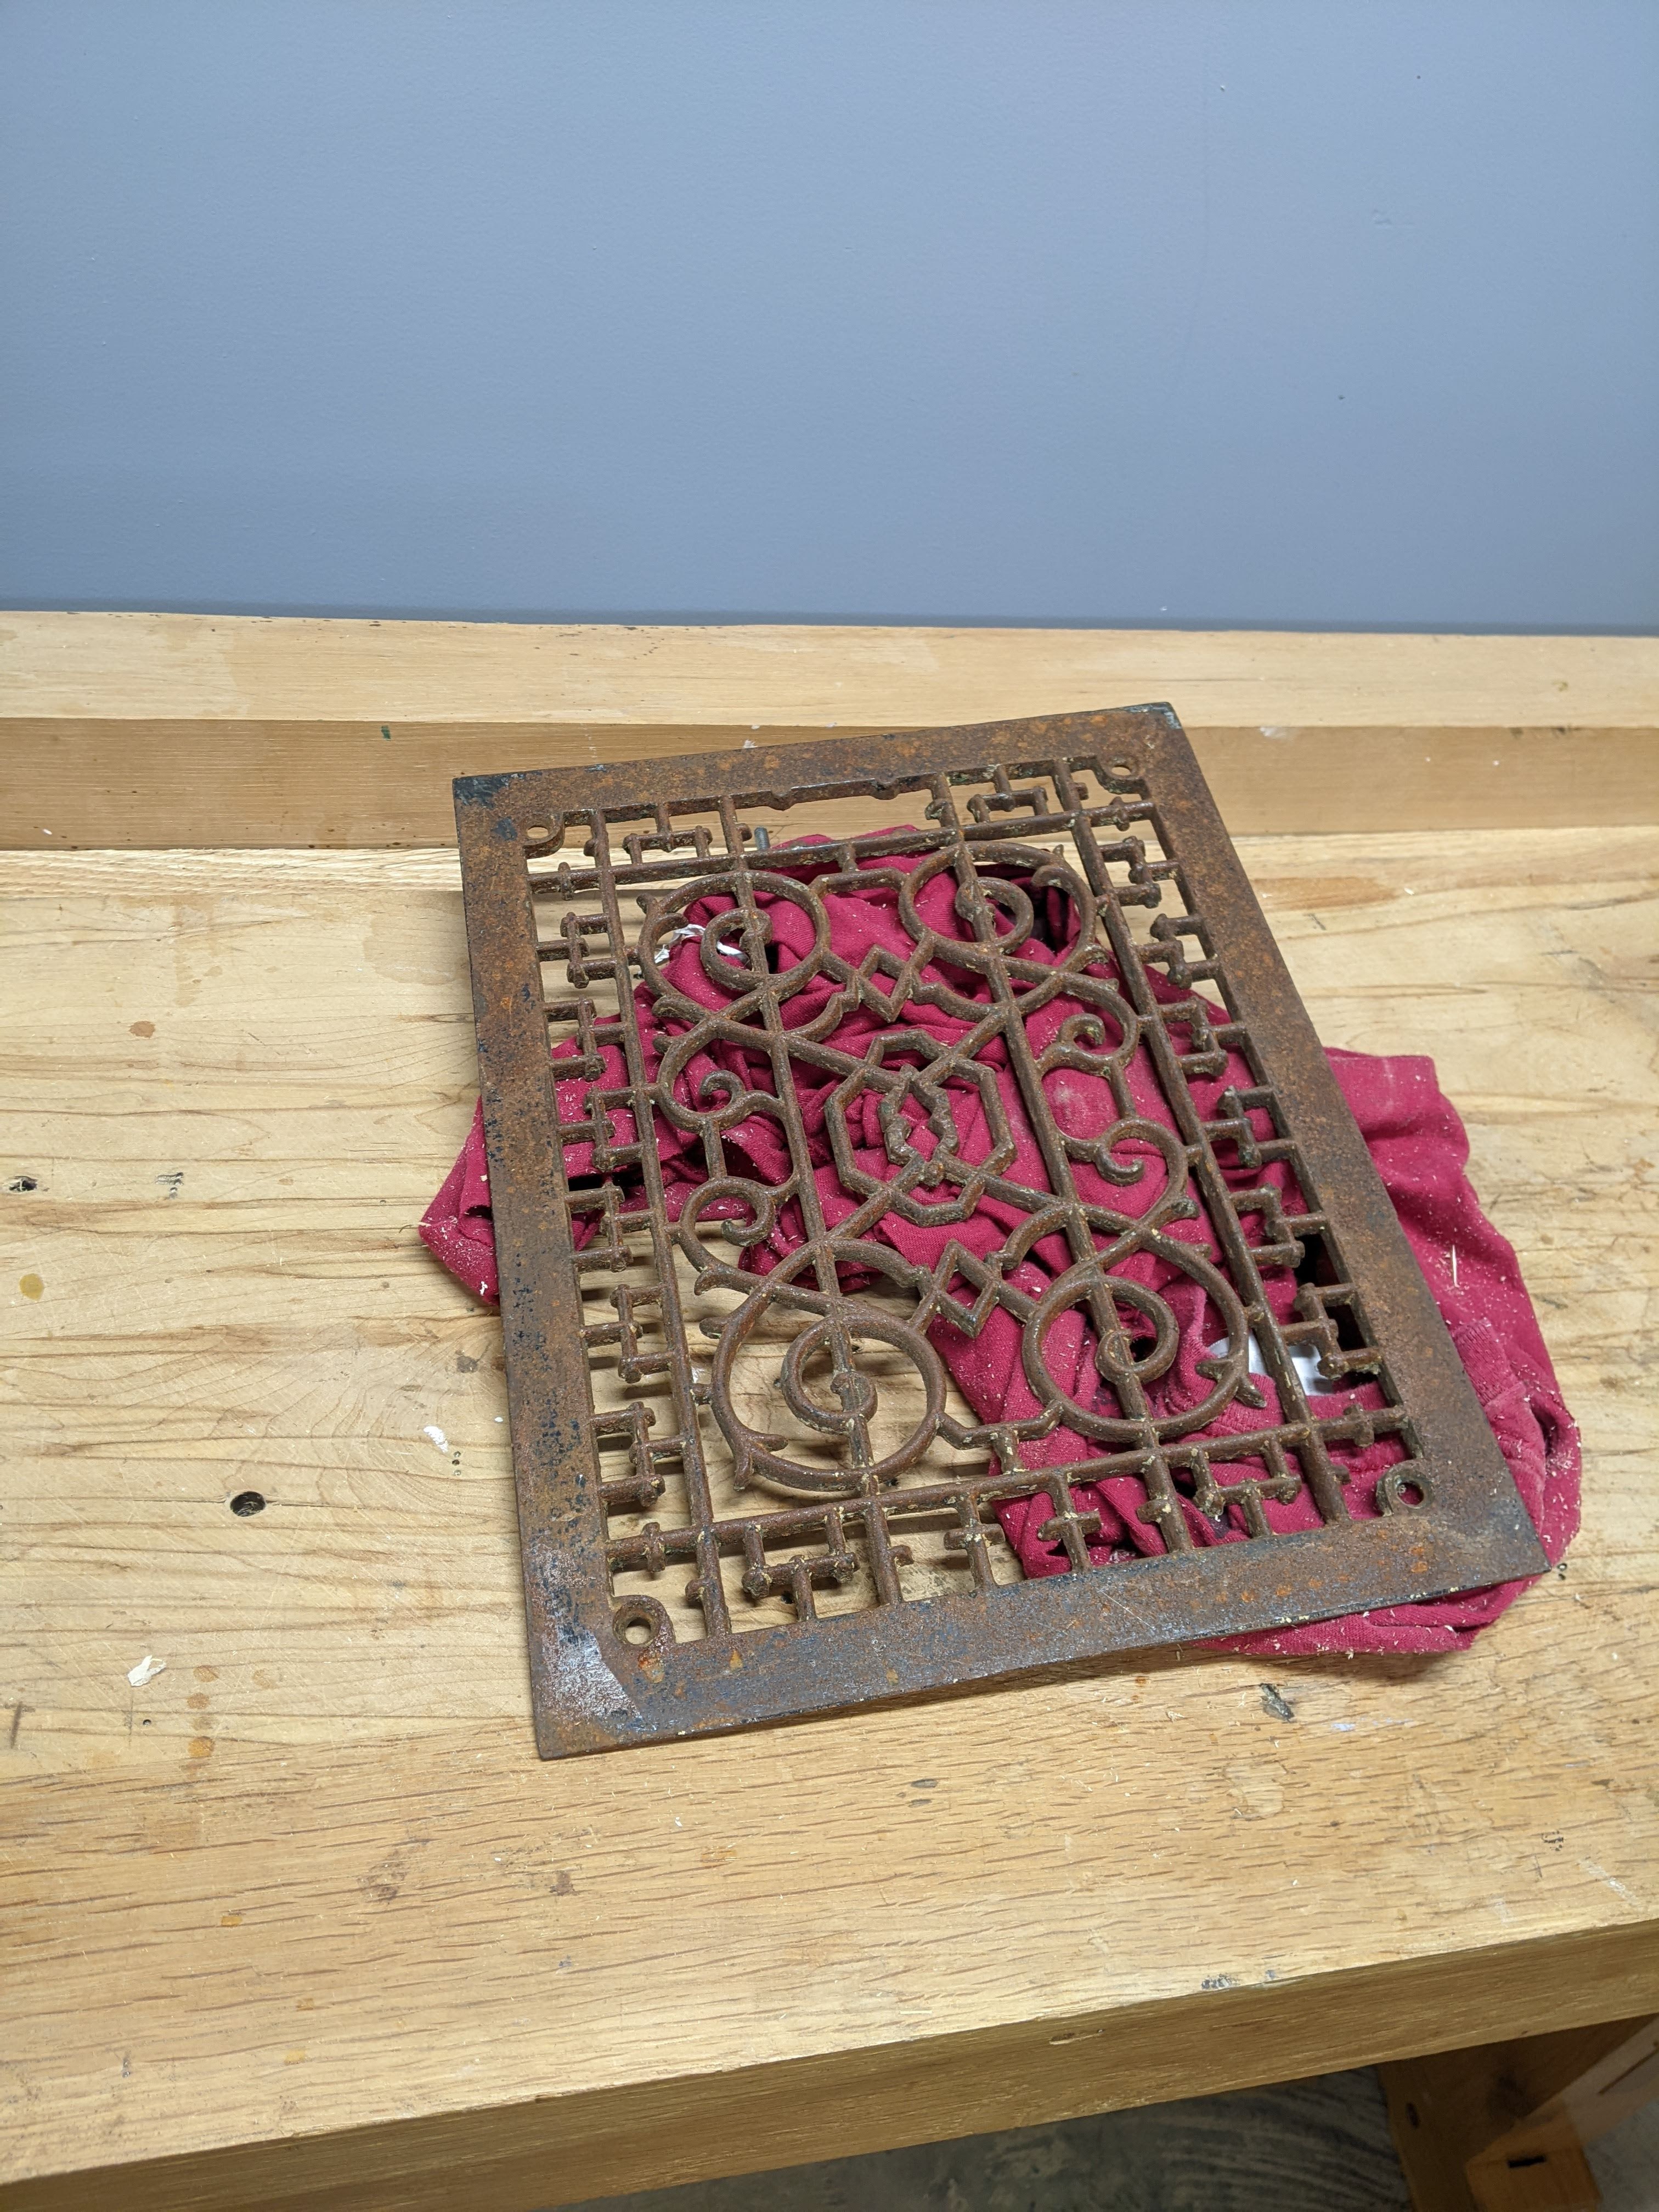
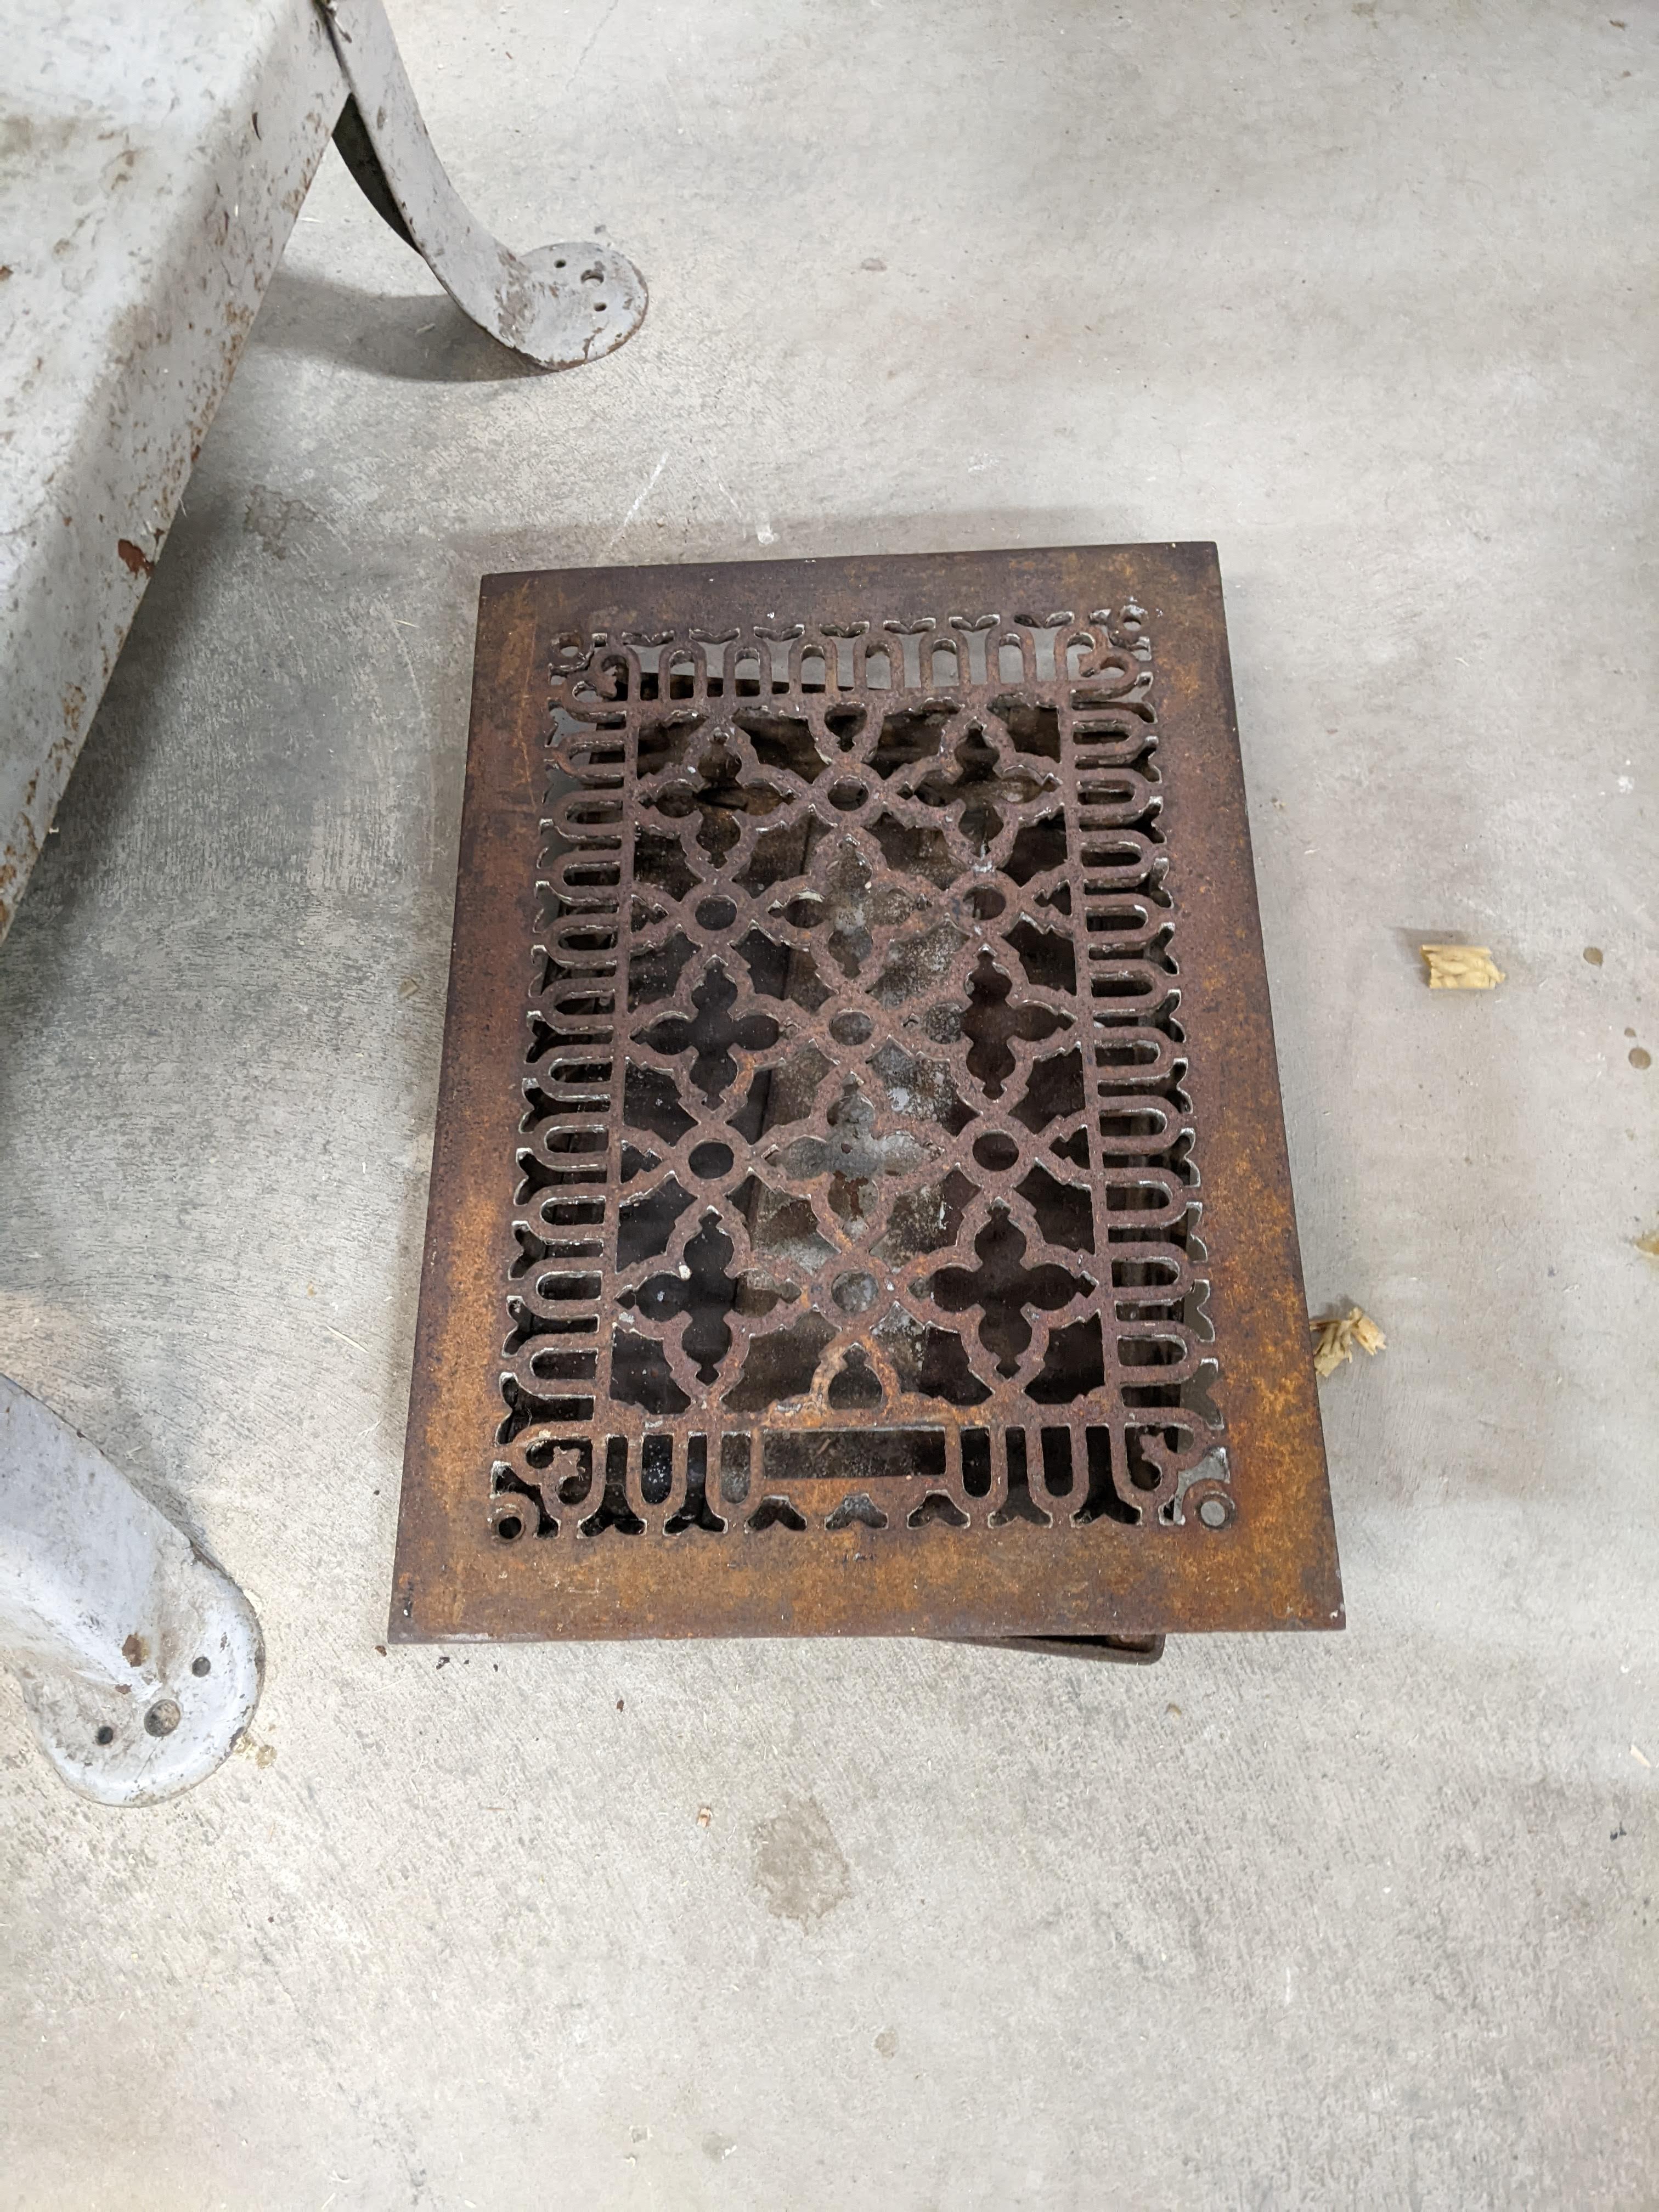
These are the vent grates for that closet. They are the same size, but not the same design. We need to take a wire brush to them and paint them and the boxes that they attach to black. Then we need to install the wood boxes into the framing before cladding the exterior and interior walls.
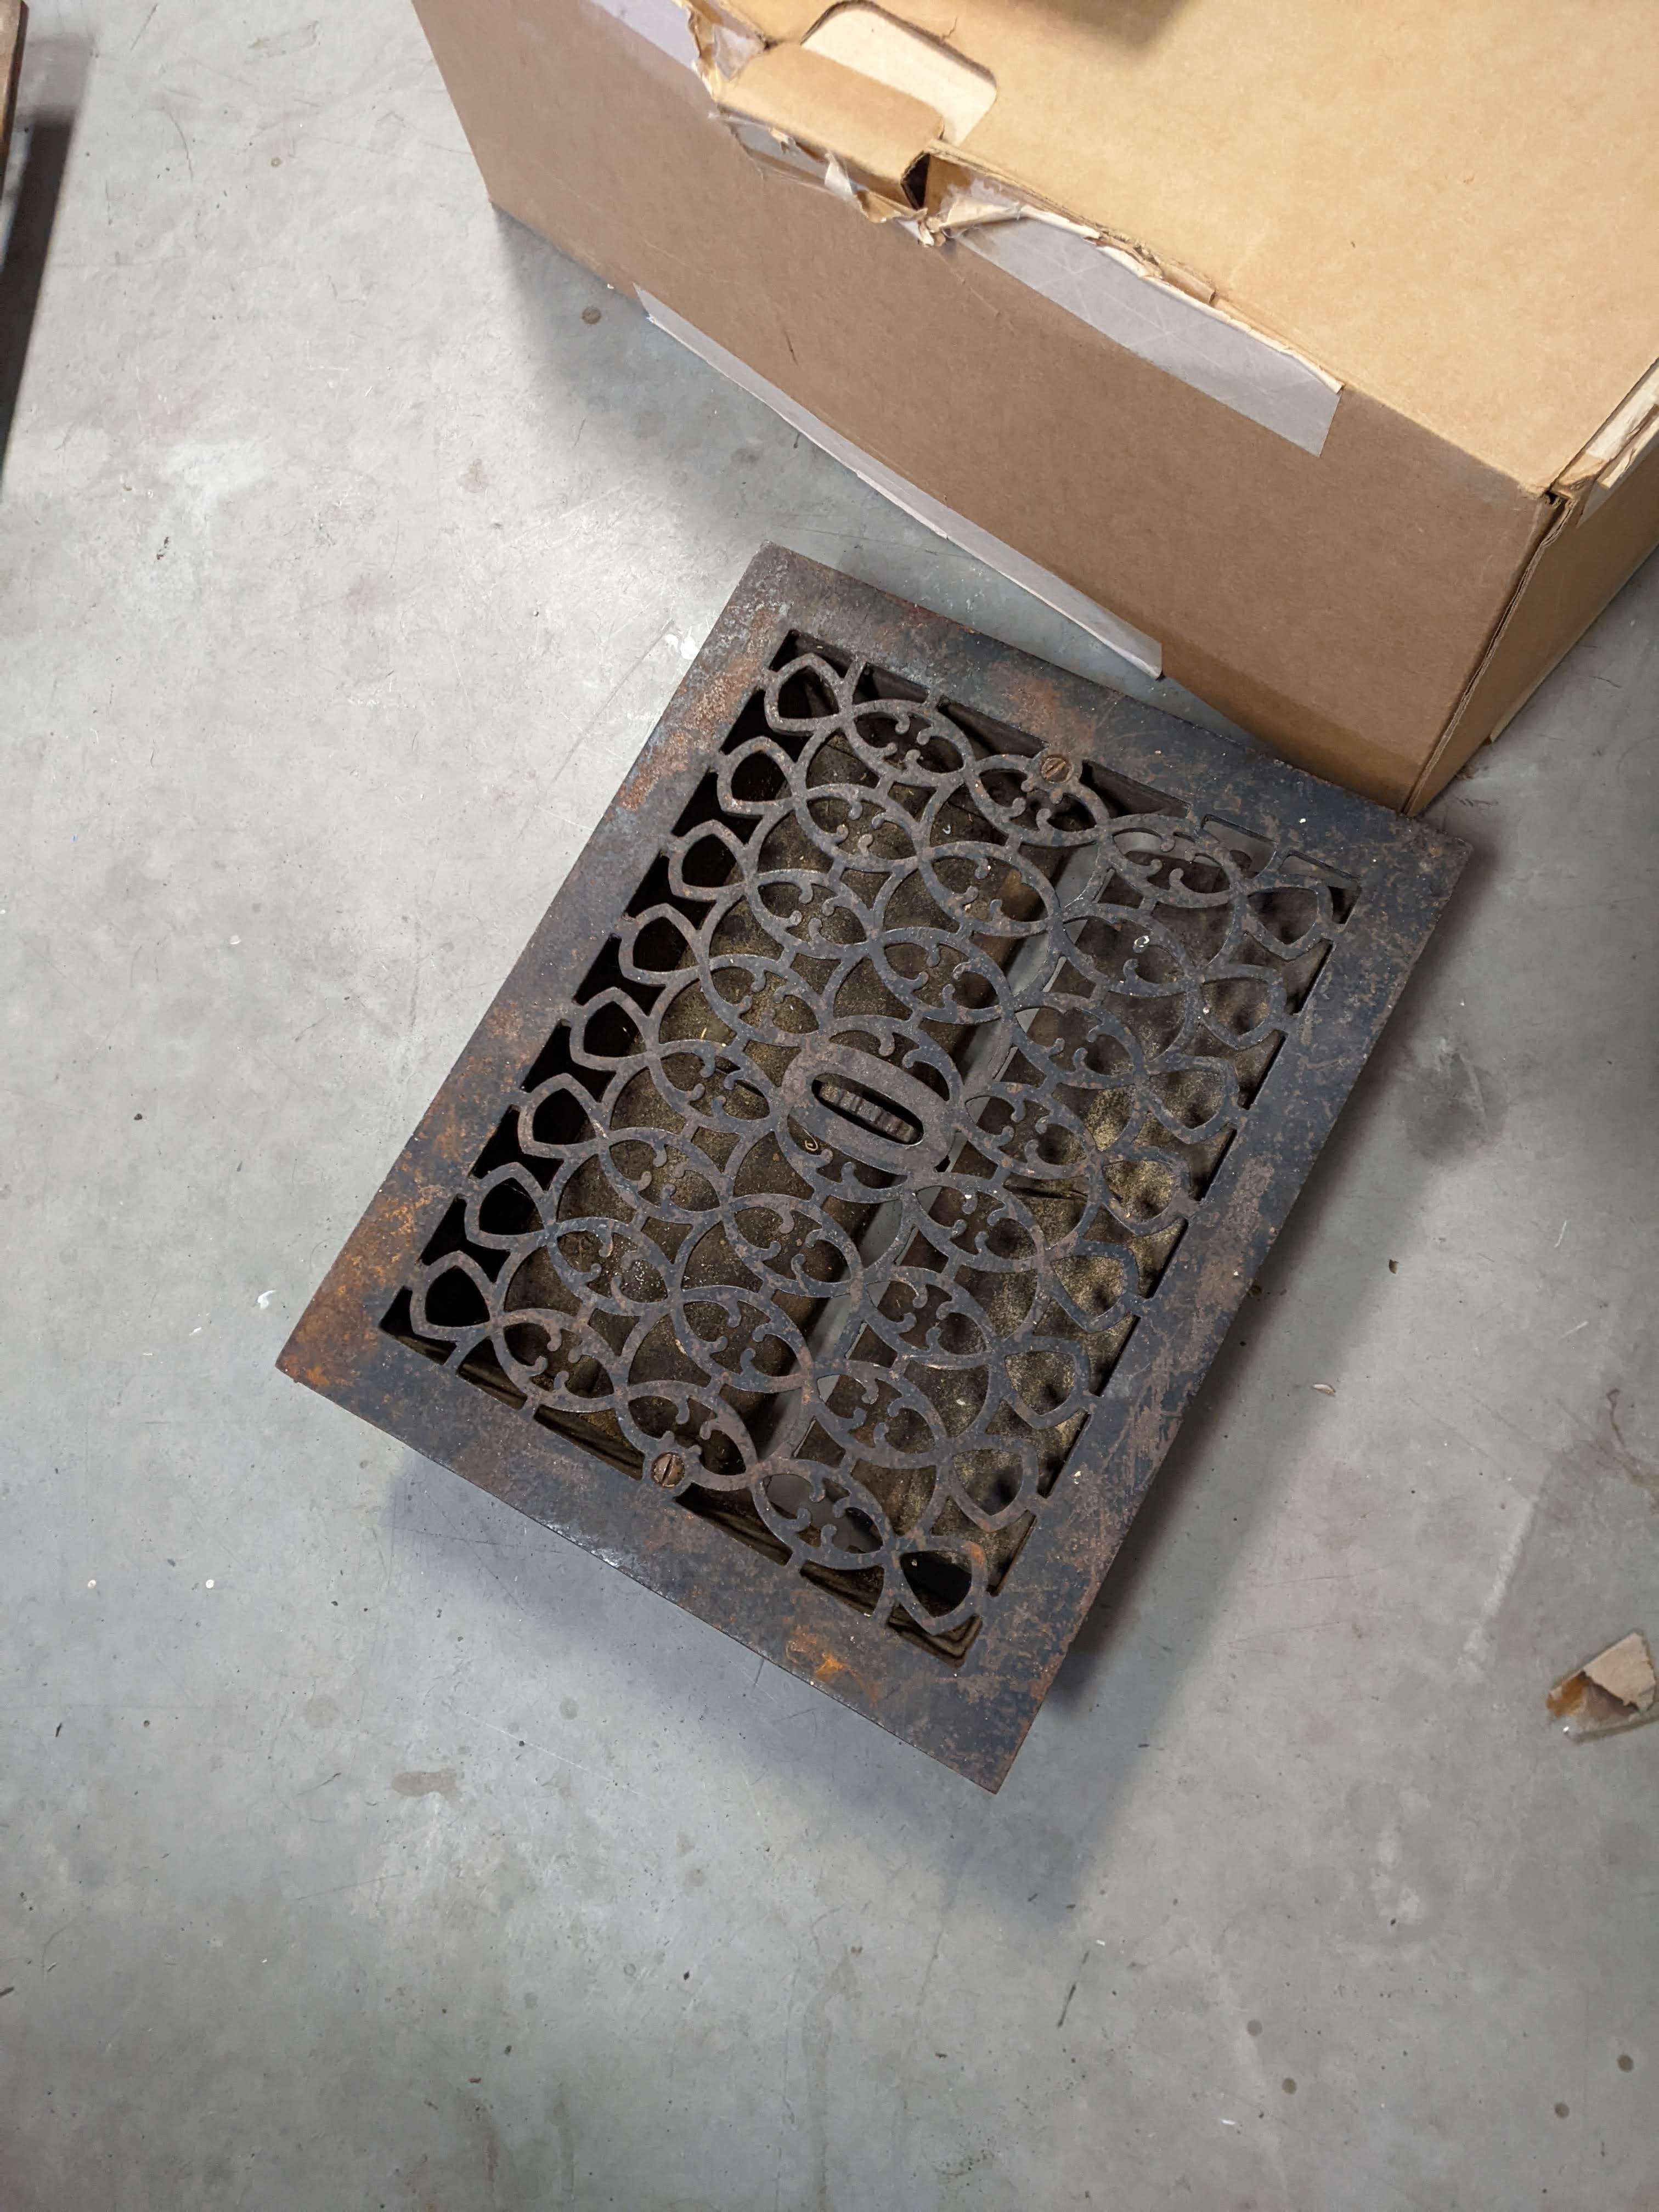
We will add a larger grate to the closet on the right for airflow to the air return for the HVAC unit which is now inside that closet. It isn’t strictly necessary for the unit to operate properly because there is a sufficiently sized air return upstairs, but it will help the heat from the stove circulate throughout the house. Here is a photo of it. It’s nearly twice the size of the other two and retains its louvers.
We need to bring power to both closets for the fan, a light, and an outlet in the closet on the left, and a light and outlet on right. (Mike plans to mount a shop vac inside that closet for easy cleanup of ashes and debris.)
At this point, I don’t think that we will put a floor down inside the closet, but we’ll see.
Our plan is to leave all the doors a natural wood color, but we are going to paint the woodwork. We want to avoid getting paint on any of the stone, so the door frames will need to be painted before we install them in the closets. We looked at the door color and the stone color last night and decided on Brushwood from ICI Dulux. I’m going to pick that up today.
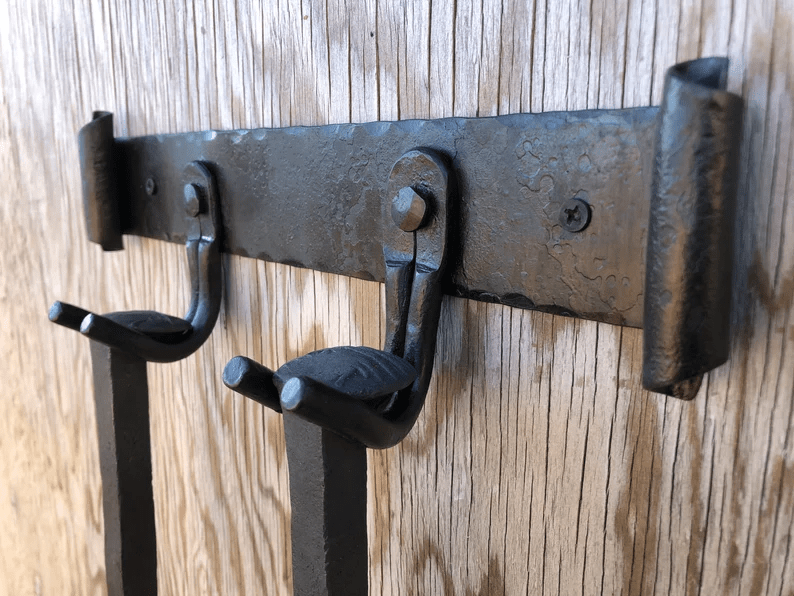
We also want a wall mounted fireplace tool set to keep as many items off the floor as possible. I found a set on Etsy that only comes with a poker and a shovel which is what Mike wants. We will need to figure out how to mount it securely before the OSB and cement board goes up. Here is a photo from the seller’s listing. I love the rustic look of it.
Finally, Mike has to install a pipe that goes from the outside to the stove to bring fresh air in to the stove. Right now, it is difficult to light the stove because the house is built tight and there isn’t much air incursion into the house directly from the outside.
Once all of that is finished, then we can put up the OSB and cement board. It’s definitely a lot of steps for two tiny closets that are only there to disguise the utilities to the dock.
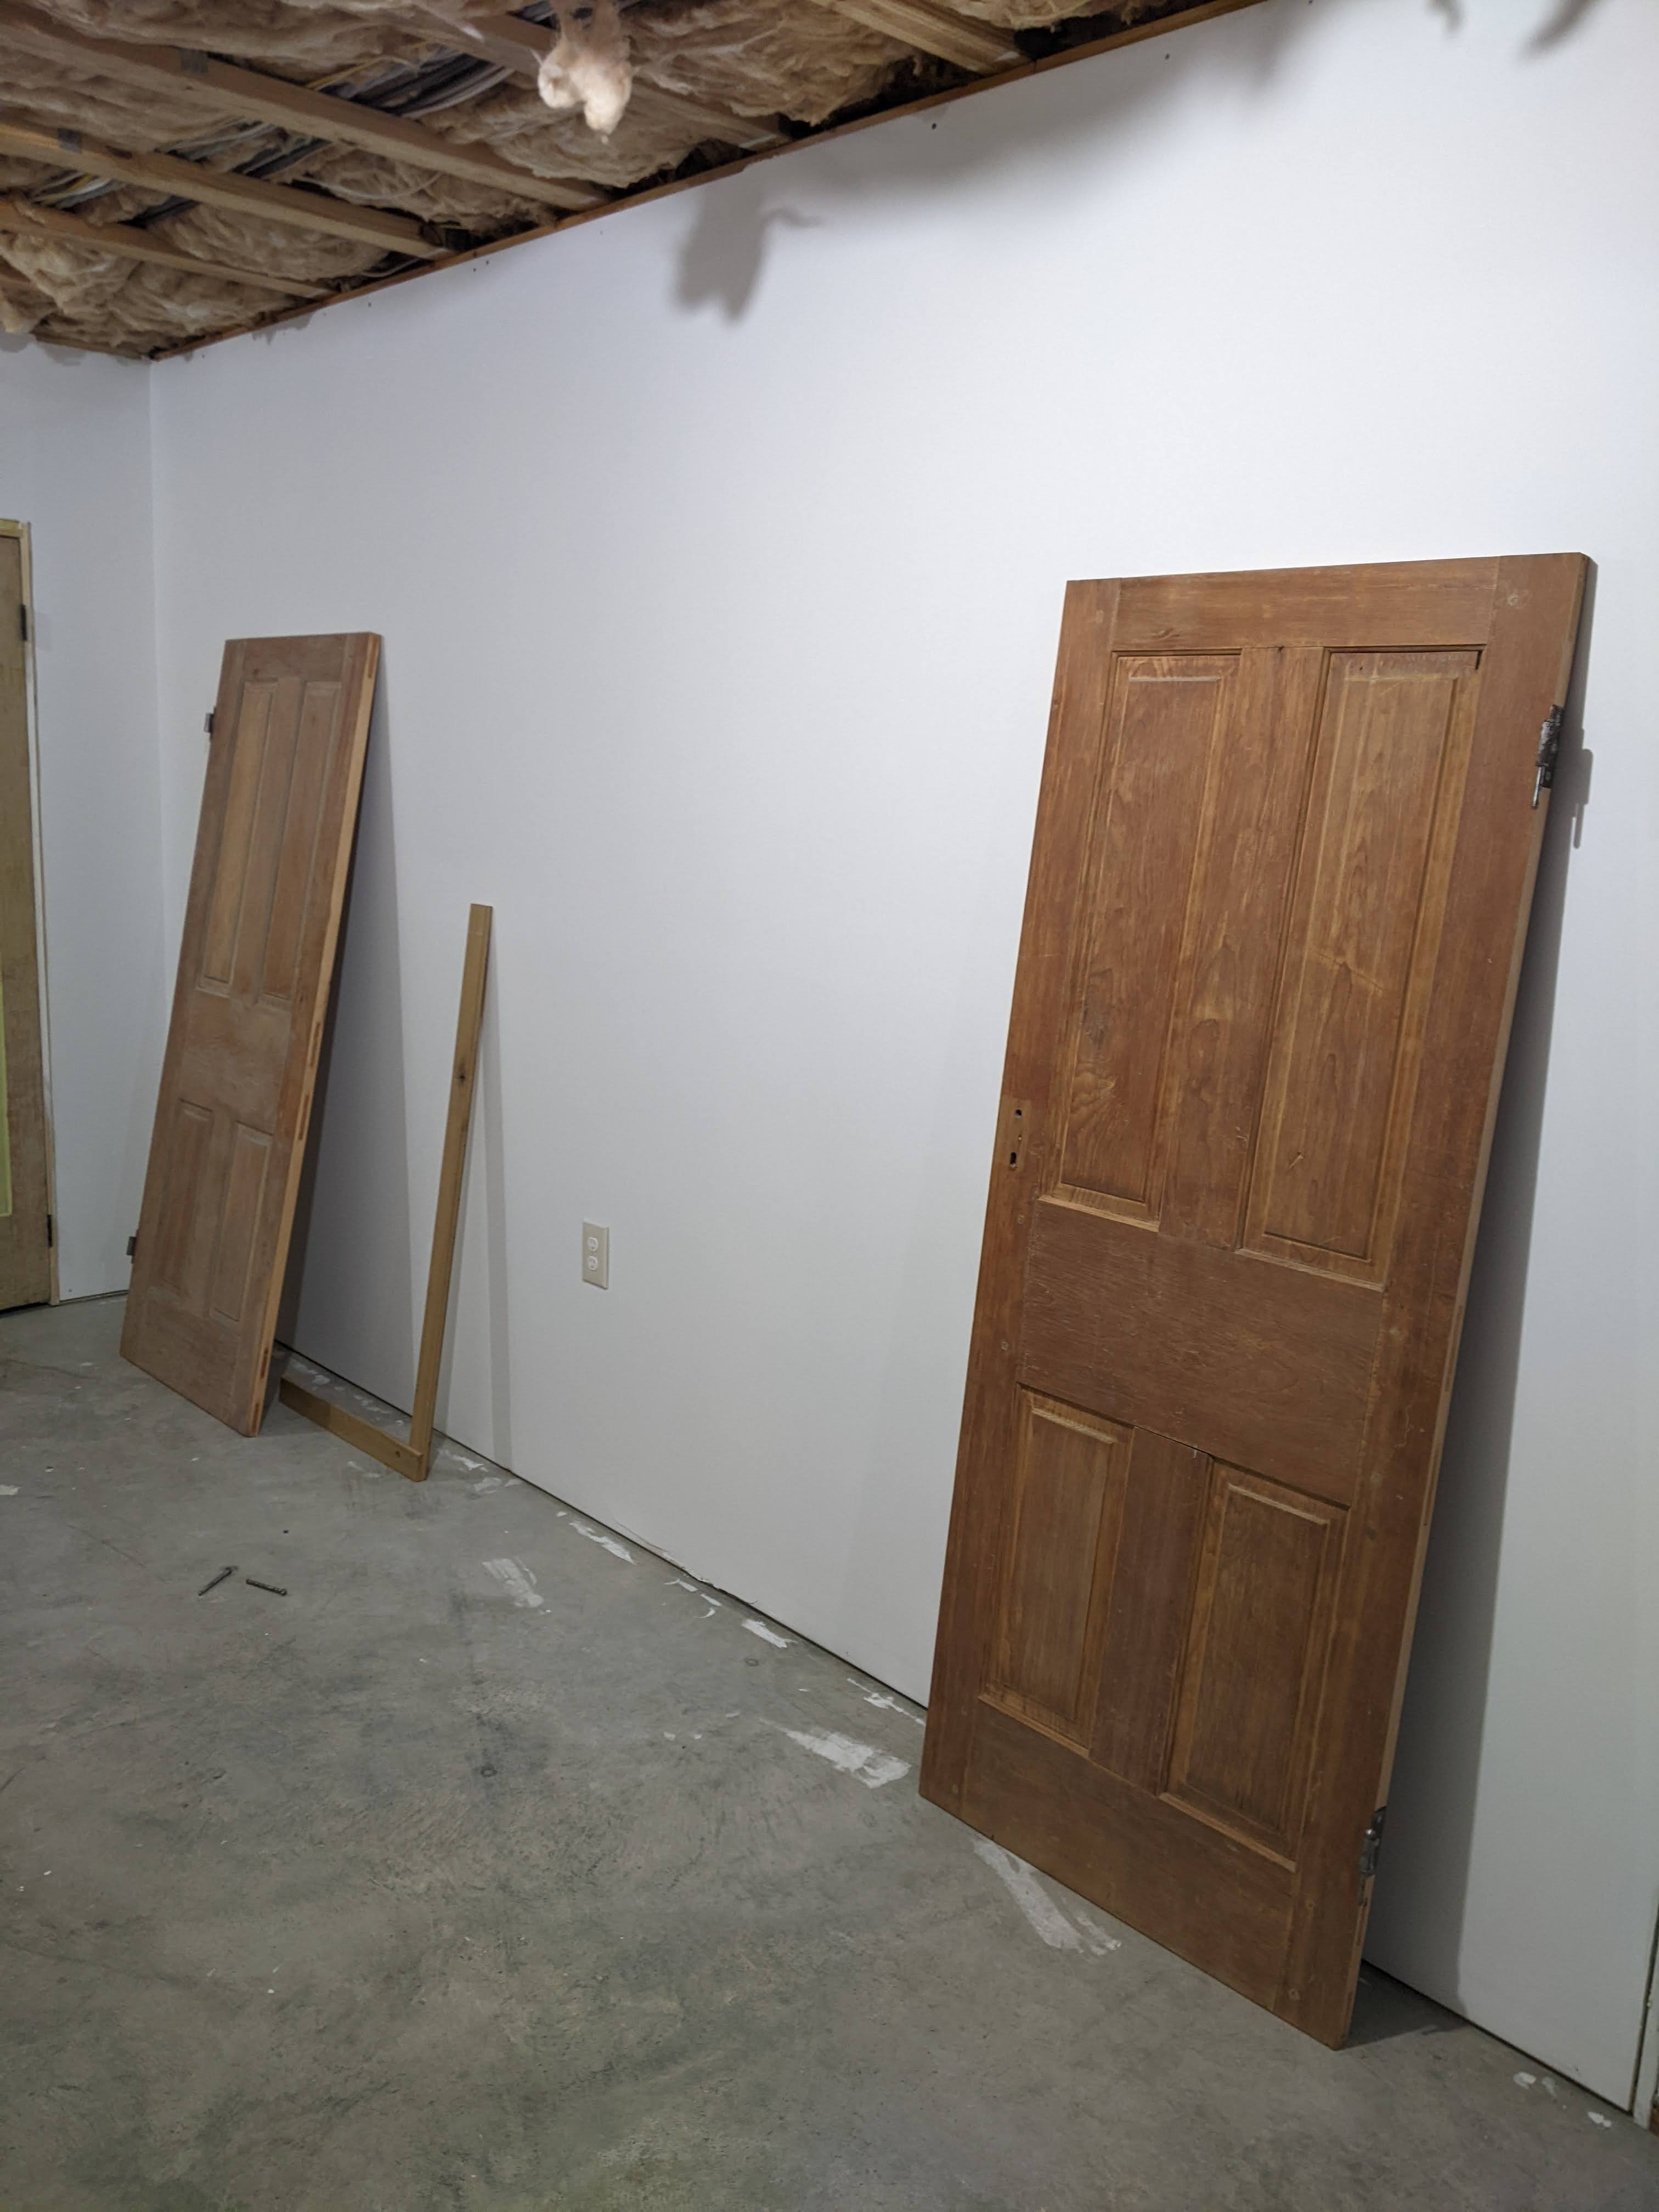
Here are our cute little closet doors. They were similar sizes, but not the same size, so Mike had to trim them to the same size. Surprisingly, these doors only had one coat of finish/paint on them, so they were relatively easy to clean up. We found some really neat antique brass handles for them. We believe that these doors are from the first half of the 19th century. You can see that their hardware was surface mounted (called a rim lock), and only the rod connecting the two knobs went through the door.
Here is where we left things at the end of the day yesterday.
Much more to come!

The progress is amazing to see. And I love learning a bit from what you and Uncle Mike are doing! You’re thinking of everything, it seems 😊
LikeLiked by 1 person
Thanks. We’re trying to think of things ahead of time so we don’t have to disassemble and reassemble….
LikeLike
You were using the word proud in a way I didn’t understand. Are you starting another career as a contractor? It is looking good. Proud of you and Mike for taking on such a project. Love, Mom
LikeLiked by 1 person