
We have been working on what I have been calling “the mudroom wall”. I posted some photos a few weeks ago of the beadboard wall and all the parts and pieces that my husband made and the brackets that I purchased.
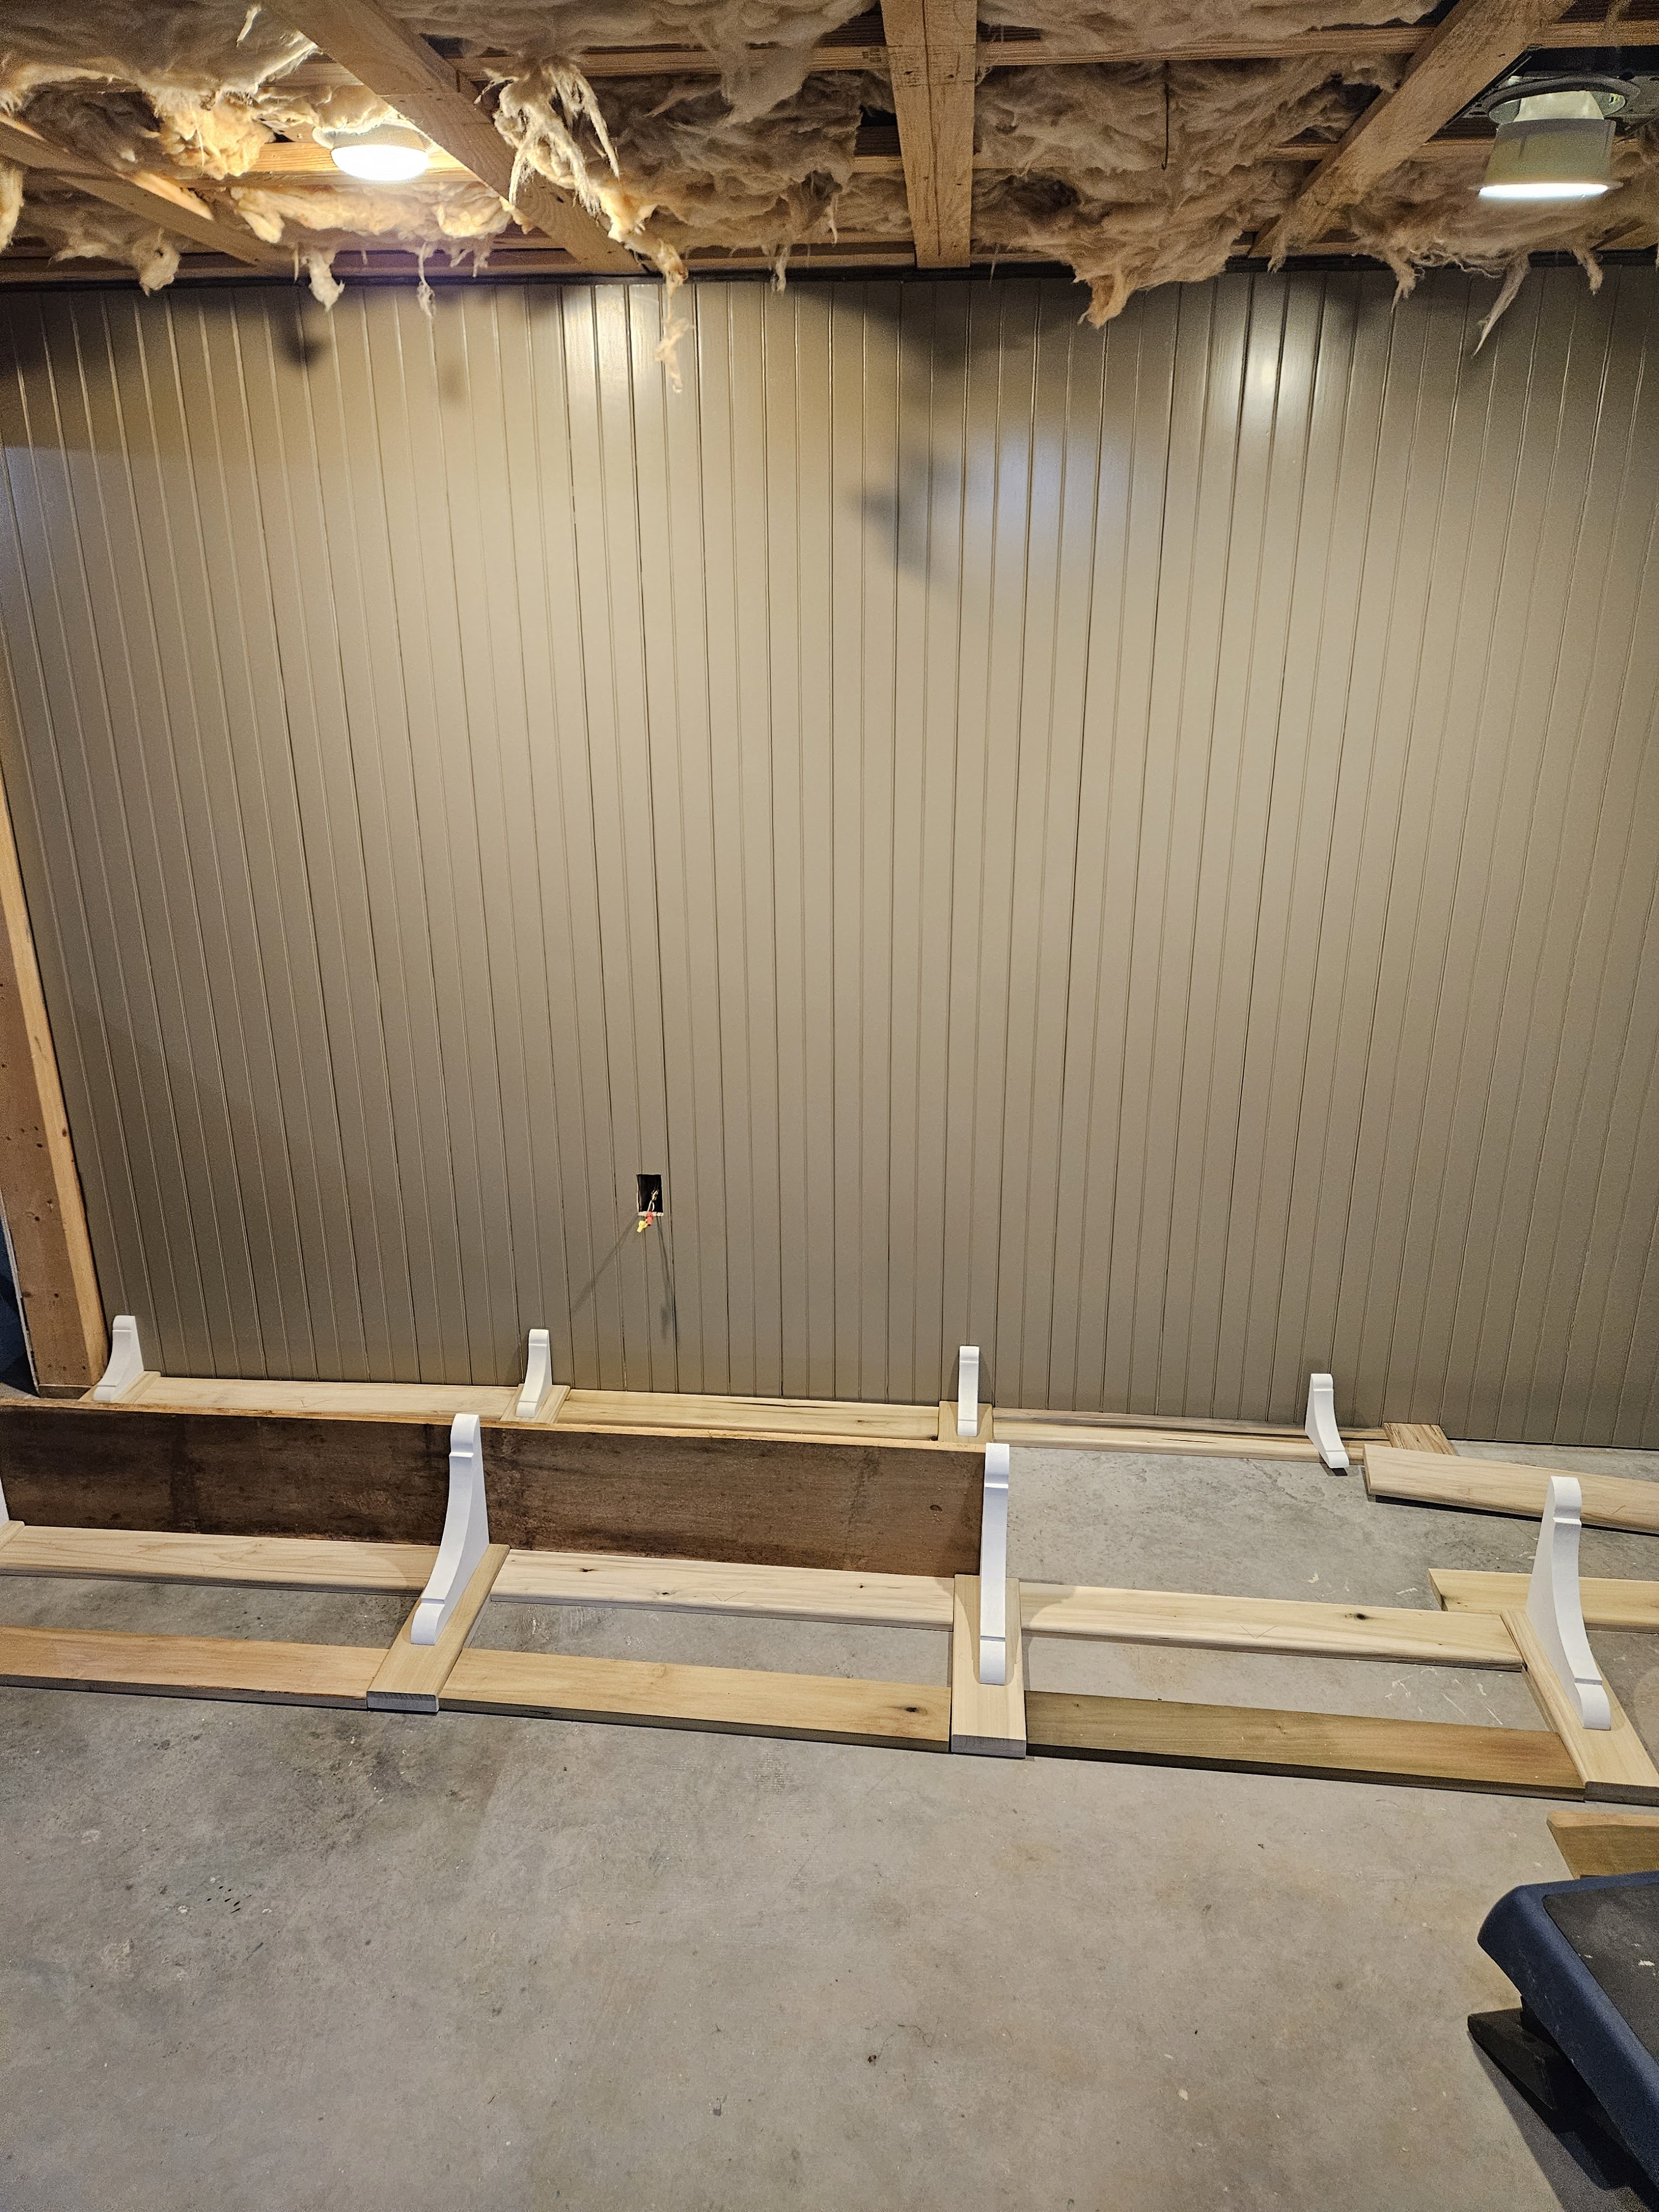
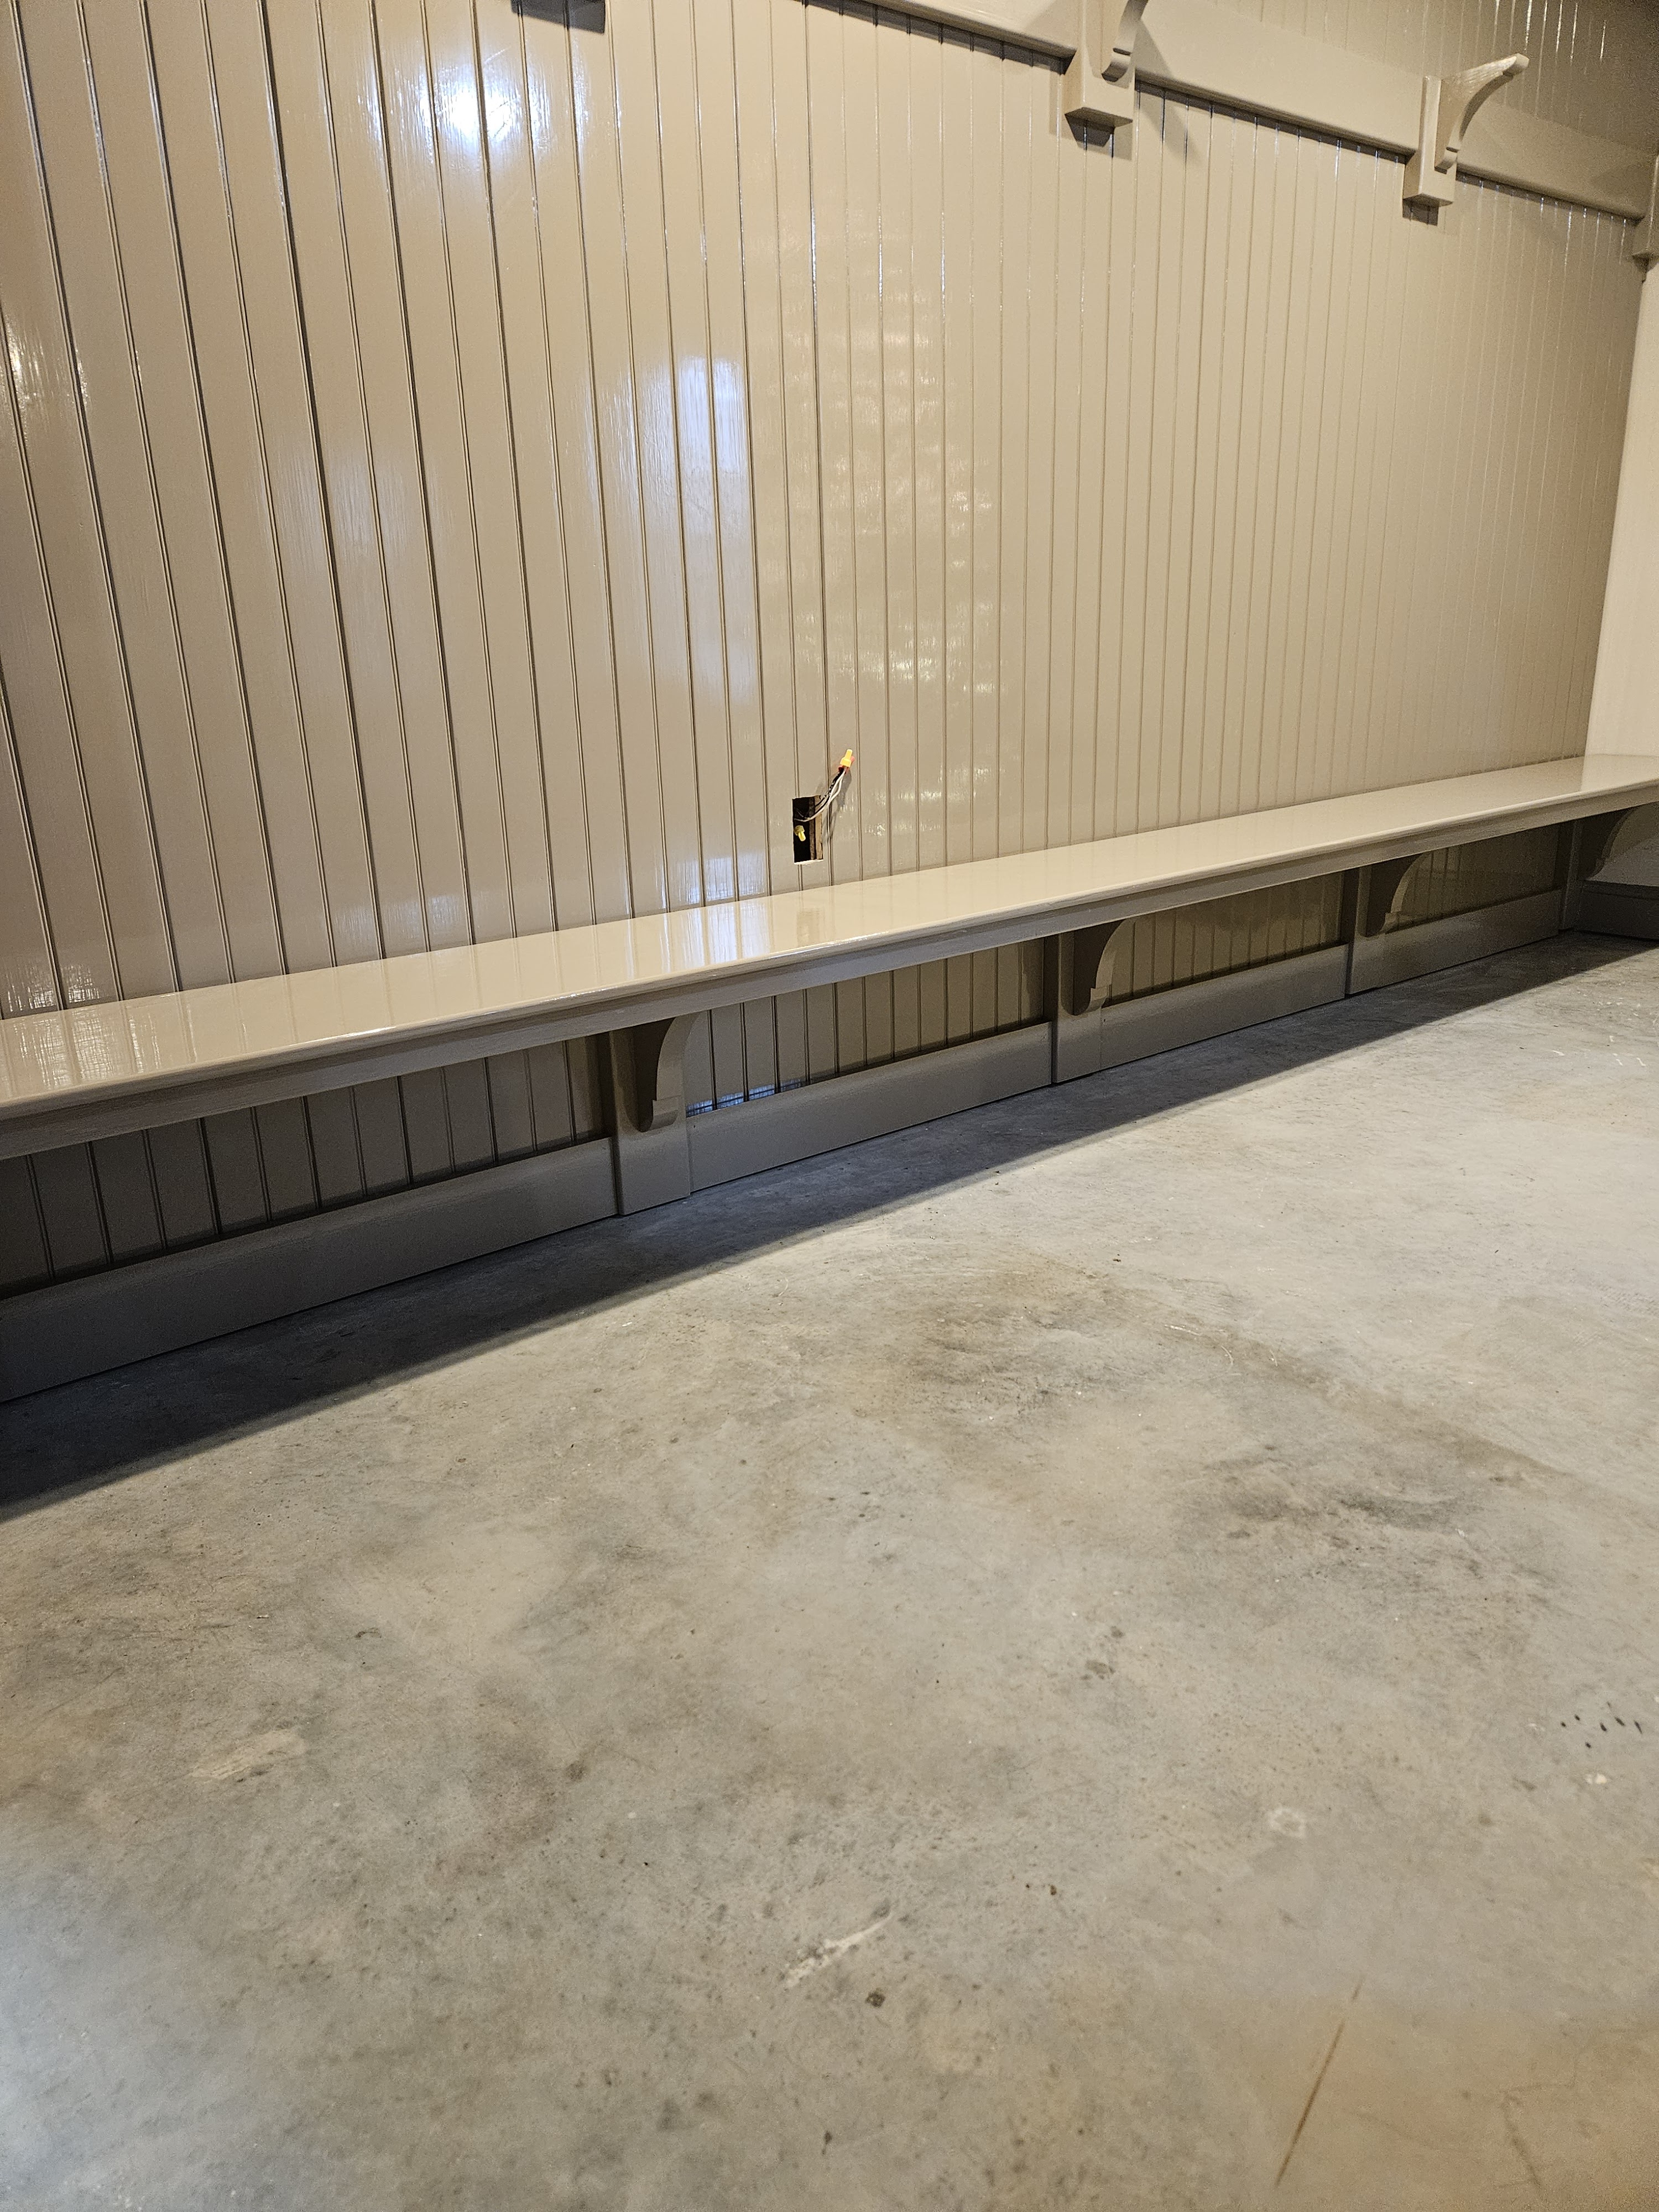
Here’s where I left it:
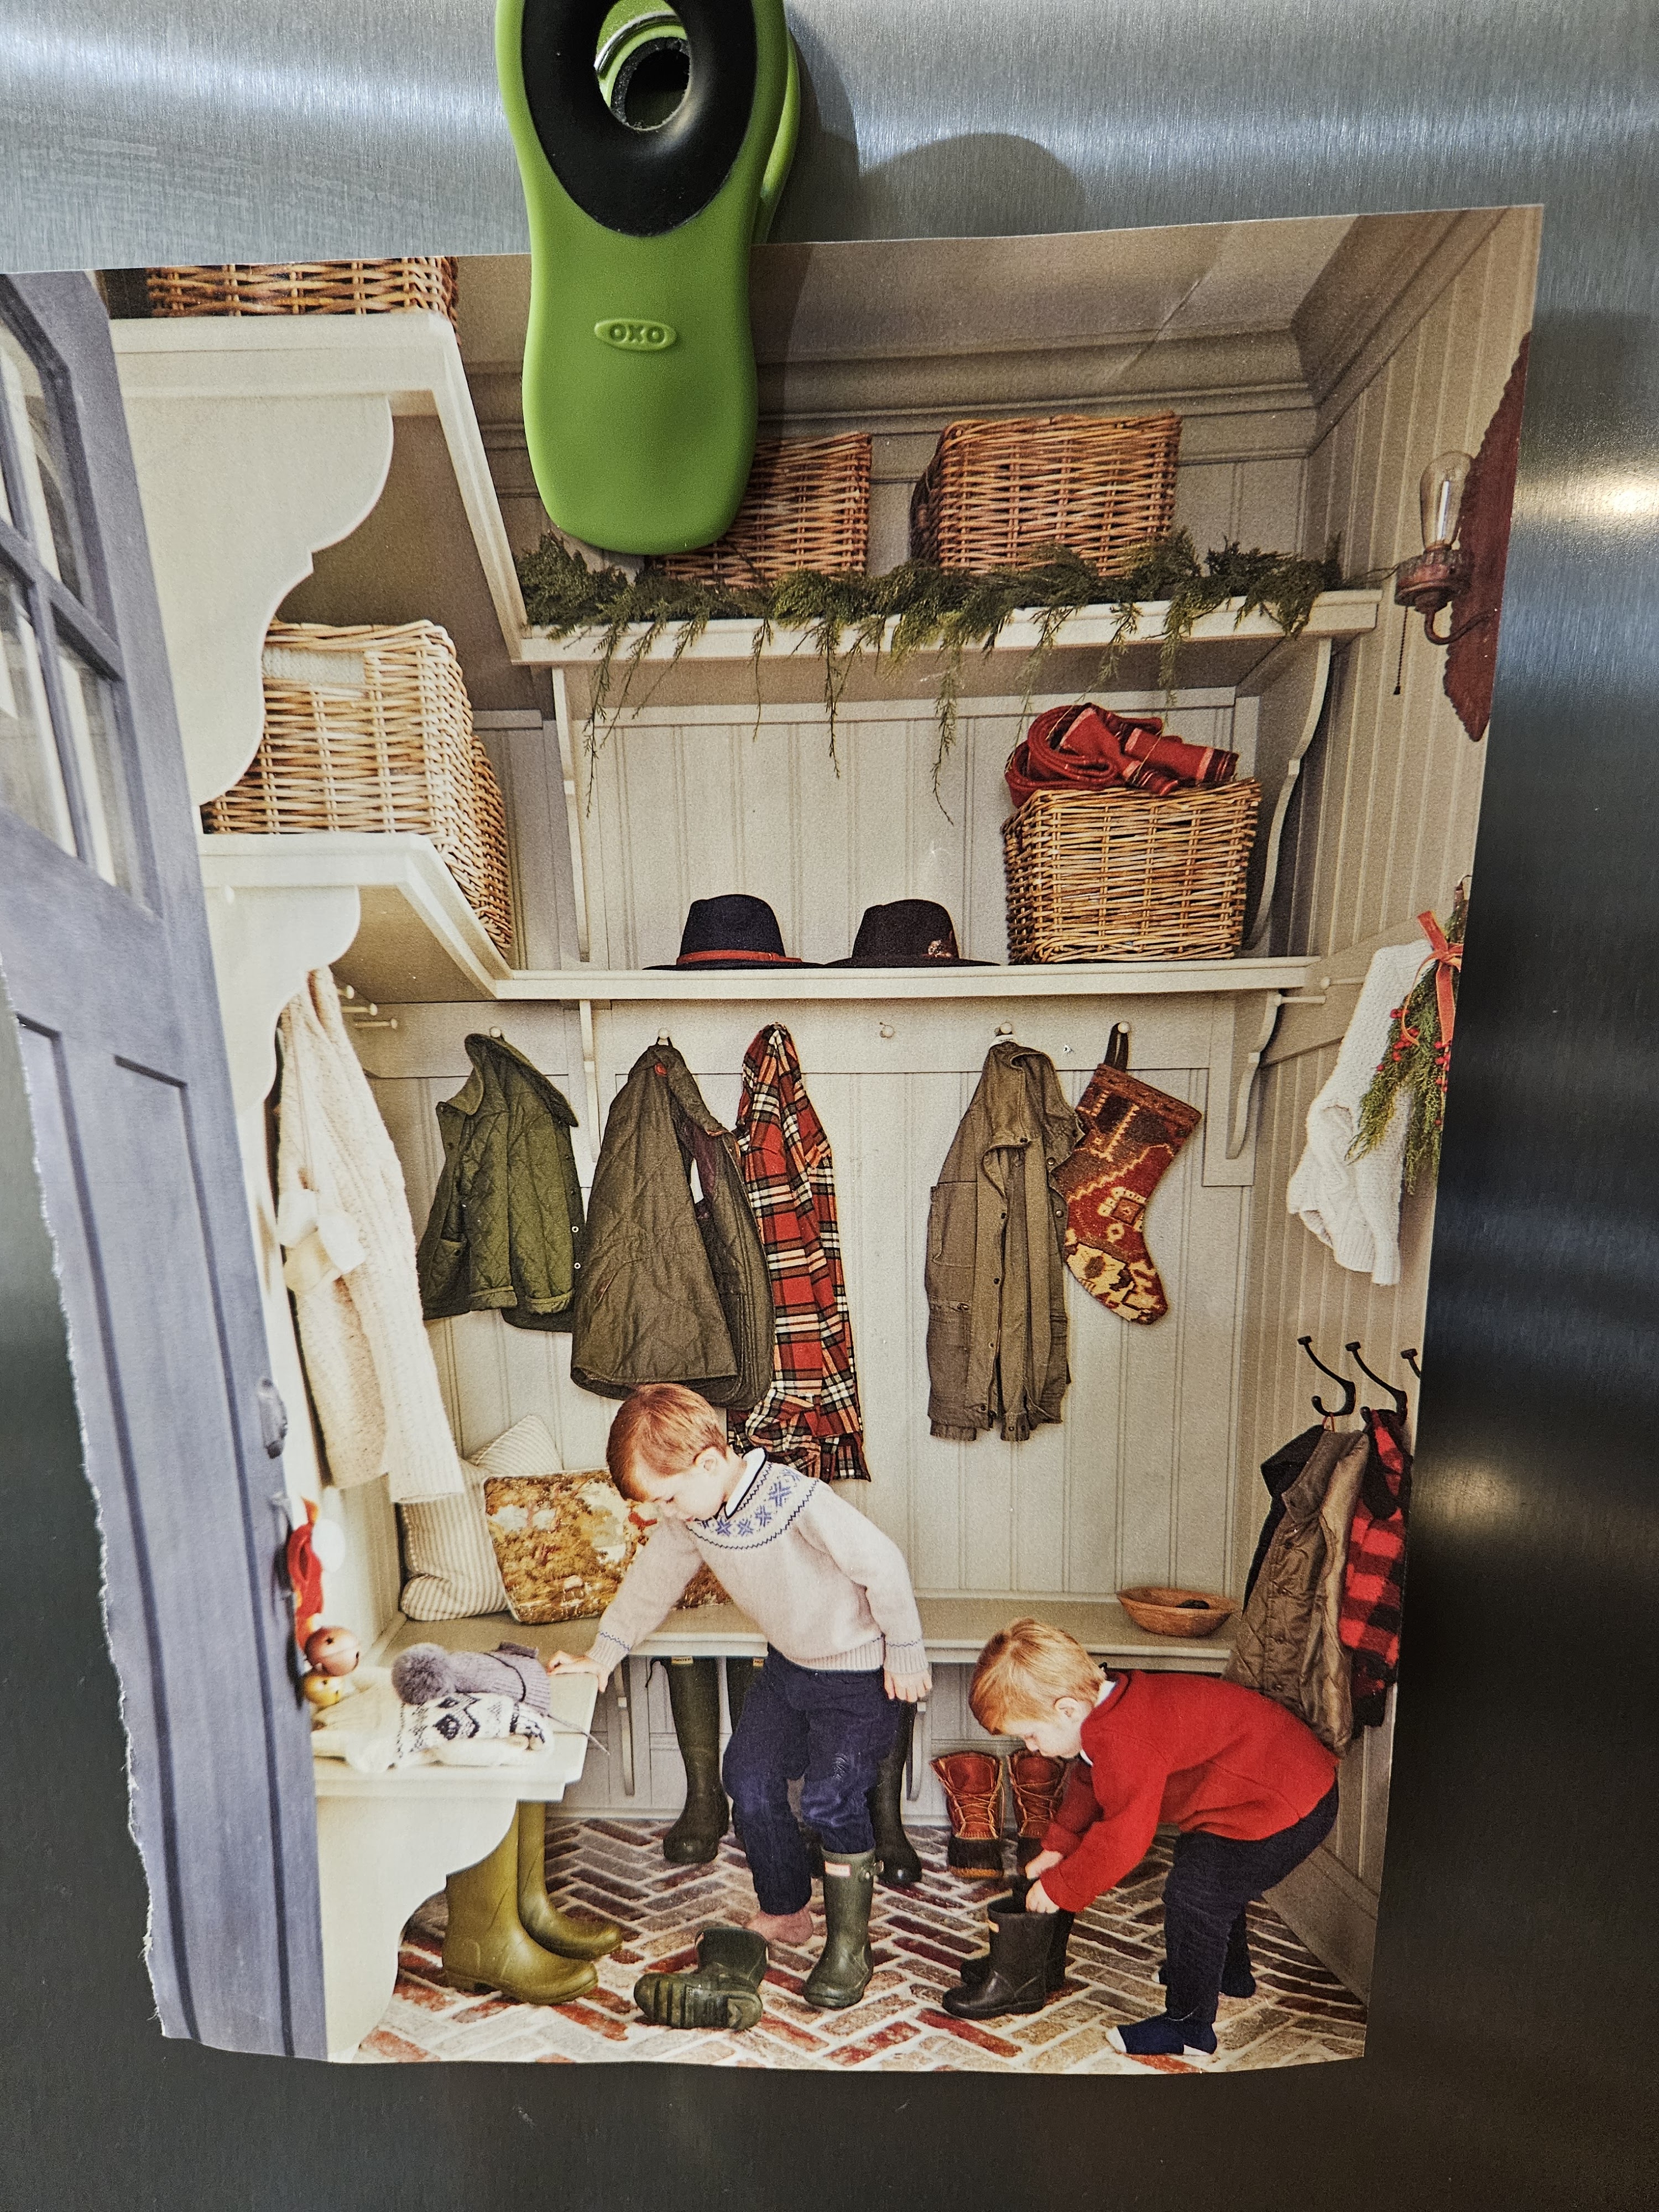
And here’s a reminder of the inspiration photo that’s been hanging on my fridge for years.
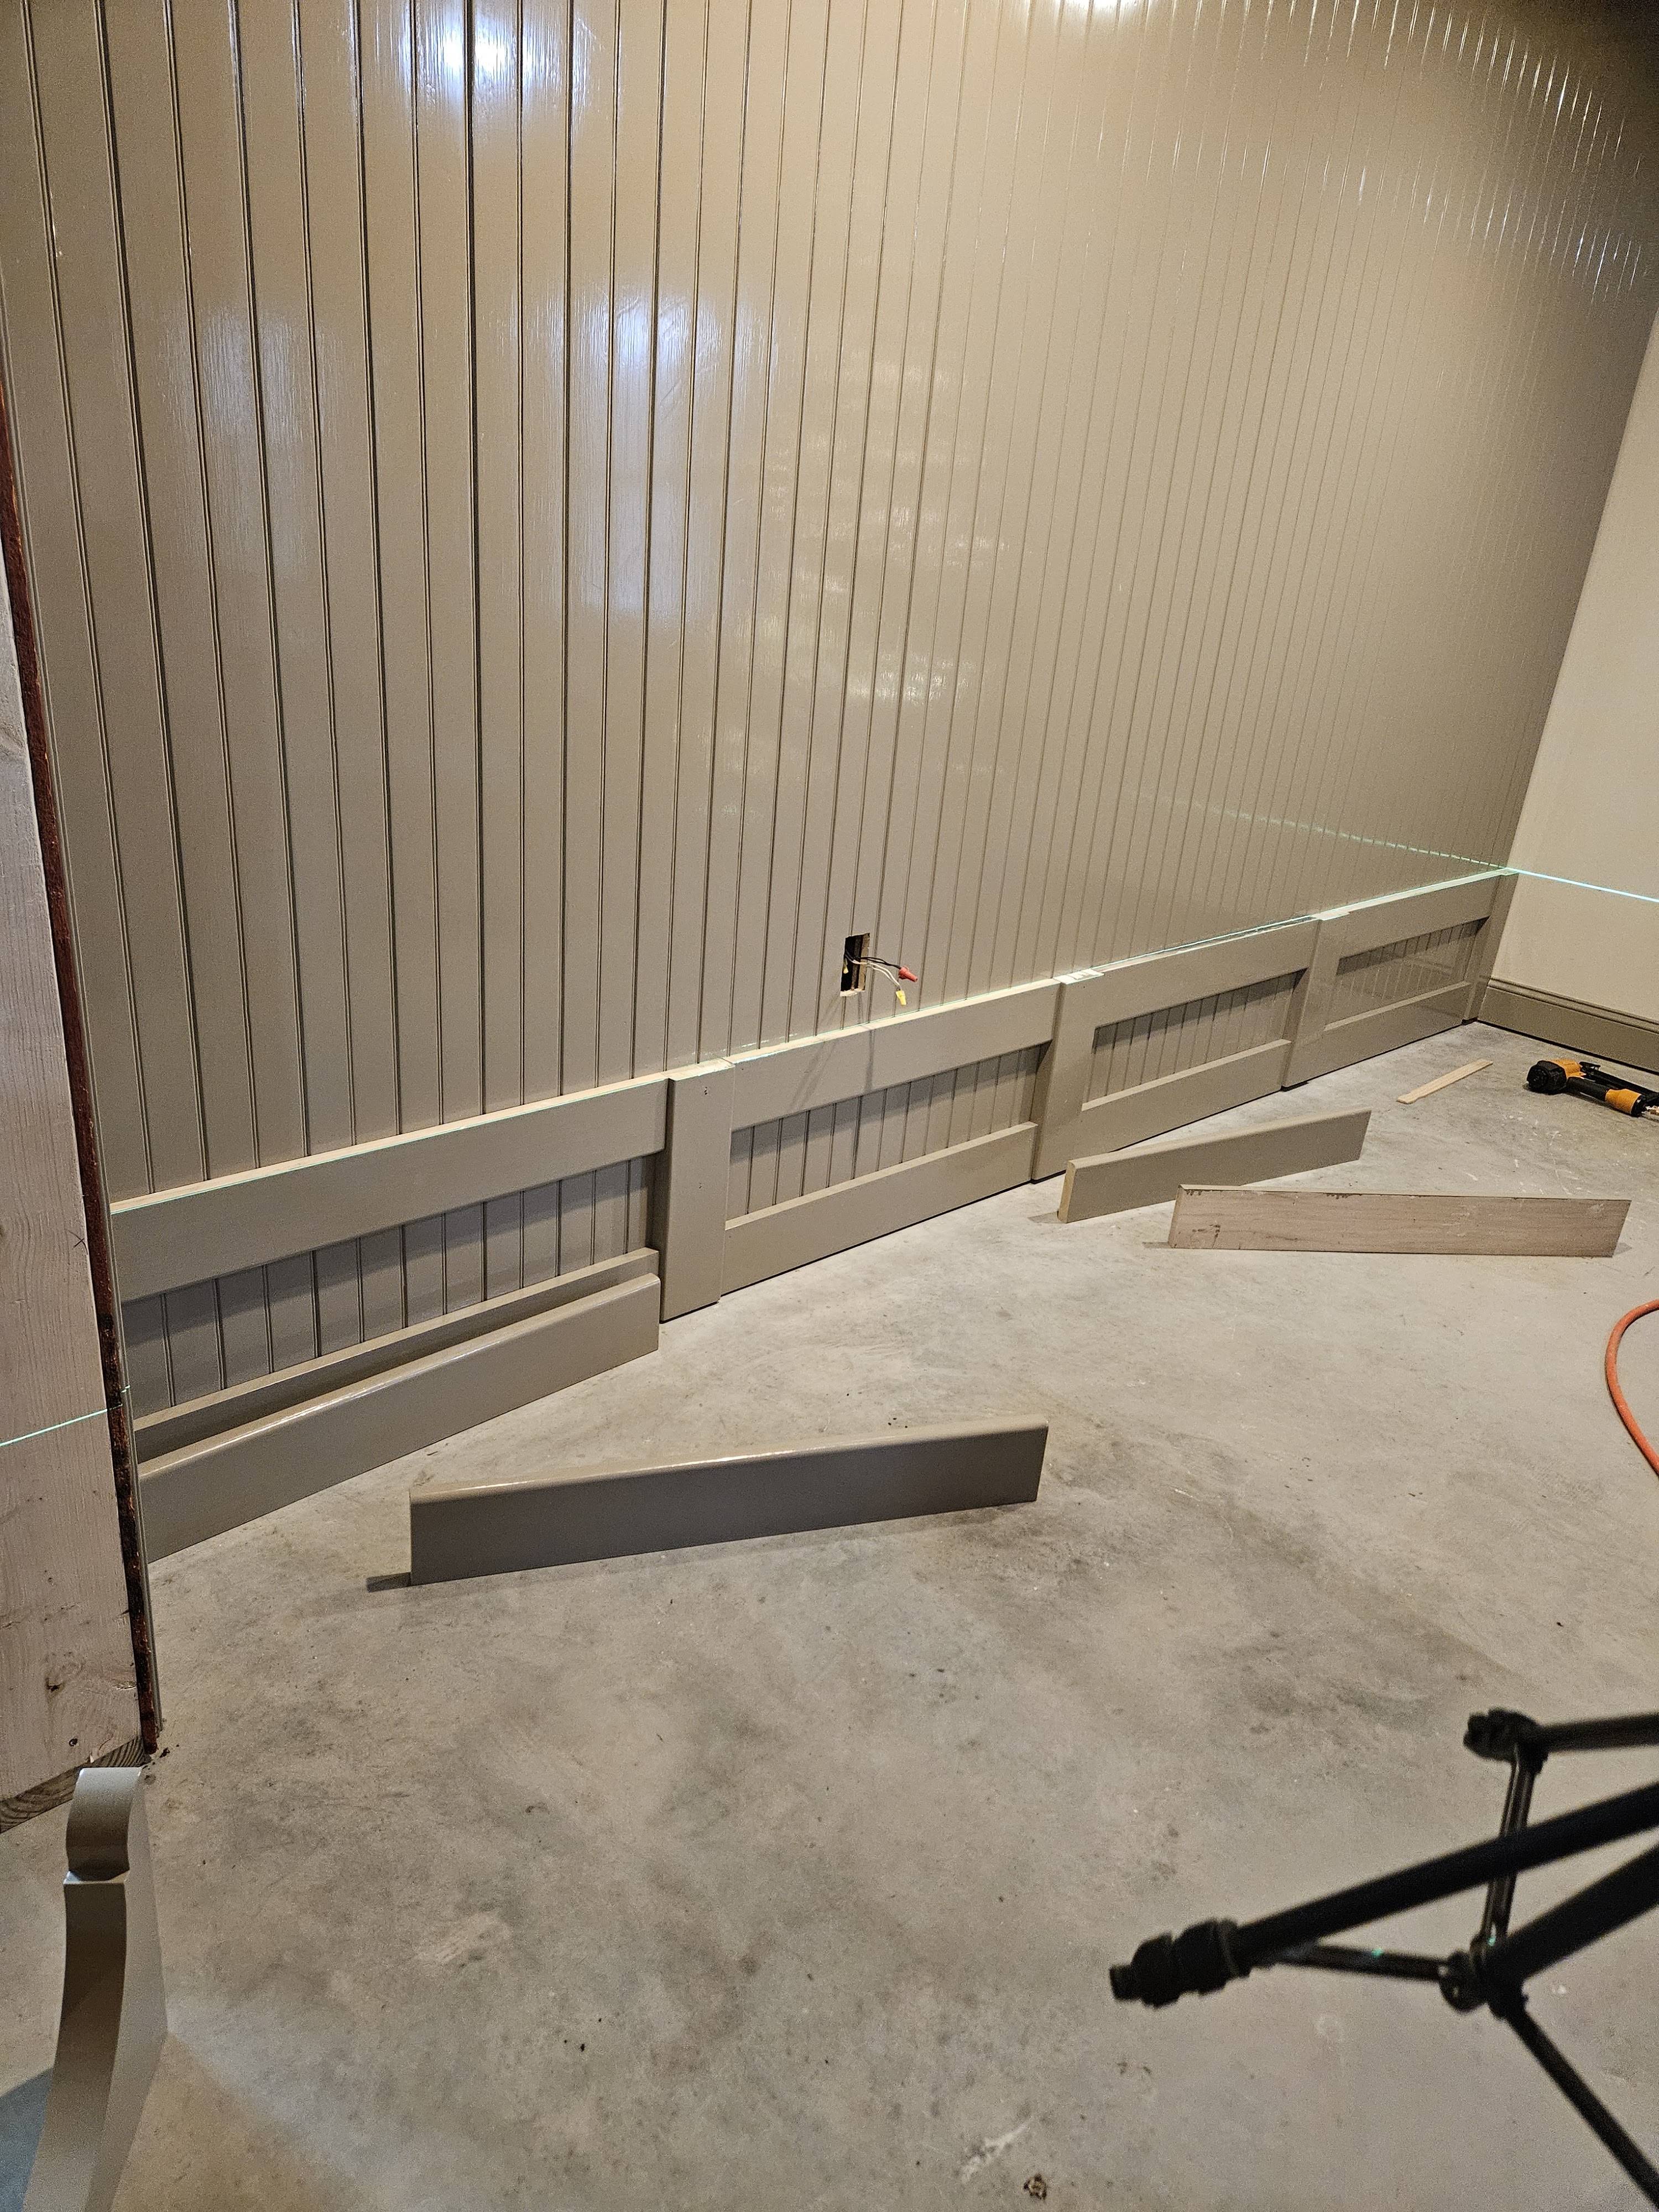
While I was out of town for a week helping my niece with her new baby, my husband made the shelf board and the bench board–so there have been a bunch of parts and pieces all over the basement. I primed all the parts and pieces with 2 coats of a stain blocking sandable oil based primer and 2 coats of the top coat. I ran out of the paint that I was working with and bought a fresh can and the level of gloss didn’t match, so I ended up repainting the beadboard wall and the brackets.
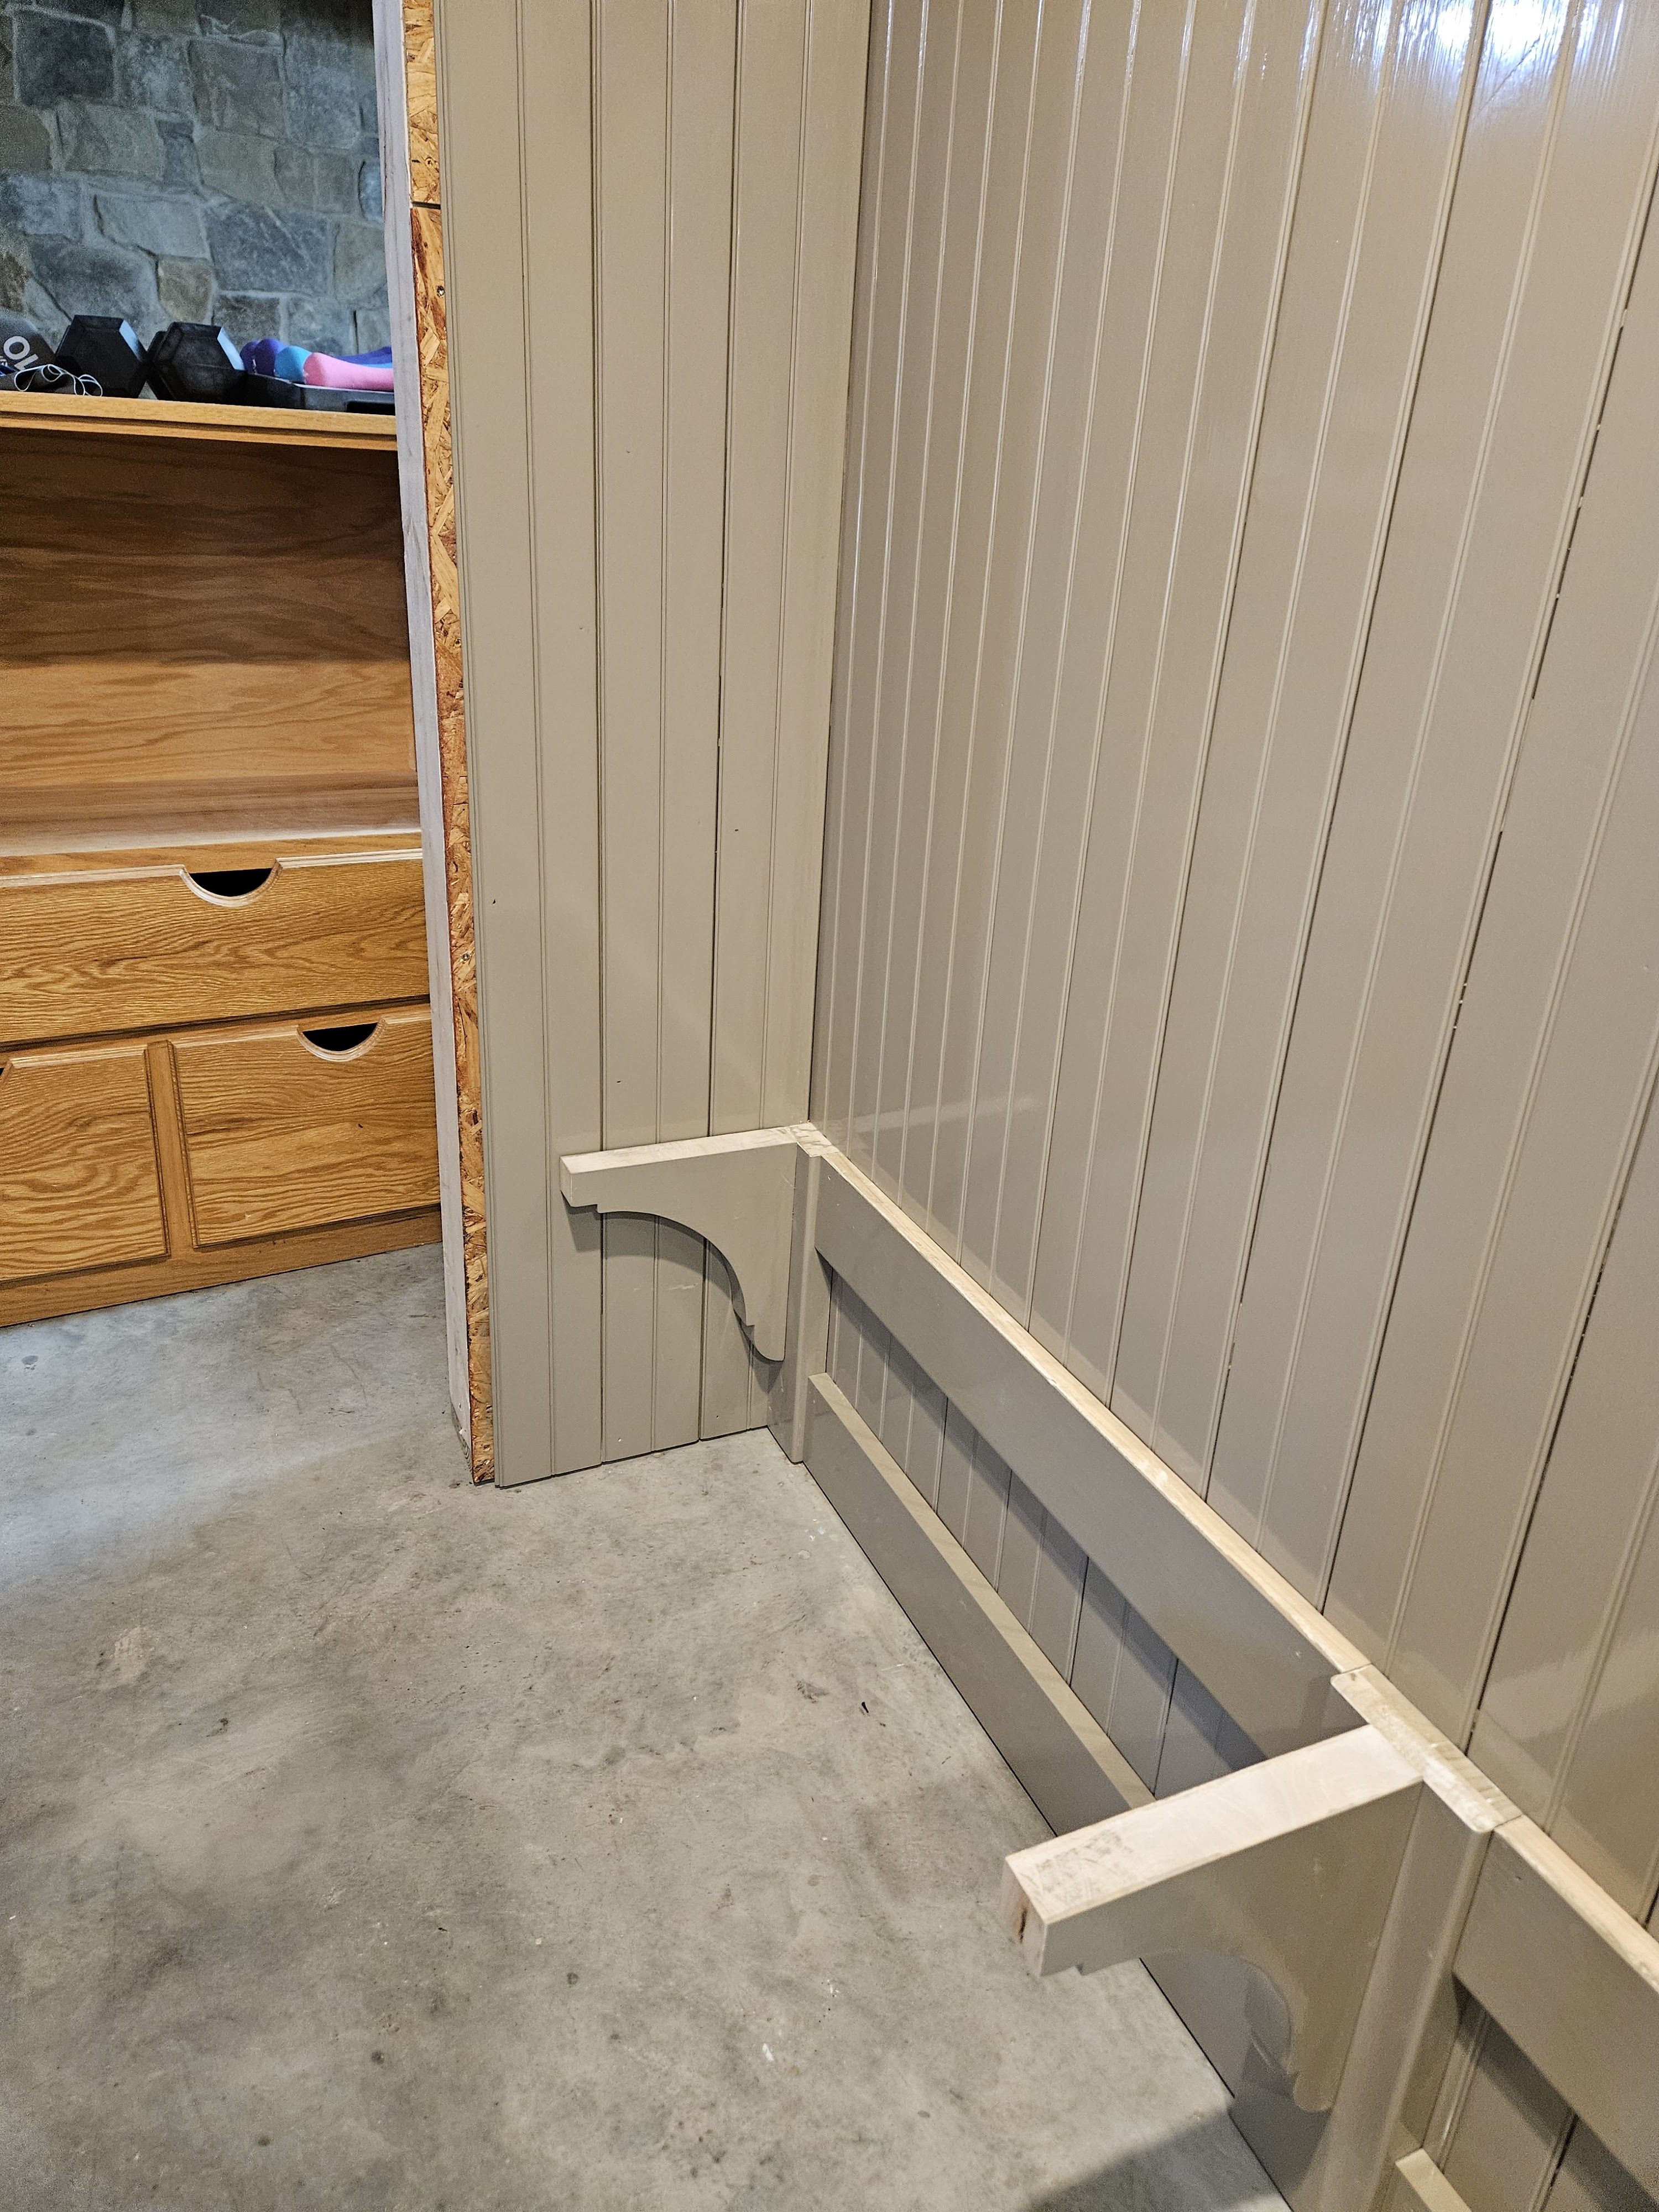
Yesterday, we started by putting up the pieces for the bench and the baseboard. We used a laser level to get everything lined up because the floor isn’t very flat/level.
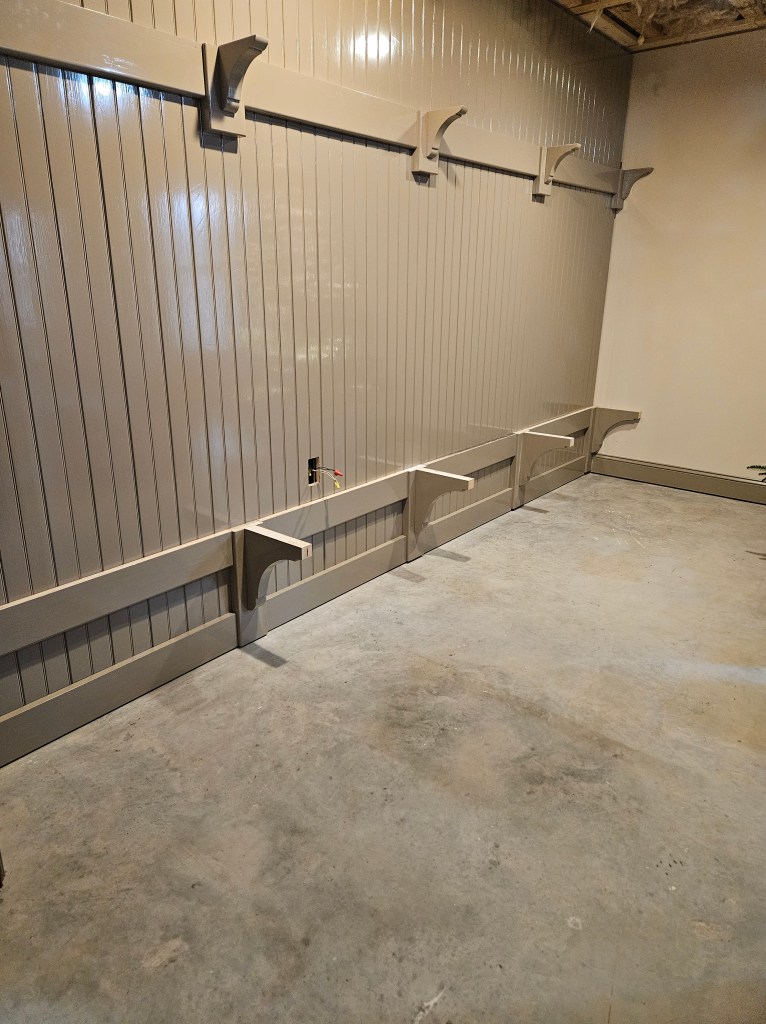
We repeated the process for the parts and pieces for the shelf.
We added the brackets. My husband had to cut the ends off of the brackets for the bench so that they would fit behind the support board on the bench.
We repeated the process with the brackets for the shelf.
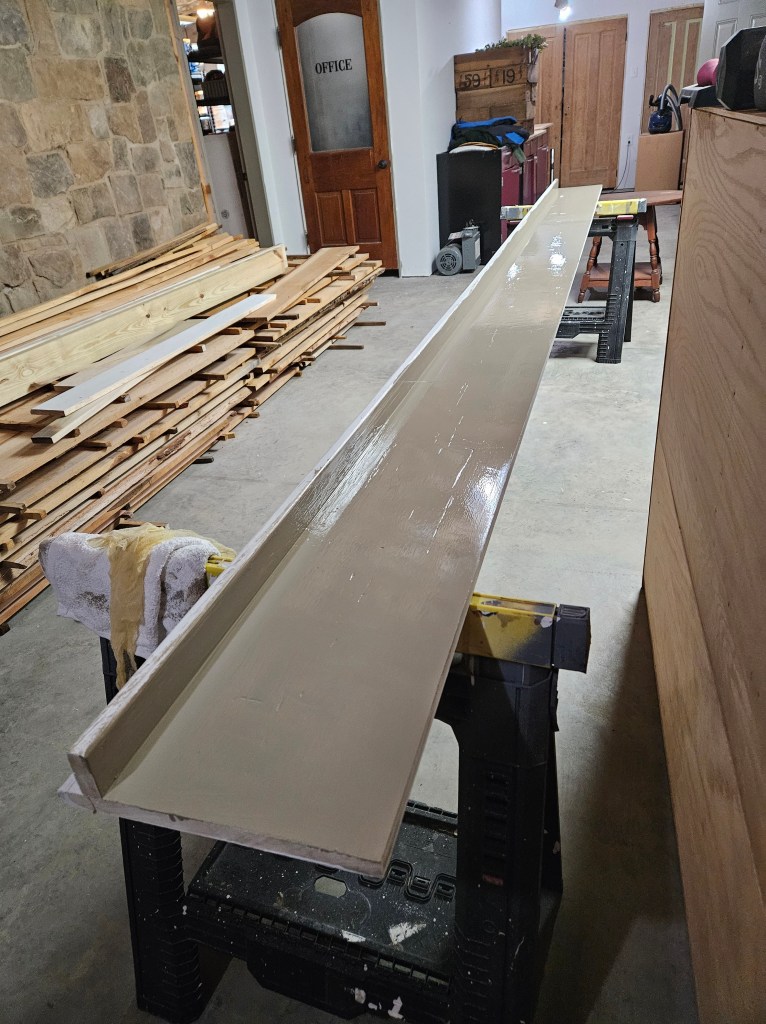
And we also set the bench board on the brackets for painting.
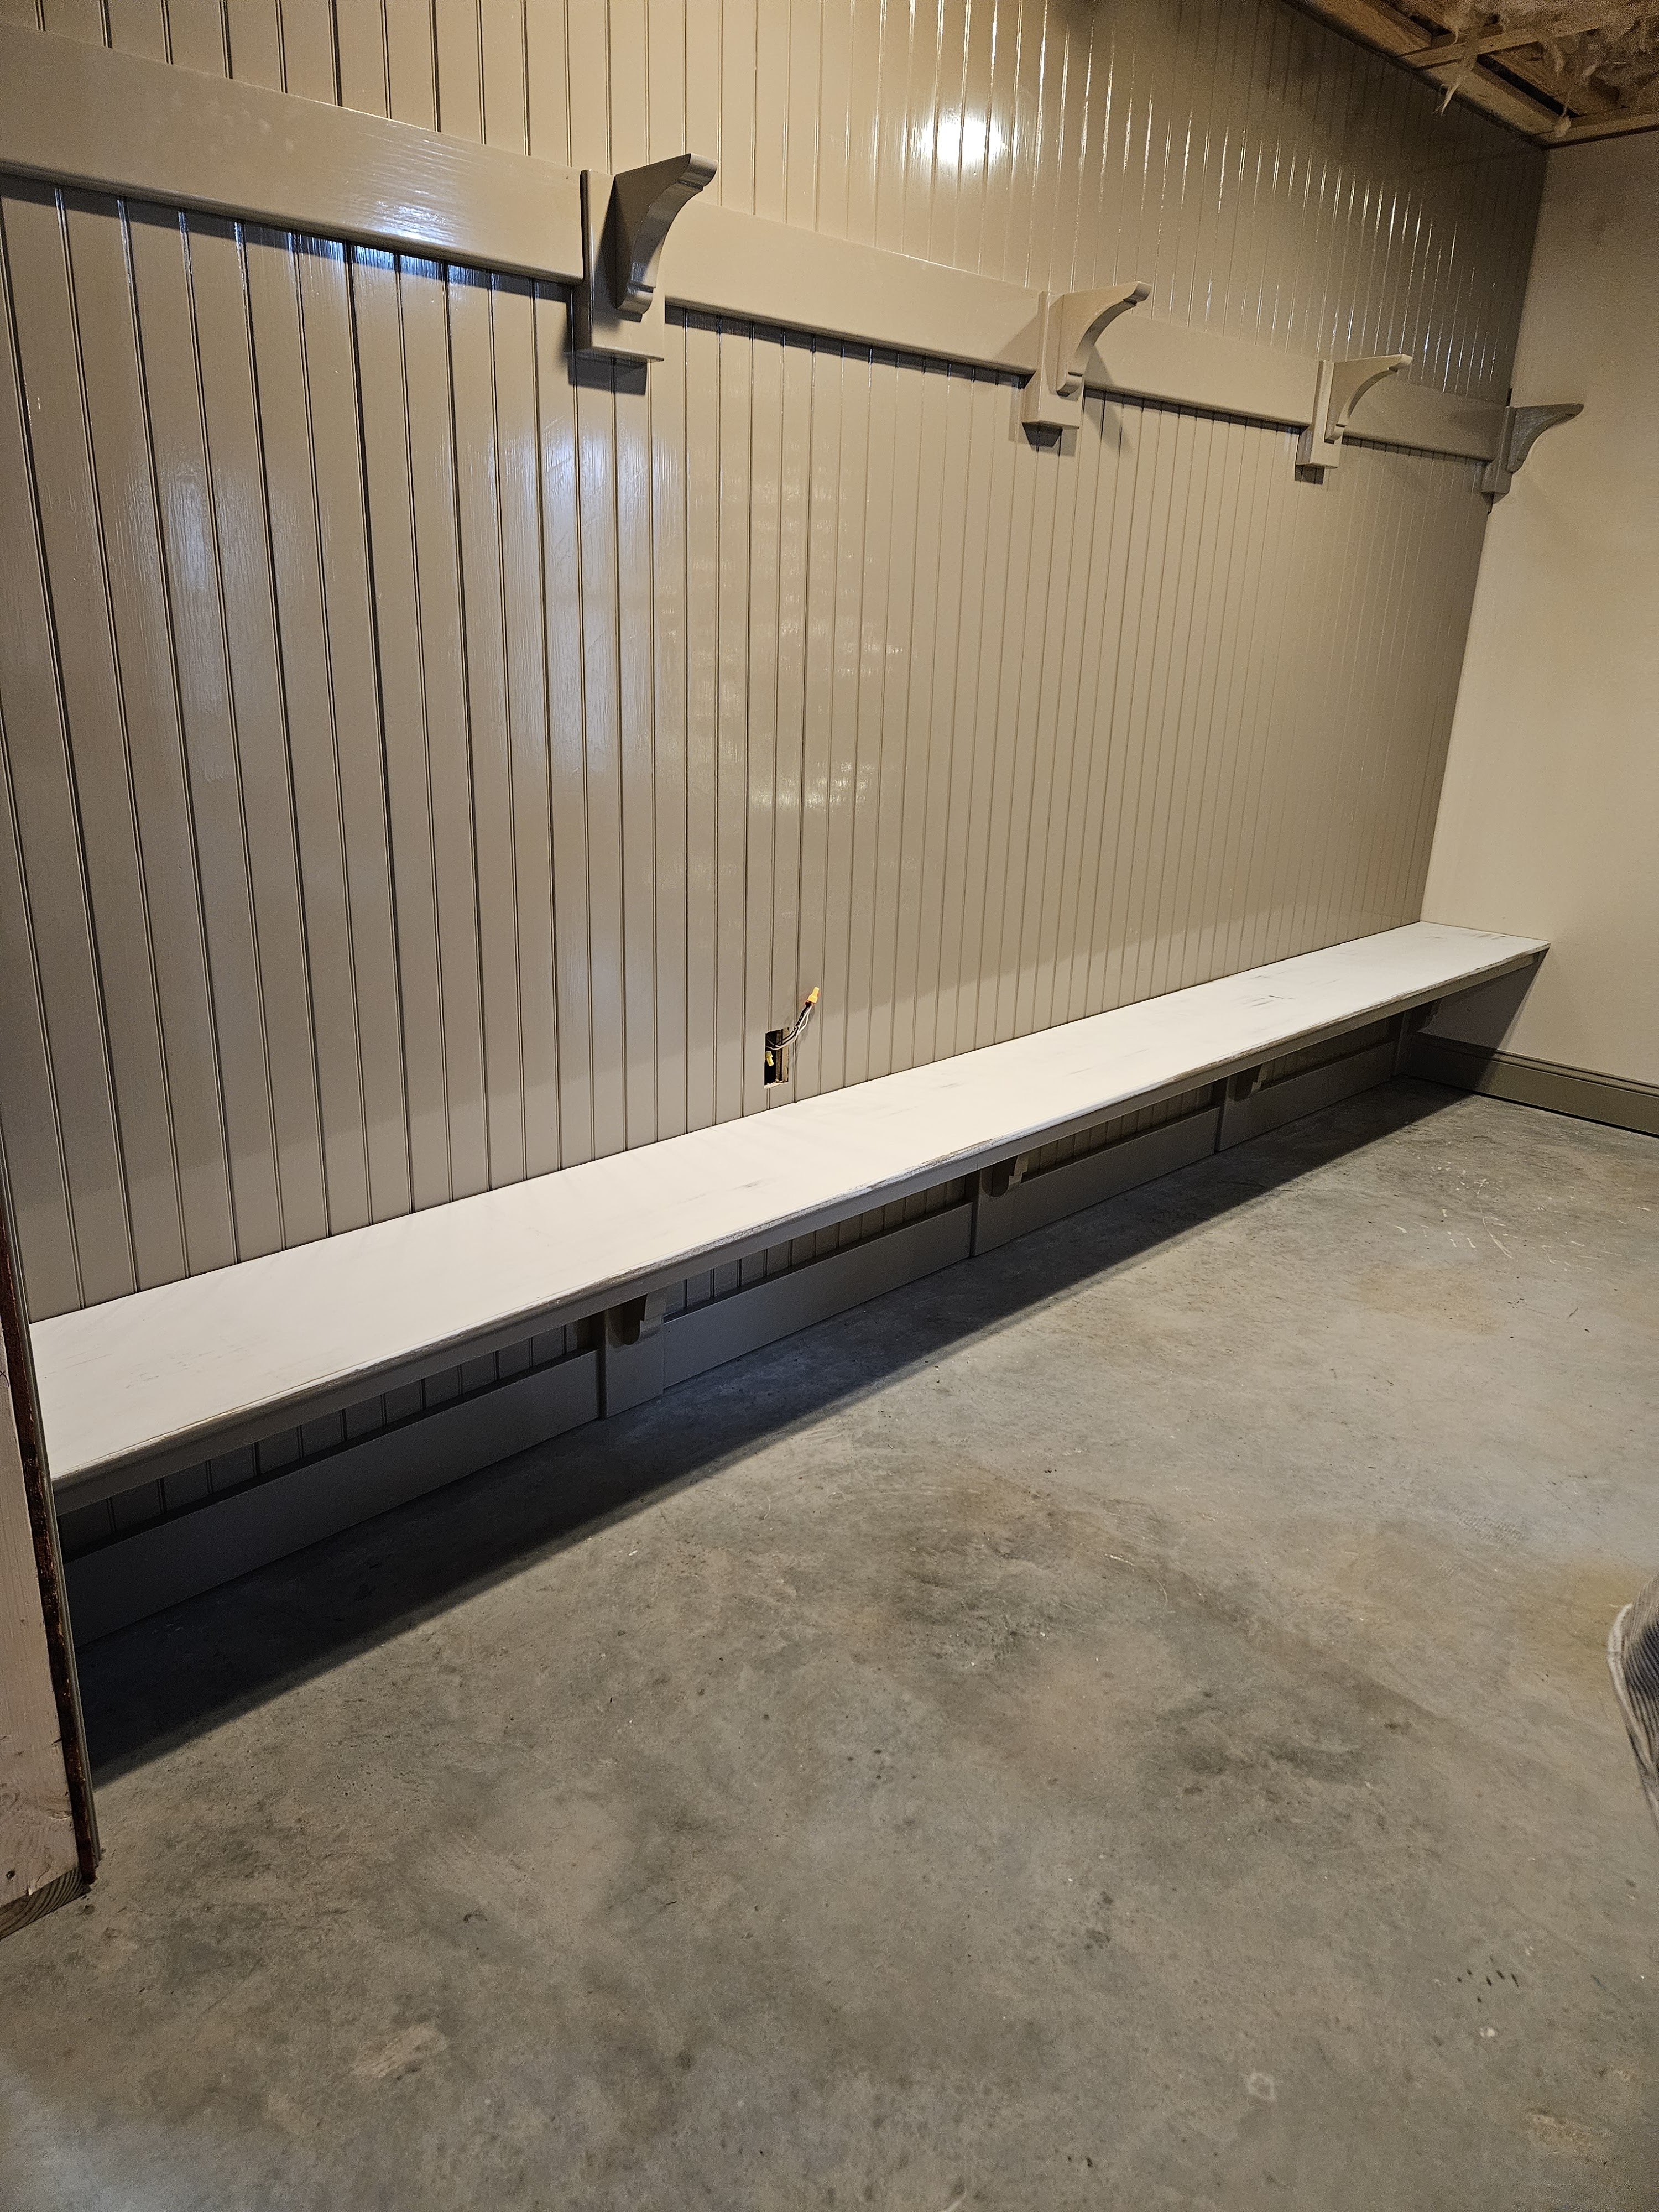
I painted the board and left it to dry.
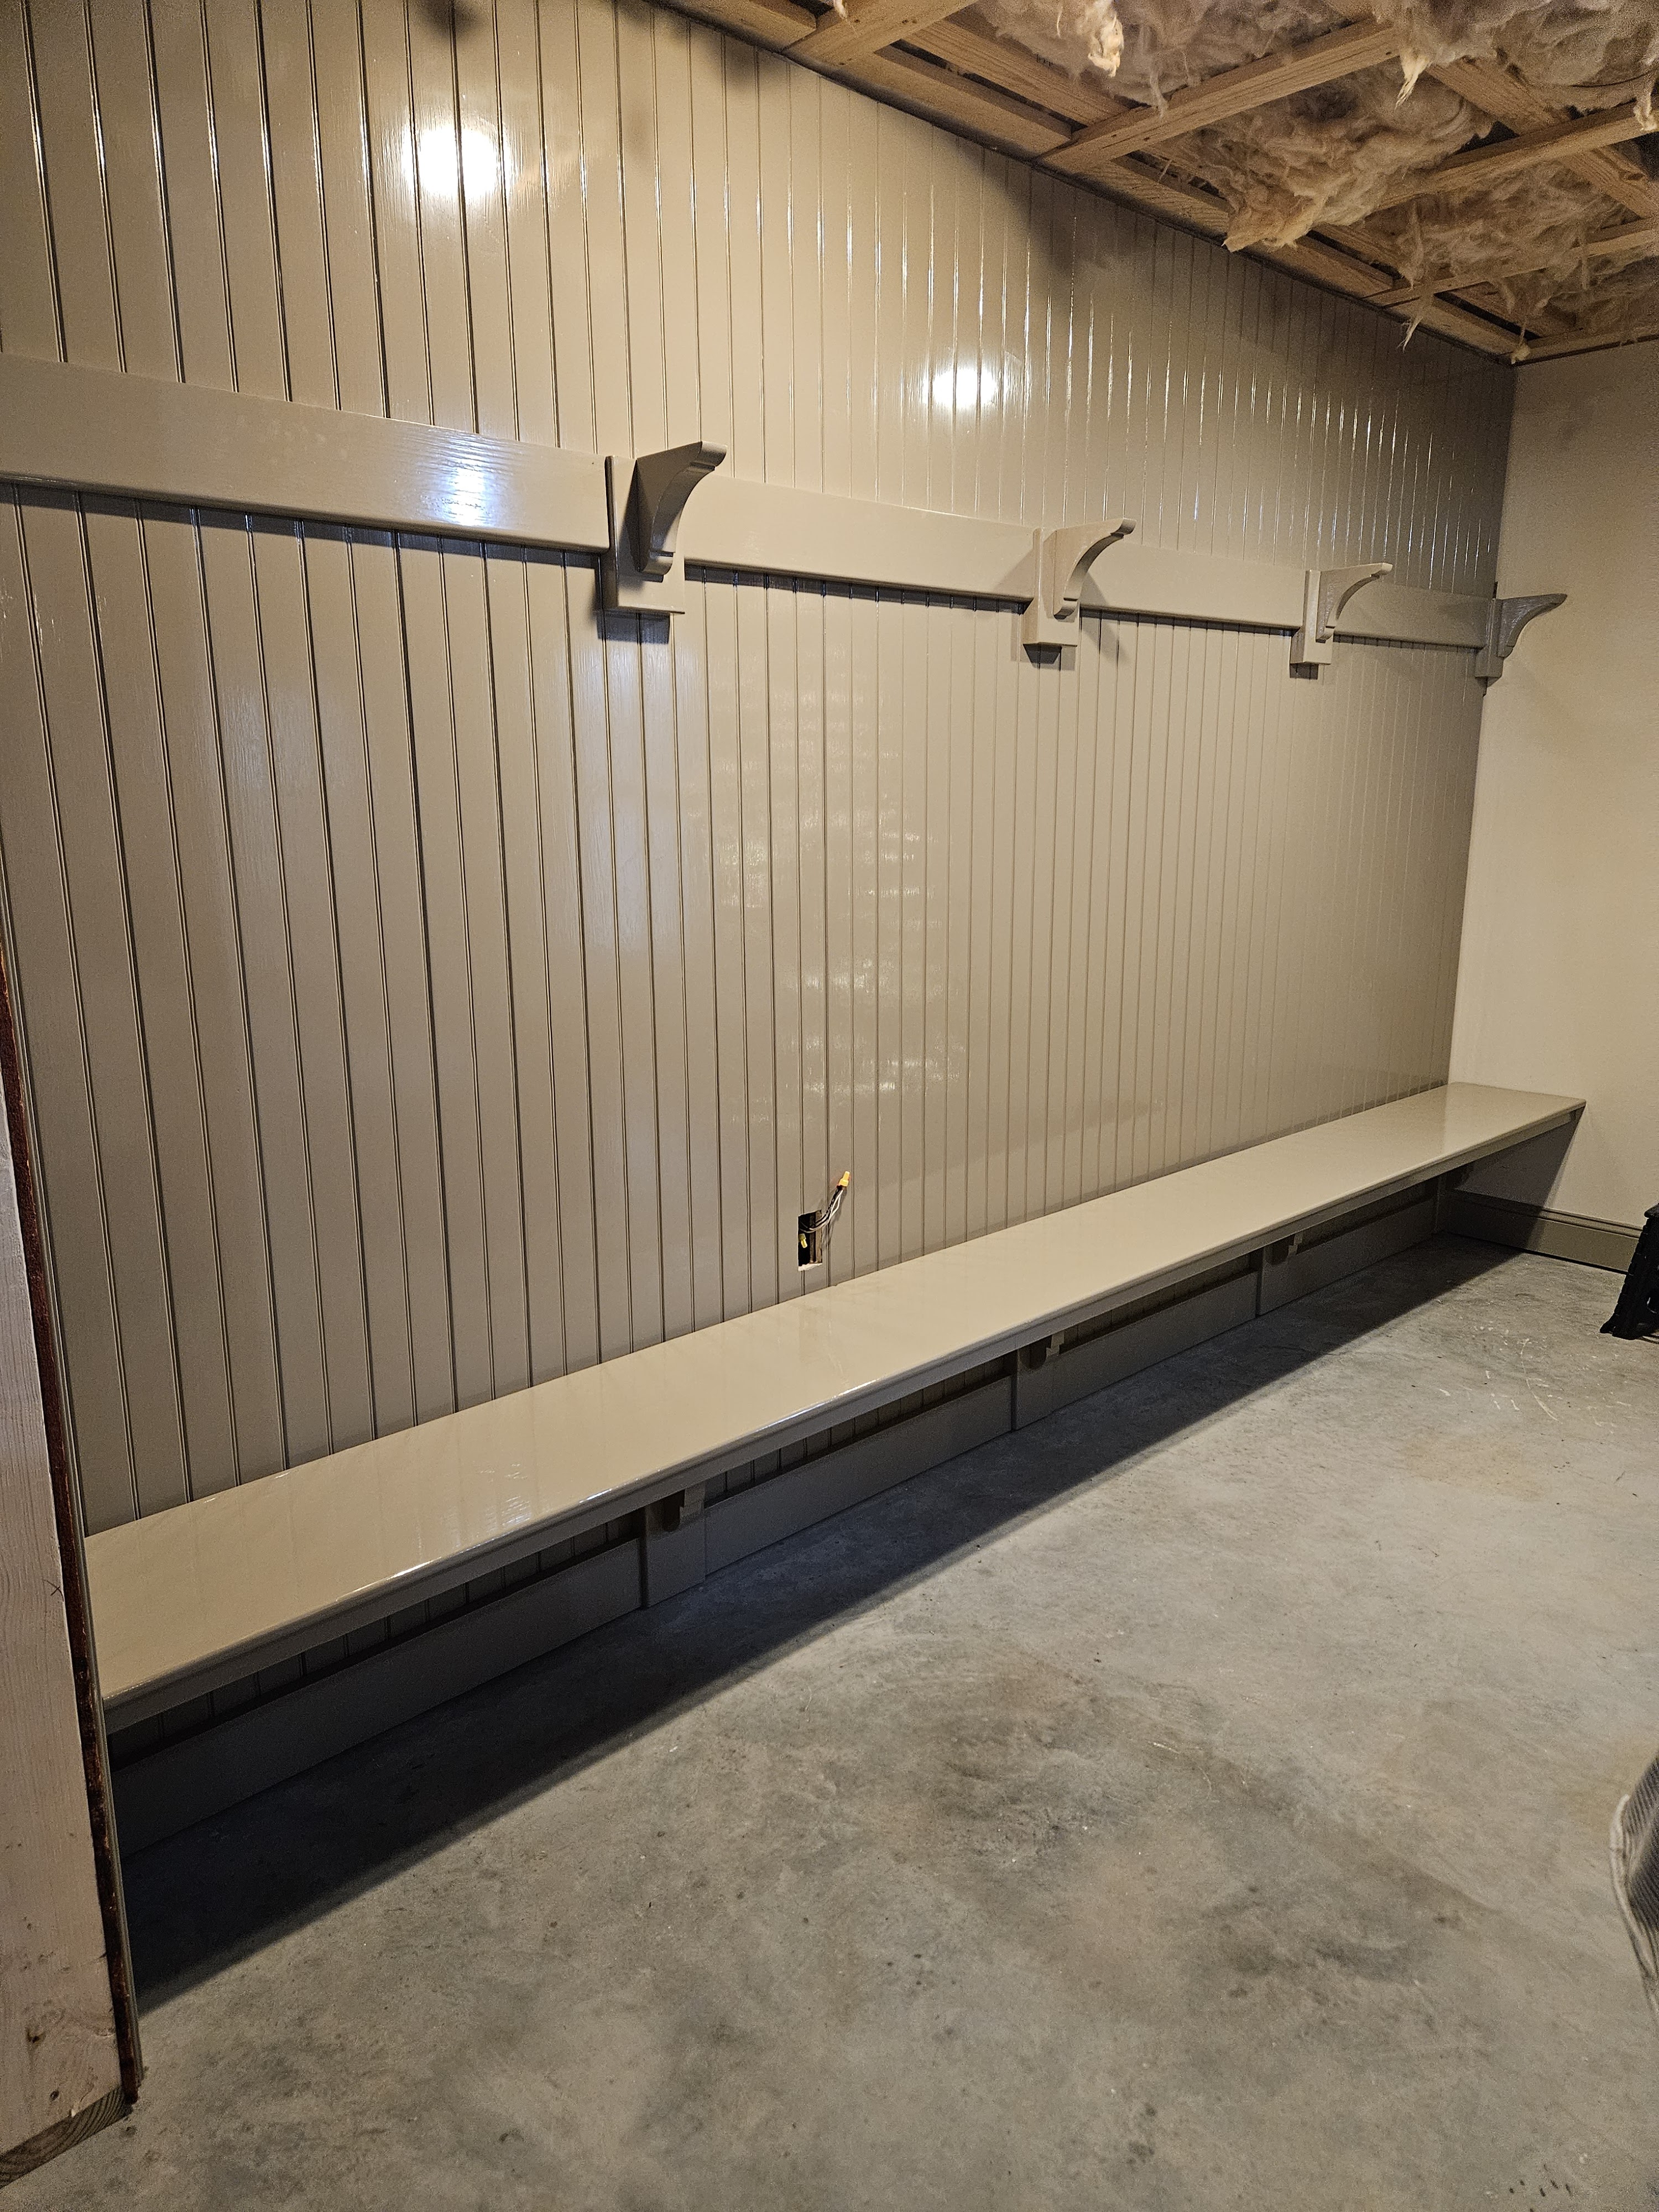
This photo shows the detail better on the bench.
The shelf board is getting painted too, but off to the side on sawhorses.
I need to flip the shelf board over and paint the top. I will paint the front edge of the shelf, the underside of the shelf at the very front and the front of the support board when we put the shelf in place to avoid having weird drips that would be difficult to fix.
I was going to do painted wooden pegs for the coat rack, but the thought of priming, sanding, and painting 20 pegs was more than I could think about, so I bought oiled bronze finish brass coat hooks. They should arrive today. That is the color of some of the door knobs, and the dark color will echo what is going on at the other end of the room with the stove and the fireplace tools, and the metal grates.
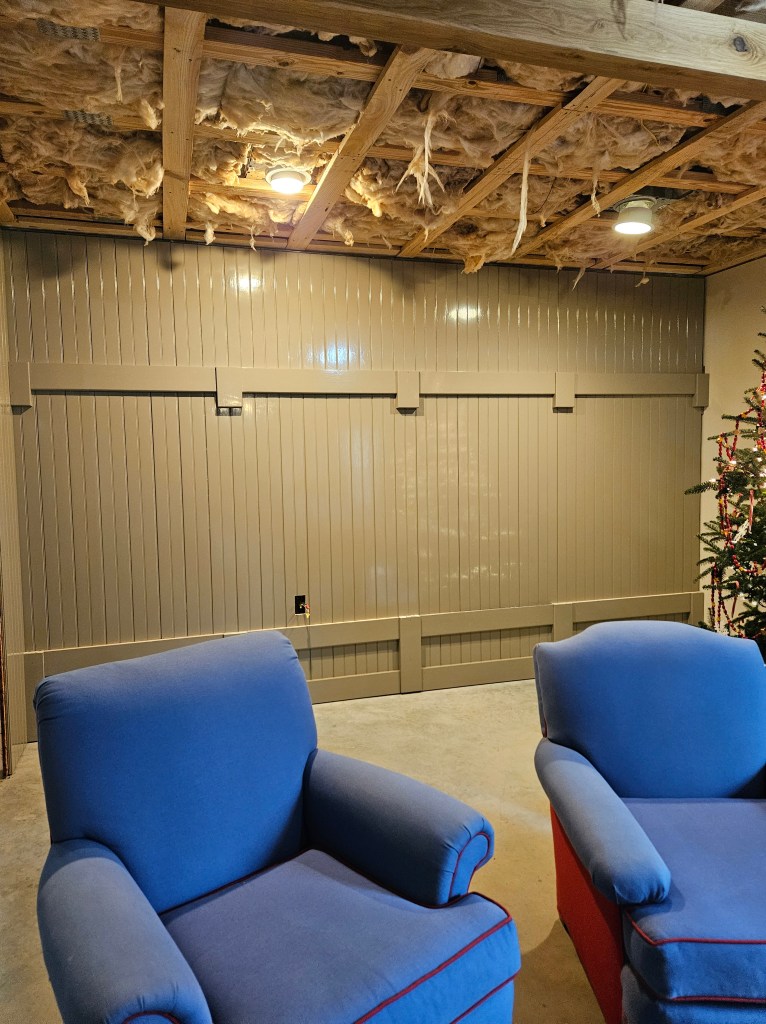
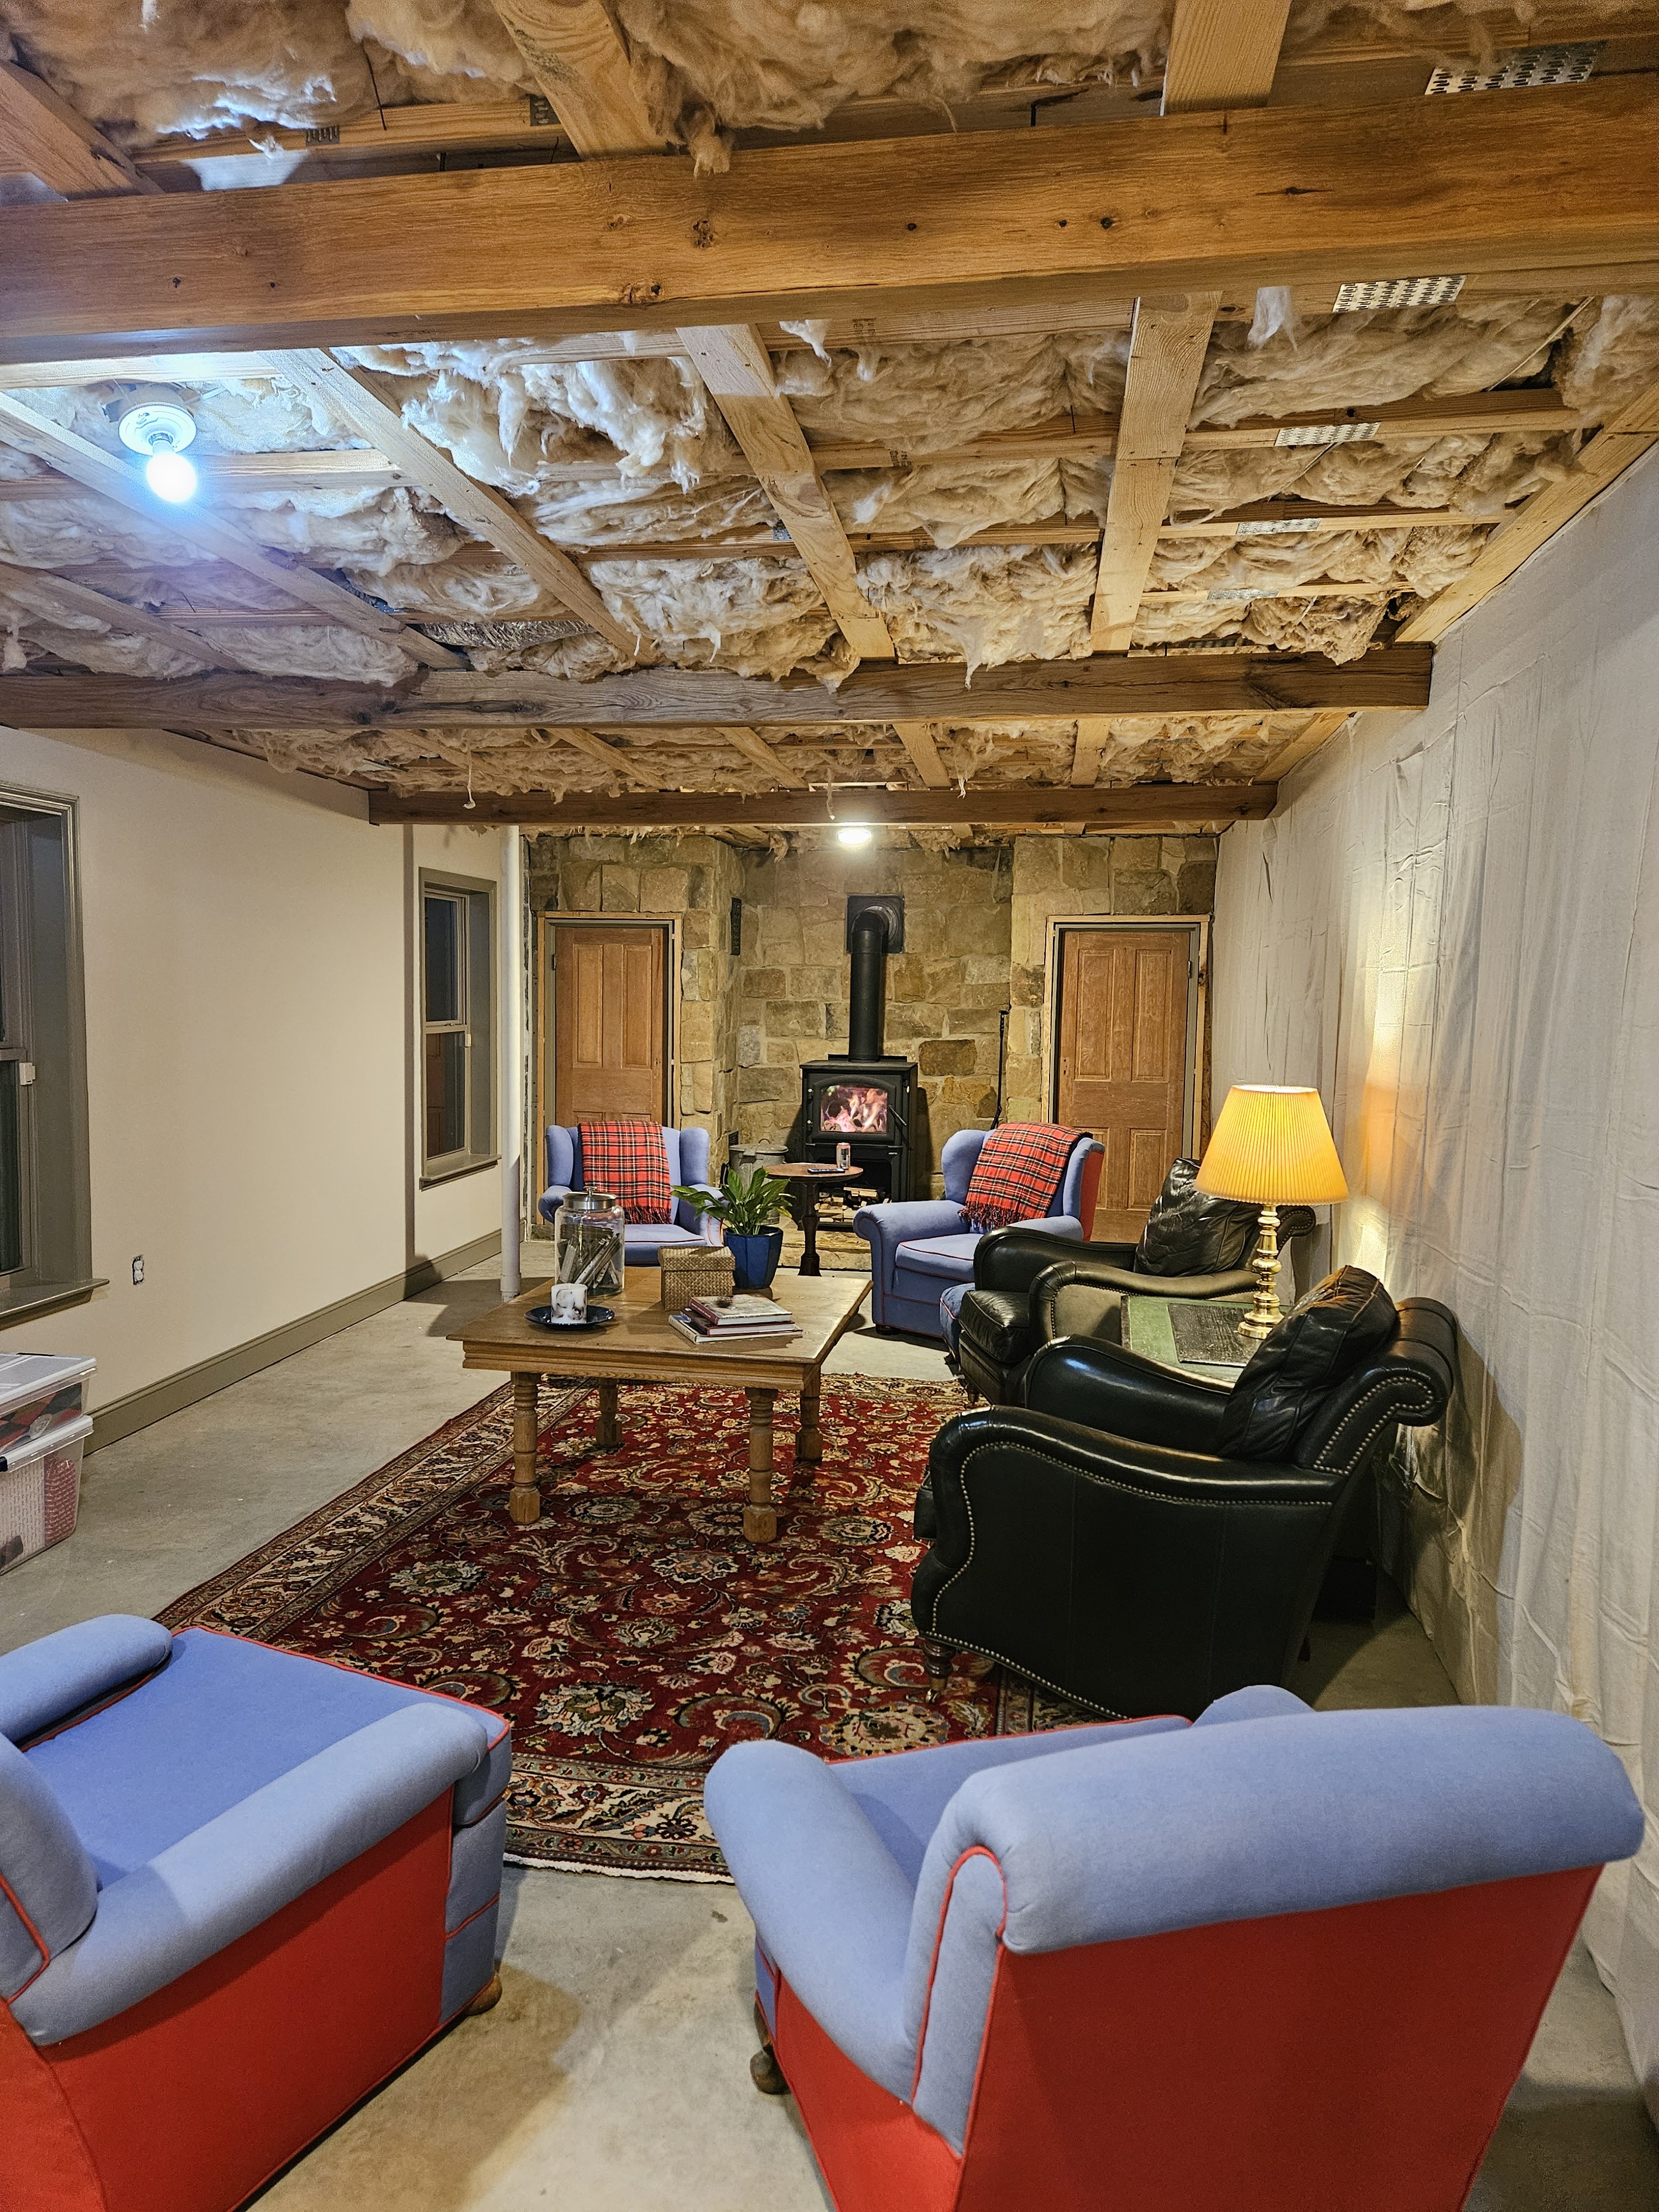
We also set the room up so that we could use it during the holidays. I finally got the rug that I bought for the space cleaned and I bought a rug pad for it. Then we had to VACUUM everything–even though it was covered with sheets, it was all really dusty from all the construction. We put up a couple of drop cloths so that we could really envision how the room would be once the wall is up. I had hoped (unrealistically) that we might get the ceiling up, but my husband has projects going on at work, so that didn’t happen. I am hopeful that he will get the new outlets installed before the holidays–they are almond which will look better with the wall color.
It is really obvious that we need a longer and narrower and shorter coffee table than we currently have and that the sofa we buy shouldn’t be nearly as deep as these leather chairs we have. But, we love how this room is turning out. It’s really cozy.
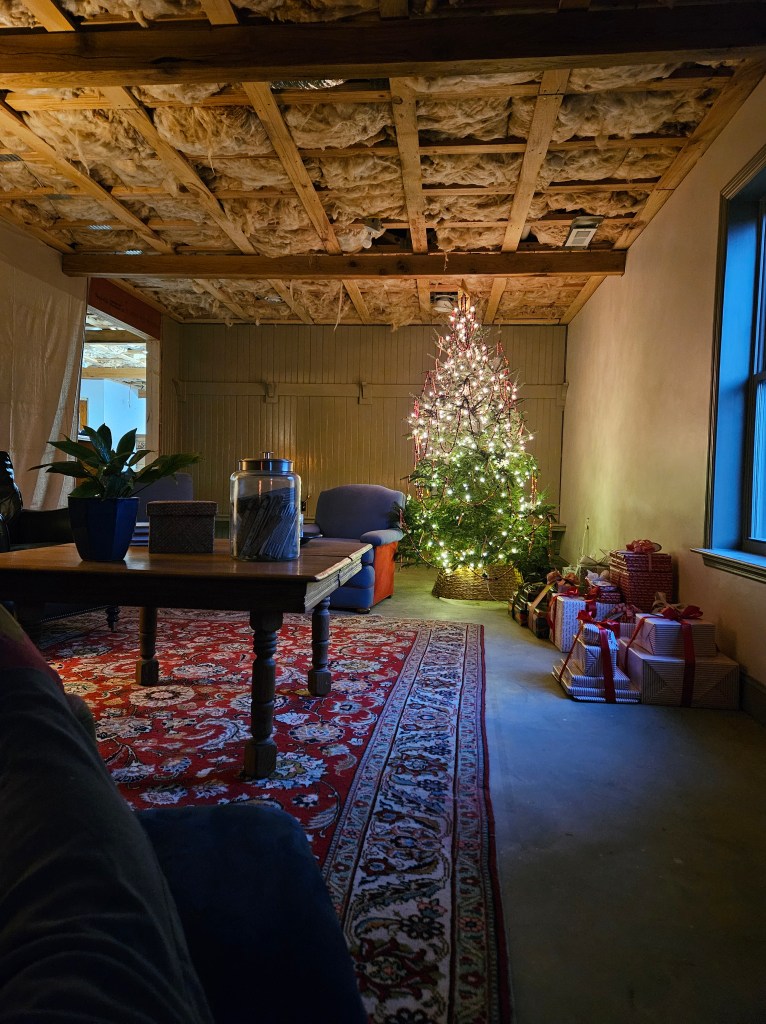
And, while I was out of town, my sweet (but very Grinchy) husband went out and bought a Christmas tree for the basement, put it up, and put lights on it. I have decorated it really simply with candy canes, paper snowflakes, garland, and a felt star, but I think it’s really cute–and putting everything away will be a snap.
And, I finally finished my Christmas wrapping.
And, if all of that wasn’t enough, we hired a painter (my friends will know how truly rare this is) to paint the stairwell. We had them paint walls and ceiling all the same color. I was able to convince my husband to hire it out because it would have taken us days and we would have used some really sketch scaffolding.
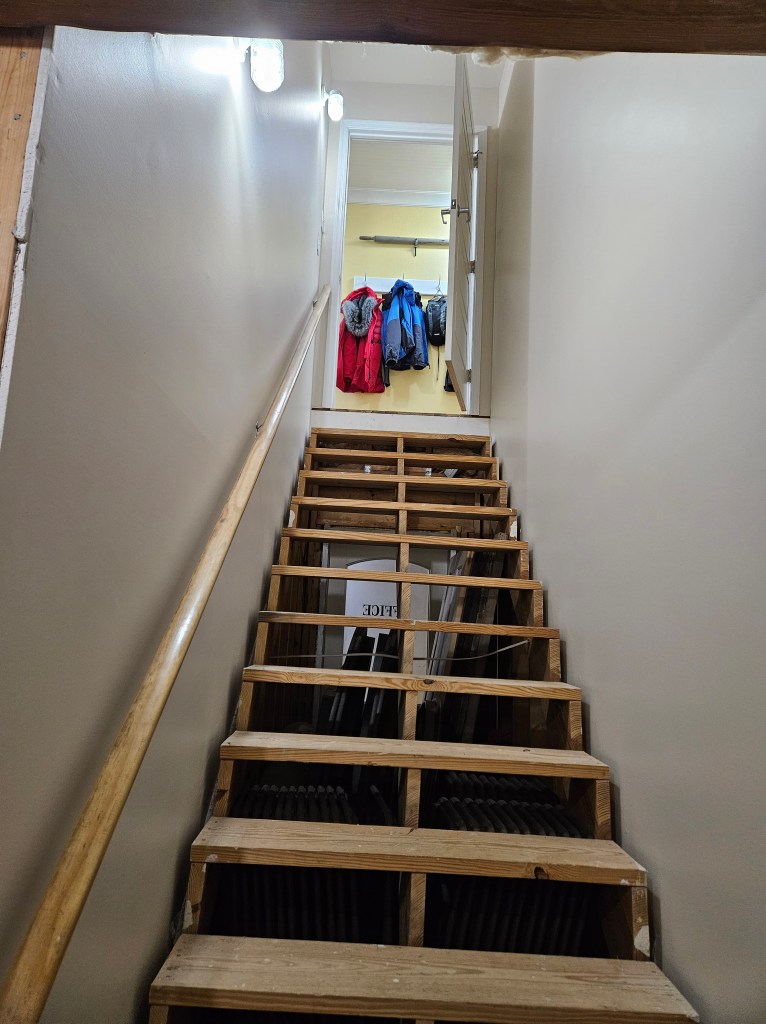
We bought some neat antique light fixtures for the stairwell up in Michigan while my husband was in a conference up there last year. There are 3 of them, so we’ll have to add another box on the wall and we’ll add a light switch at the bottom of the stairs. We are going to put quarter sawn white oak treads and risers (you can see them in the giant stack of wood in the photo of the shelf board above) to the stairs and we’ll add painted trim boards to either side. We’ll replace the wooden handrail with a custom made metal one.
Still SO MUCH to do.

Some real progress
LikeLiked by 1 person
Yes, we are inspired to get the basement finished this year.
LikeLiked by 1 person
What a delightful read! It’s evident how much effort and thought you’ve put into creating such a cozy and beautiful space. I would love to know more about the specific challenges you faced during the installation process and how you managed to overcome them. Keep up the fantastic work!
LikeLike
I don’t know how easy they are to find on the site, but there are a bunch of posts about all the projects in the basement. We’ve been at it for about 3 years. I just posted about the basement ceiling. Phew, what a job!
LikeLiked by 1 person
I’ll have to make time to dig some up.
LikeLike