
When I last posted about the storage room, we had really just started working on it. You can find that post here: https://cathyathomeontheriver.com/2025/10/10/the-ancient-basement-were-back-at-it/ . Basically, we had made an opening for the door; did the rough in for the little bit of electrical that was required; and did the framing. My husband is still working on Saturdays, so we’ve been limited on time until last week when he took 3 1/2 days off. We made a ton of progress.
The first step was to add the 1/2″ plywood to the walls to make them sturdy since we’re finishing the walls (and ceiling) with 1/4″ MDF beadboard paneling. This went fairly well, but the walls aren’t perfectly square, so there was some fiddly work to get everything to fit well.
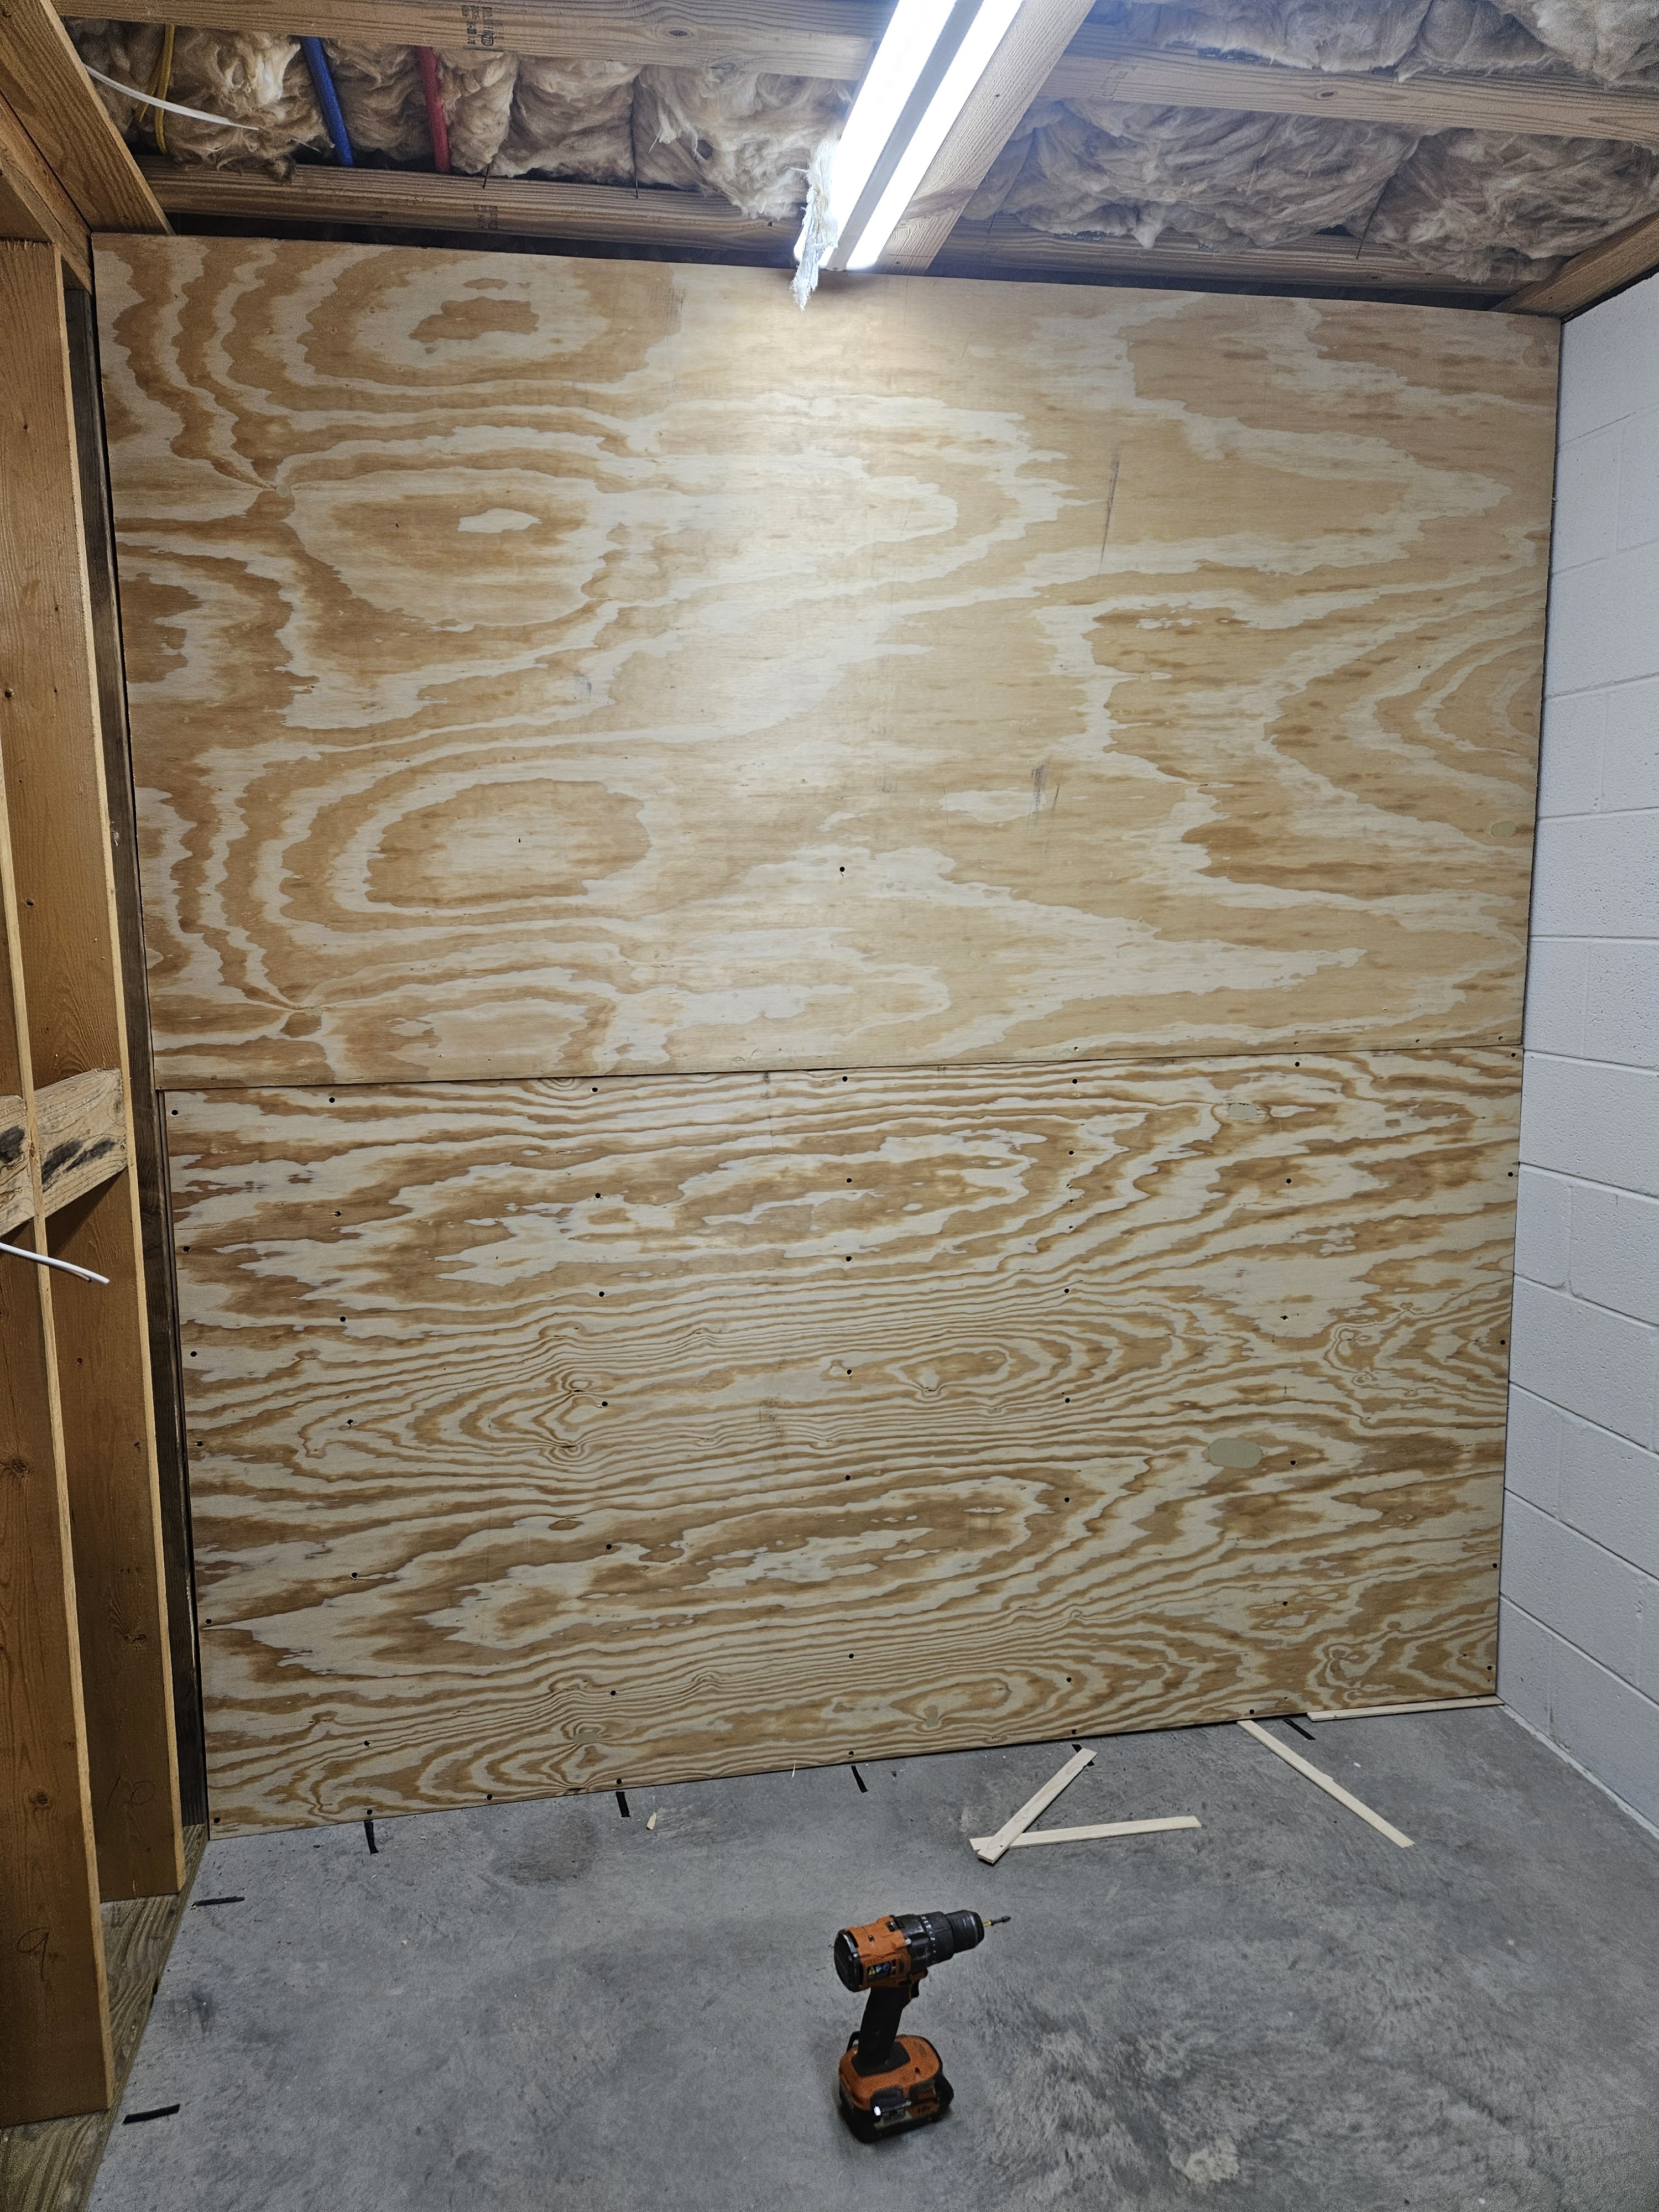
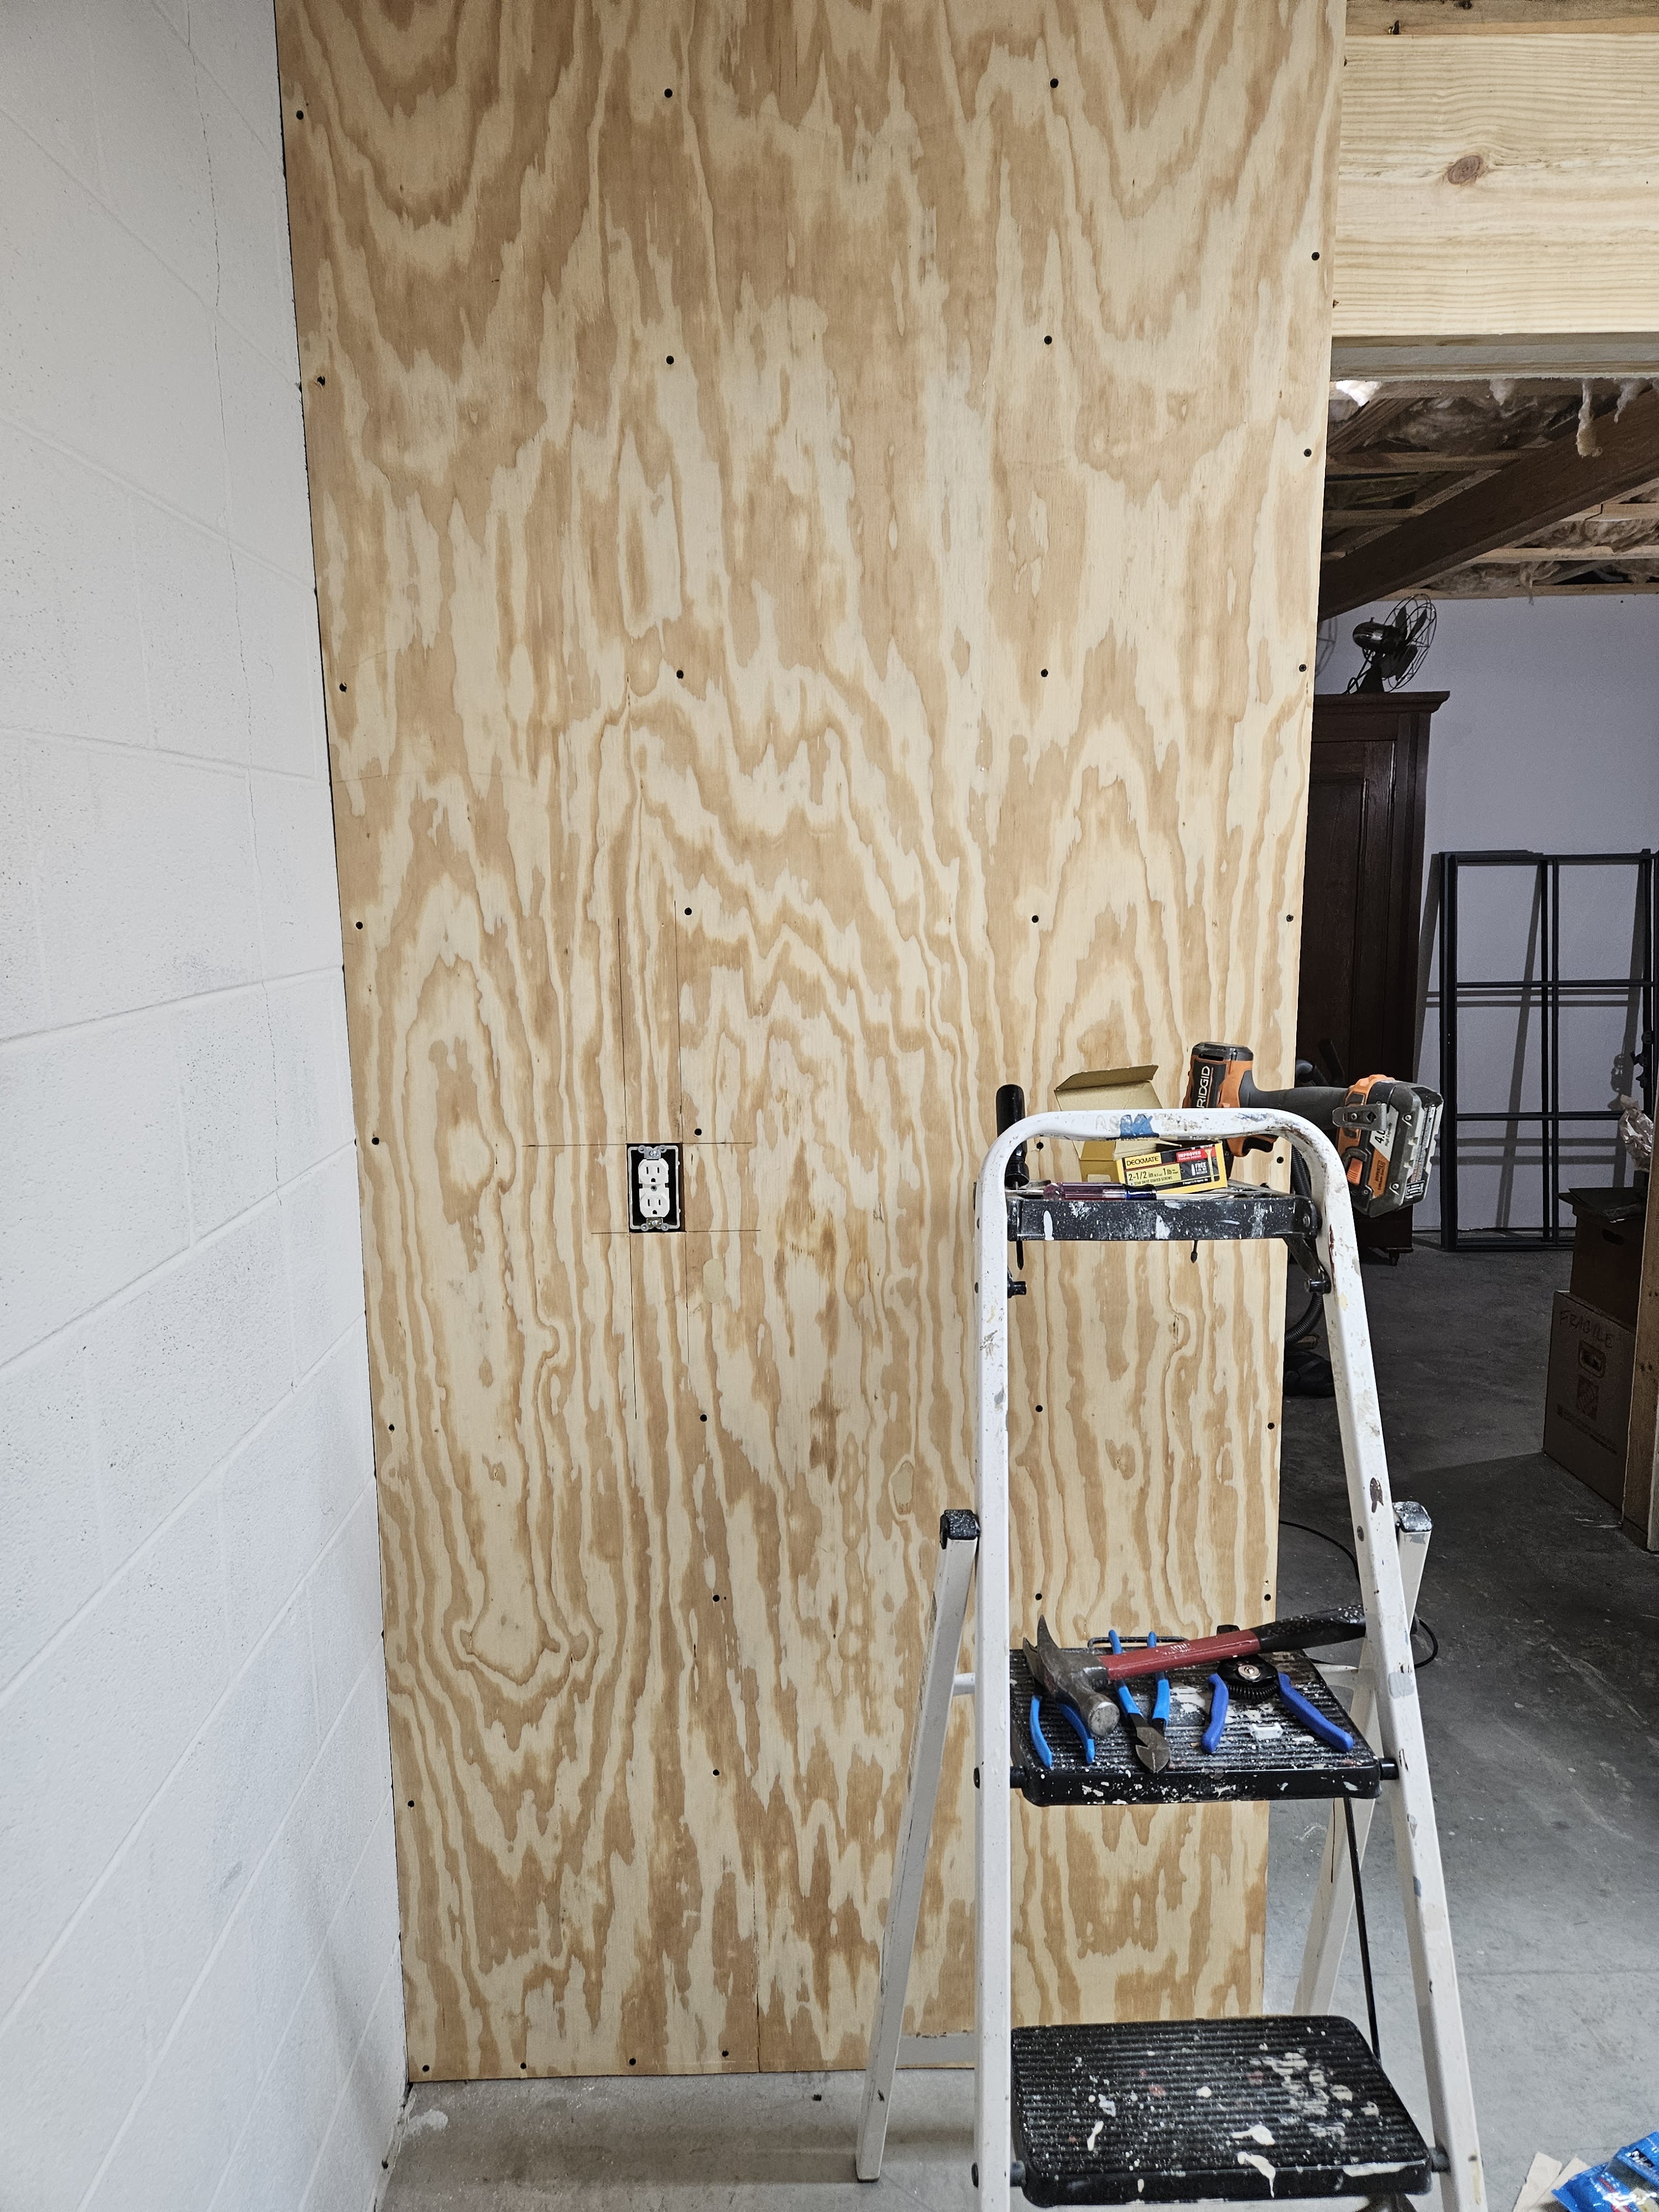
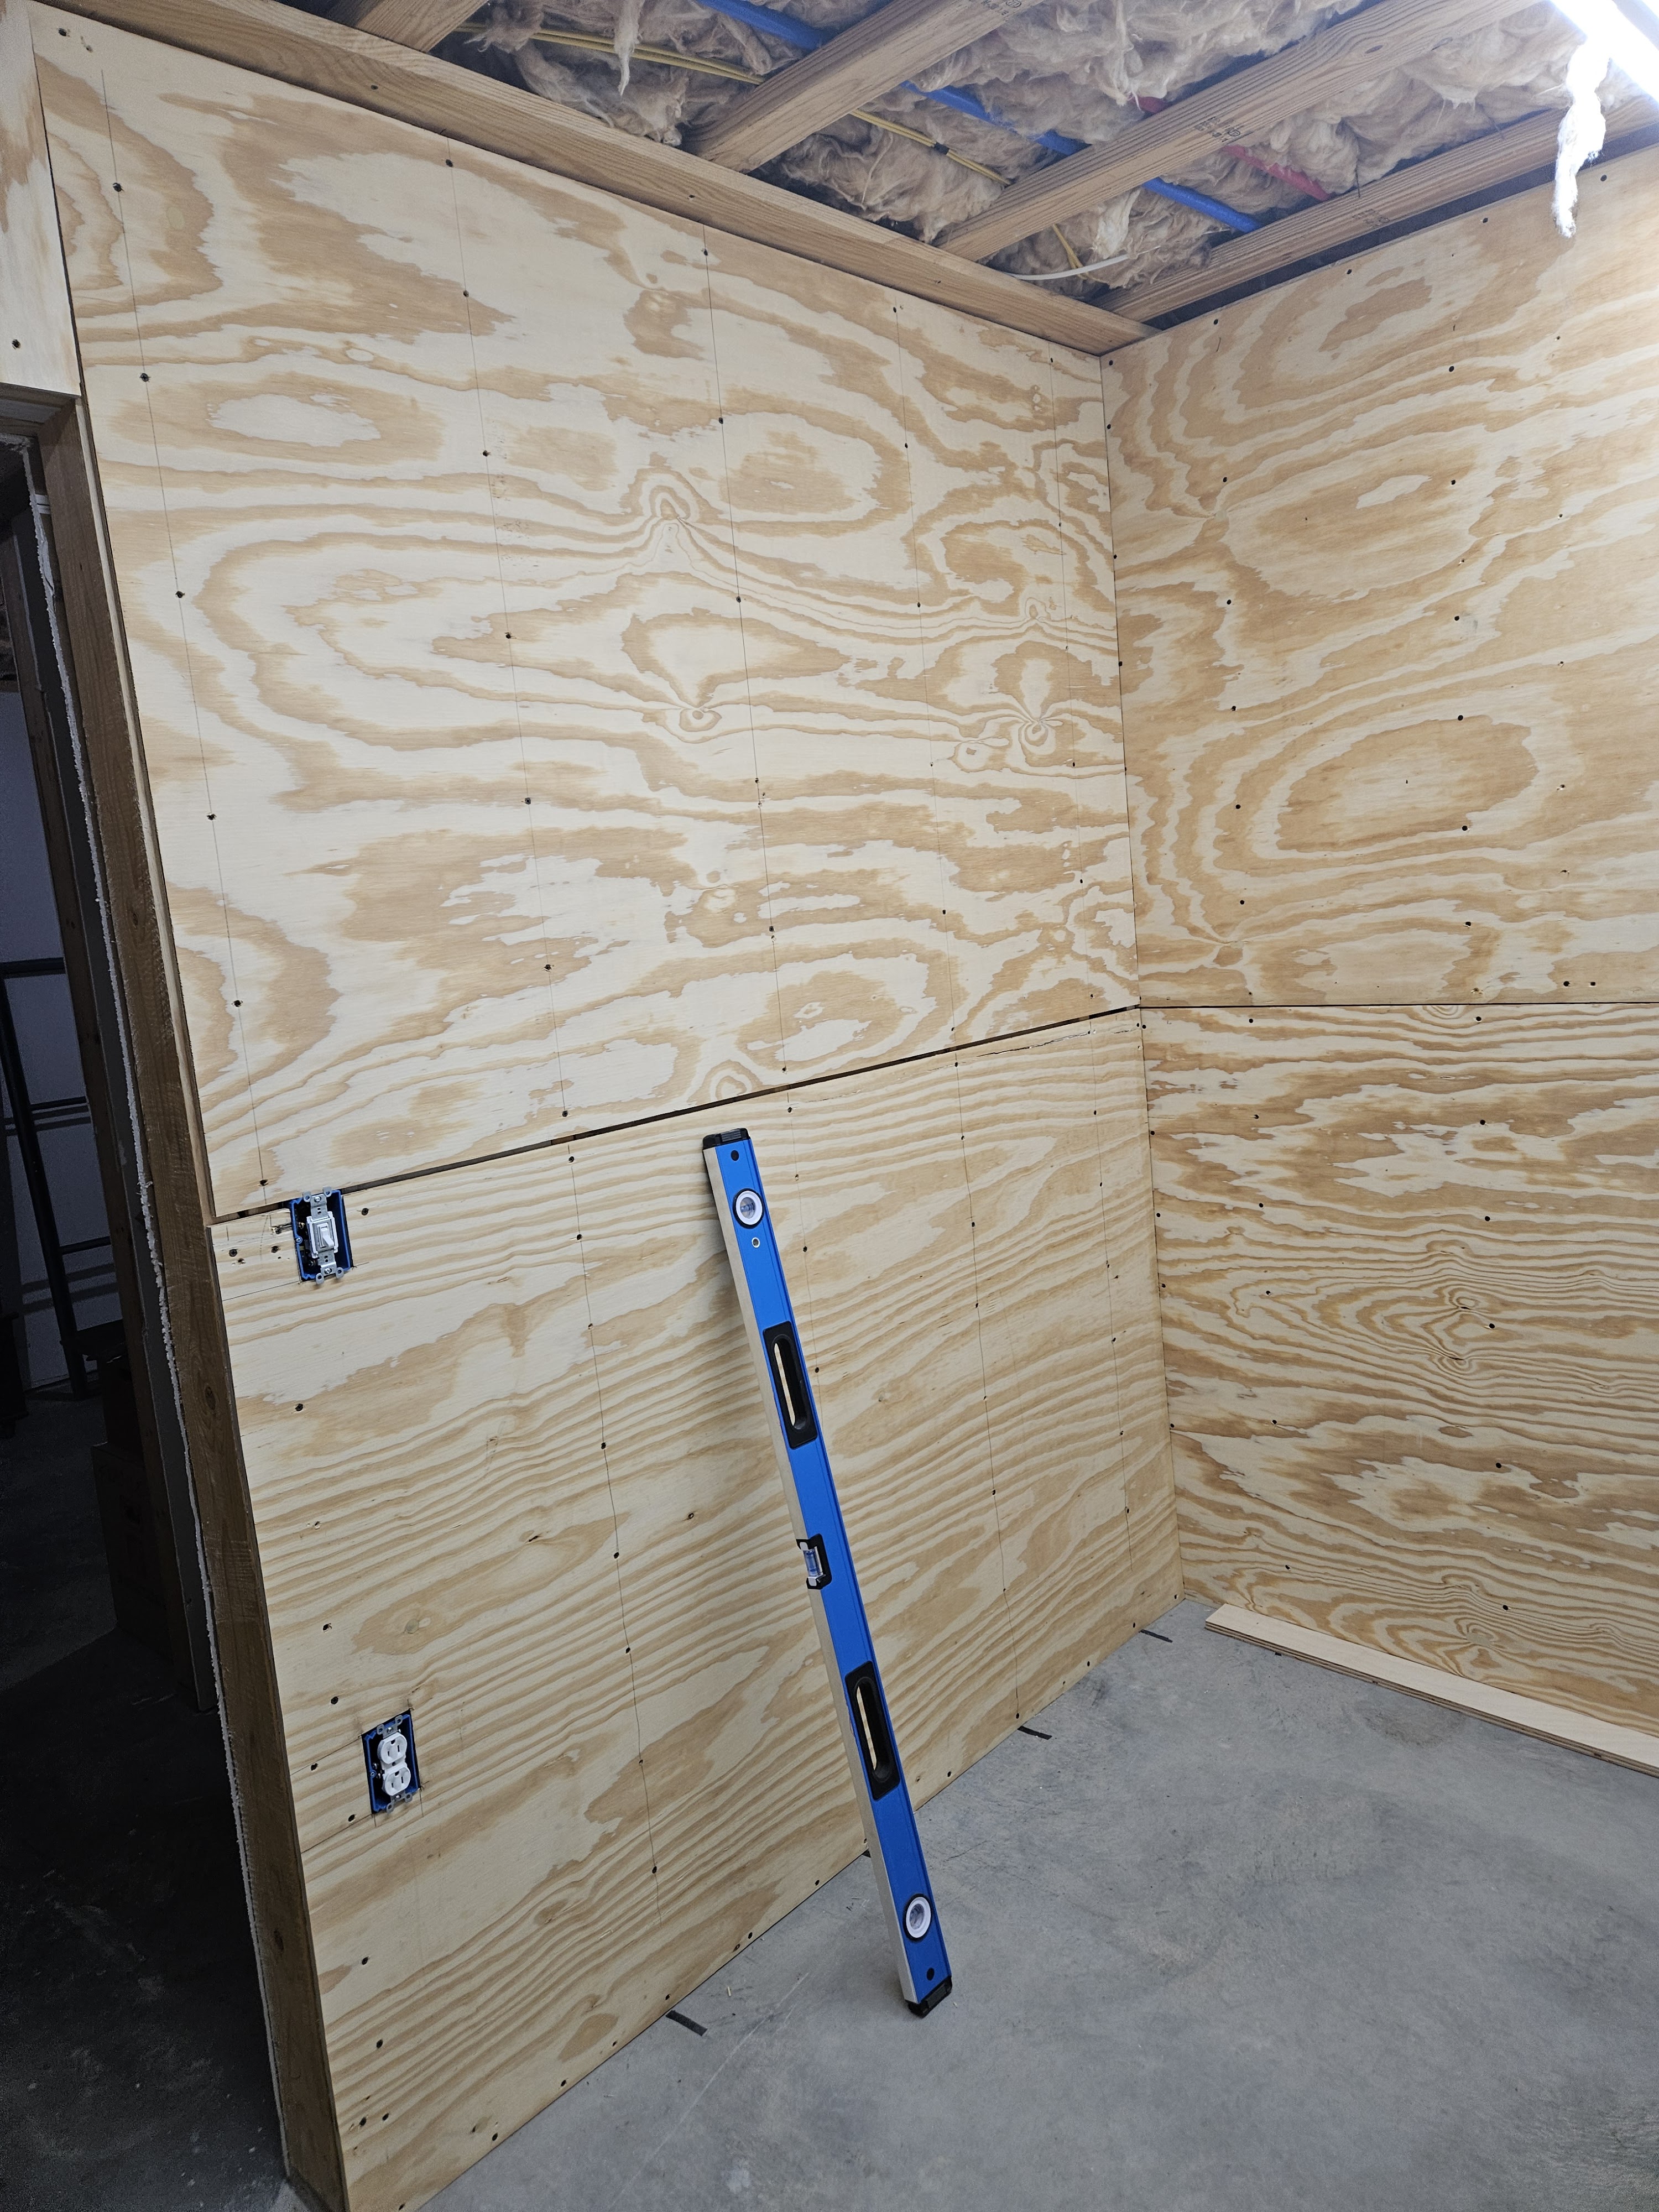
We marked the locations of the studs on the floor after putting up the first narrow sheet and having trouble finding the studs. It took us about all day to wire the devices and get the plywood up.
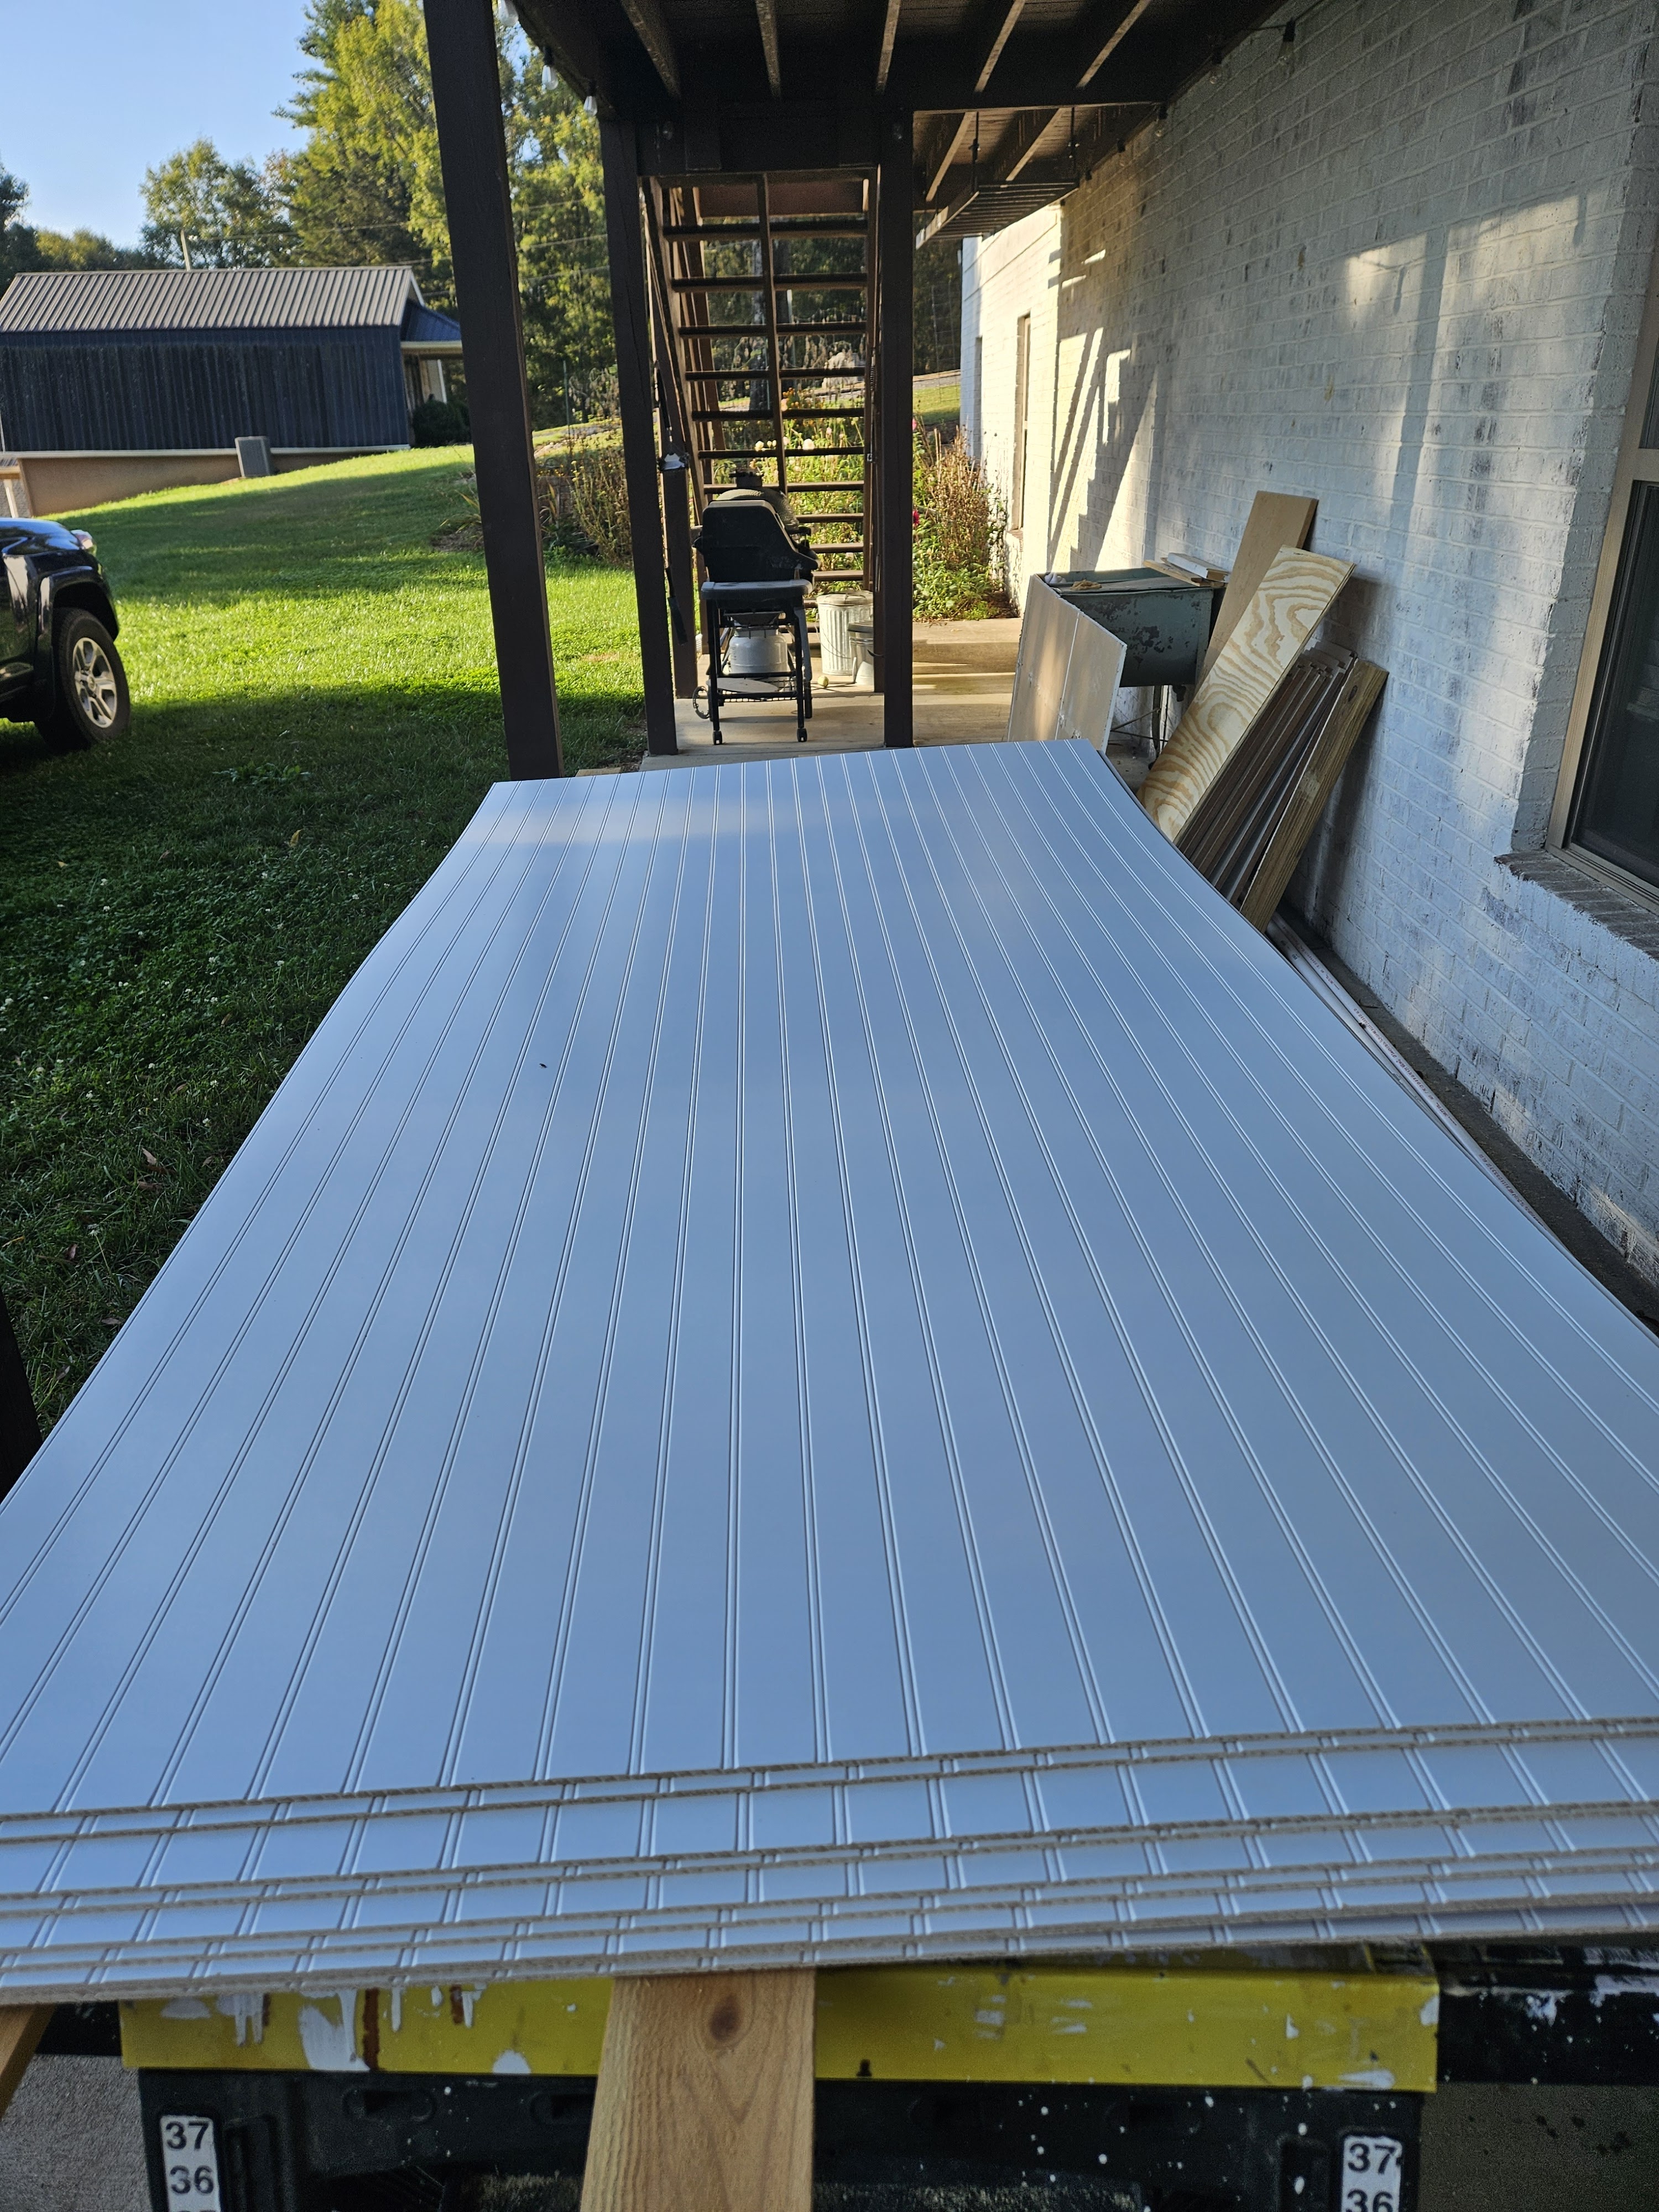
Then it was time to put up the paneling. My husband ended up doing a lot of this himself because I was having lunch with a friend for my birthday.
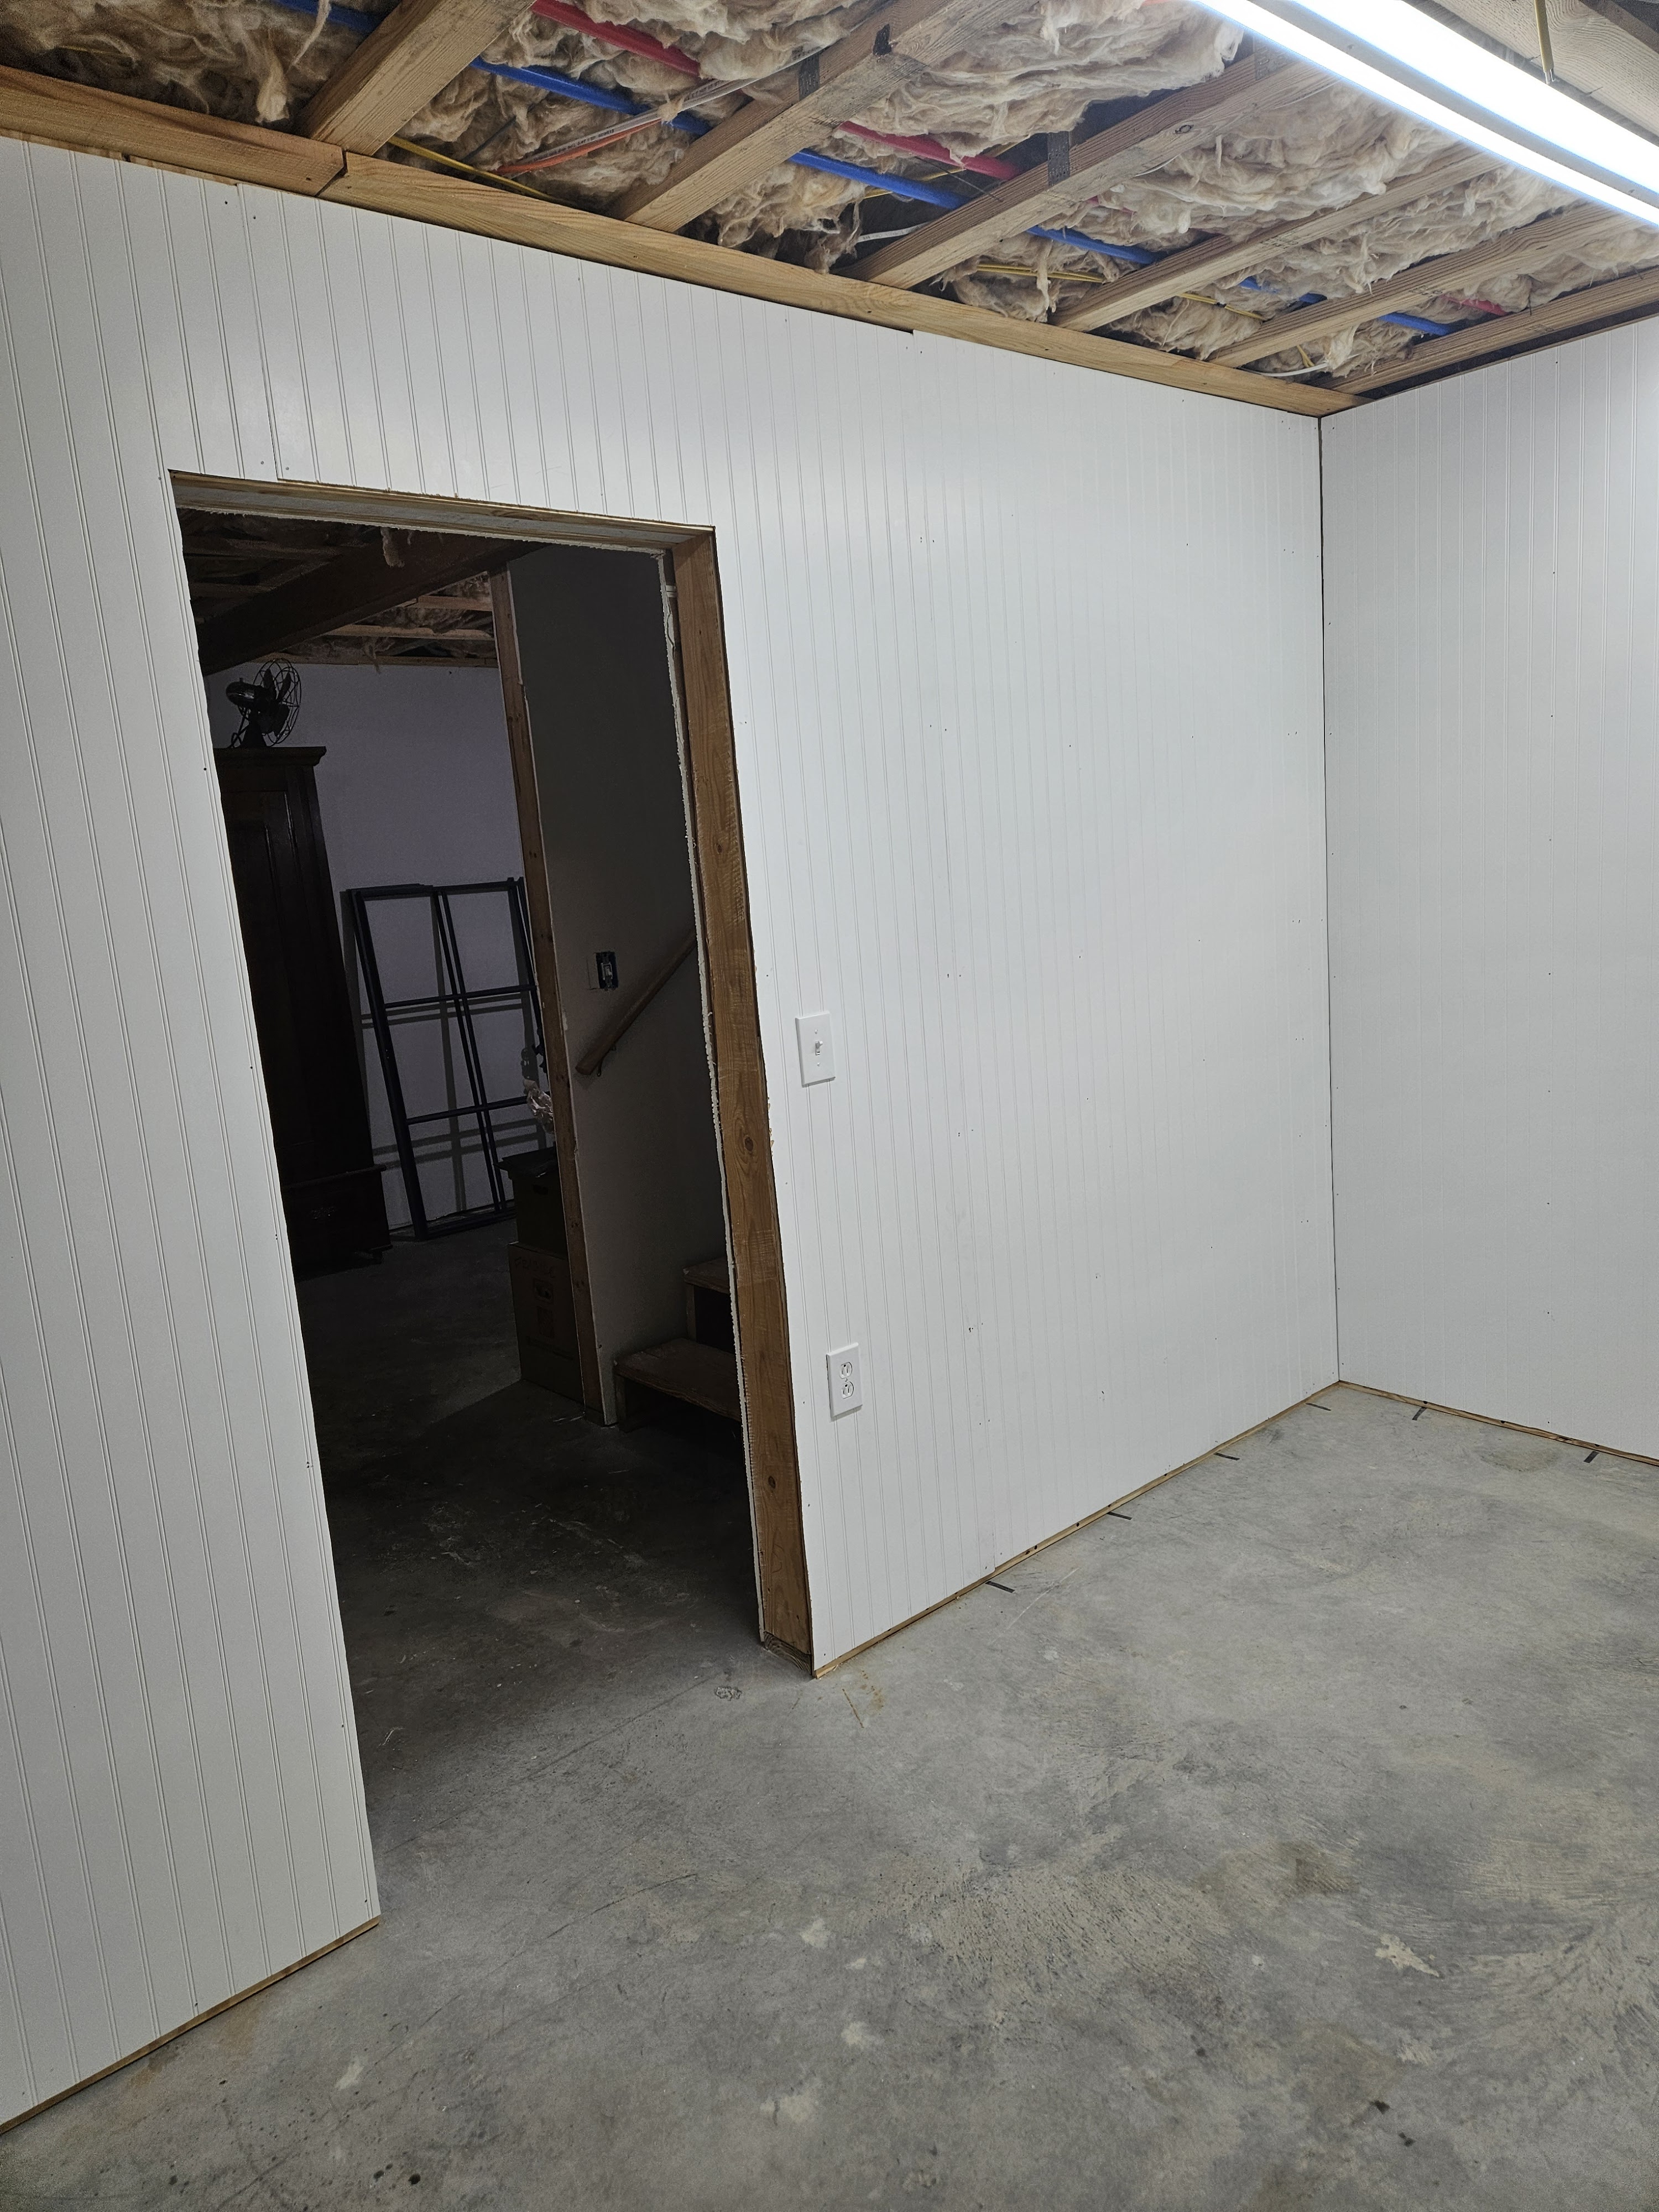
Then we had to get the paneling up on the ceiling. Fortunately, it’s not very heavy, but it was awkward working in this relatively small space.
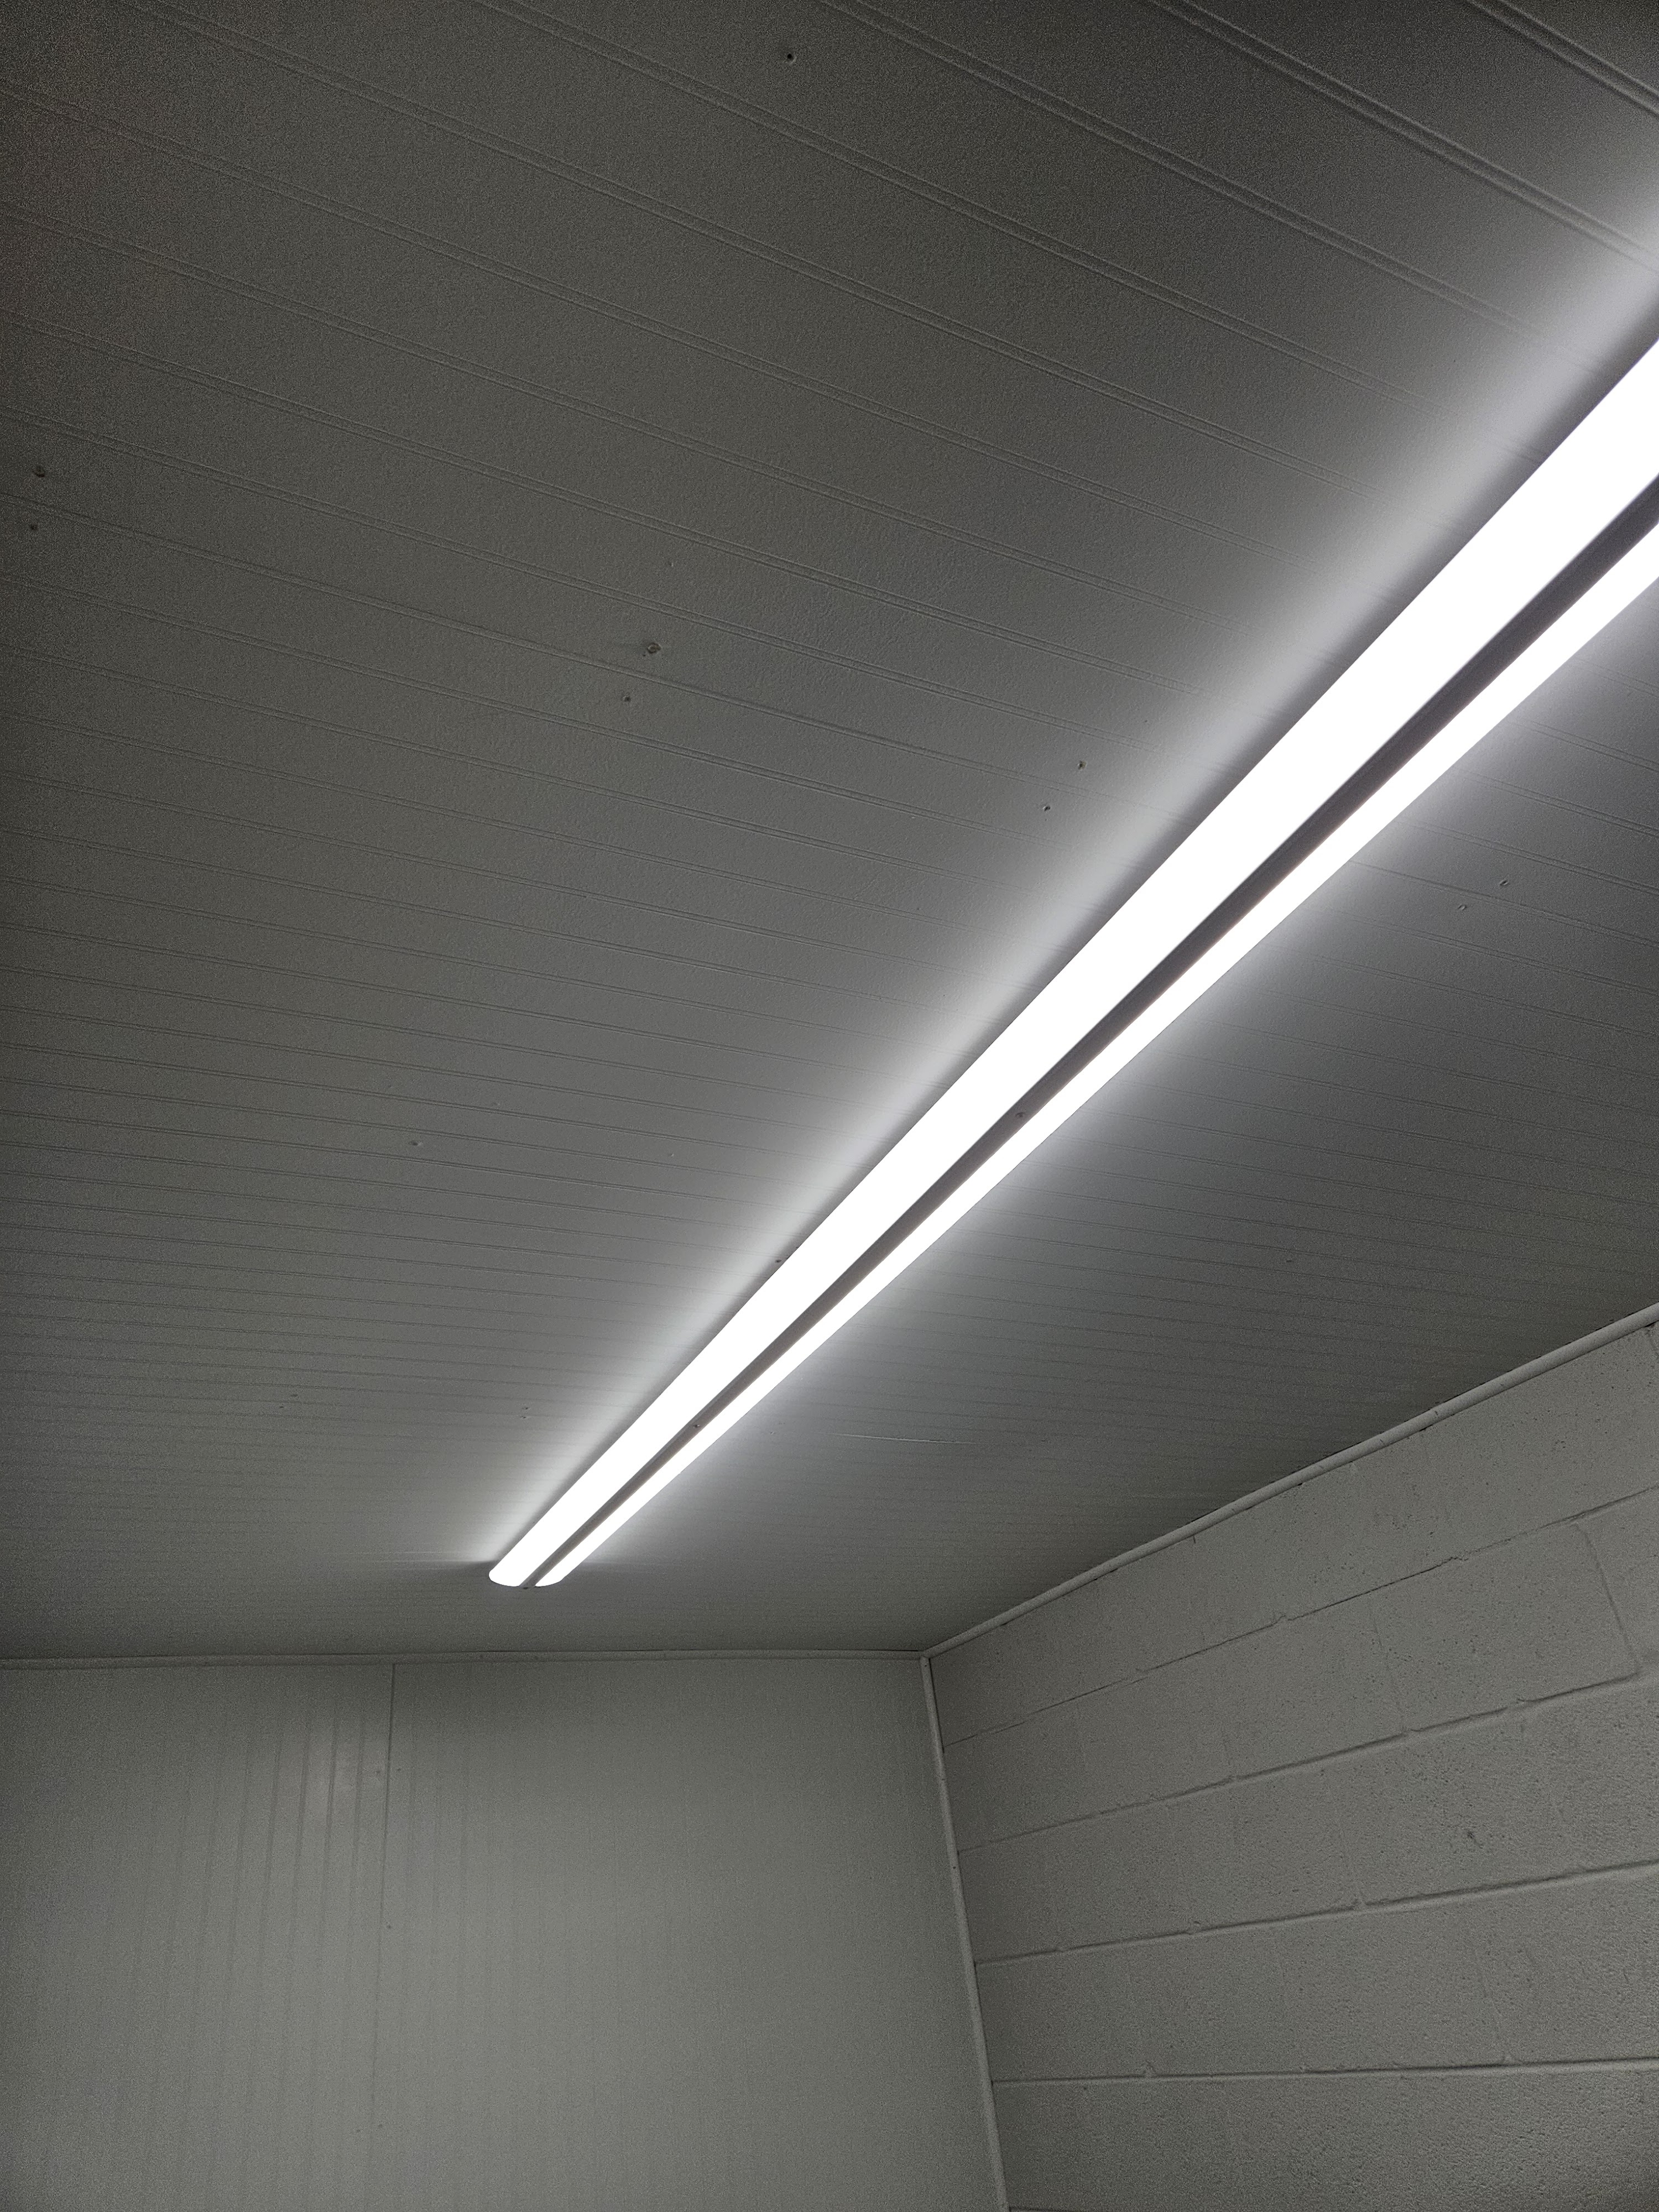
My husband put up all the quarter round in the corners of the walls to hide the gaps. We filled the holes with white wood filler. We were really happy that the light worked when we reinstalled it and turned it on. That was also kind of a pain, because it’s really long and you have to wire it before you attach it to the ceiling.
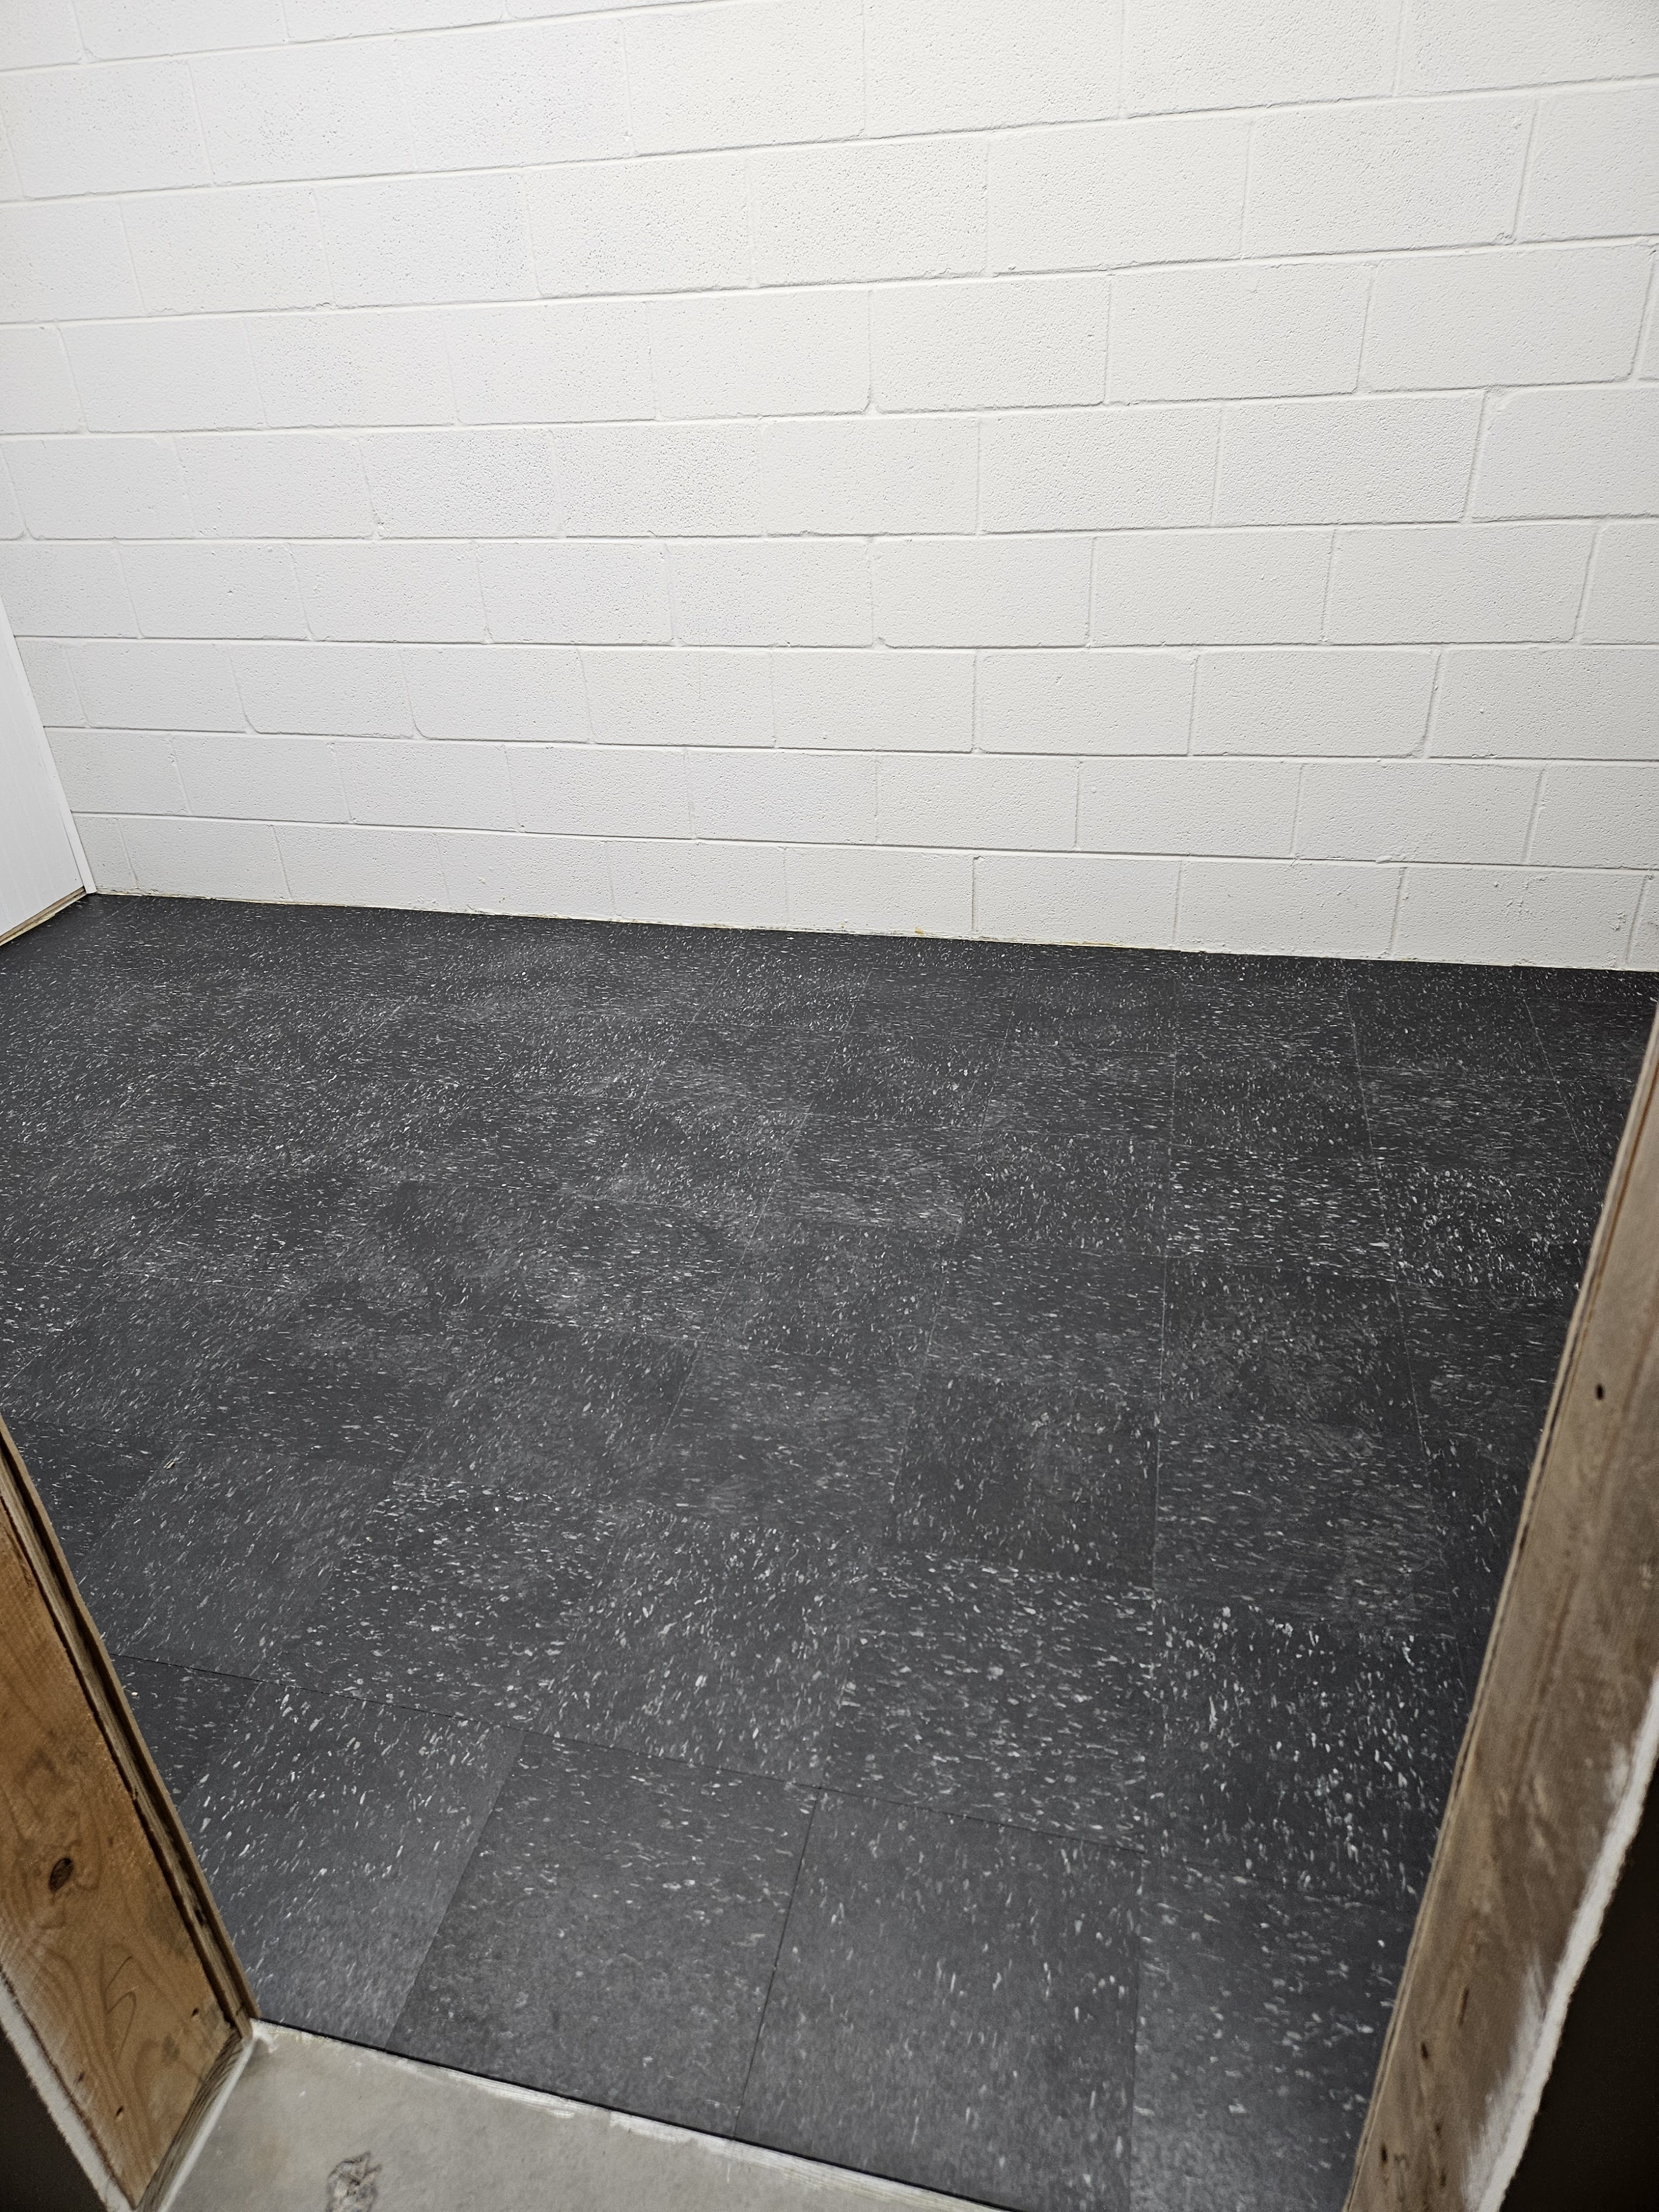
My husband had to work the next day, so I went to the Lowe’s in Dayton, TN to get the flooring materials–black VCT (vinyl composite tile), adhesive, floor sealer, floor polish, spray bottles, and microfiber cloths. The next day, we got started on the tile.
We watched some YouTube videos, but none of them had all the information that you need to install the flooring tiles. Here are some tips that we learned:
- What we learned was that you put your lines on the floor before you spread your glue on.
- The glue has to be spread really thin. Make sure that you get the right tool for this. I bought a trowel with really tiny teeth and then a plastic square with teeth on it that my husband used for the final passes.
- Putting the lines on the floor before putting the glue down works because you have to let the glue dry a little before you start installing tiles and at that point it’s translucent (but not very).
- We also learned that there are two sides to the tiles and they are different. On the tile that we used, one side was a black background with a white pattern and the other side is black with a tan/taupe pattern. We didn’t realize this until we already had about half the room finished.
- If you make a mistake, these tiles do NOT come up easily, but they do break easily. I bought 96 tiles and we had just enough to finish the room because we broke a couple trying to get them up.
- You can cut these easily with a razor knife and a straight edge–score them and then snap them.
- They have a “grain” to them which you are supposed to alternate–up/down and then side to side–just turning them 90 degrees.
- You absolutely must prepare the floor well. My husband ended up grinding off some rough spots so they wouldn’t telegraph through the flooring. Then we had to thoroughly vacuum everything (walls and ceiling too) and then wash the floor to ensure we got all the dust up.
- When you start laying the tile, lay about four or five tiles at the door way along the wall. Then you start building a pyramid shape so that you have 2 edges to work against. That really helps keep the tiles lined up and straight.
- It is critical that you get a good straight first few rows and then the rest goes down really easily.
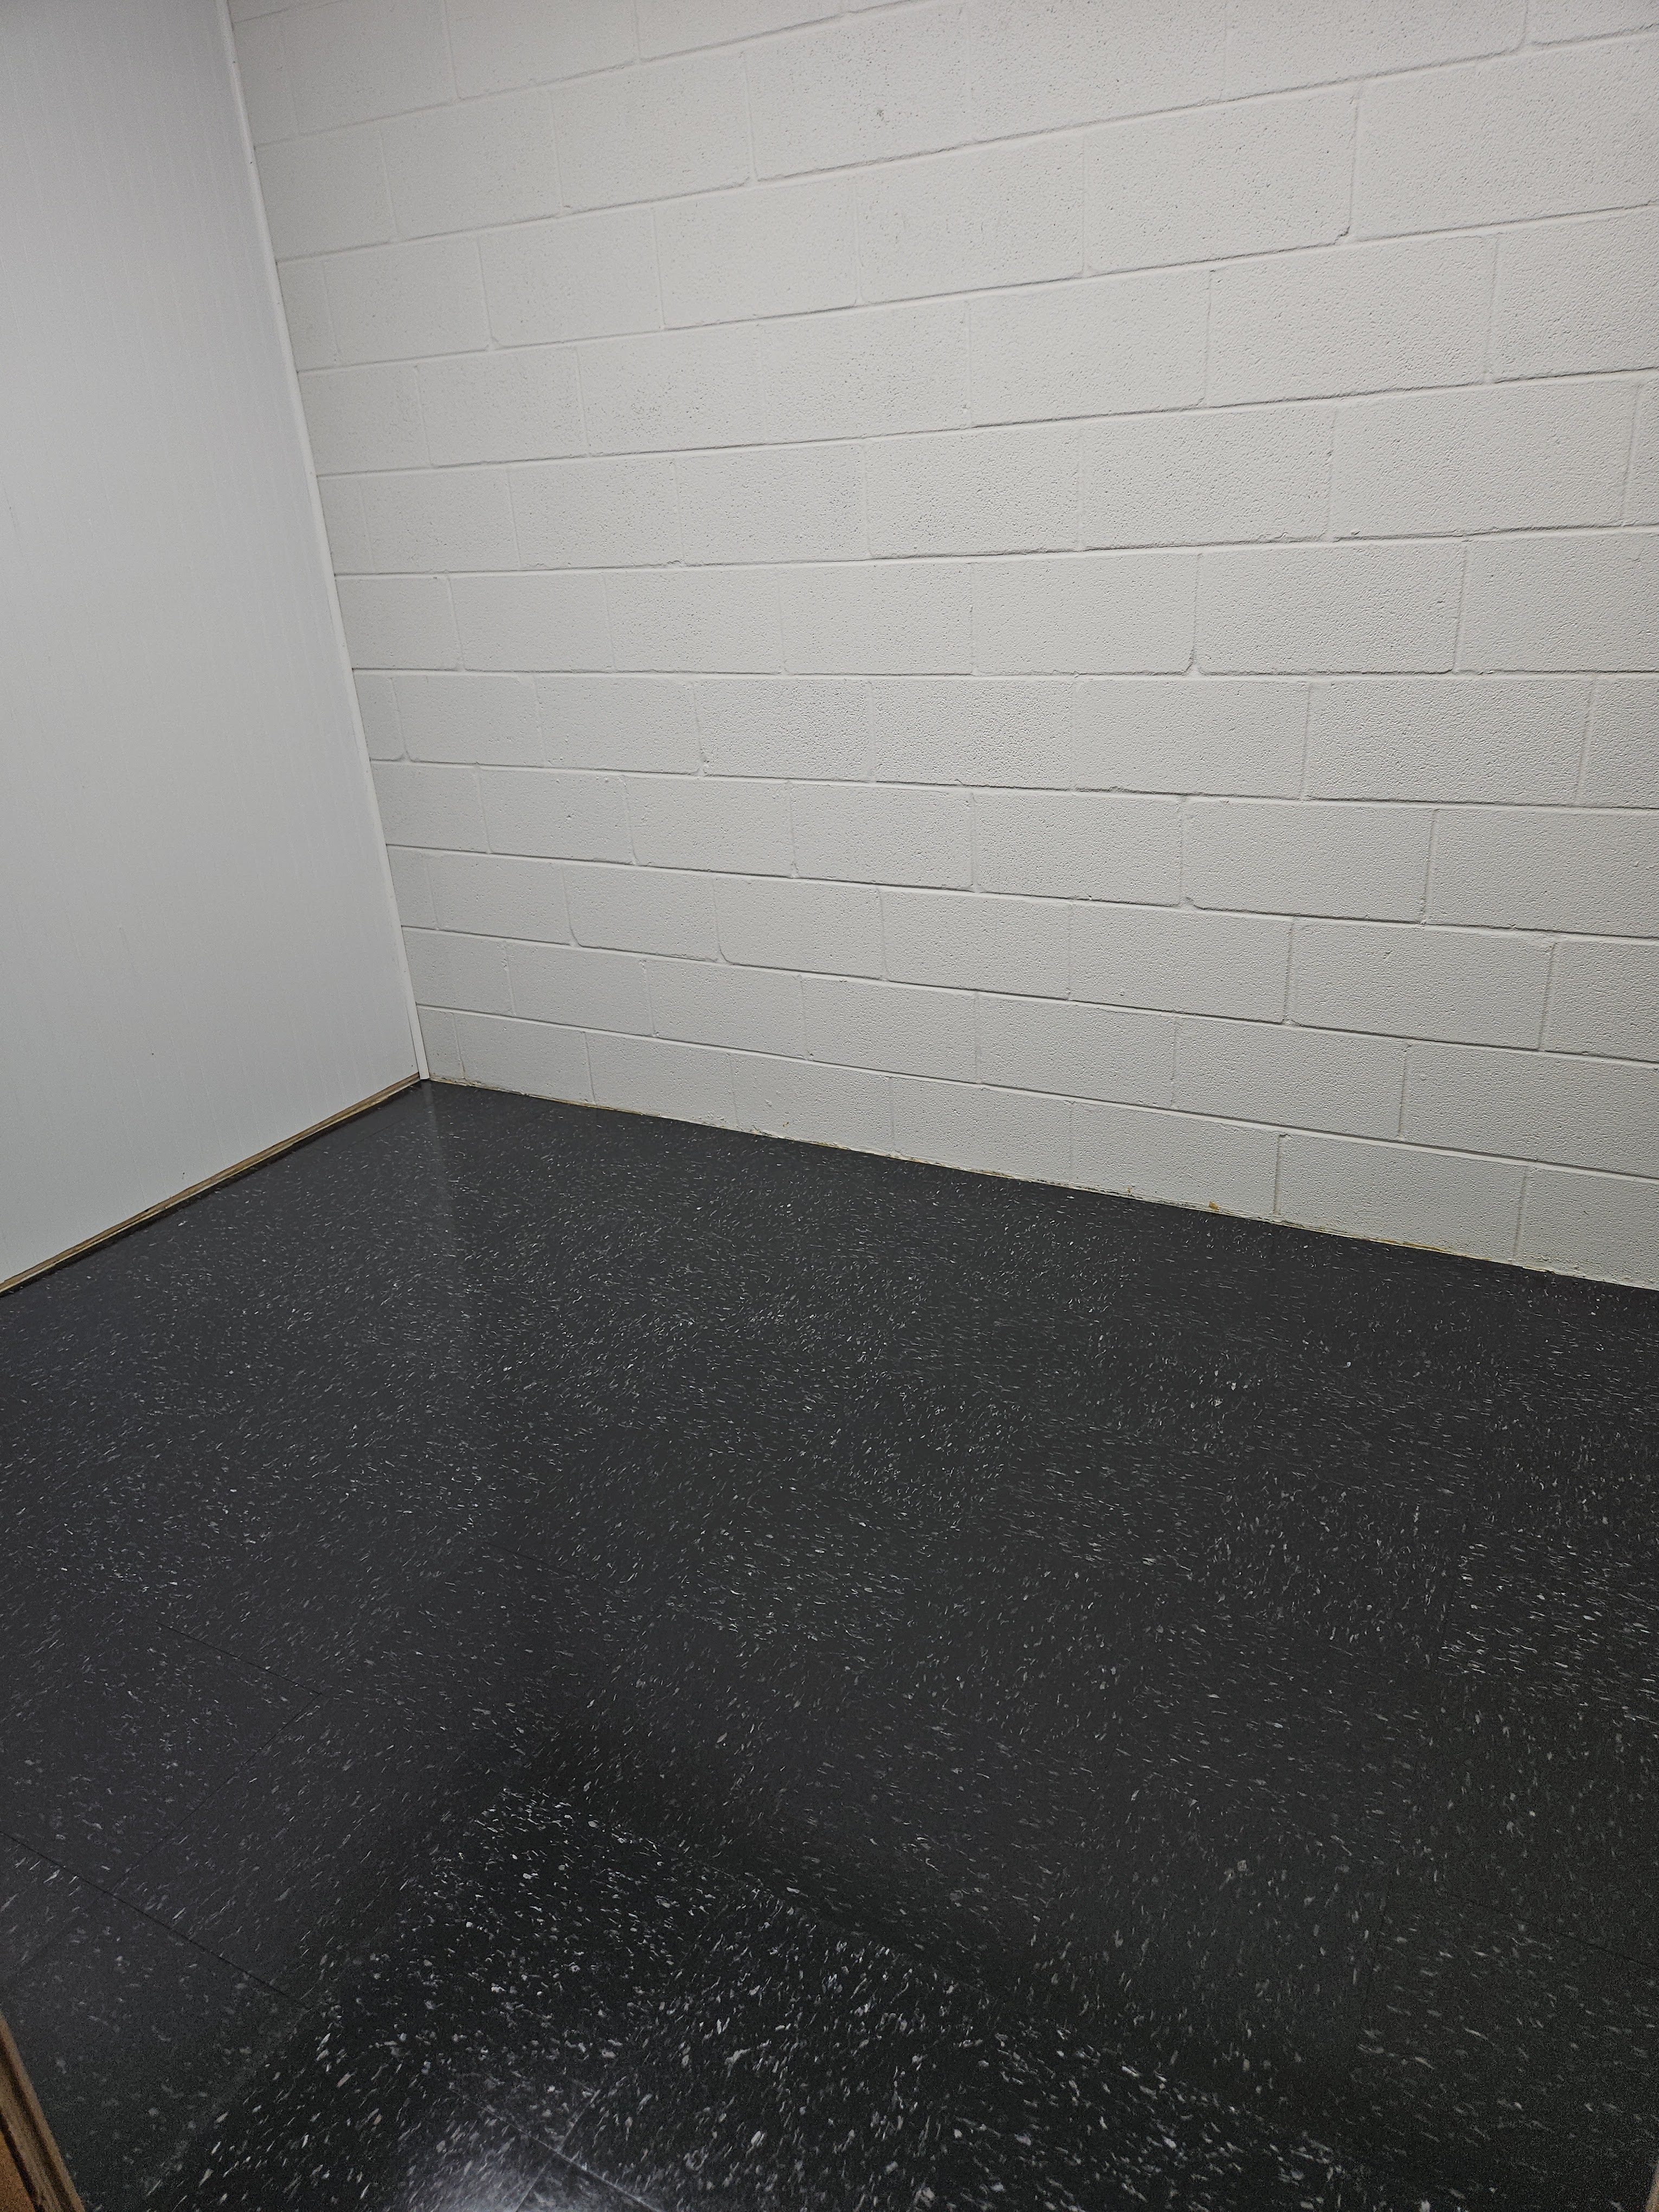
- Another thing they showed in the videos is that you must roll the tiles with a roller to make sure that they have good contact with the adhesive. There are a couple tiles that we didn’t get rolled as well as they should be and you can see the edges. Not a big deal in a storage room, but if you were going to do a big high traffic area, it would be a problem.
After you let the adhesive dry for 24 hours, then you clean it well–I used a swiffer and a vacuum and then wiped with damp cloths–you put down three coats of sealer using a spray bottle and wiping them with a microfiber cloth; and then 3 coats of polish using the same method allowing 30 minutes of dry time between coats. It wasn’t fun crawling around on the floor, but this process is really easy and very satisfying.
Then, we needed to add the baseboard. I bought pre-primed pine and painted them gloss white with some paint I had on hand. Once the paint on the baseboard was dry, we installed it. We secured it with nails on the framed walls, but had to use construction adhesive on the block walls. We held the baseboards in place with heavy boxes and our really handy extendable poles.
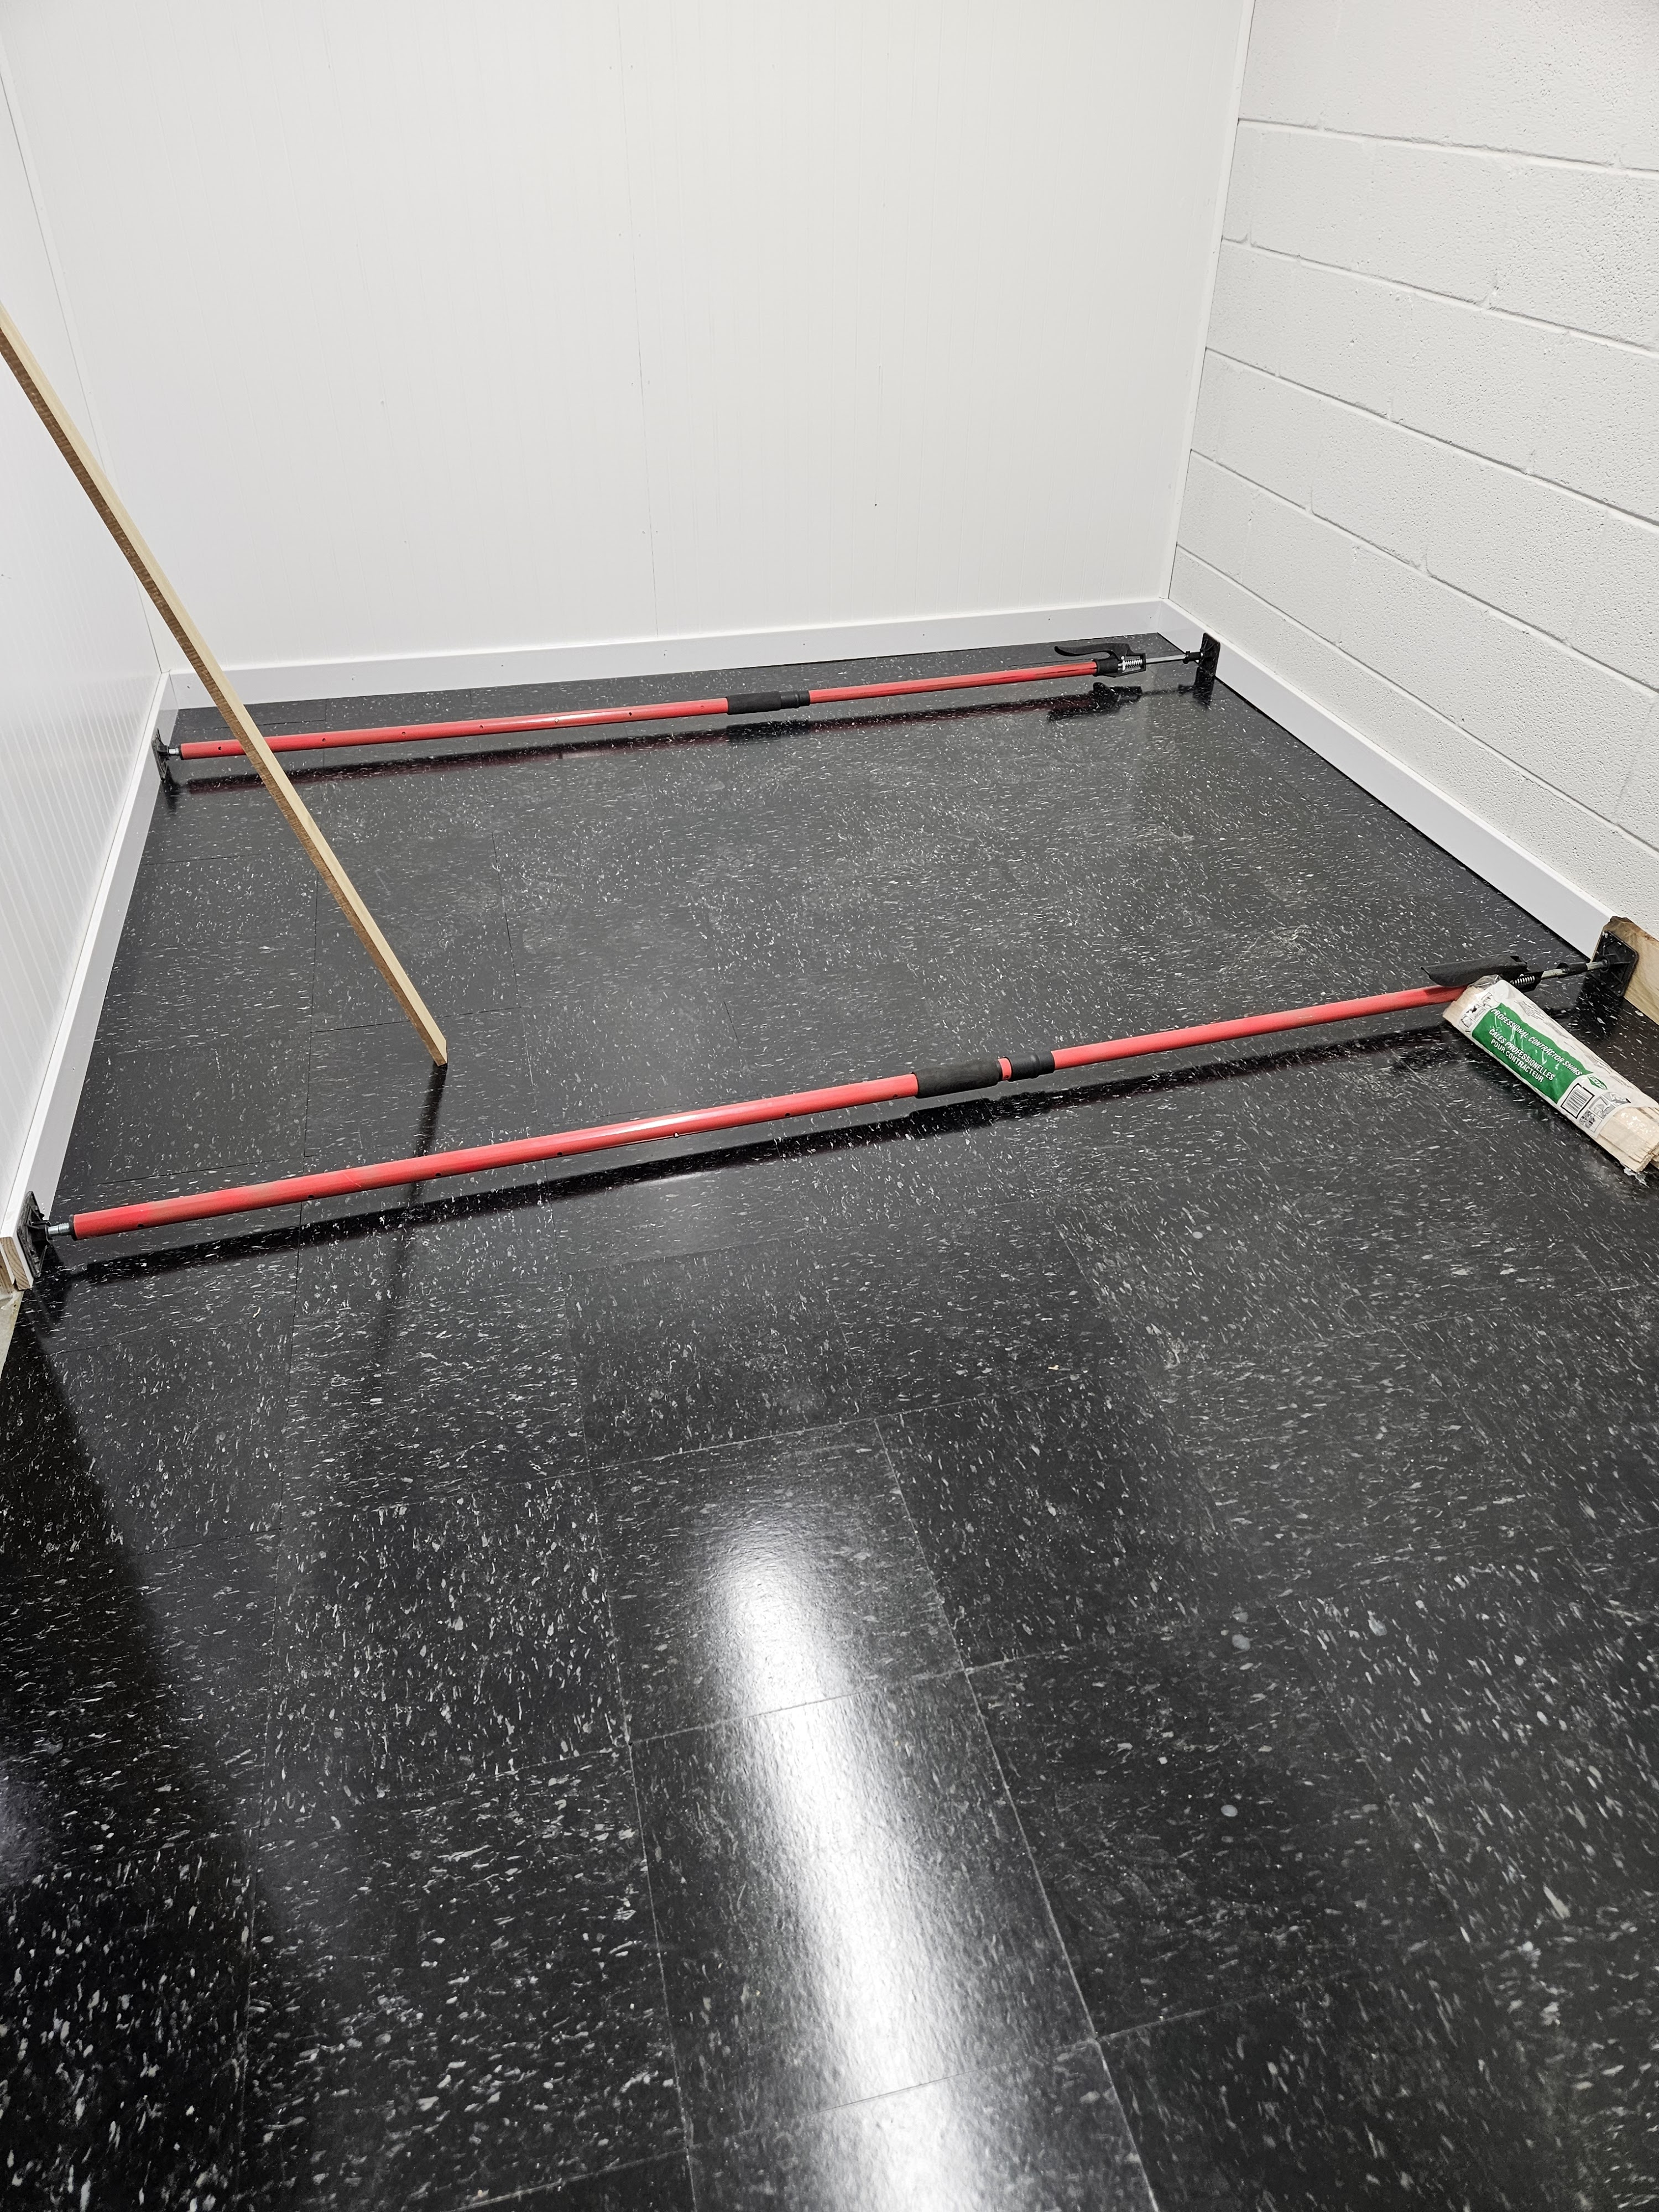
I took the poles out and put them and the boards away and then swiffered and vacuumed the room.
My goal for the day was to get all the totes, etc. out of the den.
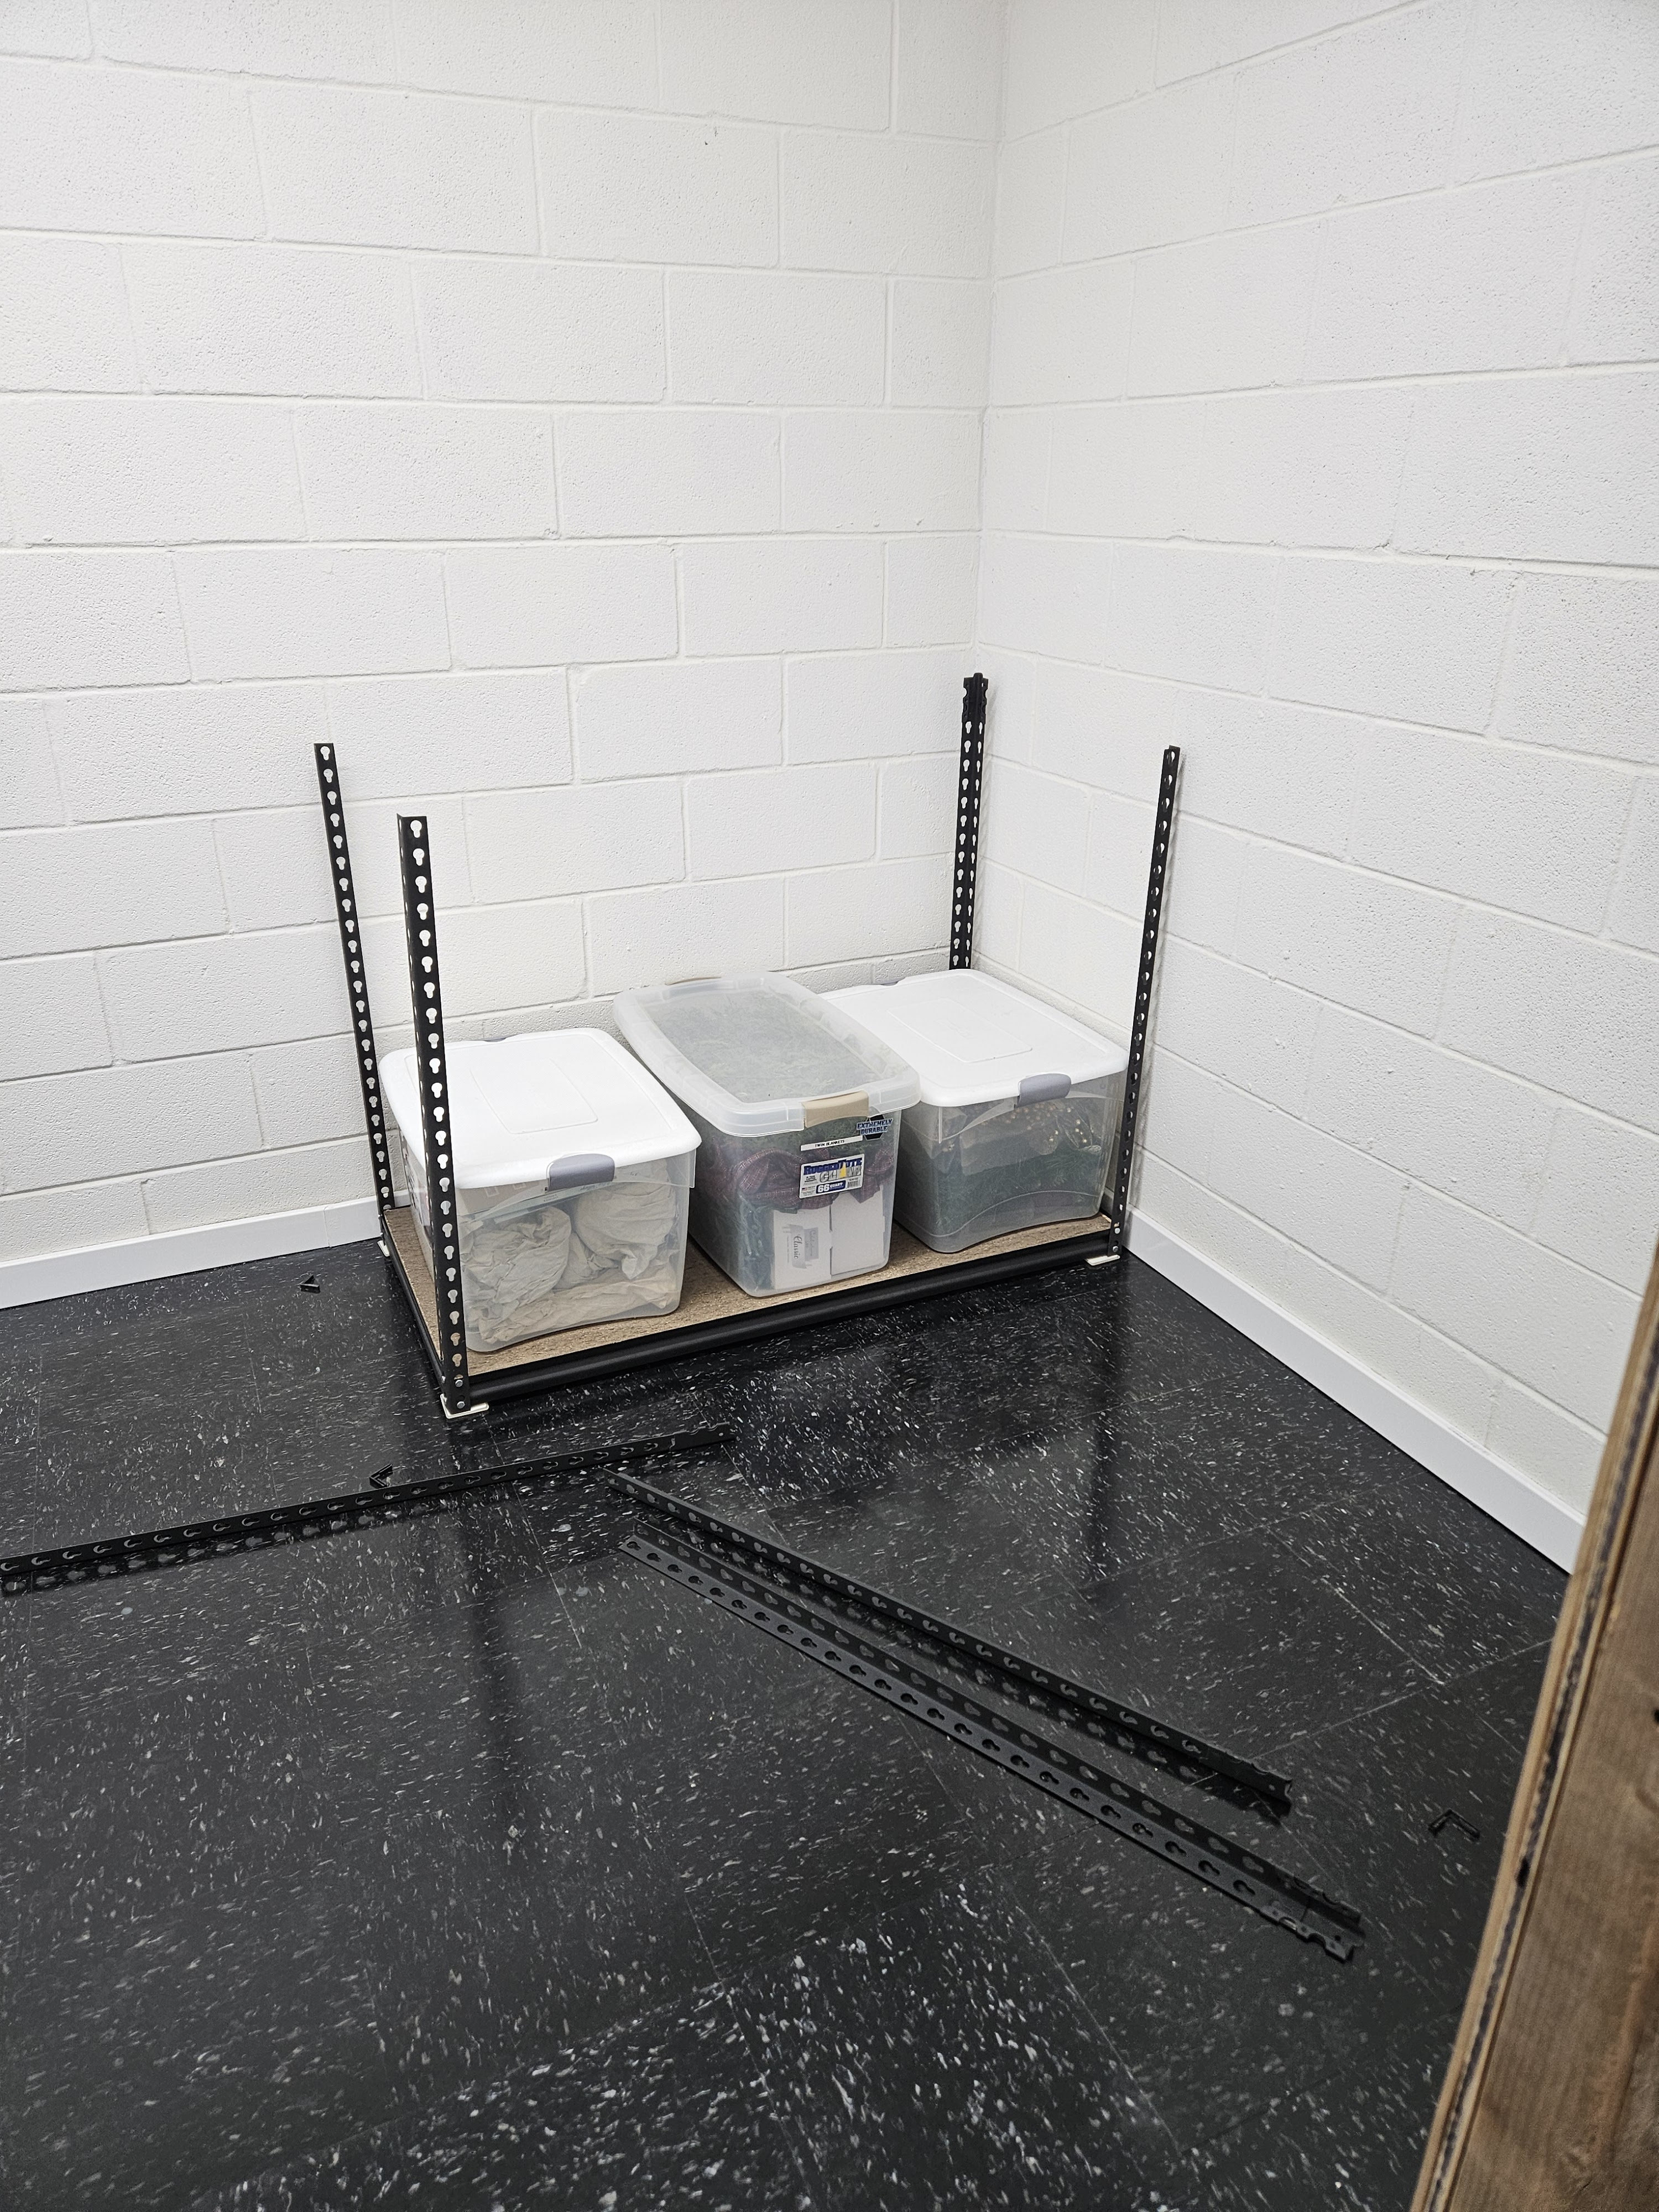
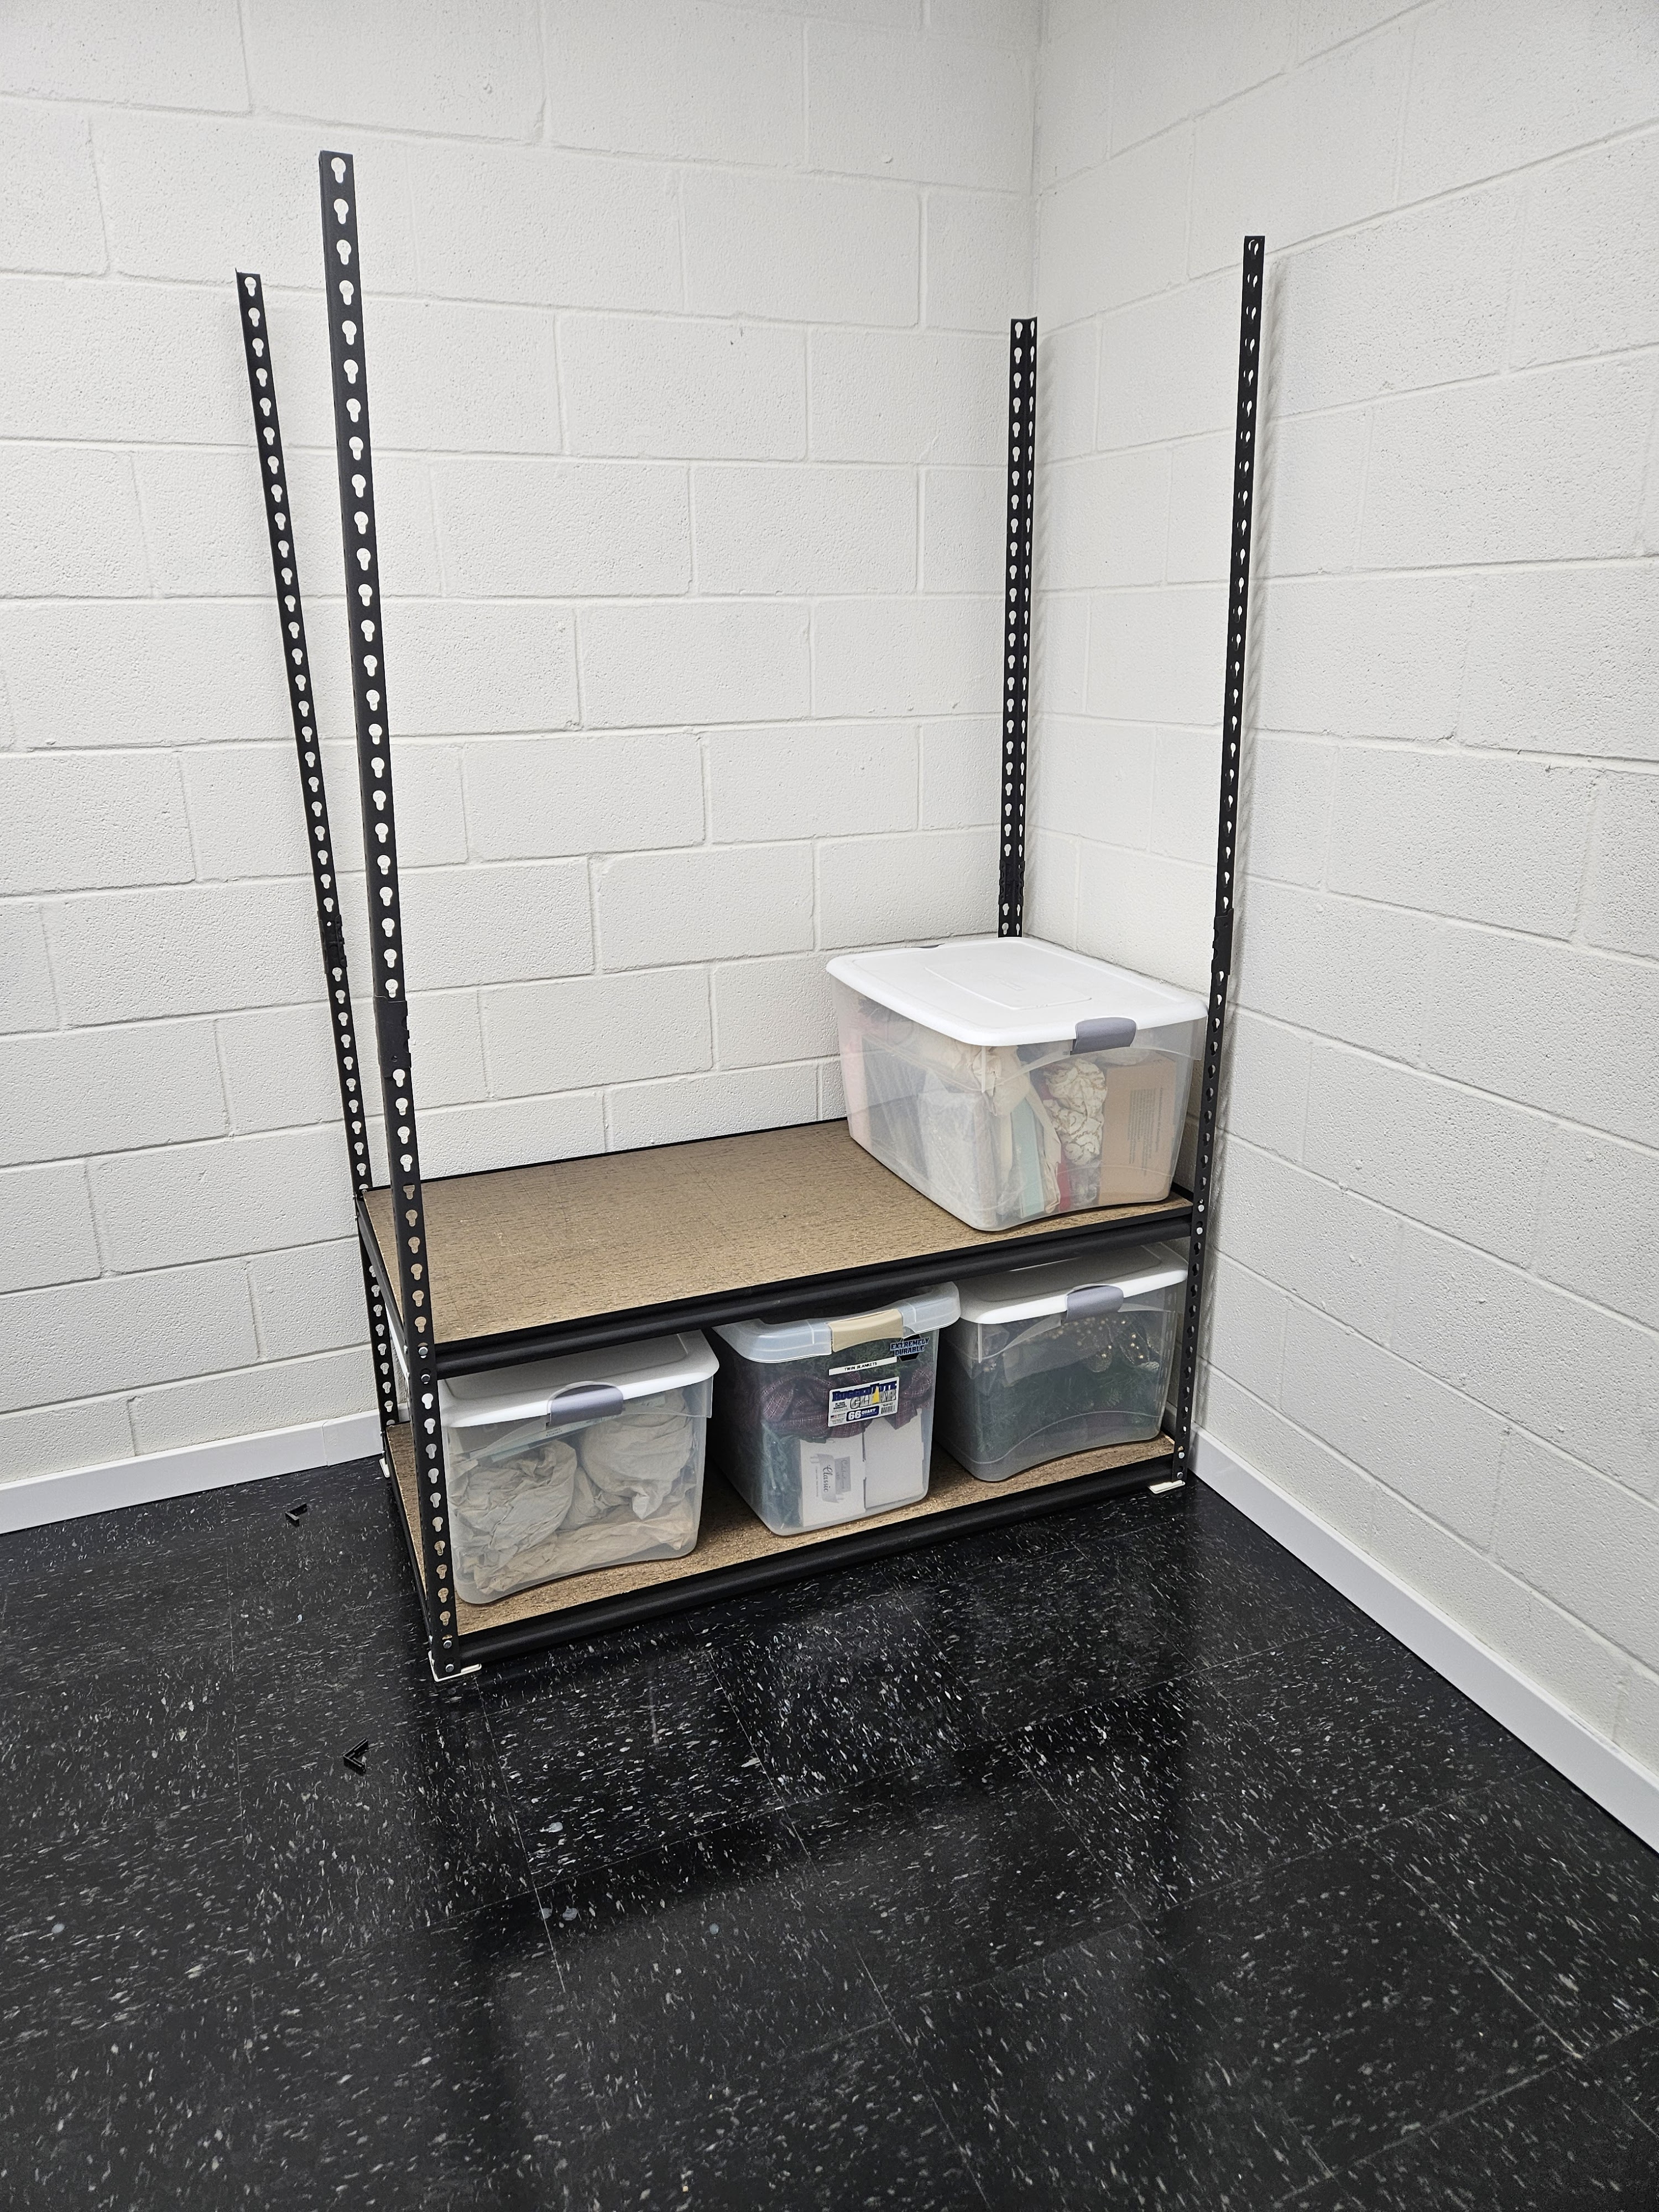
Then it was time to start building the shelving units. My first attempt was a disaster because I tried to put up the verticals when they were joined together and their full height. Then I changed tactics and started with half of the uprights because I decided it would be a lot easier with less of the vertical supports to deal with. I put the first shelf at basically floor level and then put the totes on it so I would know where to position the next shelf.
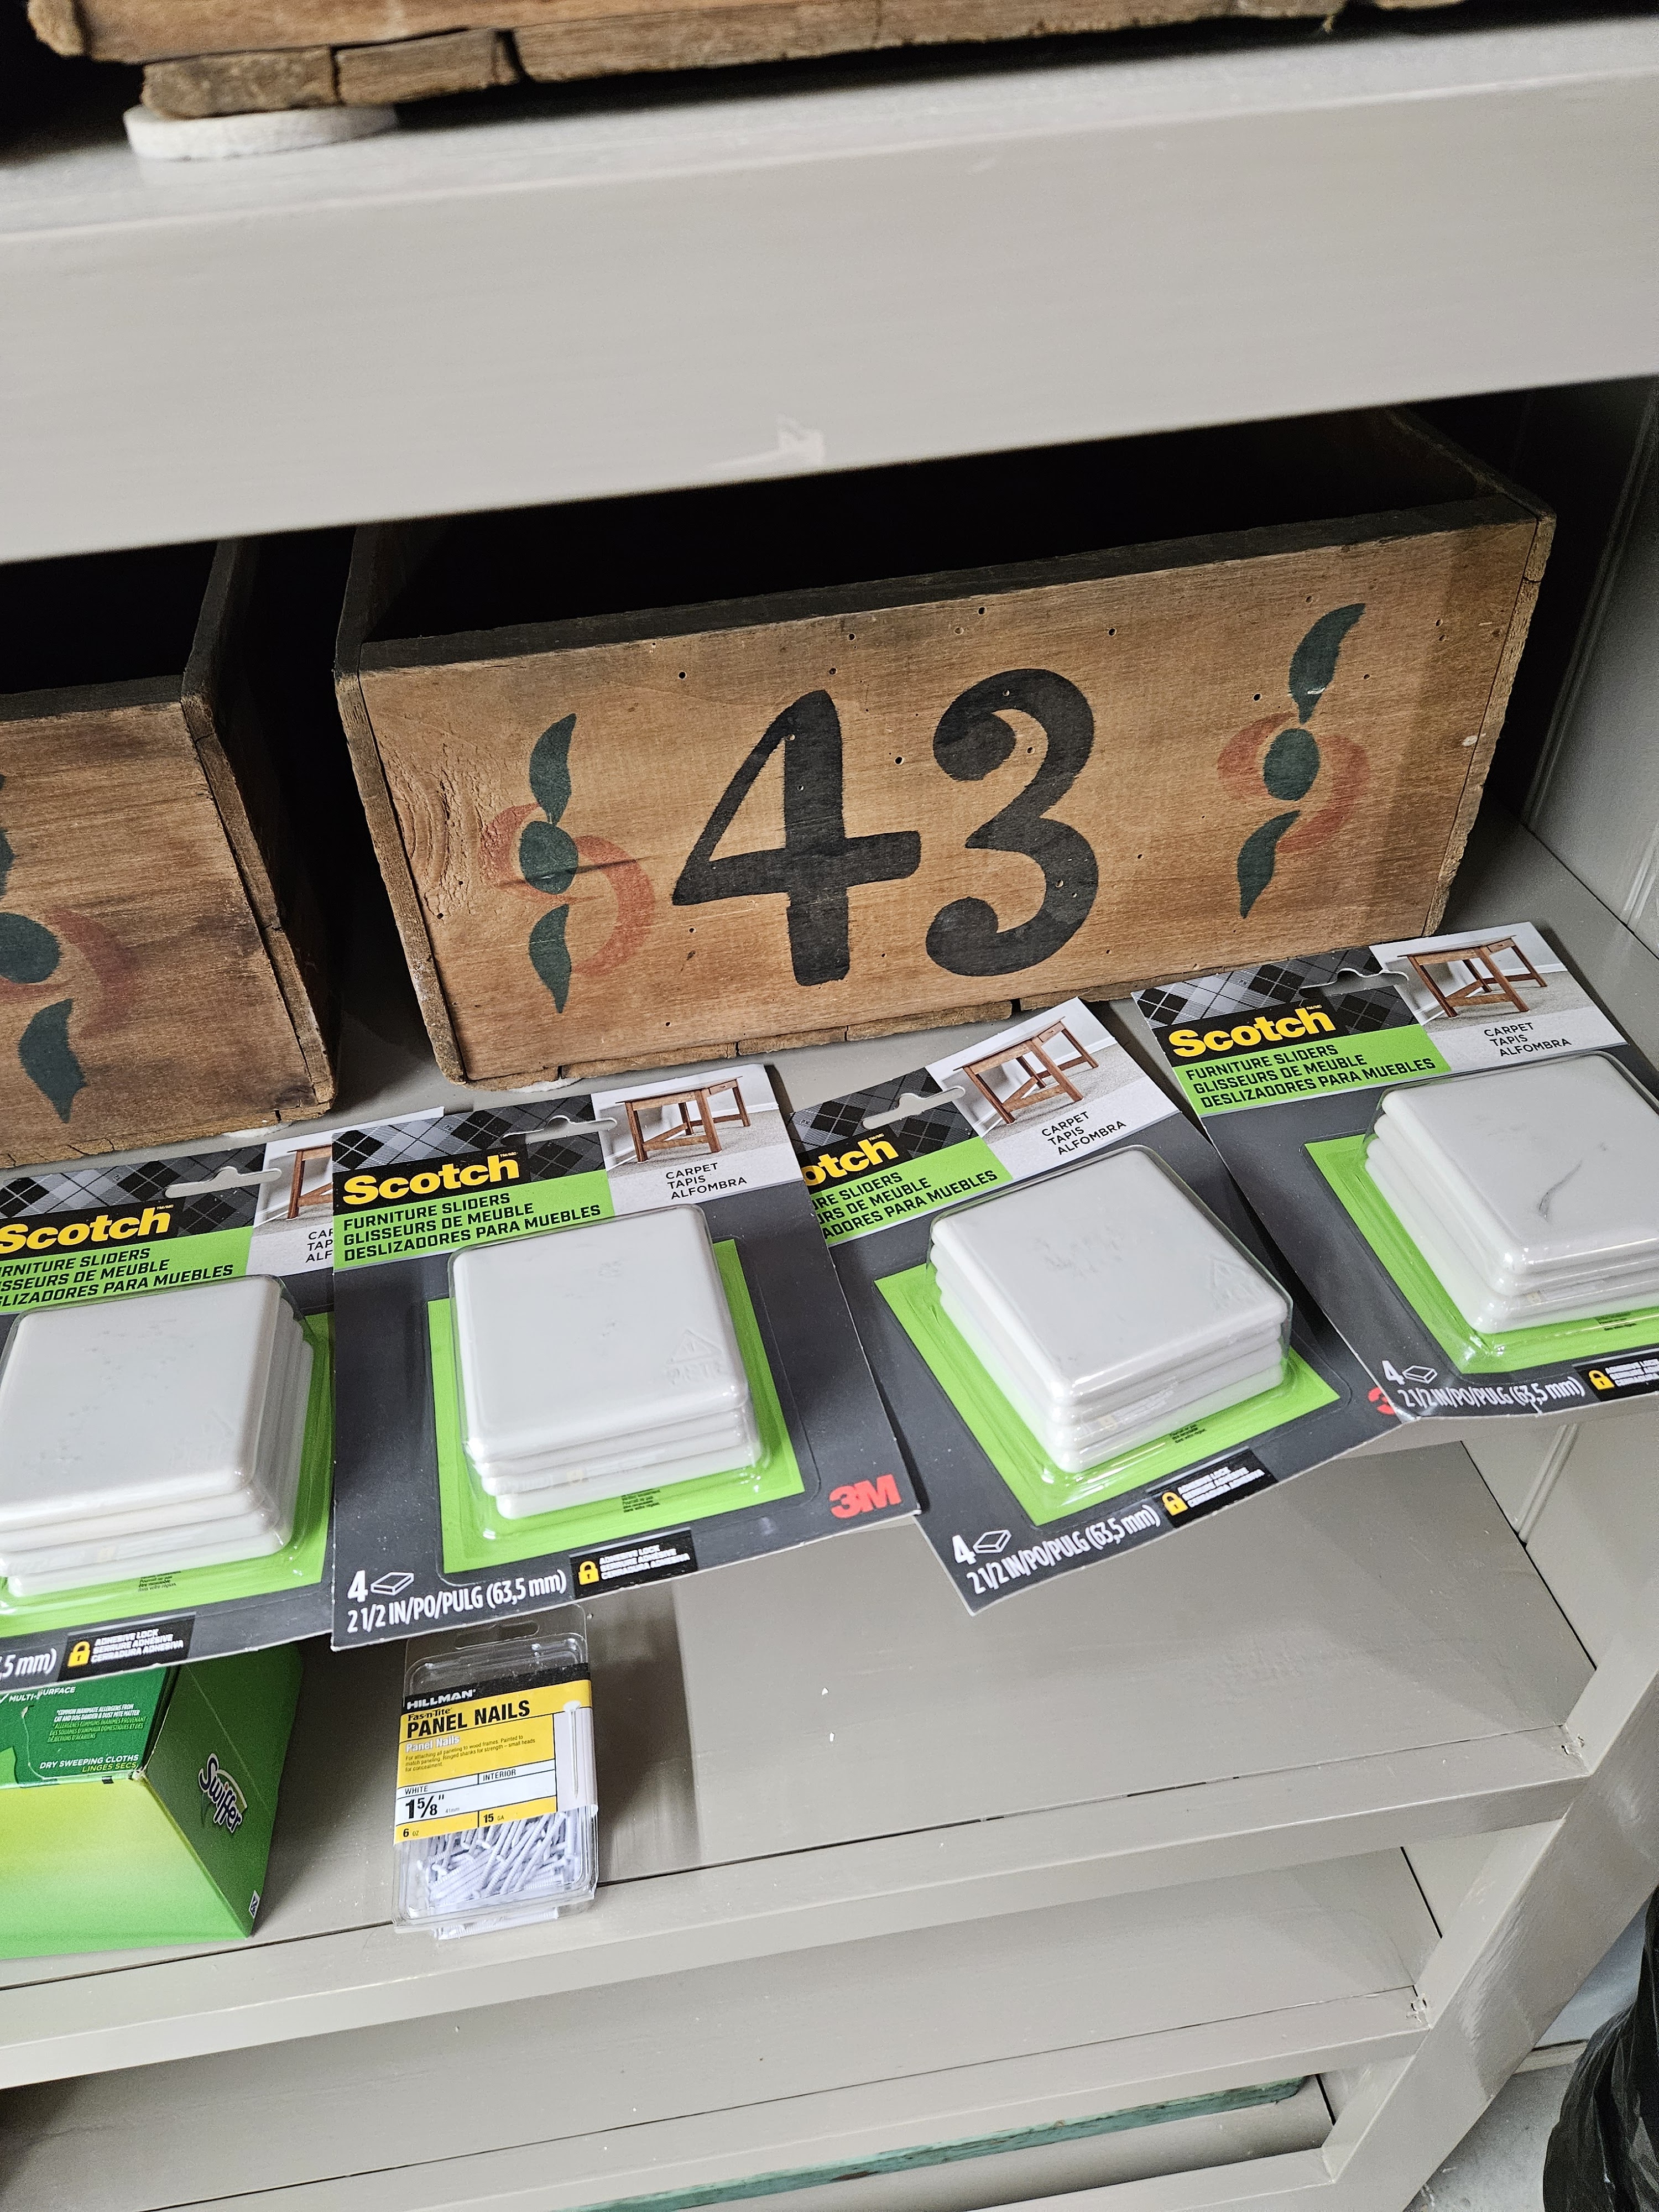
I put some floor protectors under the feet of the shelving units.
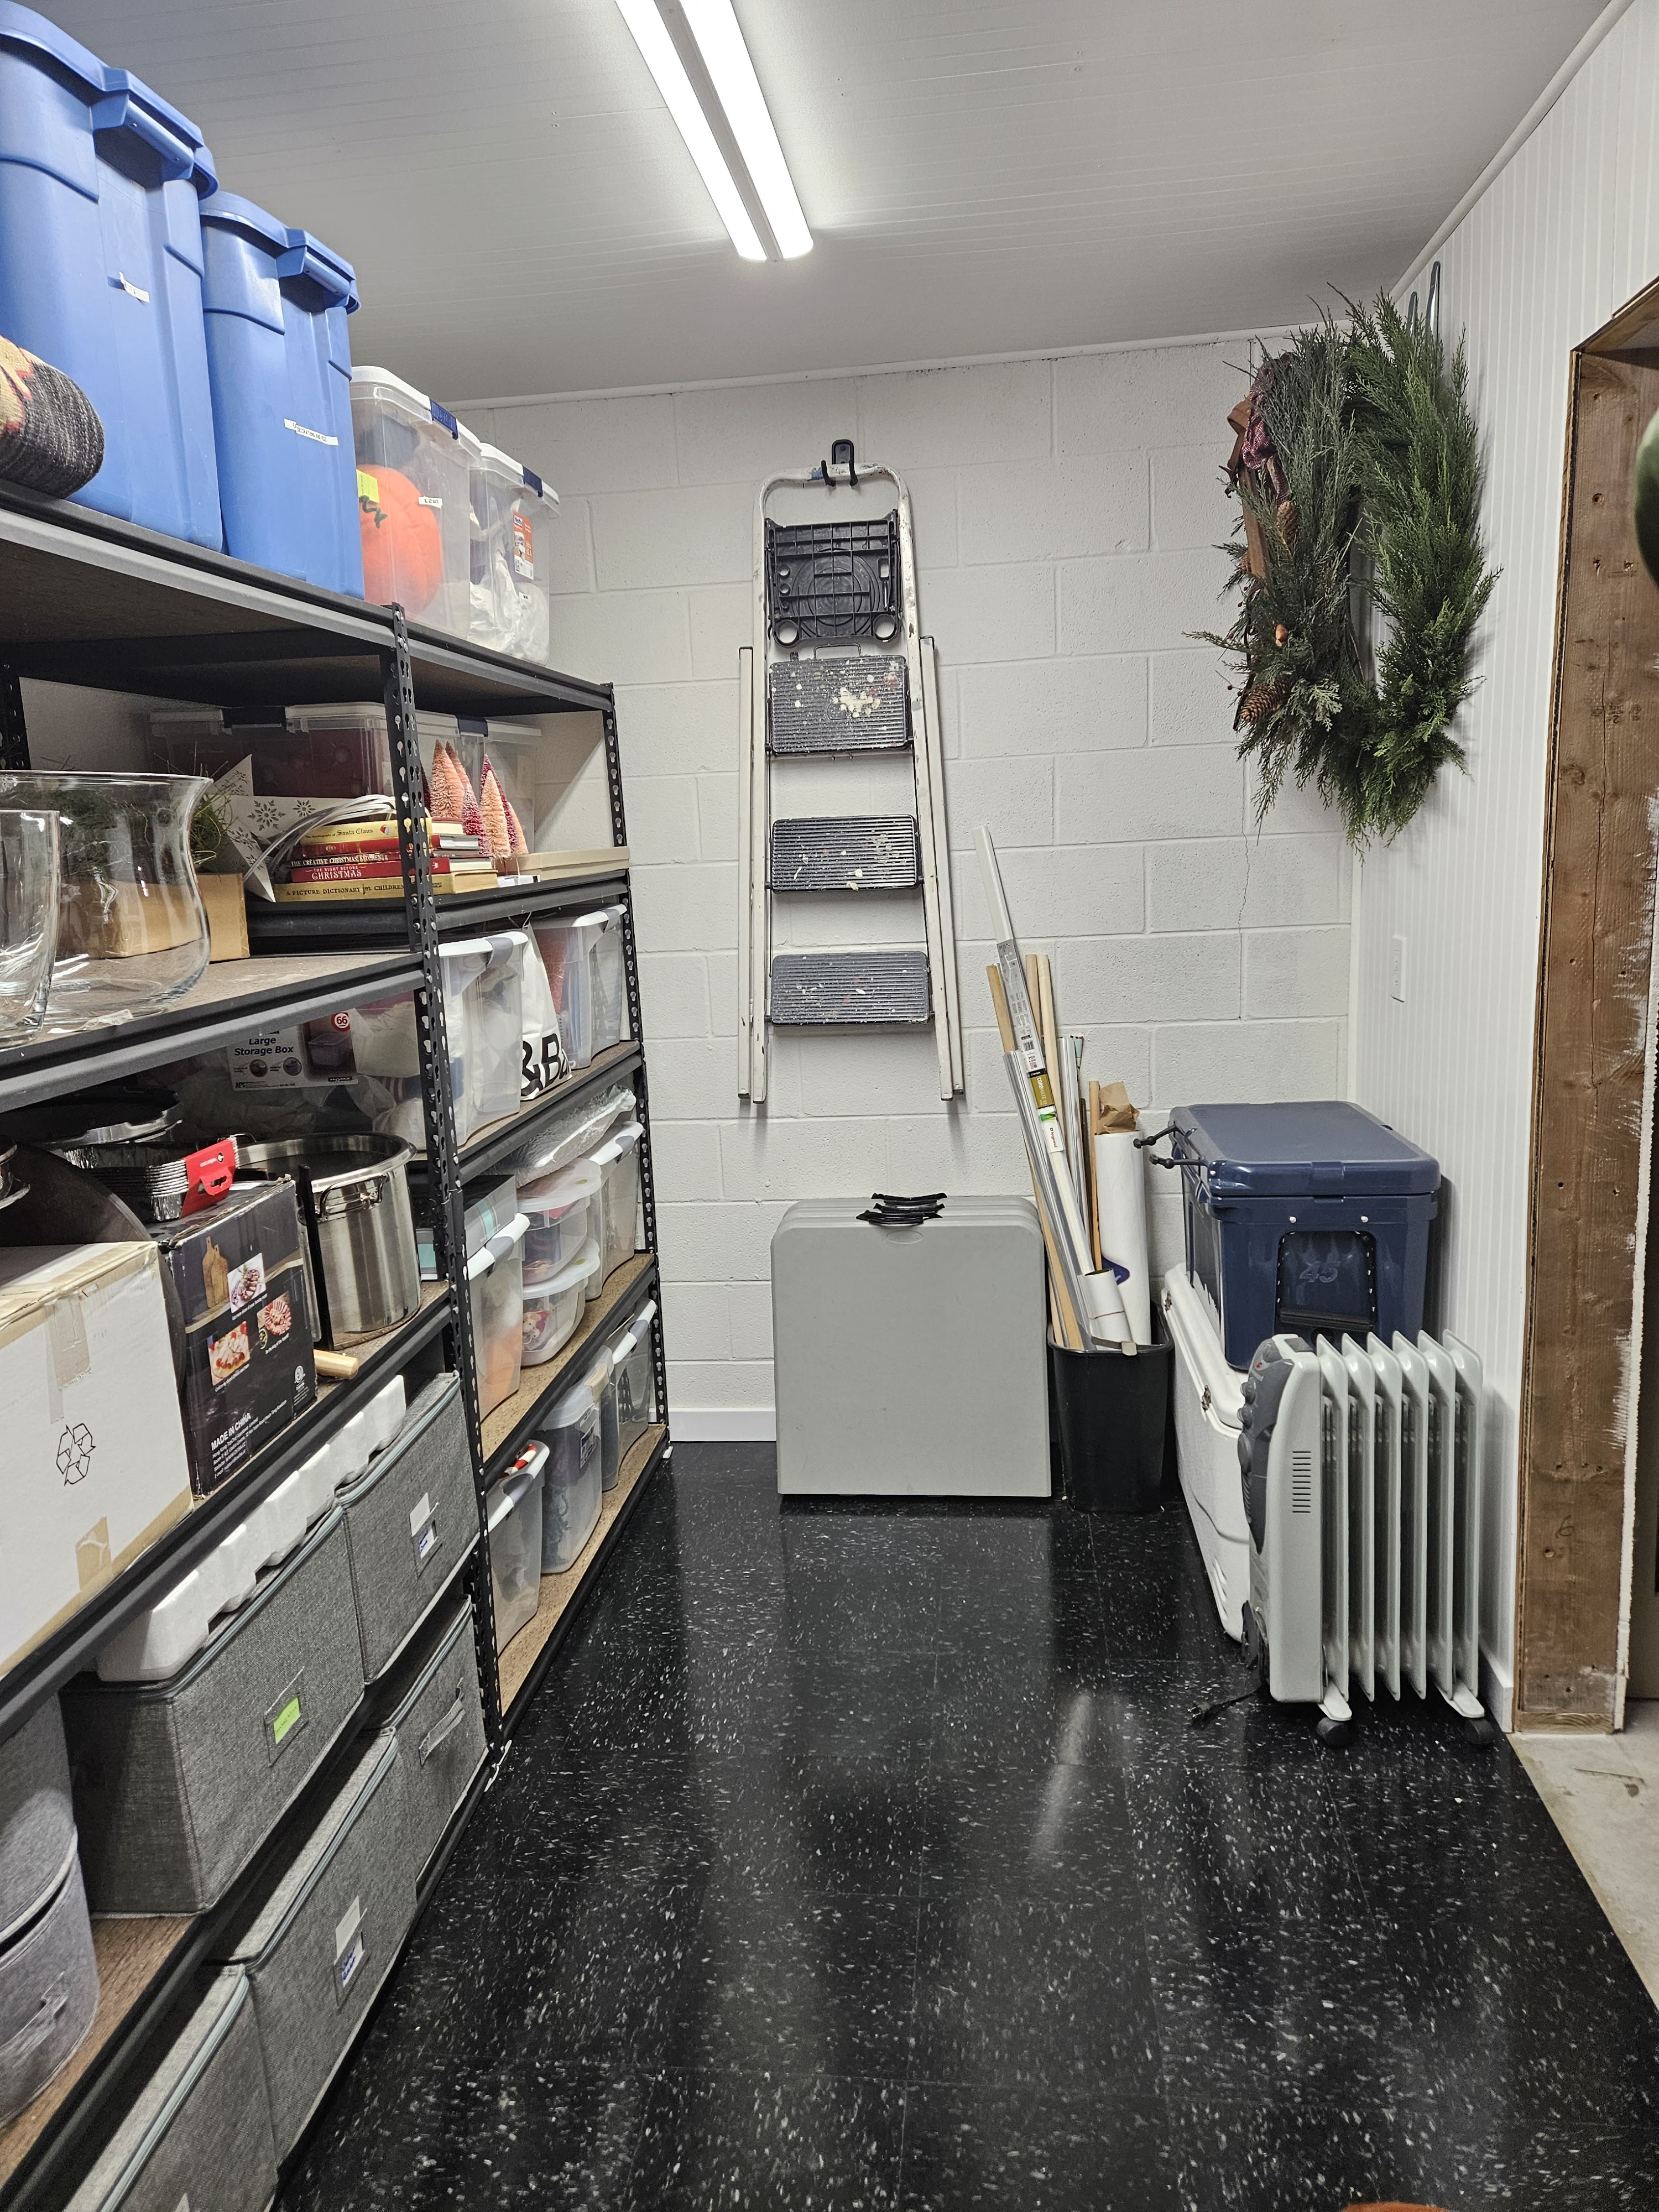
I proceeded in the same fashion for the rest of the shelves. This shelving unit is pretty much just holiday decor.
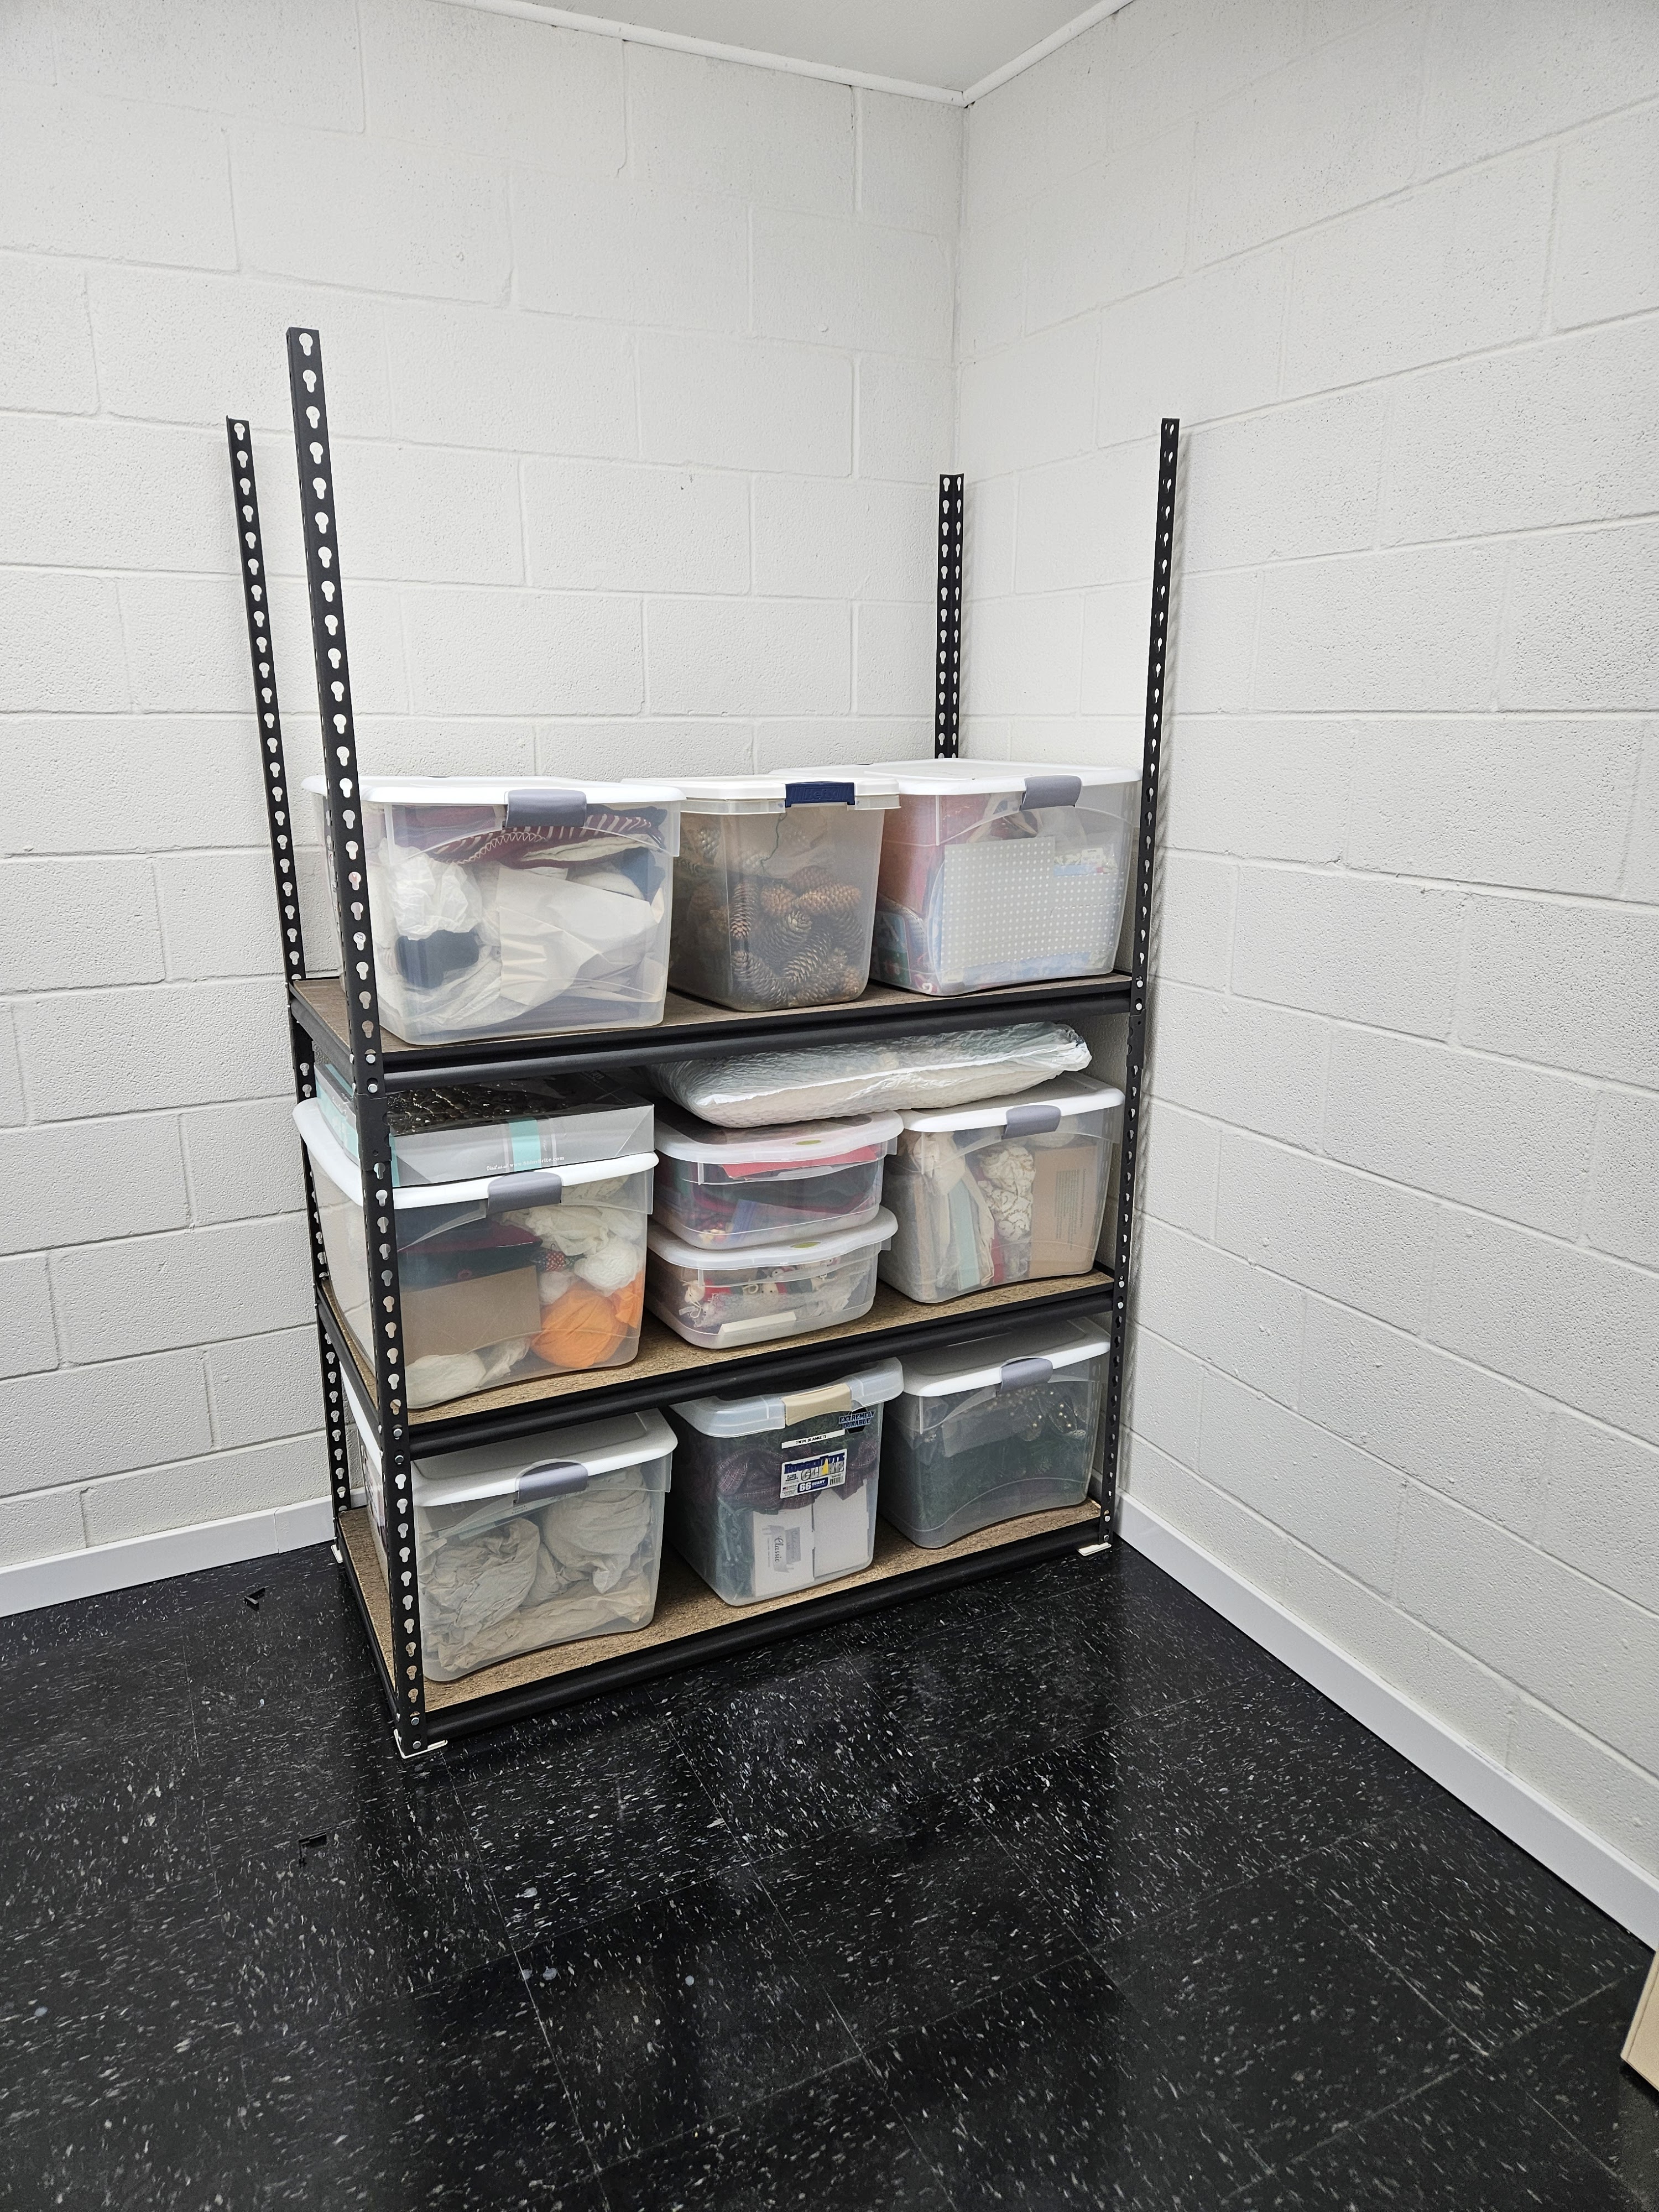
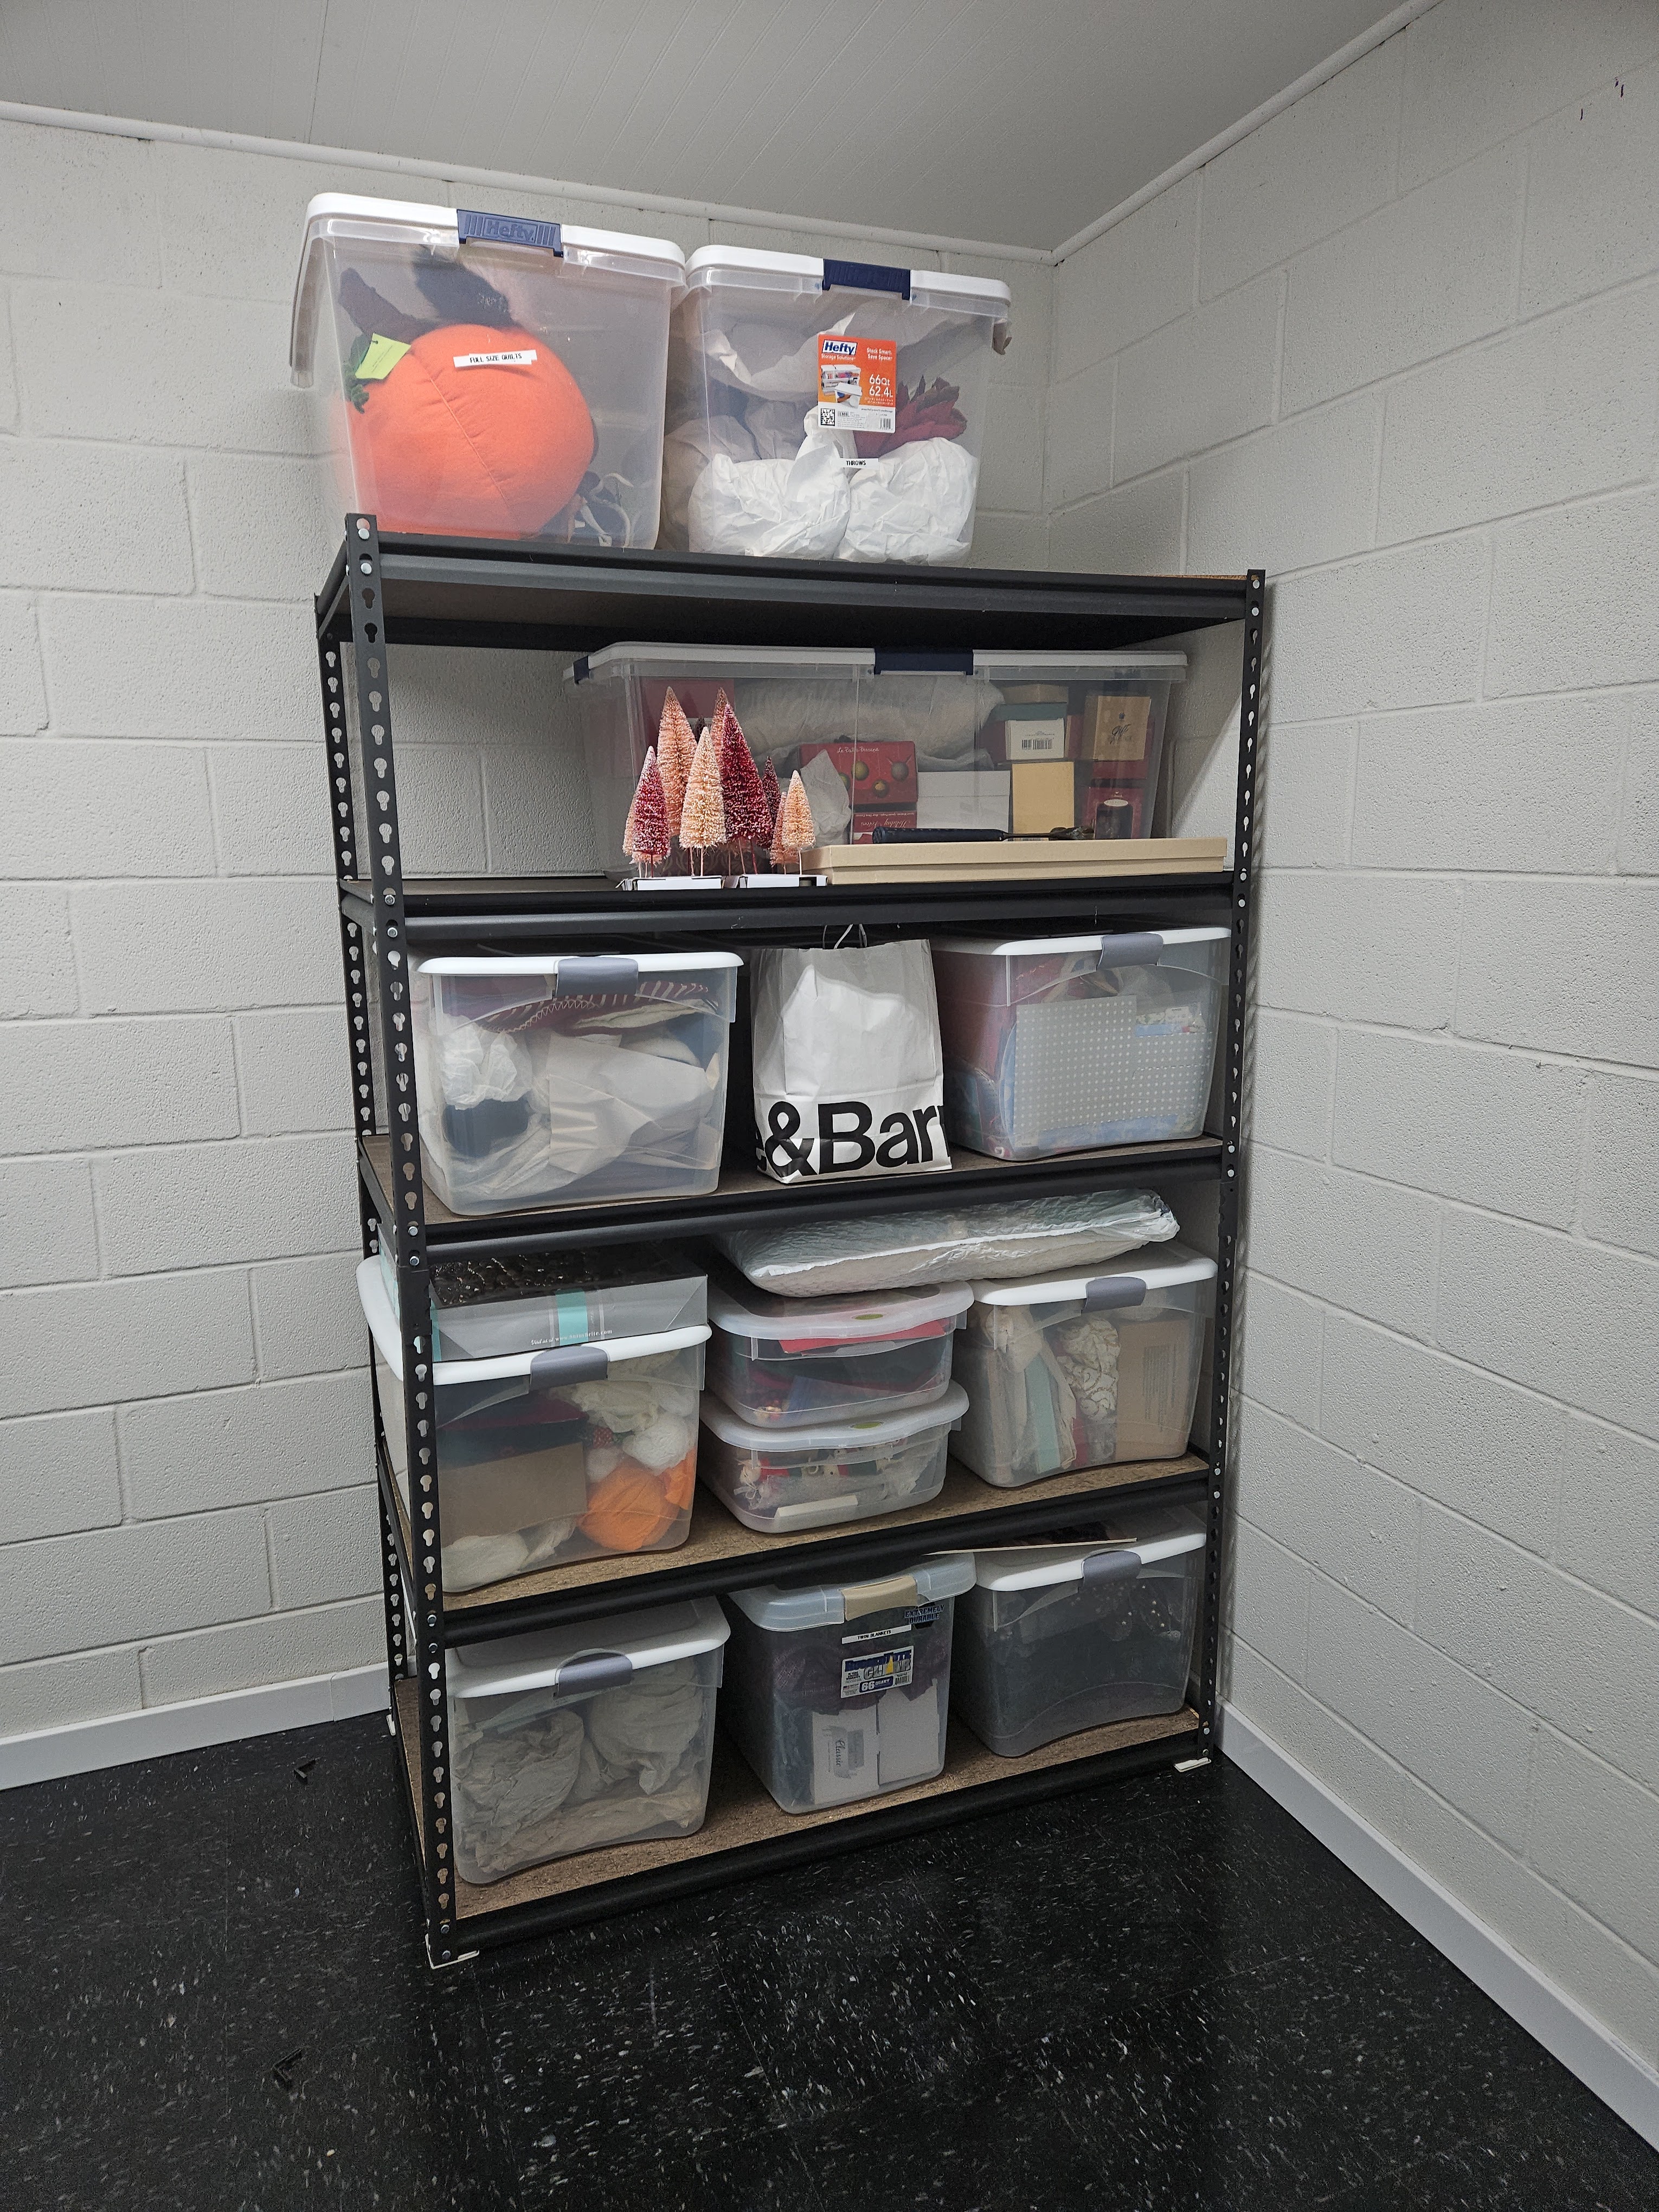
Then I worked through the rest of the shelving units. I’m glad that we gave ourselves some extra length beyond 12′ on this wall, or I don’t think these would have fit.
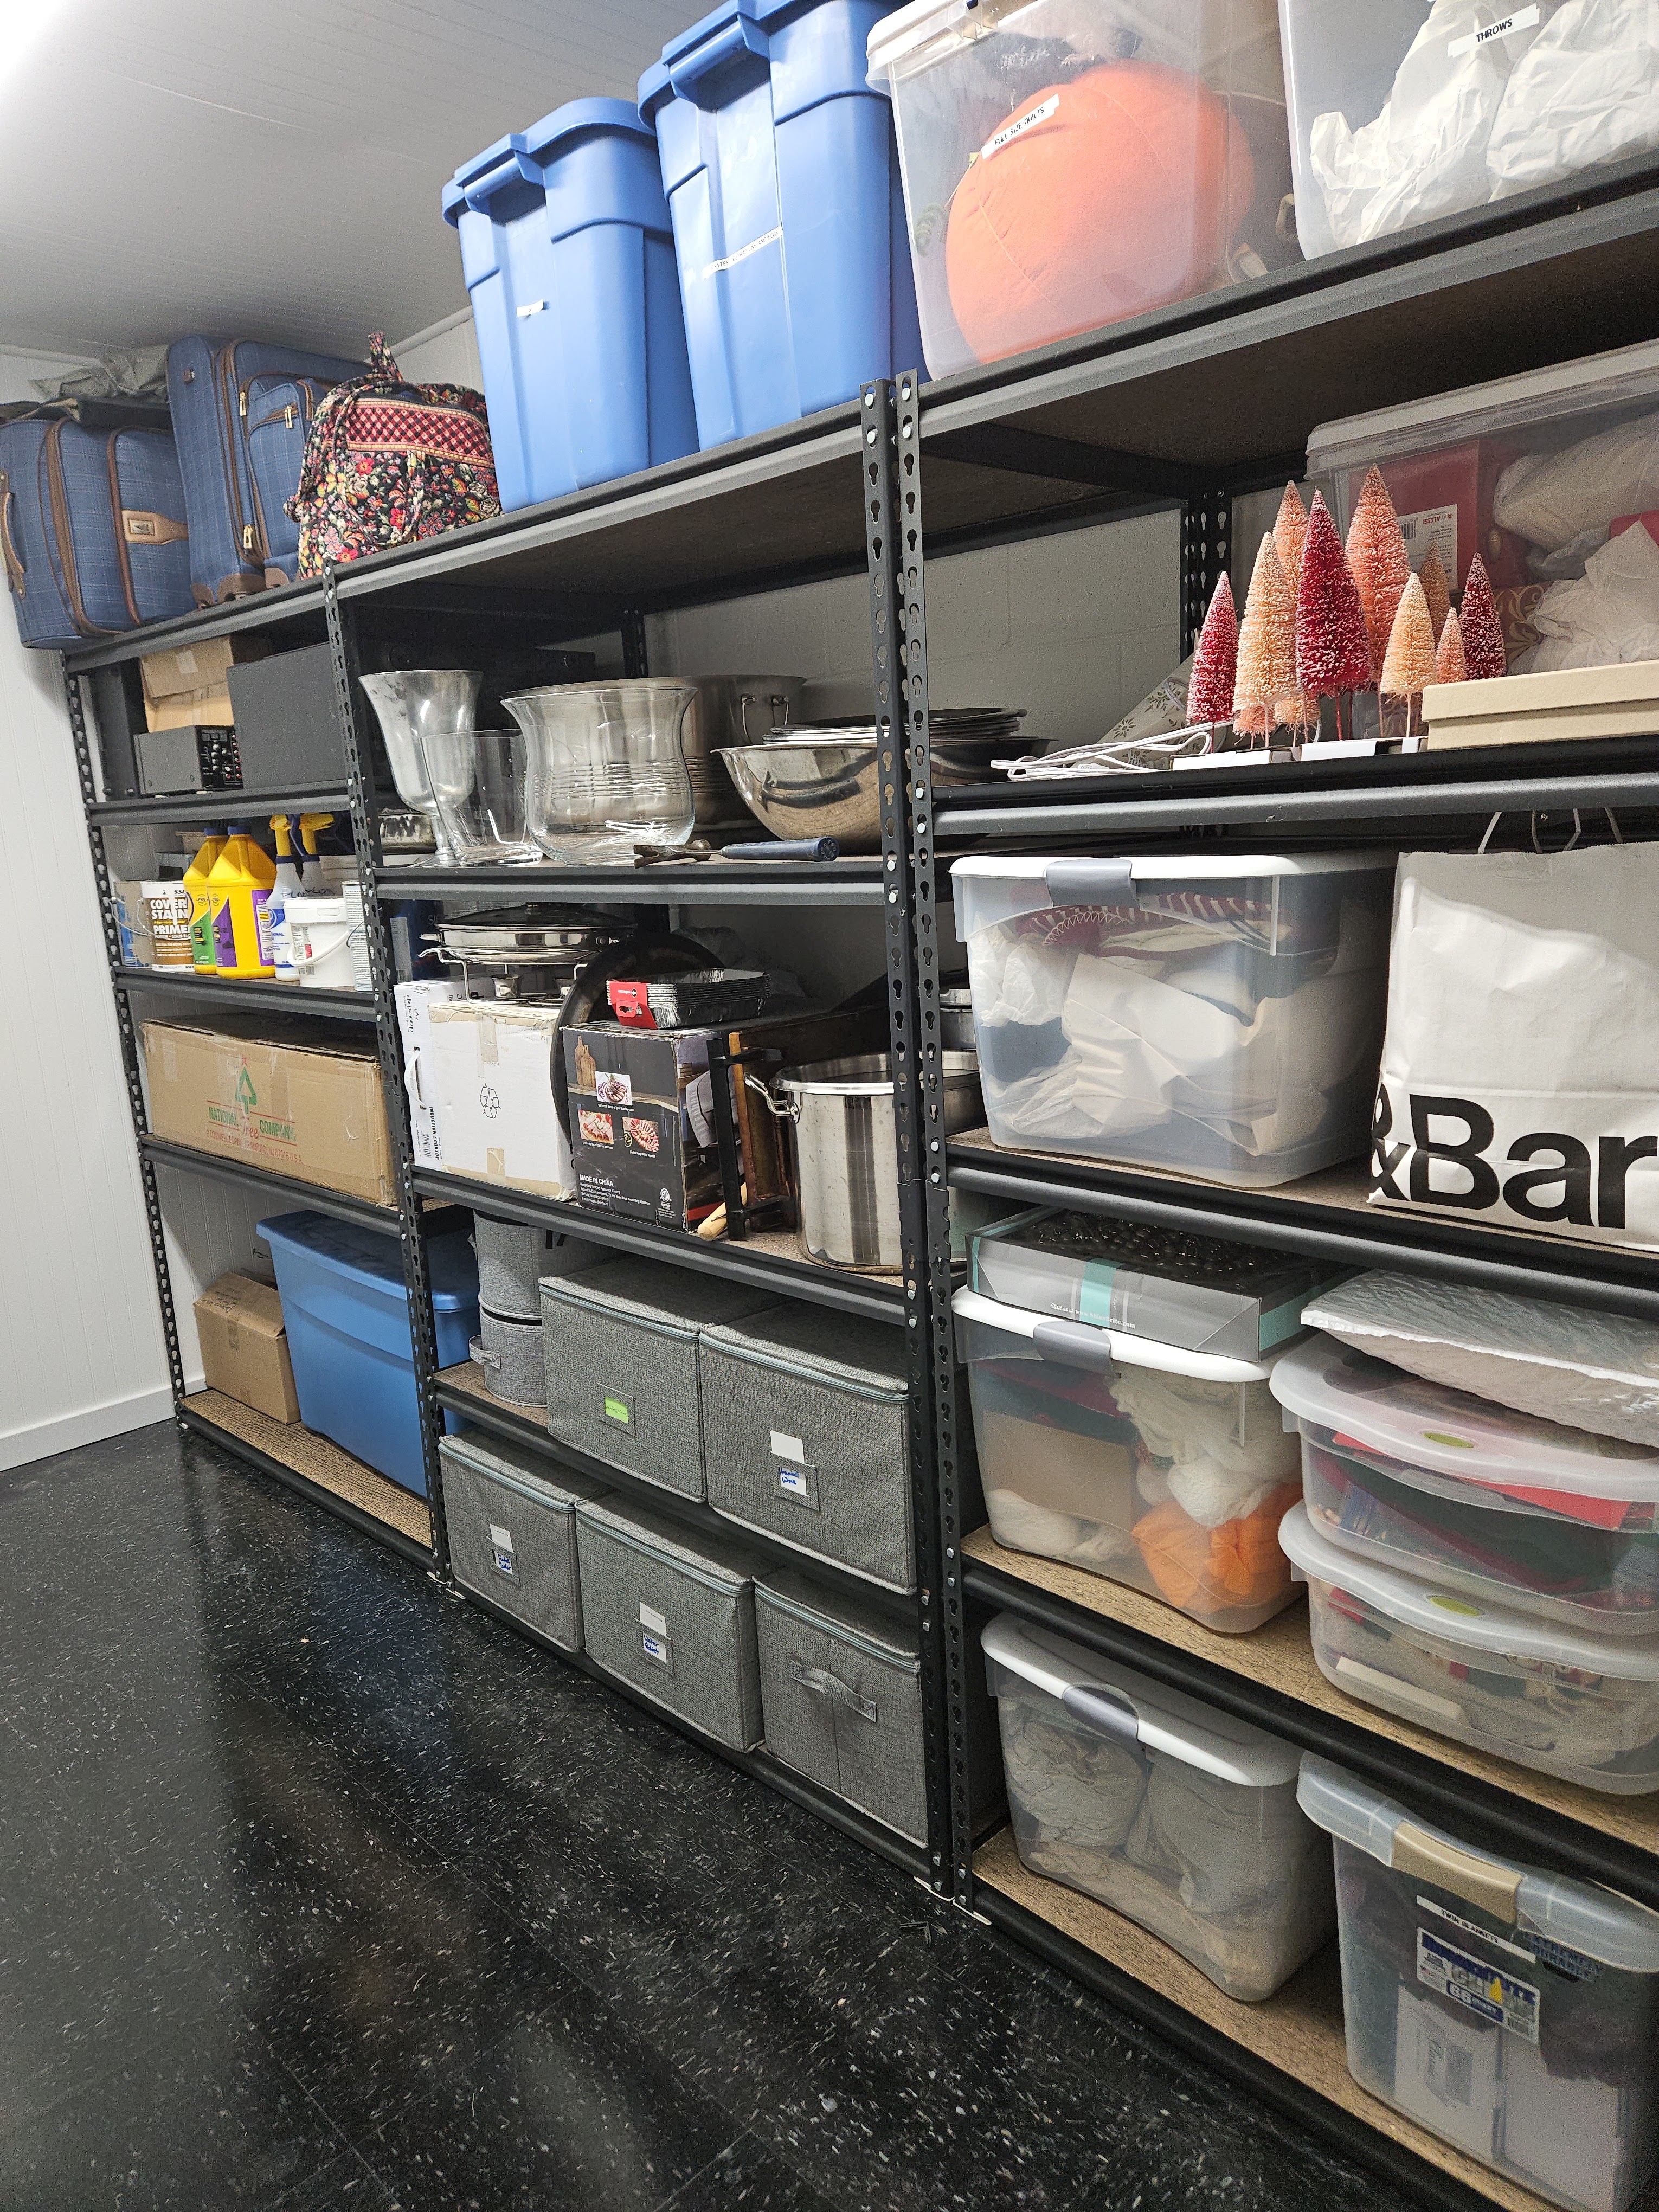
At each end of the room, there are items that have to sit on the floor.
We put up a couple of standards by Closet Maid on this wall to hold all of our canvas chairs. They don’t stack well, and since they’re self-supporting, I didn’t want to use shelf space for them. We have to keep our kids’ high chair for when we have little tiny kids here.
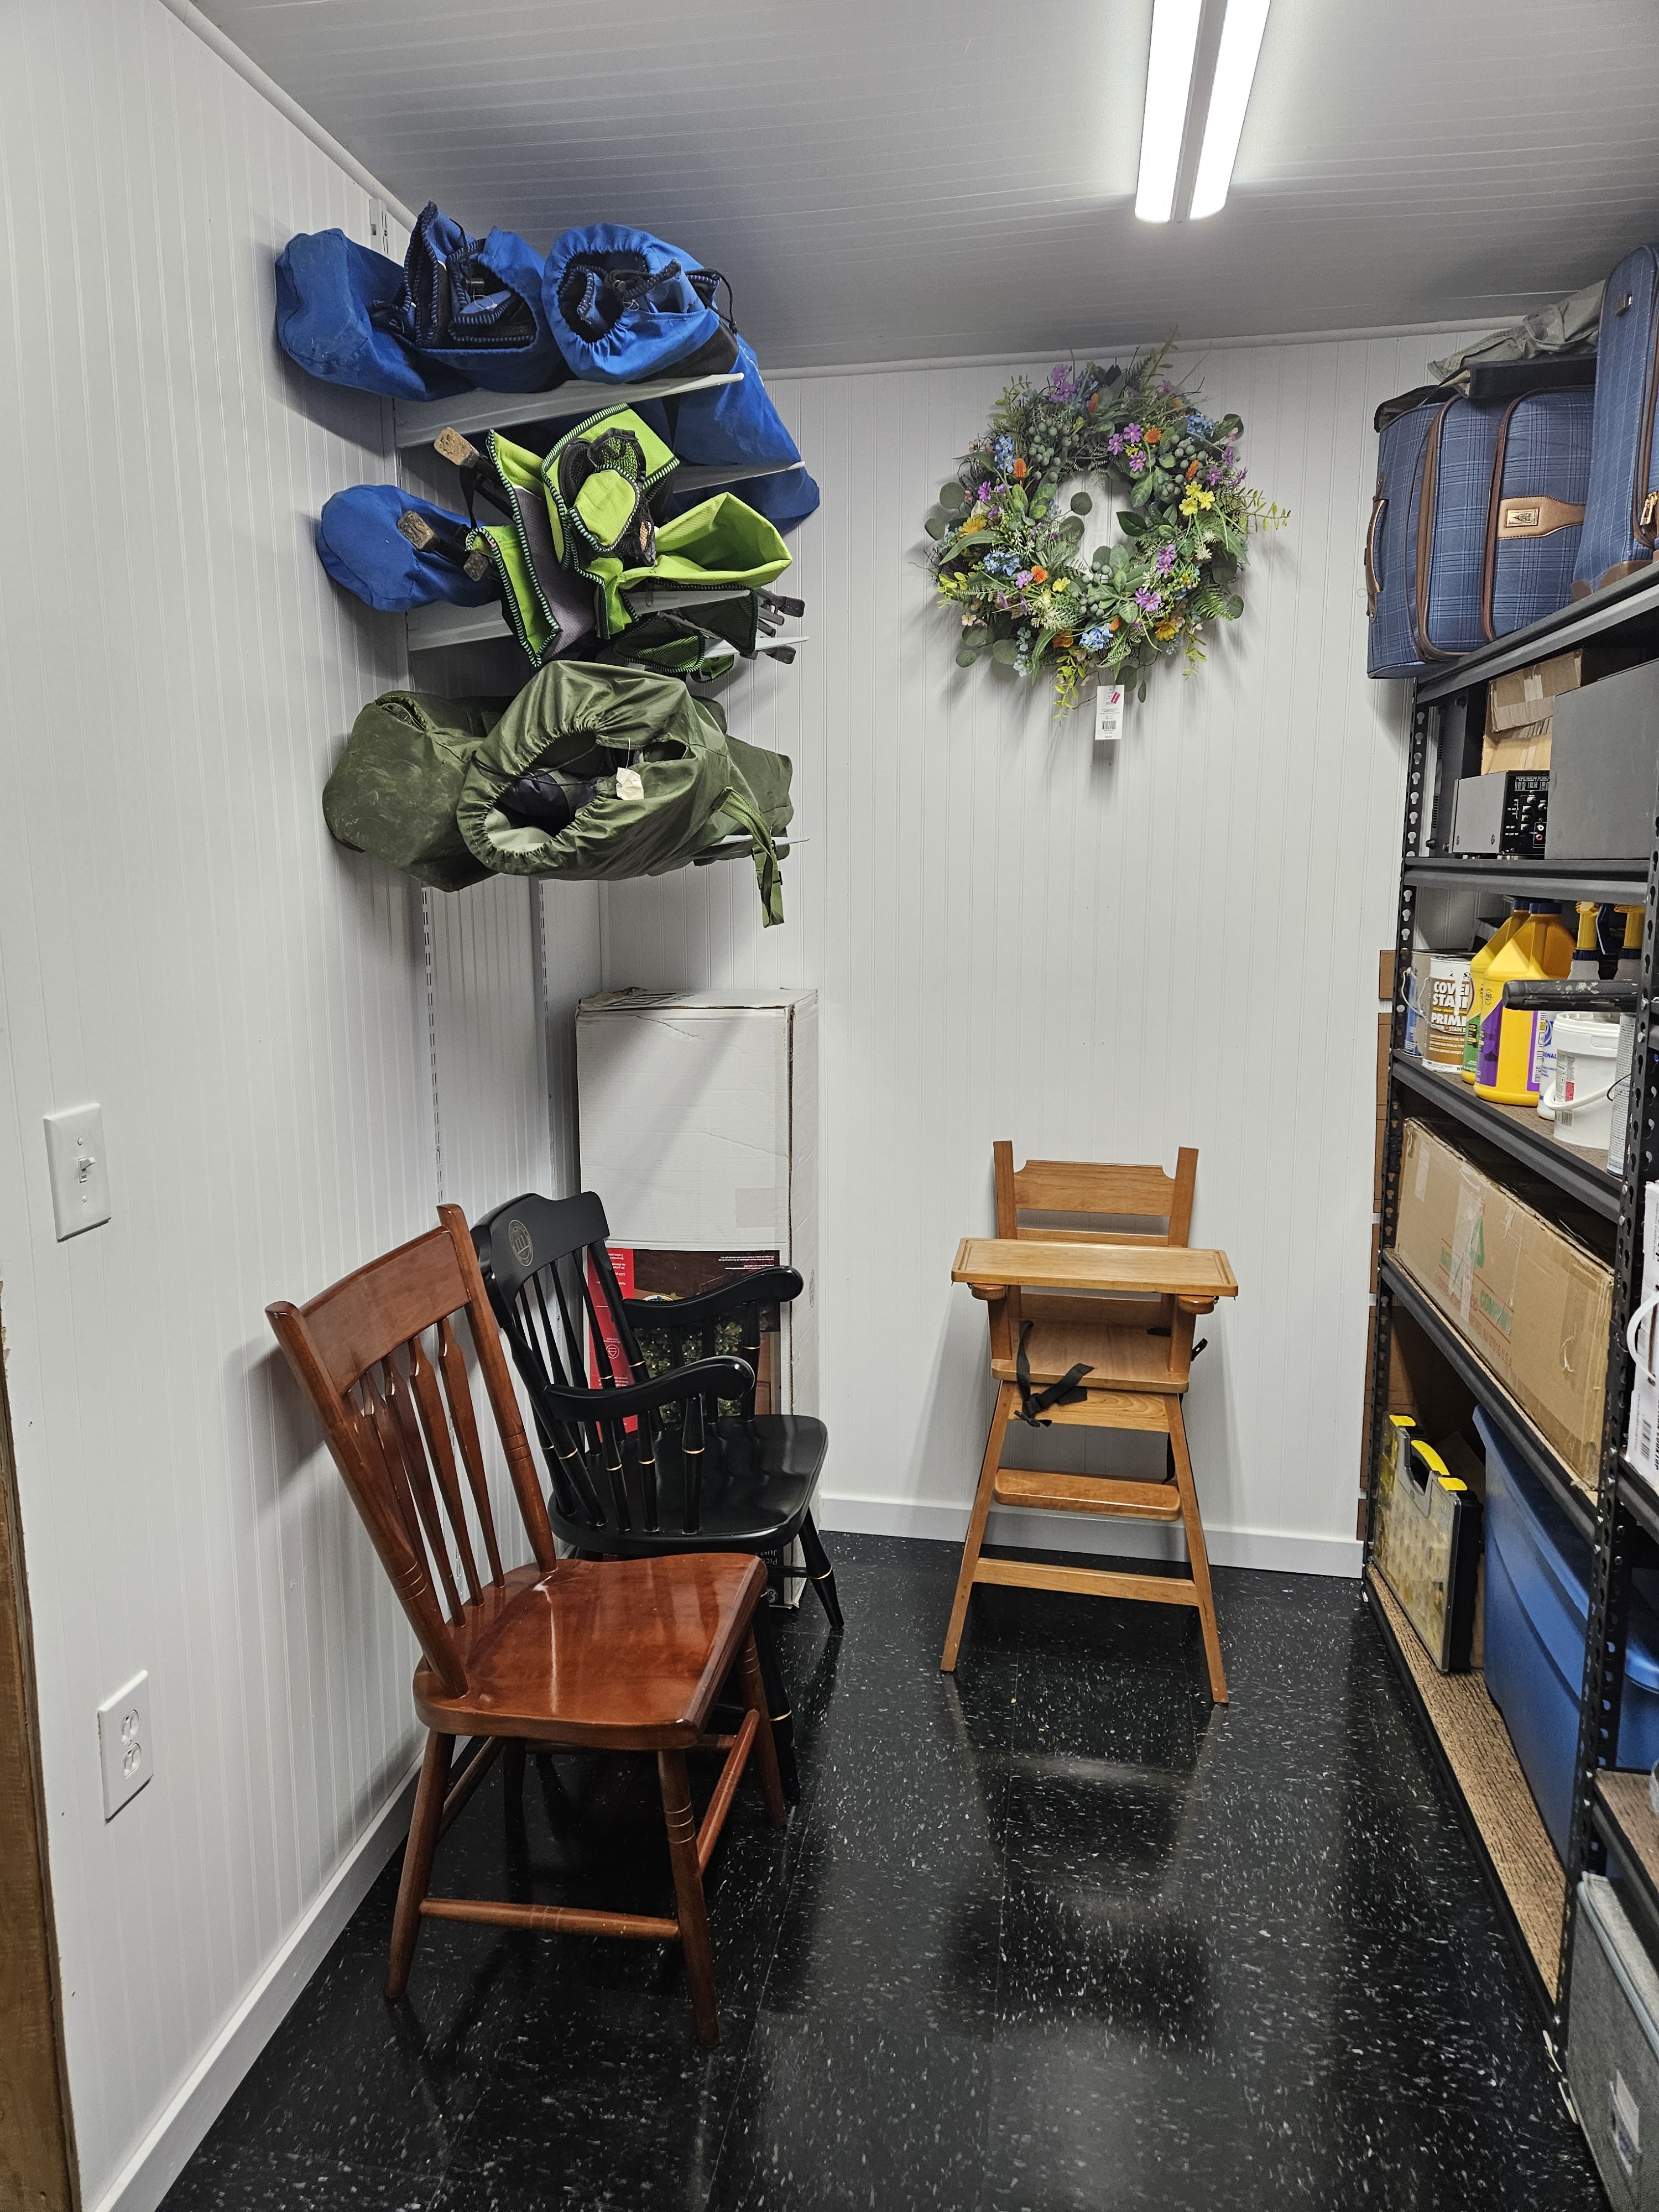
My husband picked up a hook for our little ladder, and hung up ladder hangers for our big Christmas wreaths.
I have been working on the door for this room, and it’s coming out really well, but needs more work. My husband has made a frame for it and has squared it up.
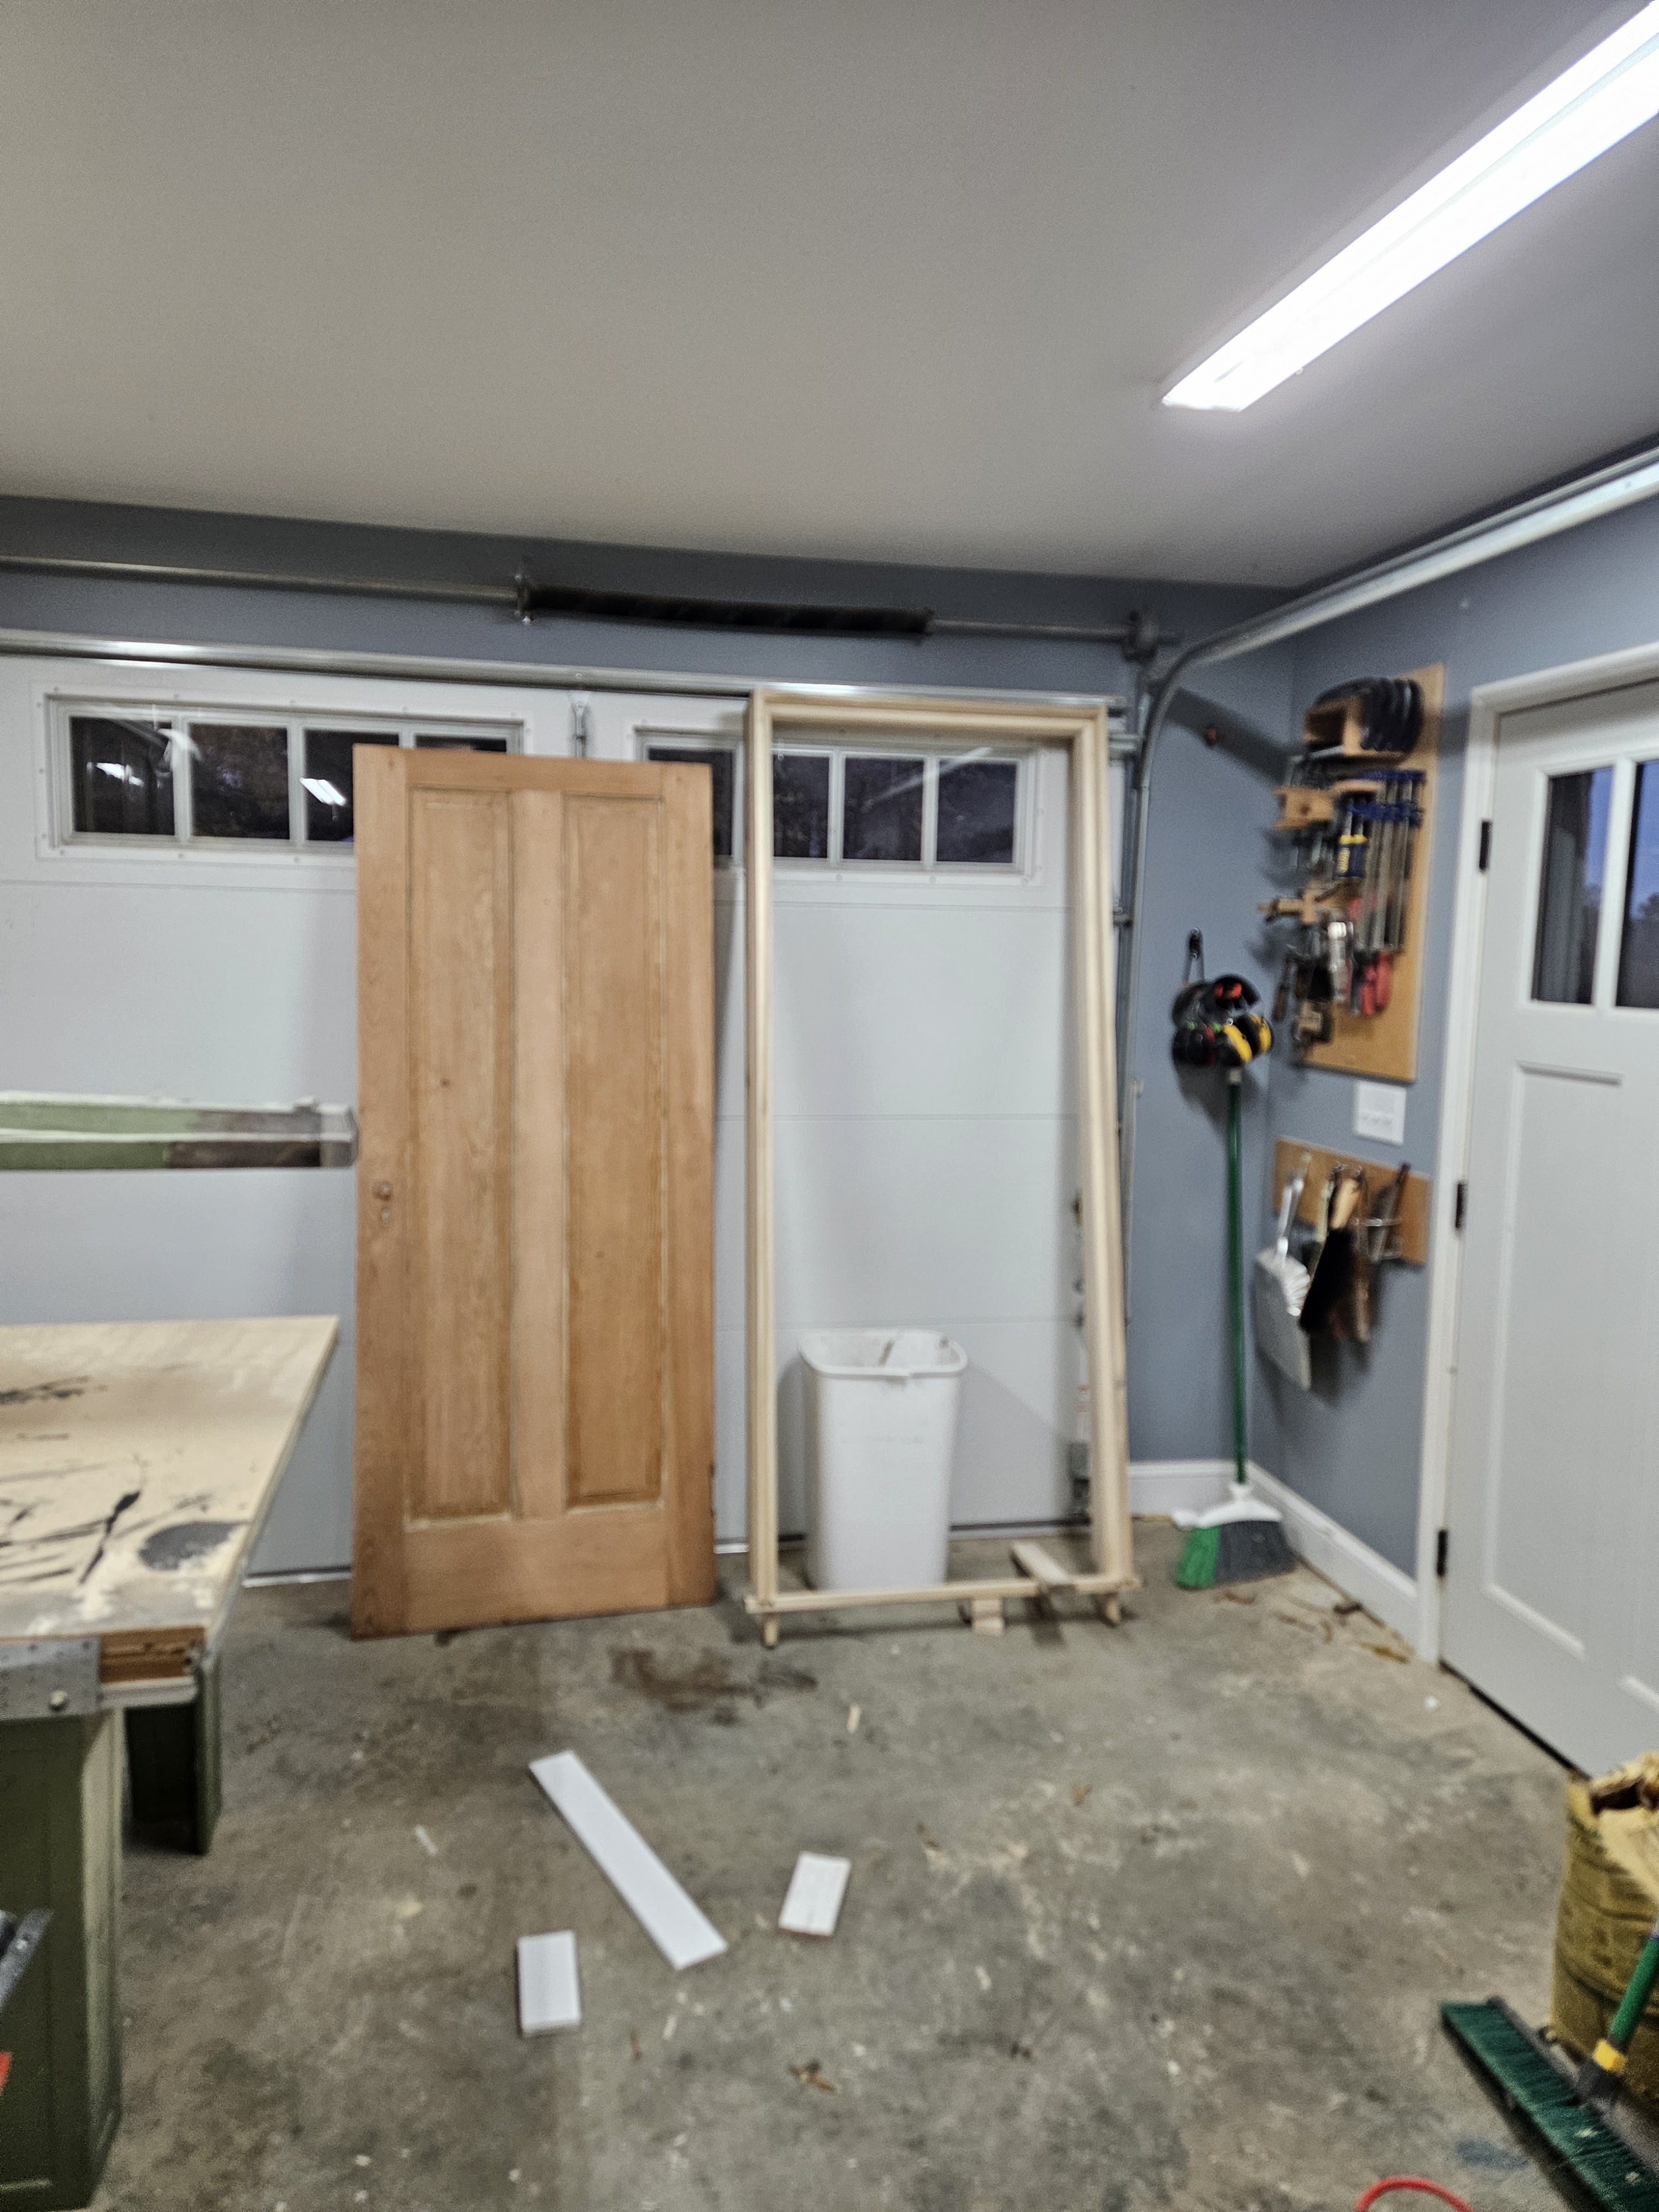
I am going to do a post about getting the door ready and installed because it’s too much to cover here.
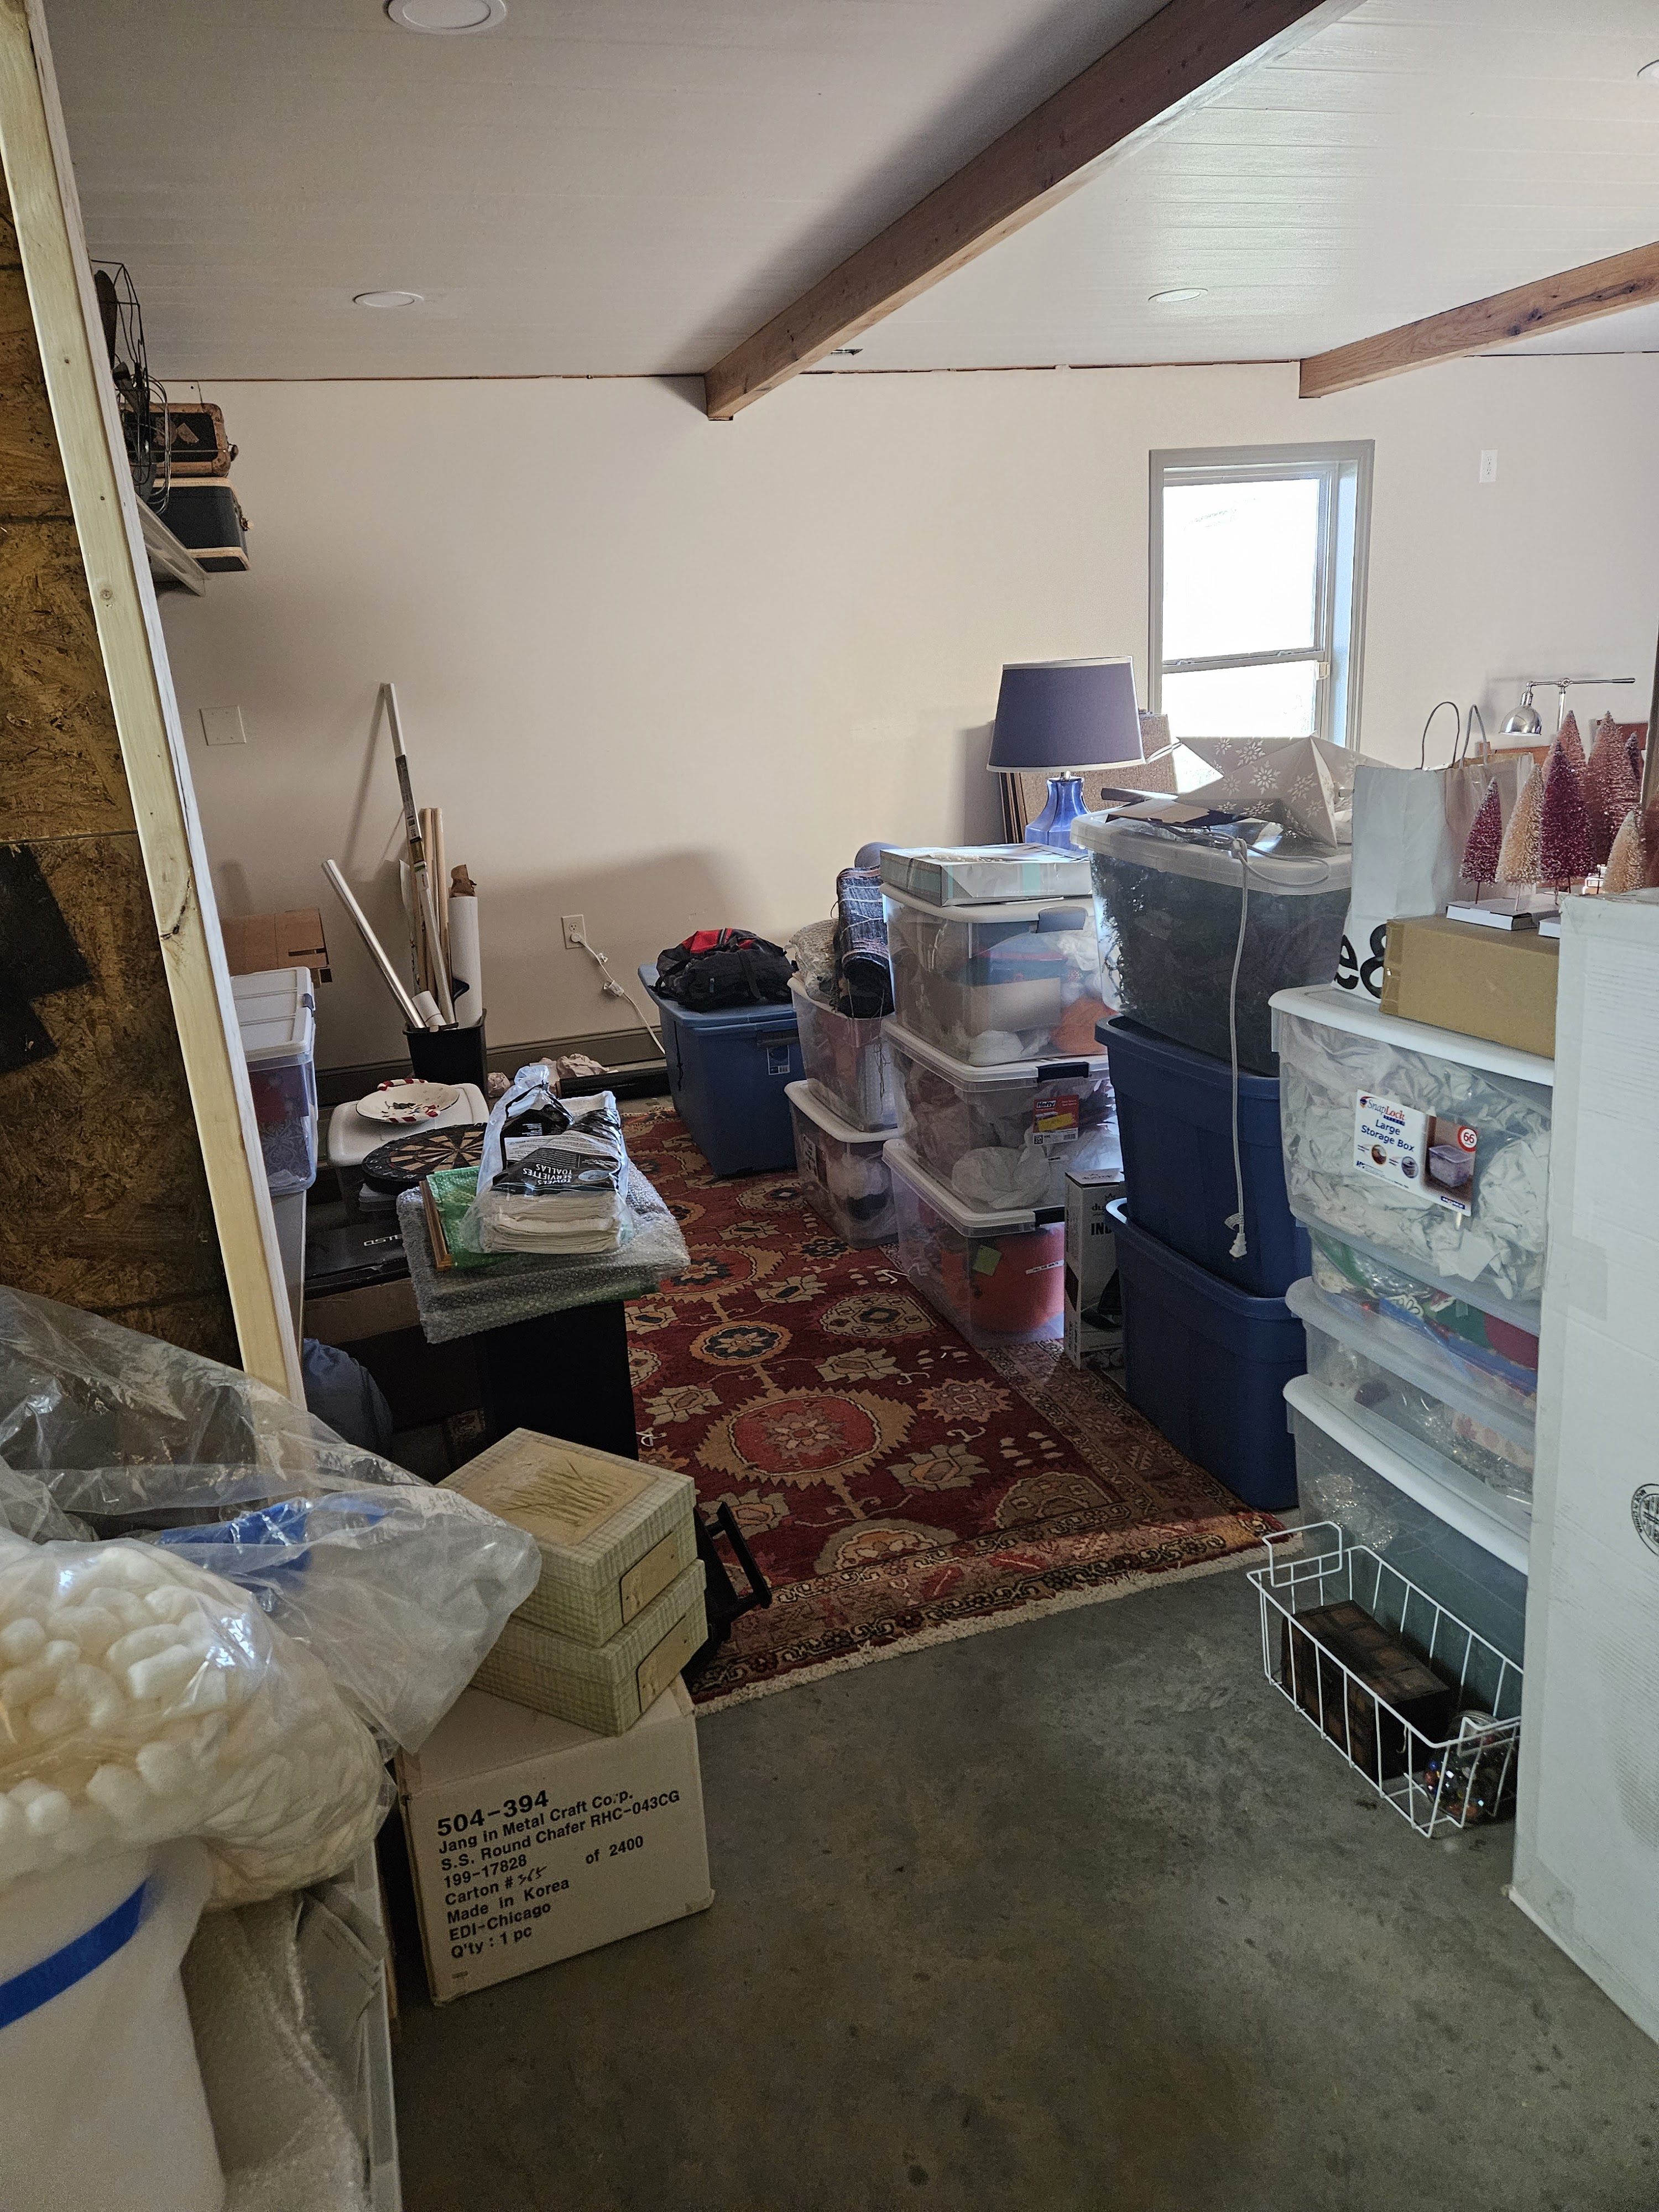
Now my den looks like this:
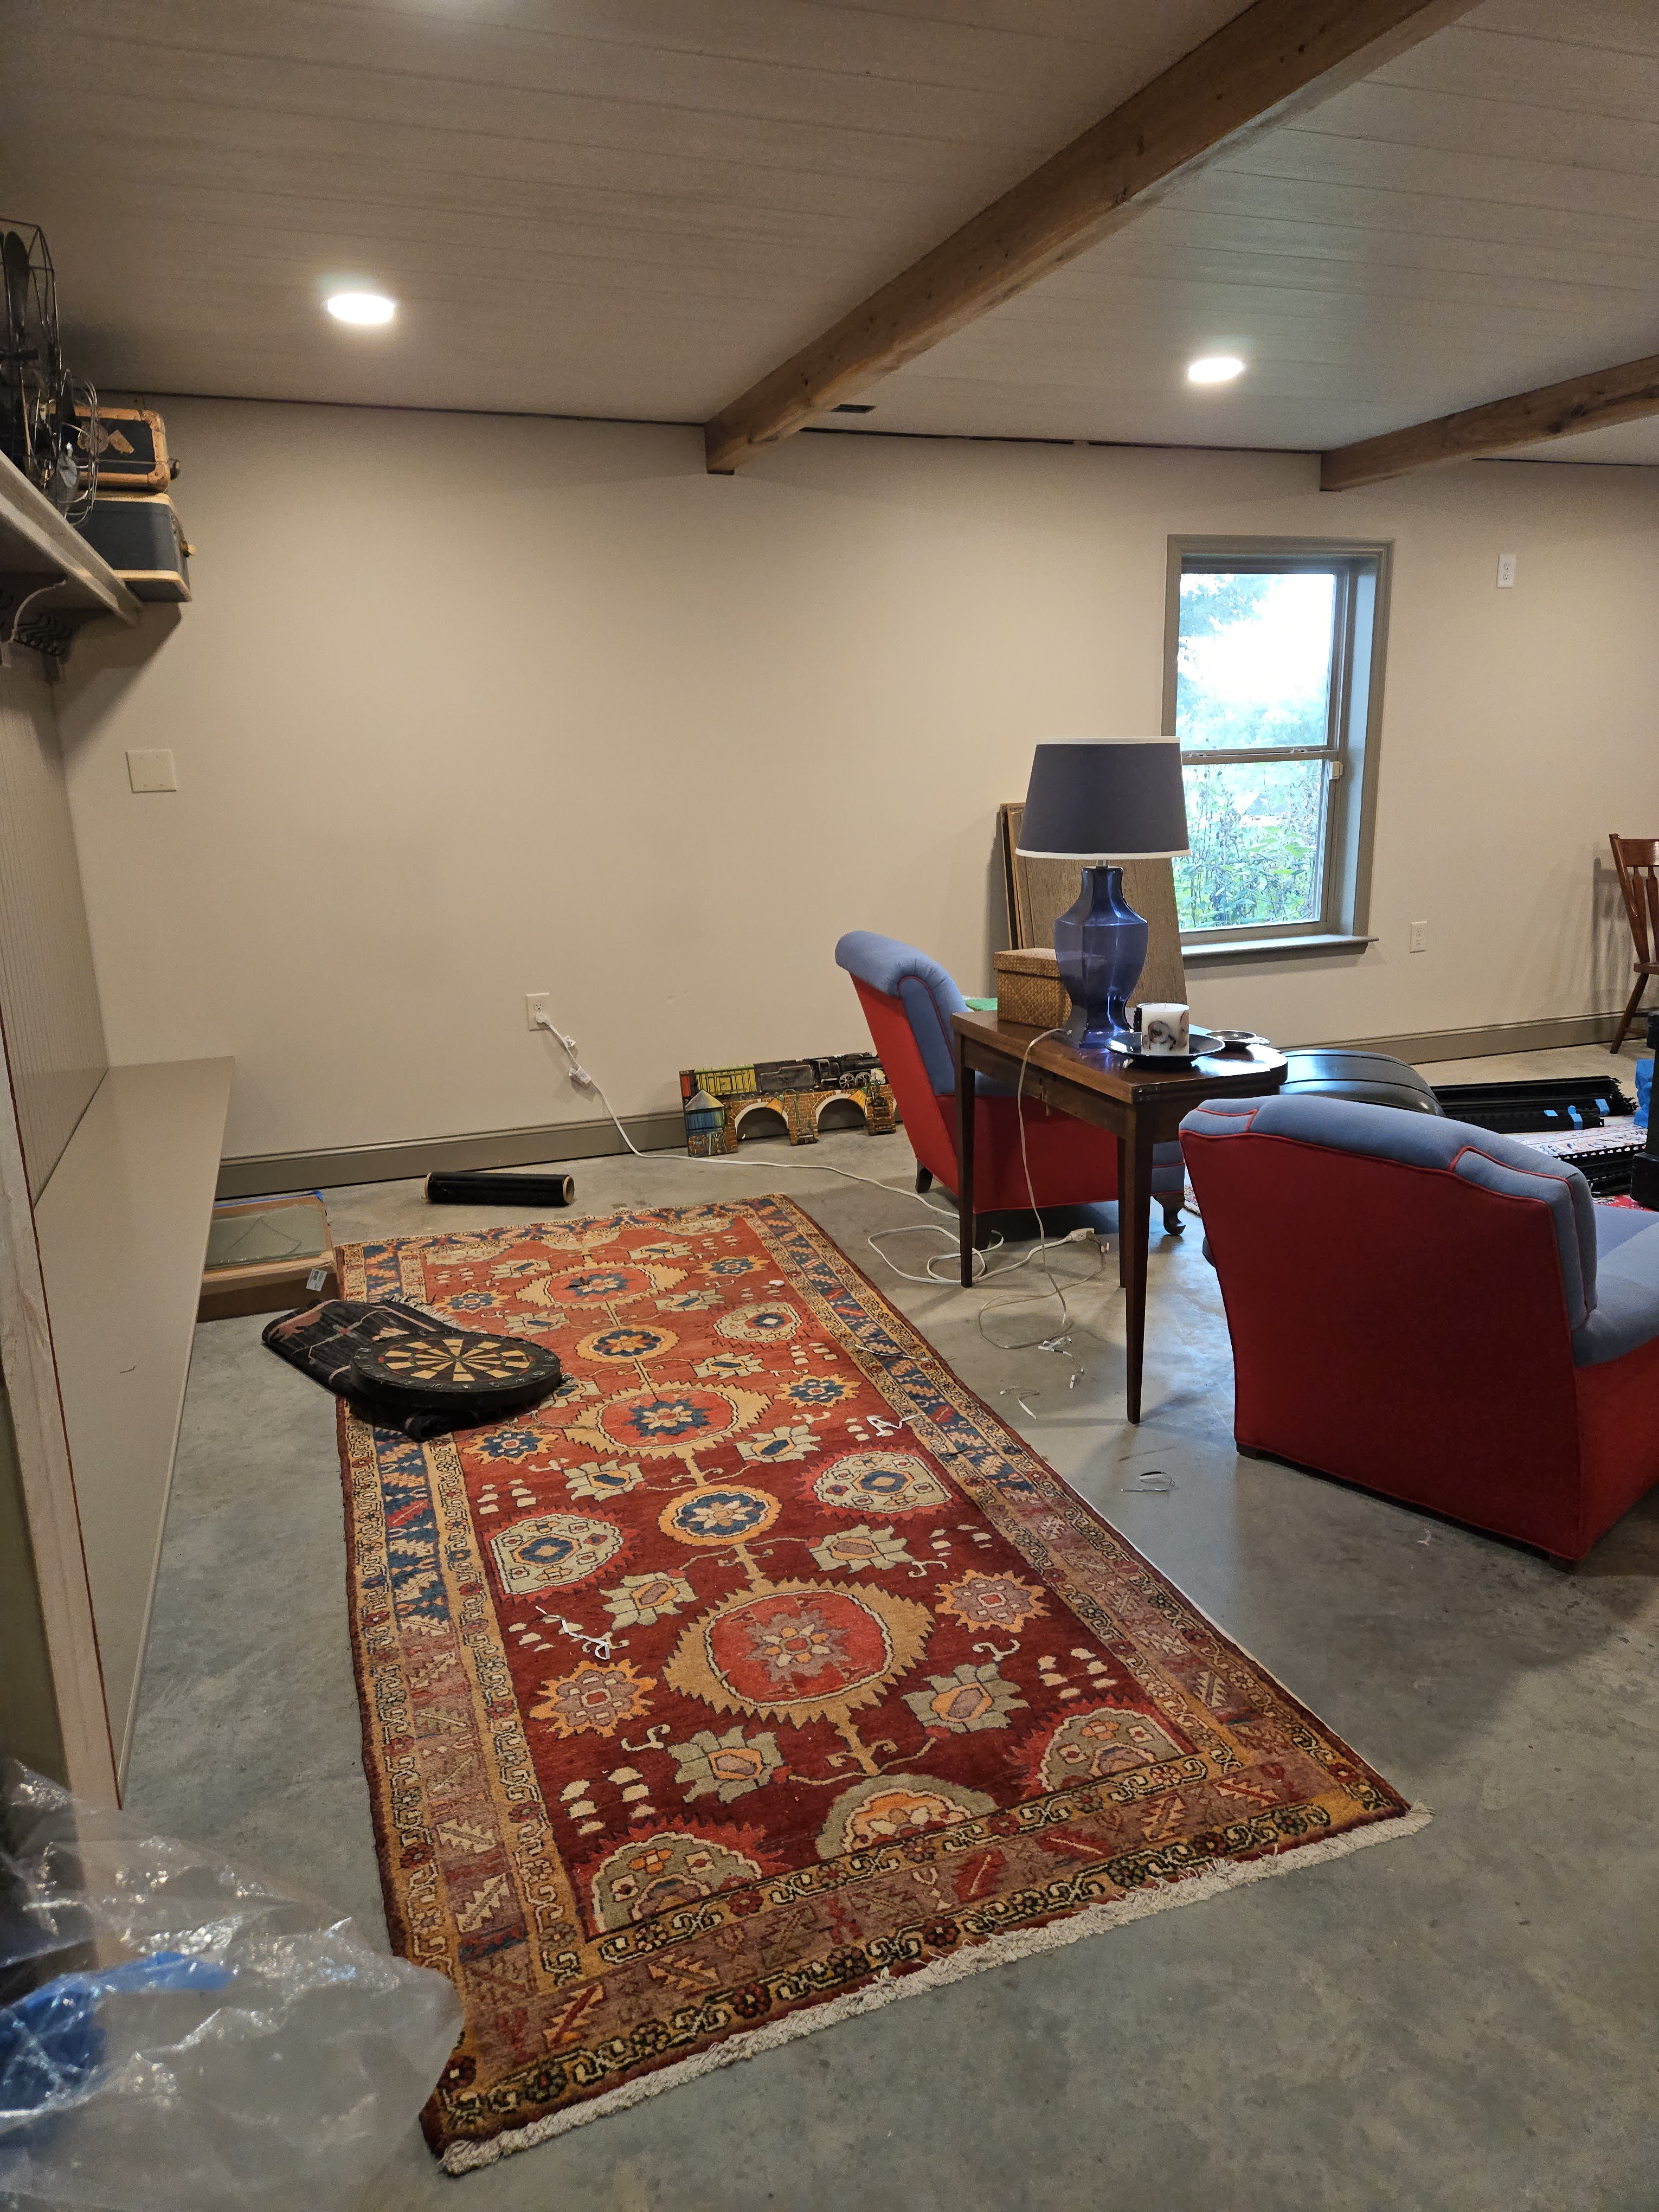
I need to pack up all the shelving units that are left over and take them and a BUNCH of totes to Habitat for Humanity. Then I need to CLEAN the den. It’s really dusty from all the work that we’ve been doing.
It’s been a LOT of work to get here, but I am so happy with how this is turning out. Such an efficient little storage room!
