I am going to make a couple of posts to bring you up to date on everything that has happened in the bathroom with the final post being the reveal of the finished product.
I made a post about the bathroom renovation a while ago, so if you haven’t seen that one, you may want to visit https://cathyathomeontheriver.com/2026/05/05/the-guest-bathroom-a-warm-up-for-the-basement-bathroom/ . I gave some sneak peeks of some of the materials we are using, etc.
As I mentioned, this bathroom is the test case for the other bathrooms in the house, including the basement. We both have always loved a black and white bathroom because they are classic and you can add color with paint, wallpaper, curtains, accessories, etc., and so that was an easy choice that we could both agree on.
Here is the bathroom after most of the demo was completed:
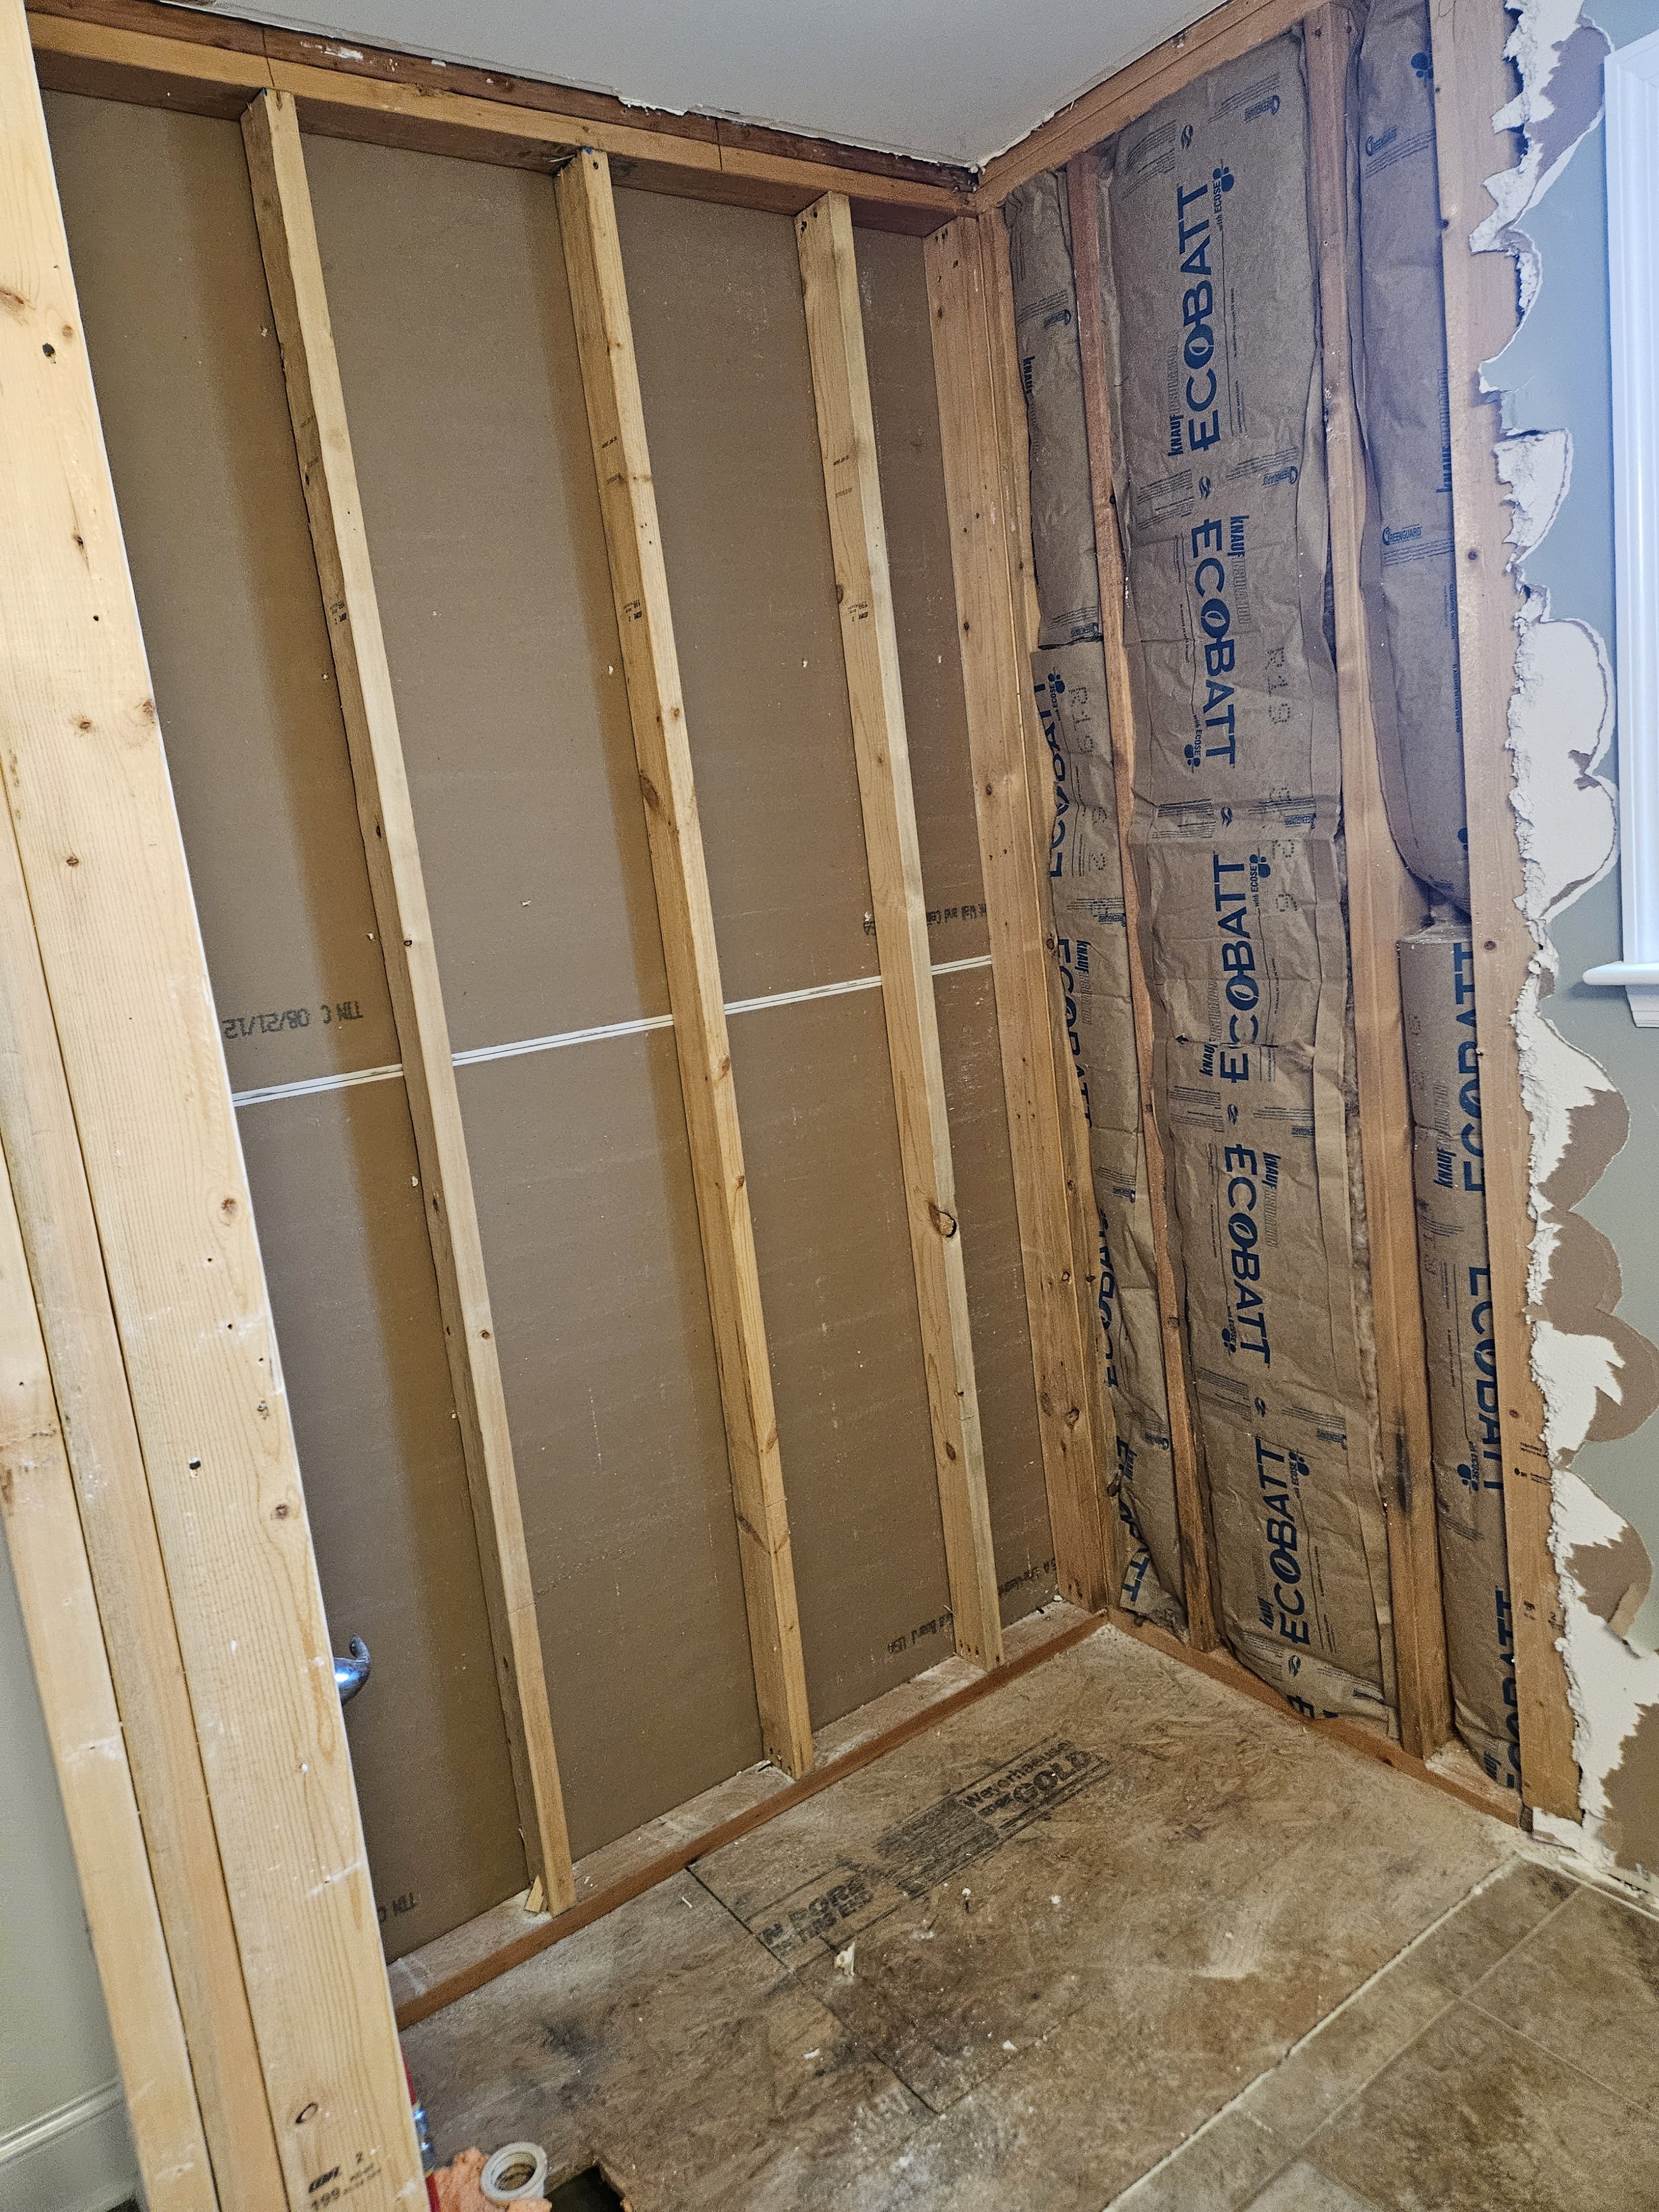
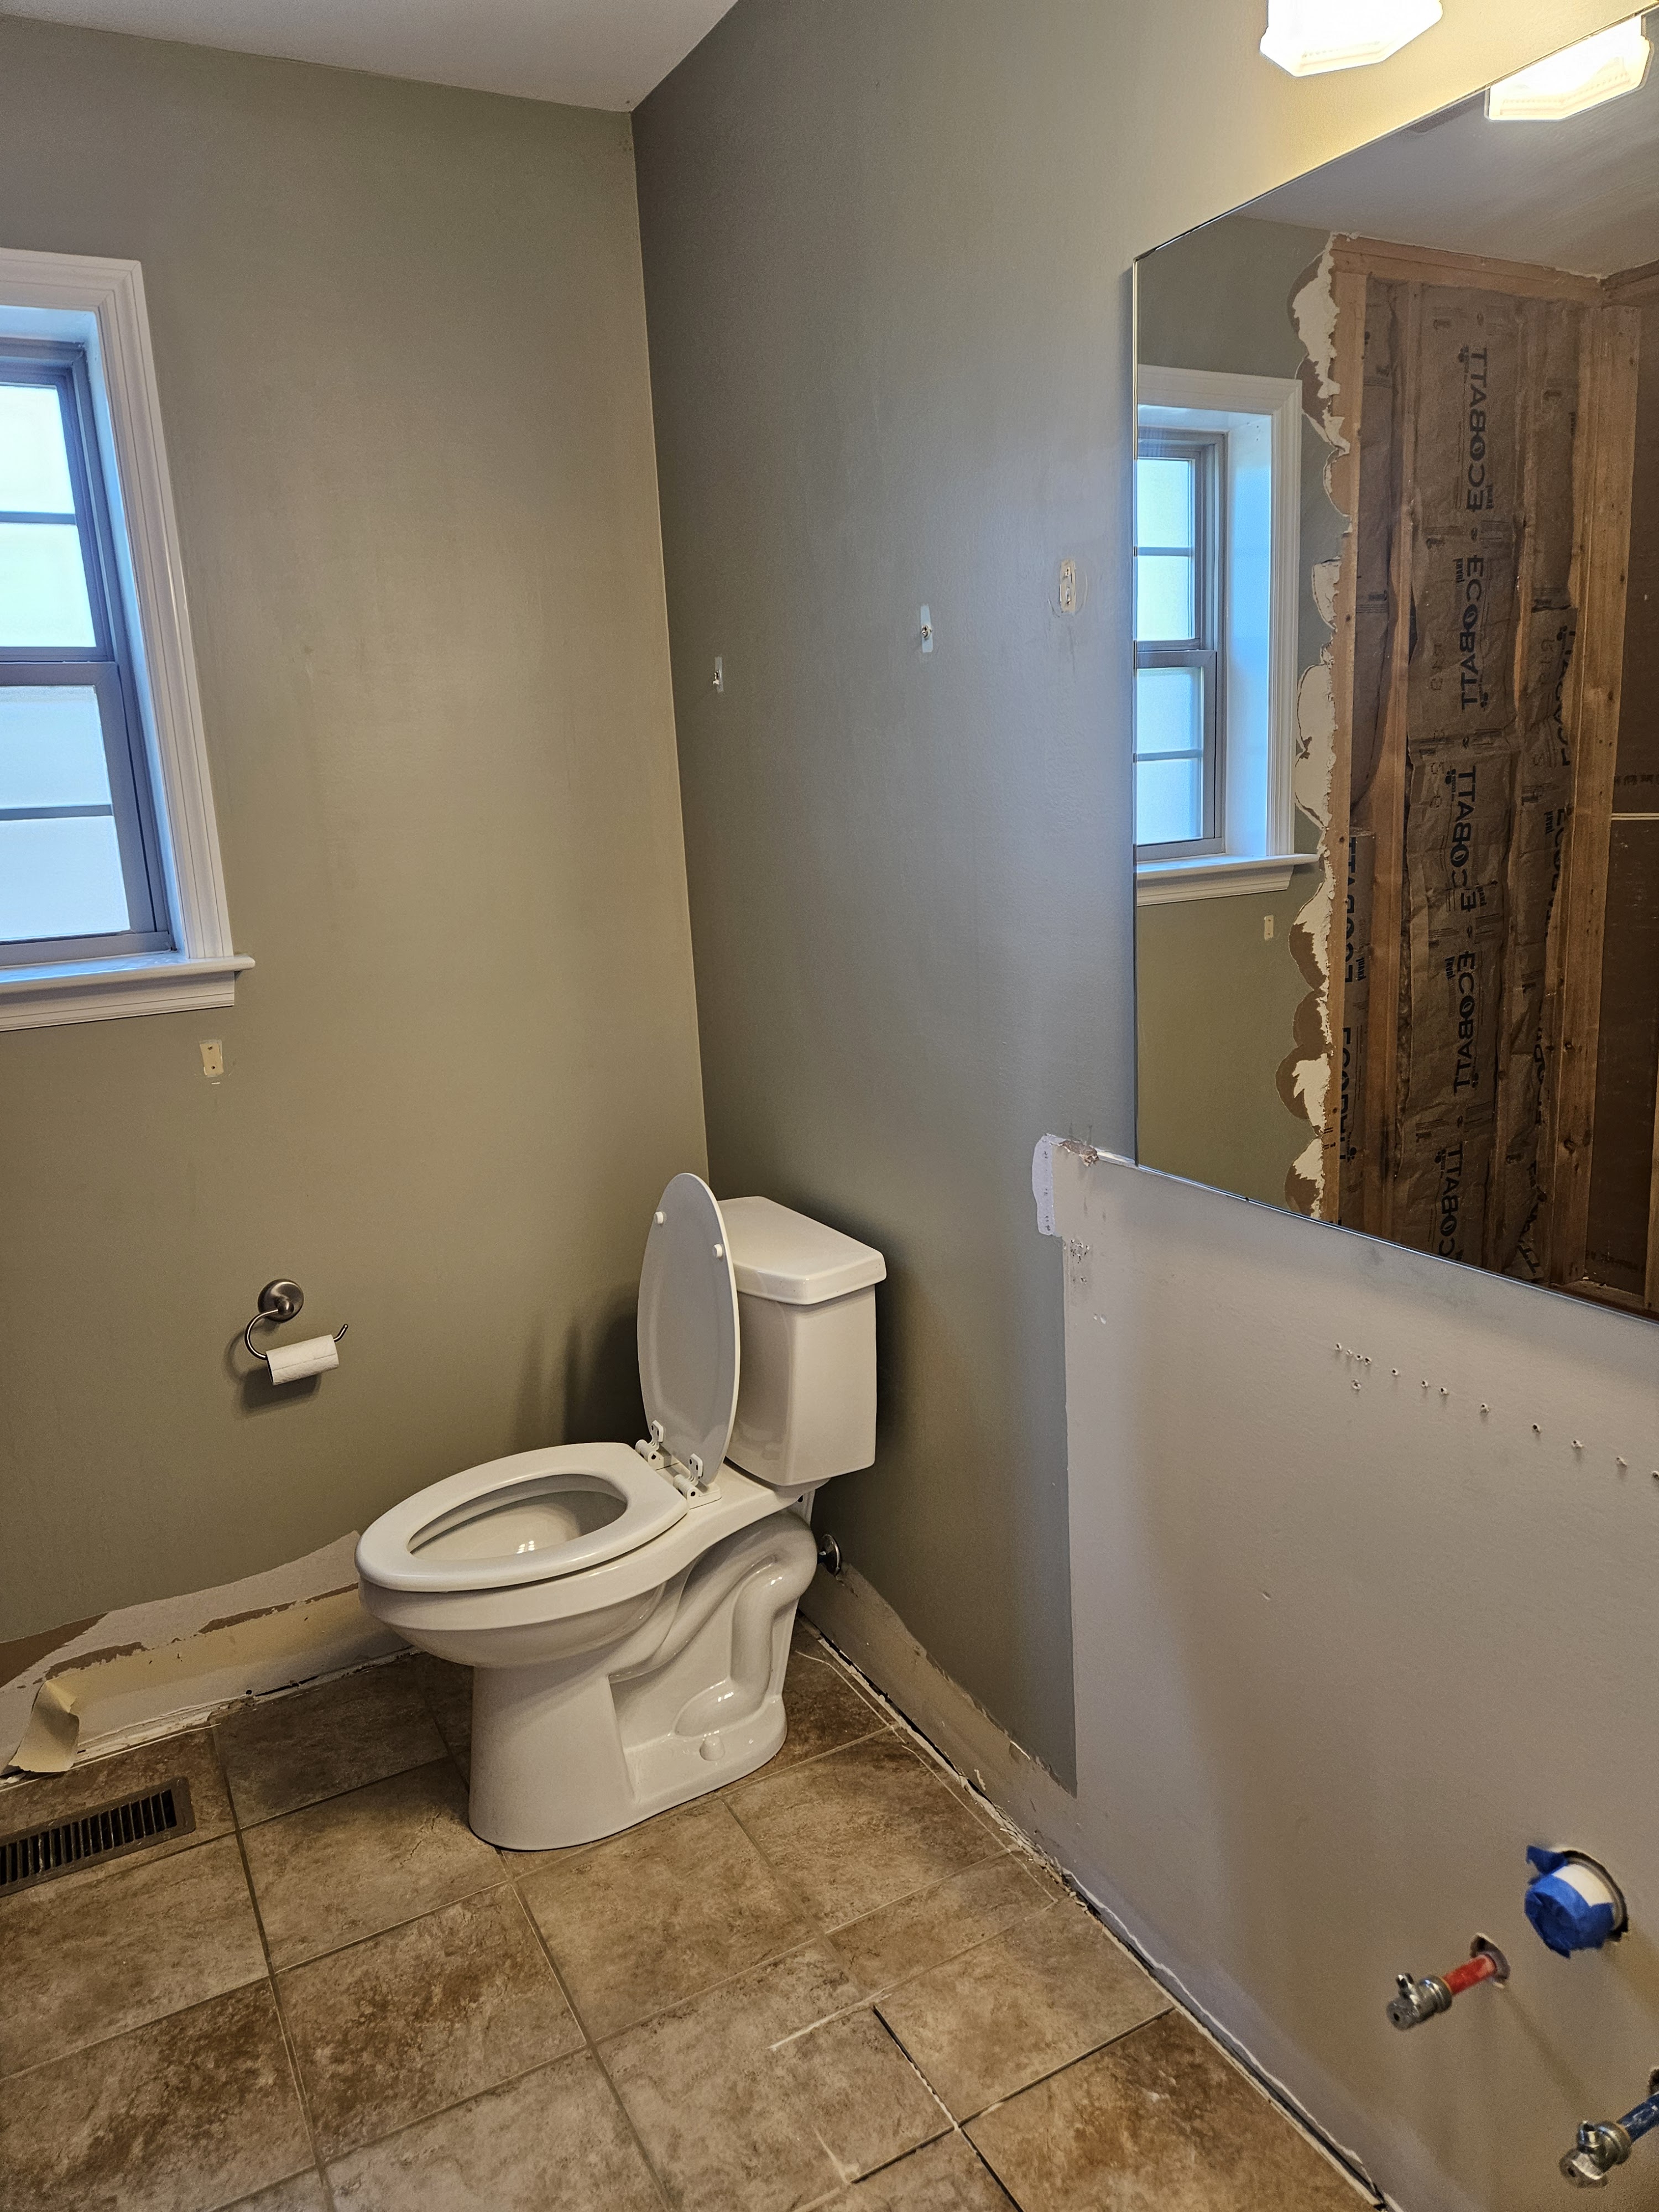
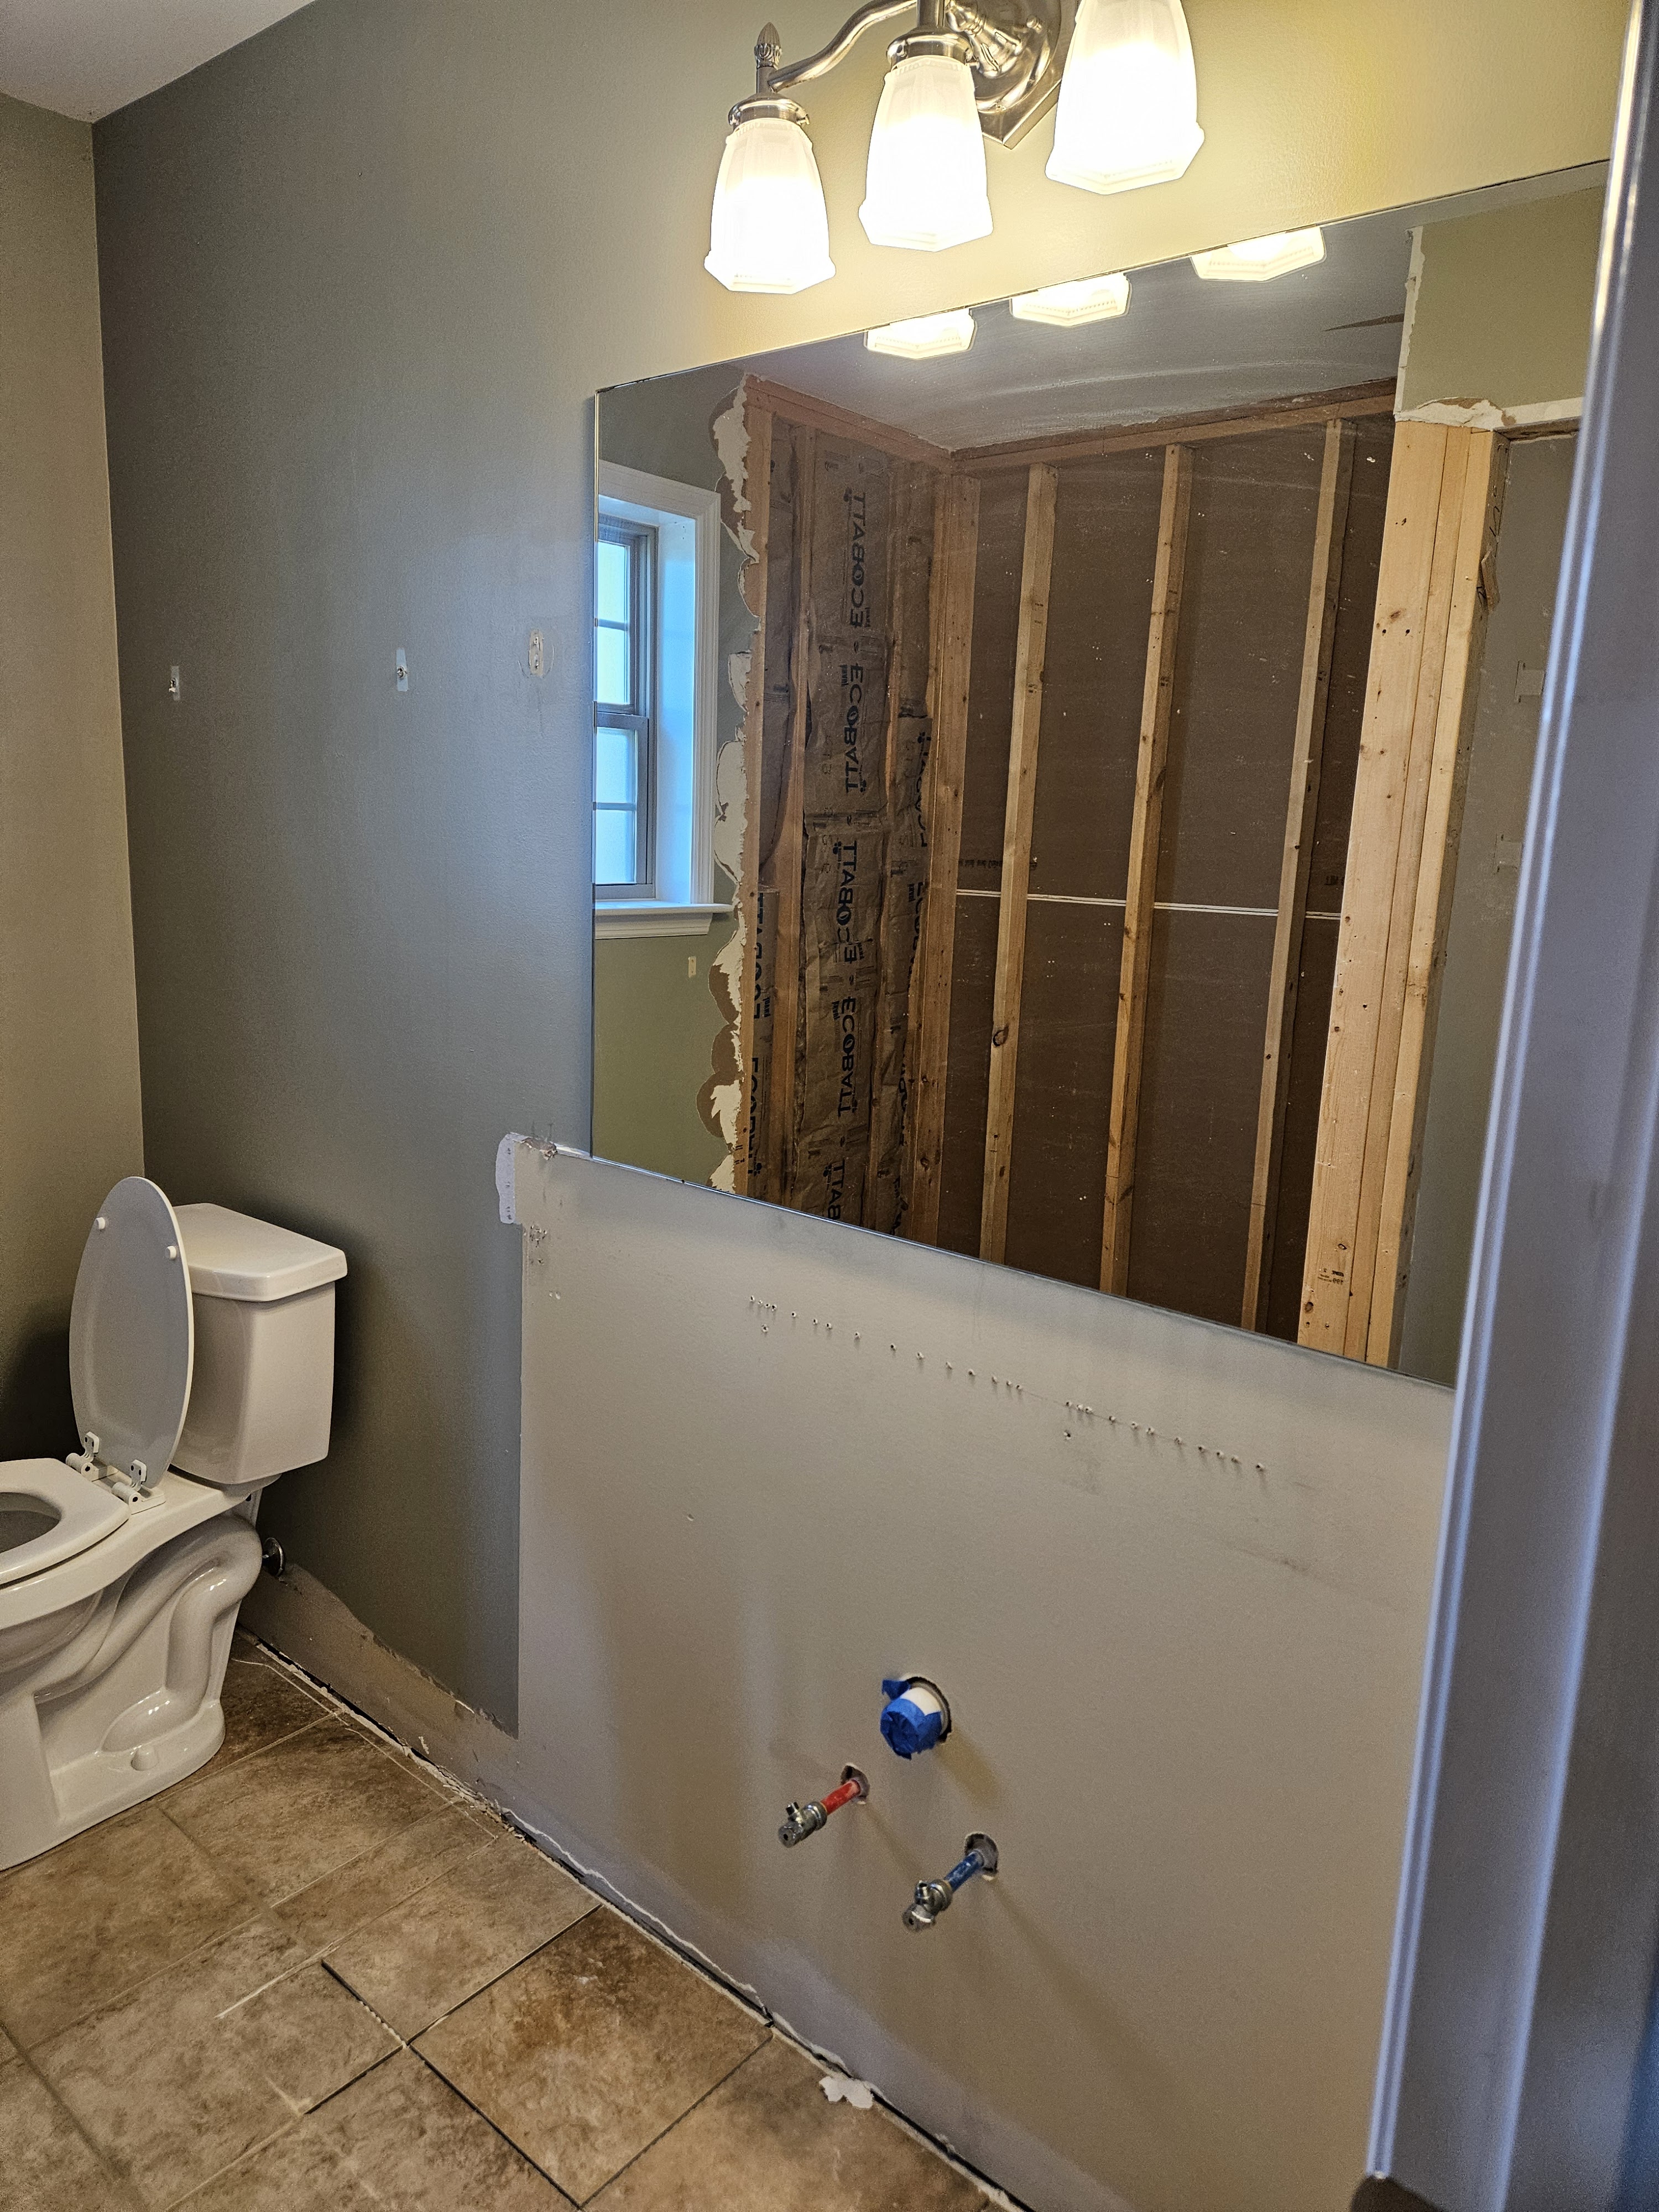
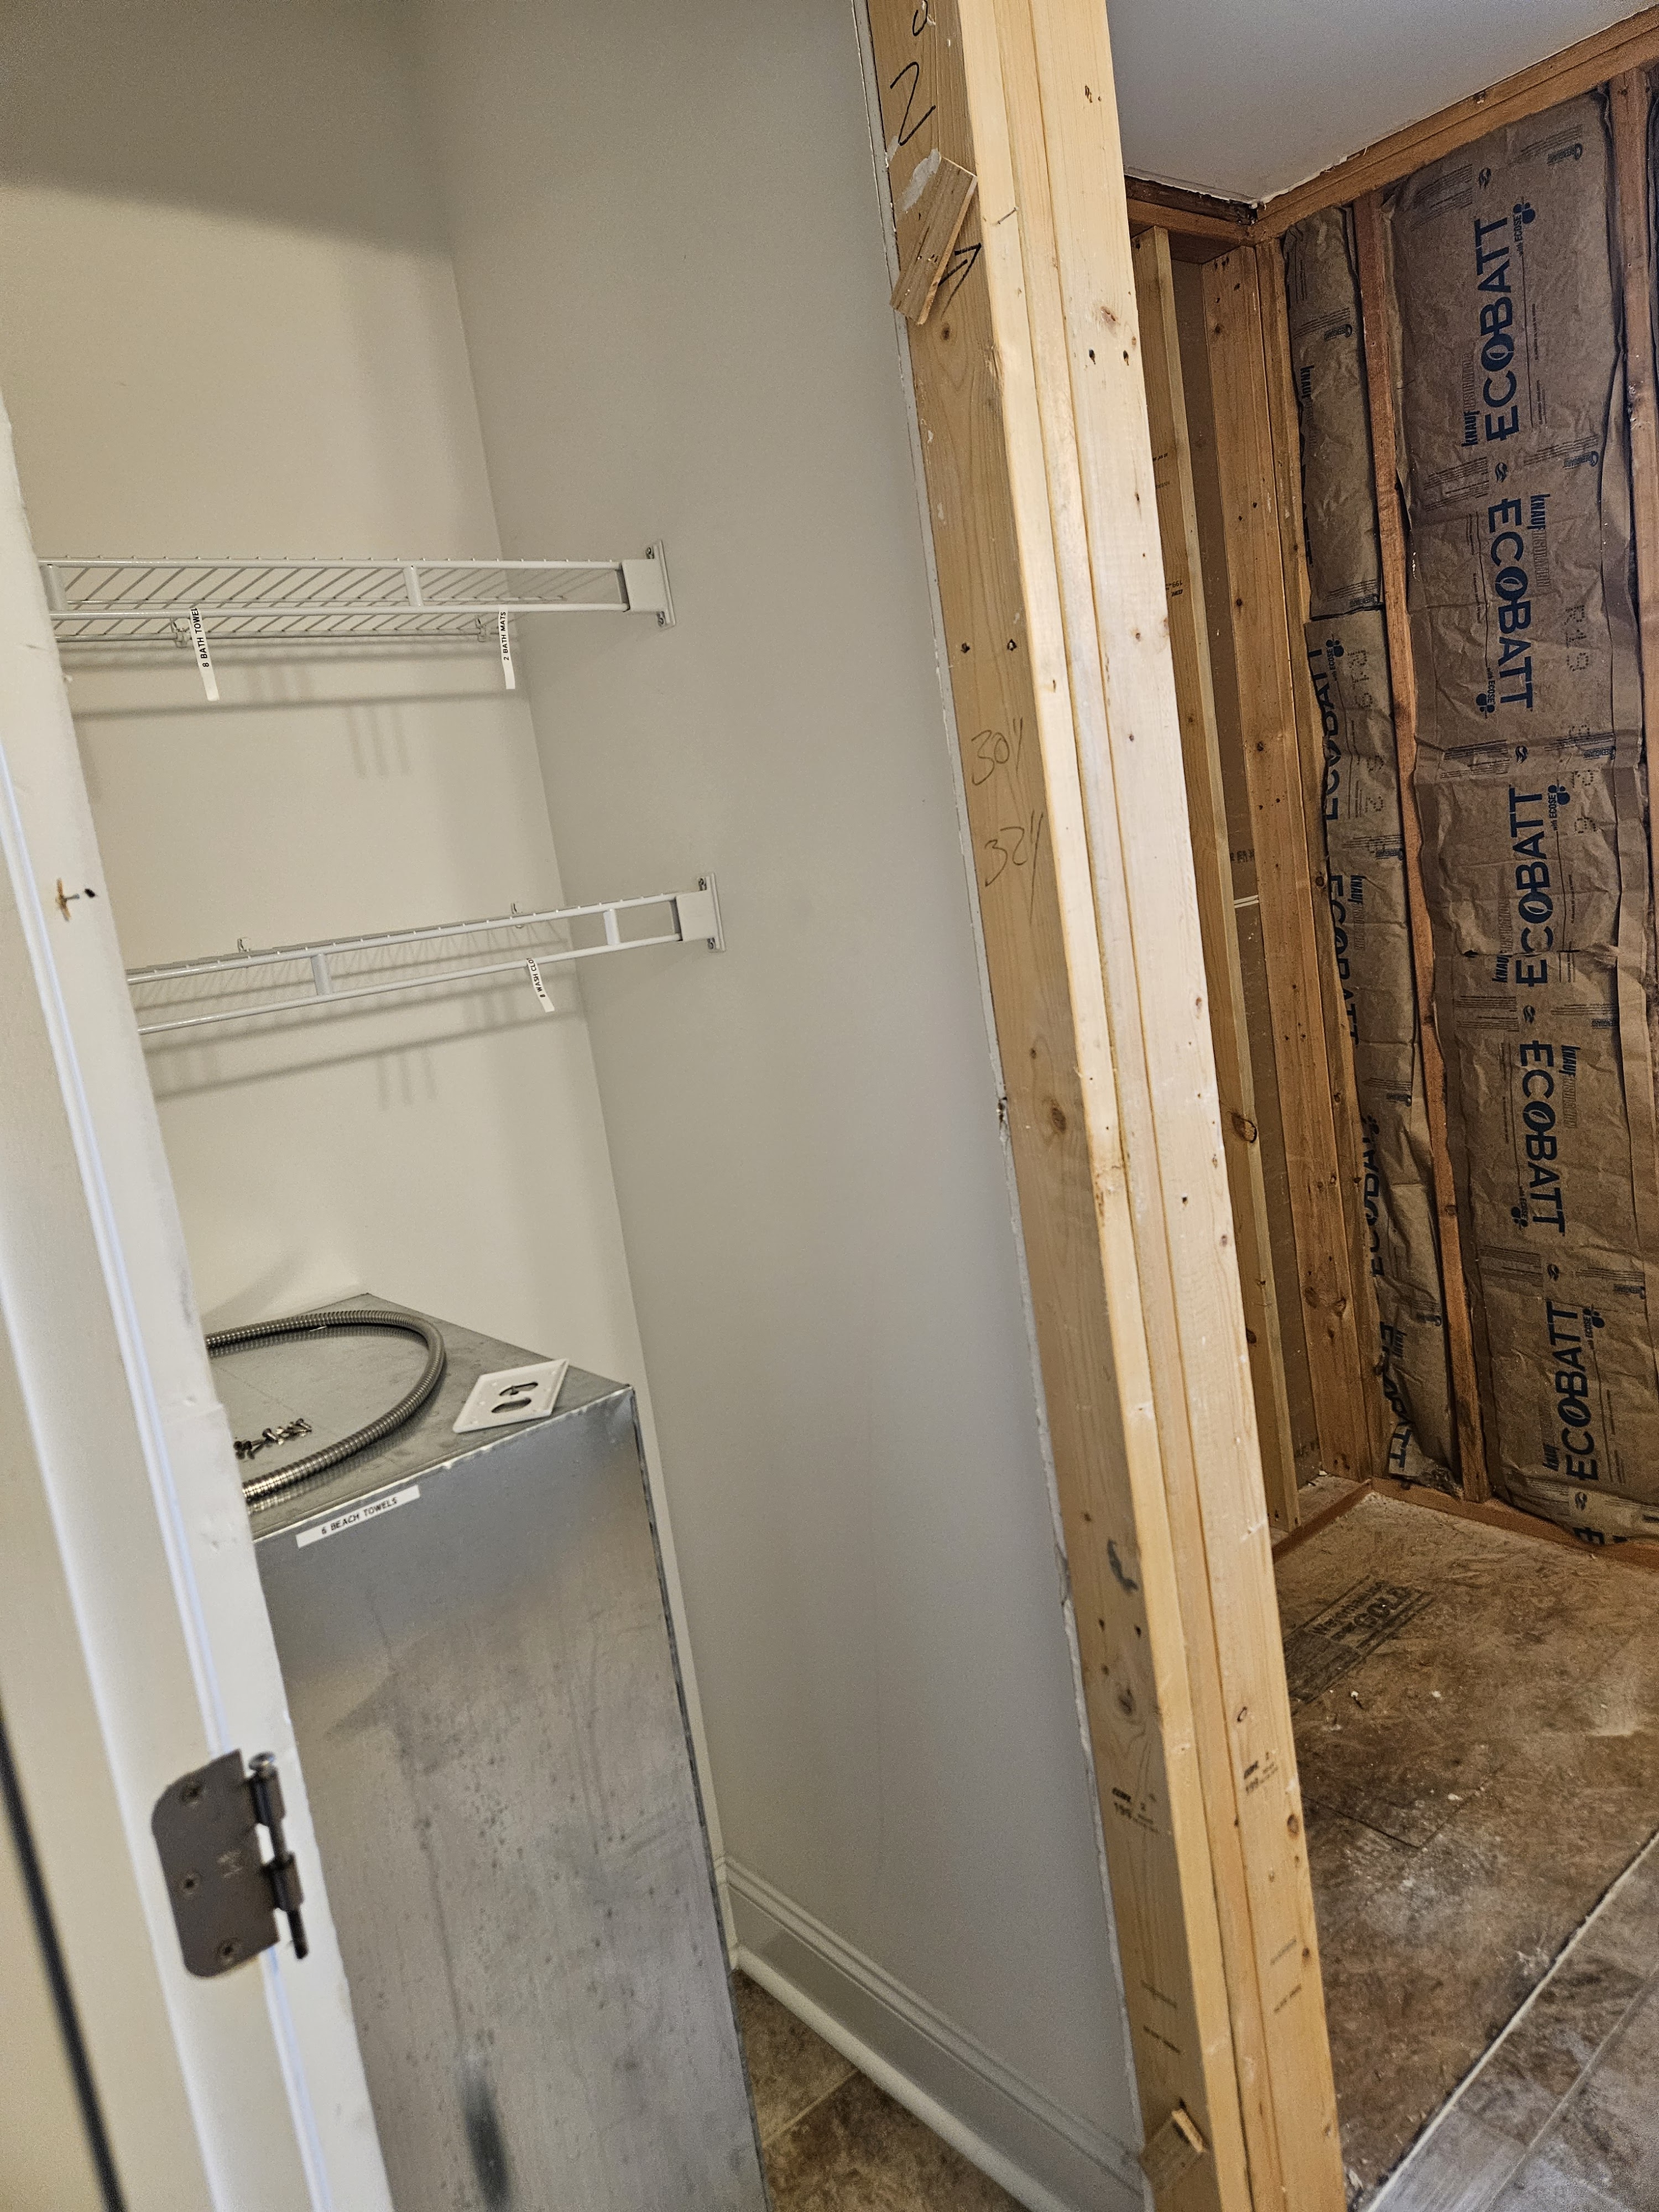
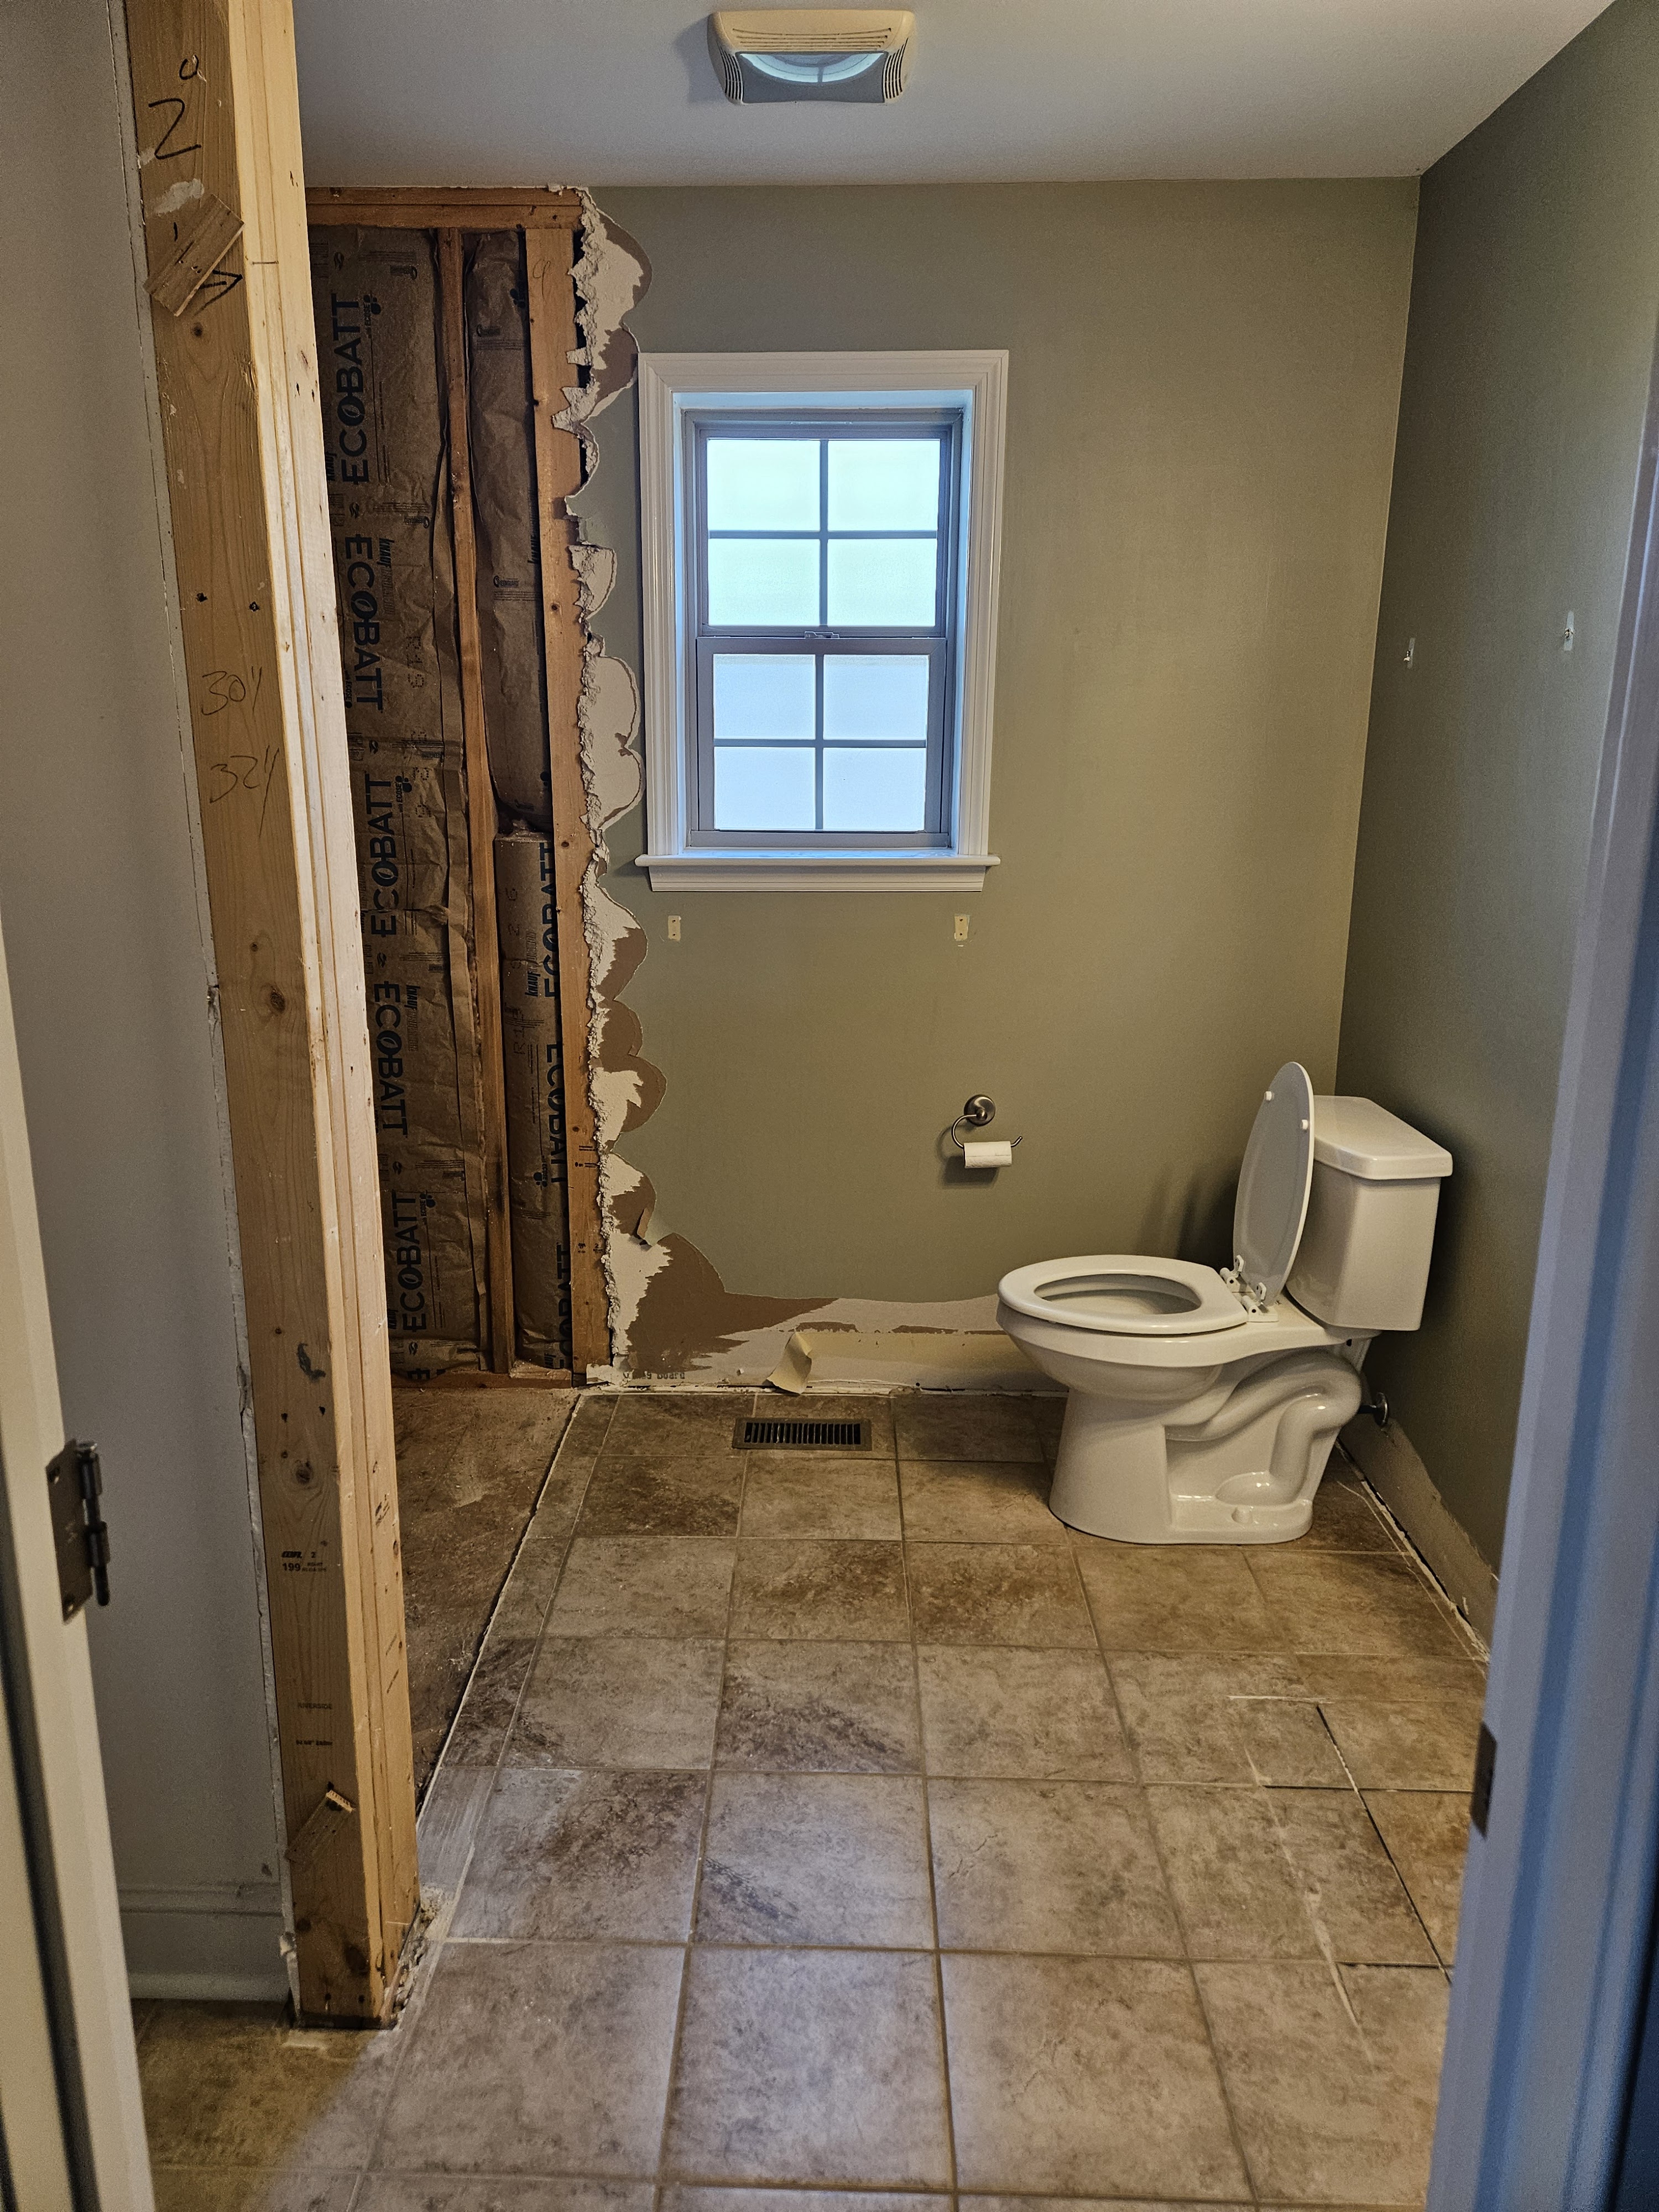
My husband ended up having to be out of town the entire first week of construction, so he really missed some “excitement”. The first thing the contractor did was remove all the floor tile. Then he used rock wool to insulate the tub/shower alcove to deaden the sound between the shower and my oldest son’s bedroom. Then they wrestled the 400 lb porcelain coated cast iron tub into the bathroom, only to find that the drain hole for the new tub didn’t line up with the old drain, but lined up almost perfectly with a floor truss. It took a lot of thinking and trips to the store to finally get a solution that lined the tub drain up with the drain pipe below. Then they put up green board and mudded the joints and filled the screw holes. My assignment that night was to prime all the wall mud so that they could put up the Kerdi waterproofing system.


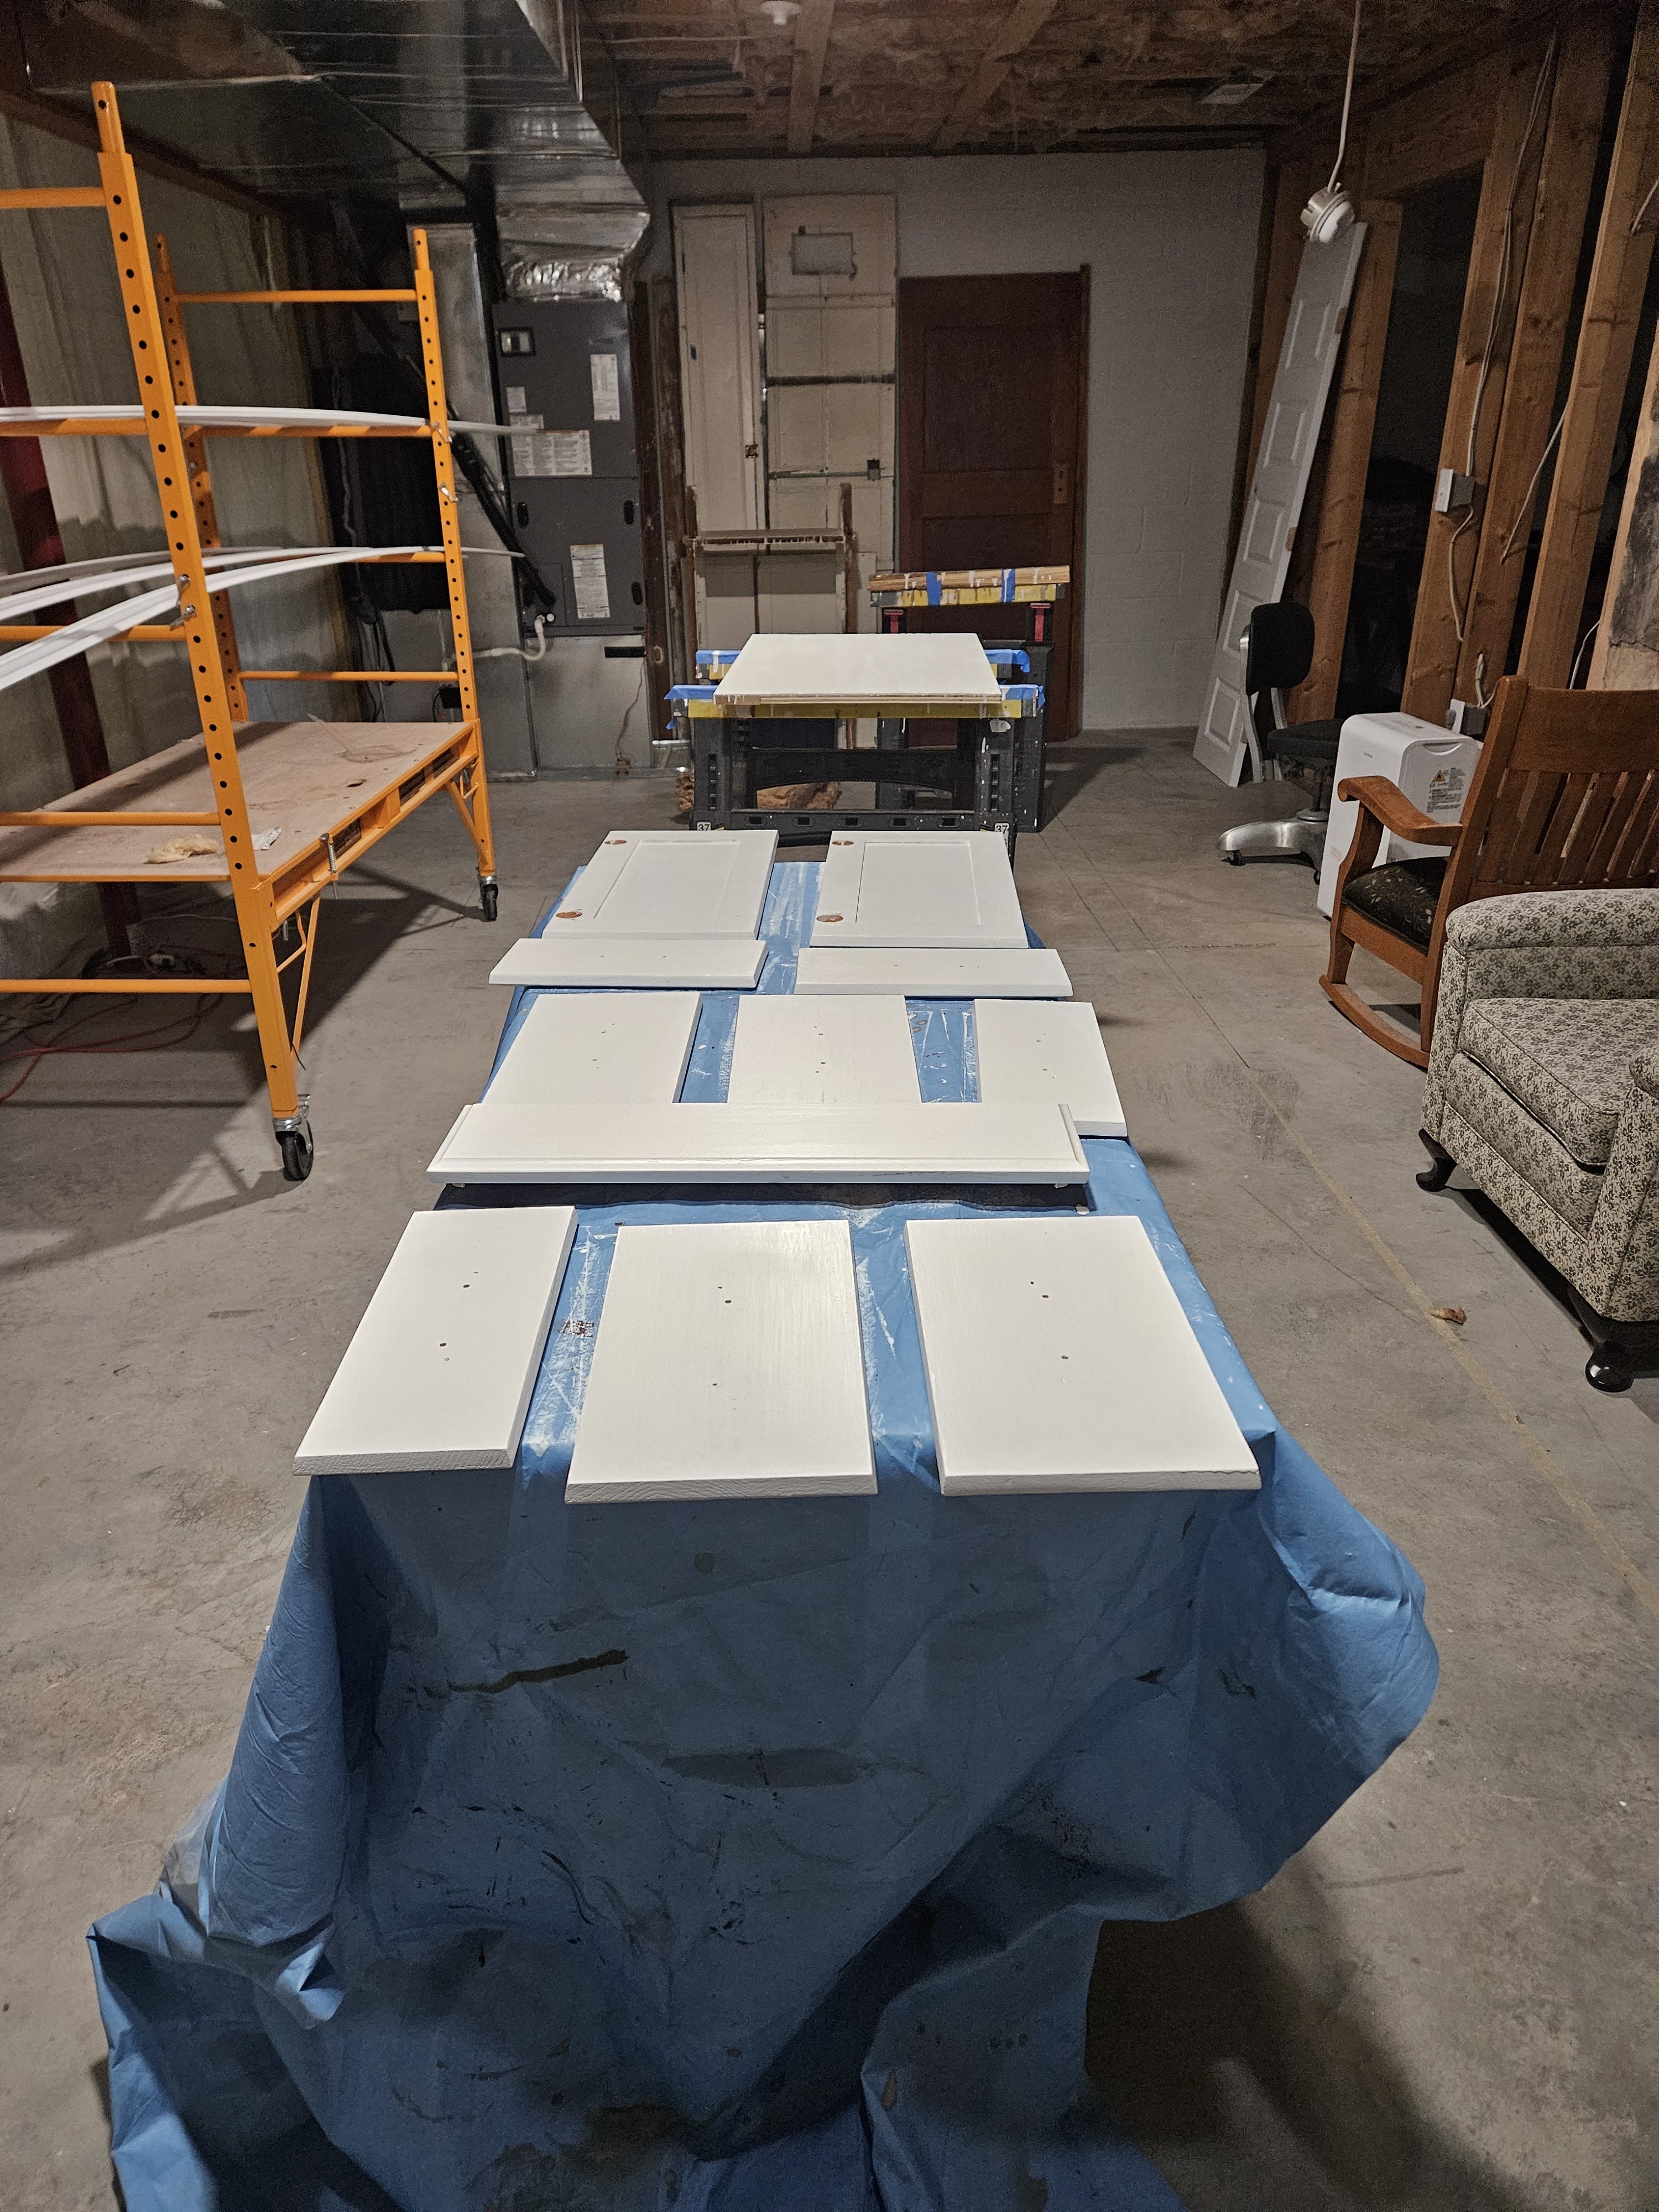
While the guys were working upstairs, I was busy in the basement painting crown molding, door/window casing trim, and beadboard planks for the ceiling. Both the beadboard and the crown molding would have required a lot of overhead work which is hard to do neatly, so I was really glad that I could work on all of this on saw horses.
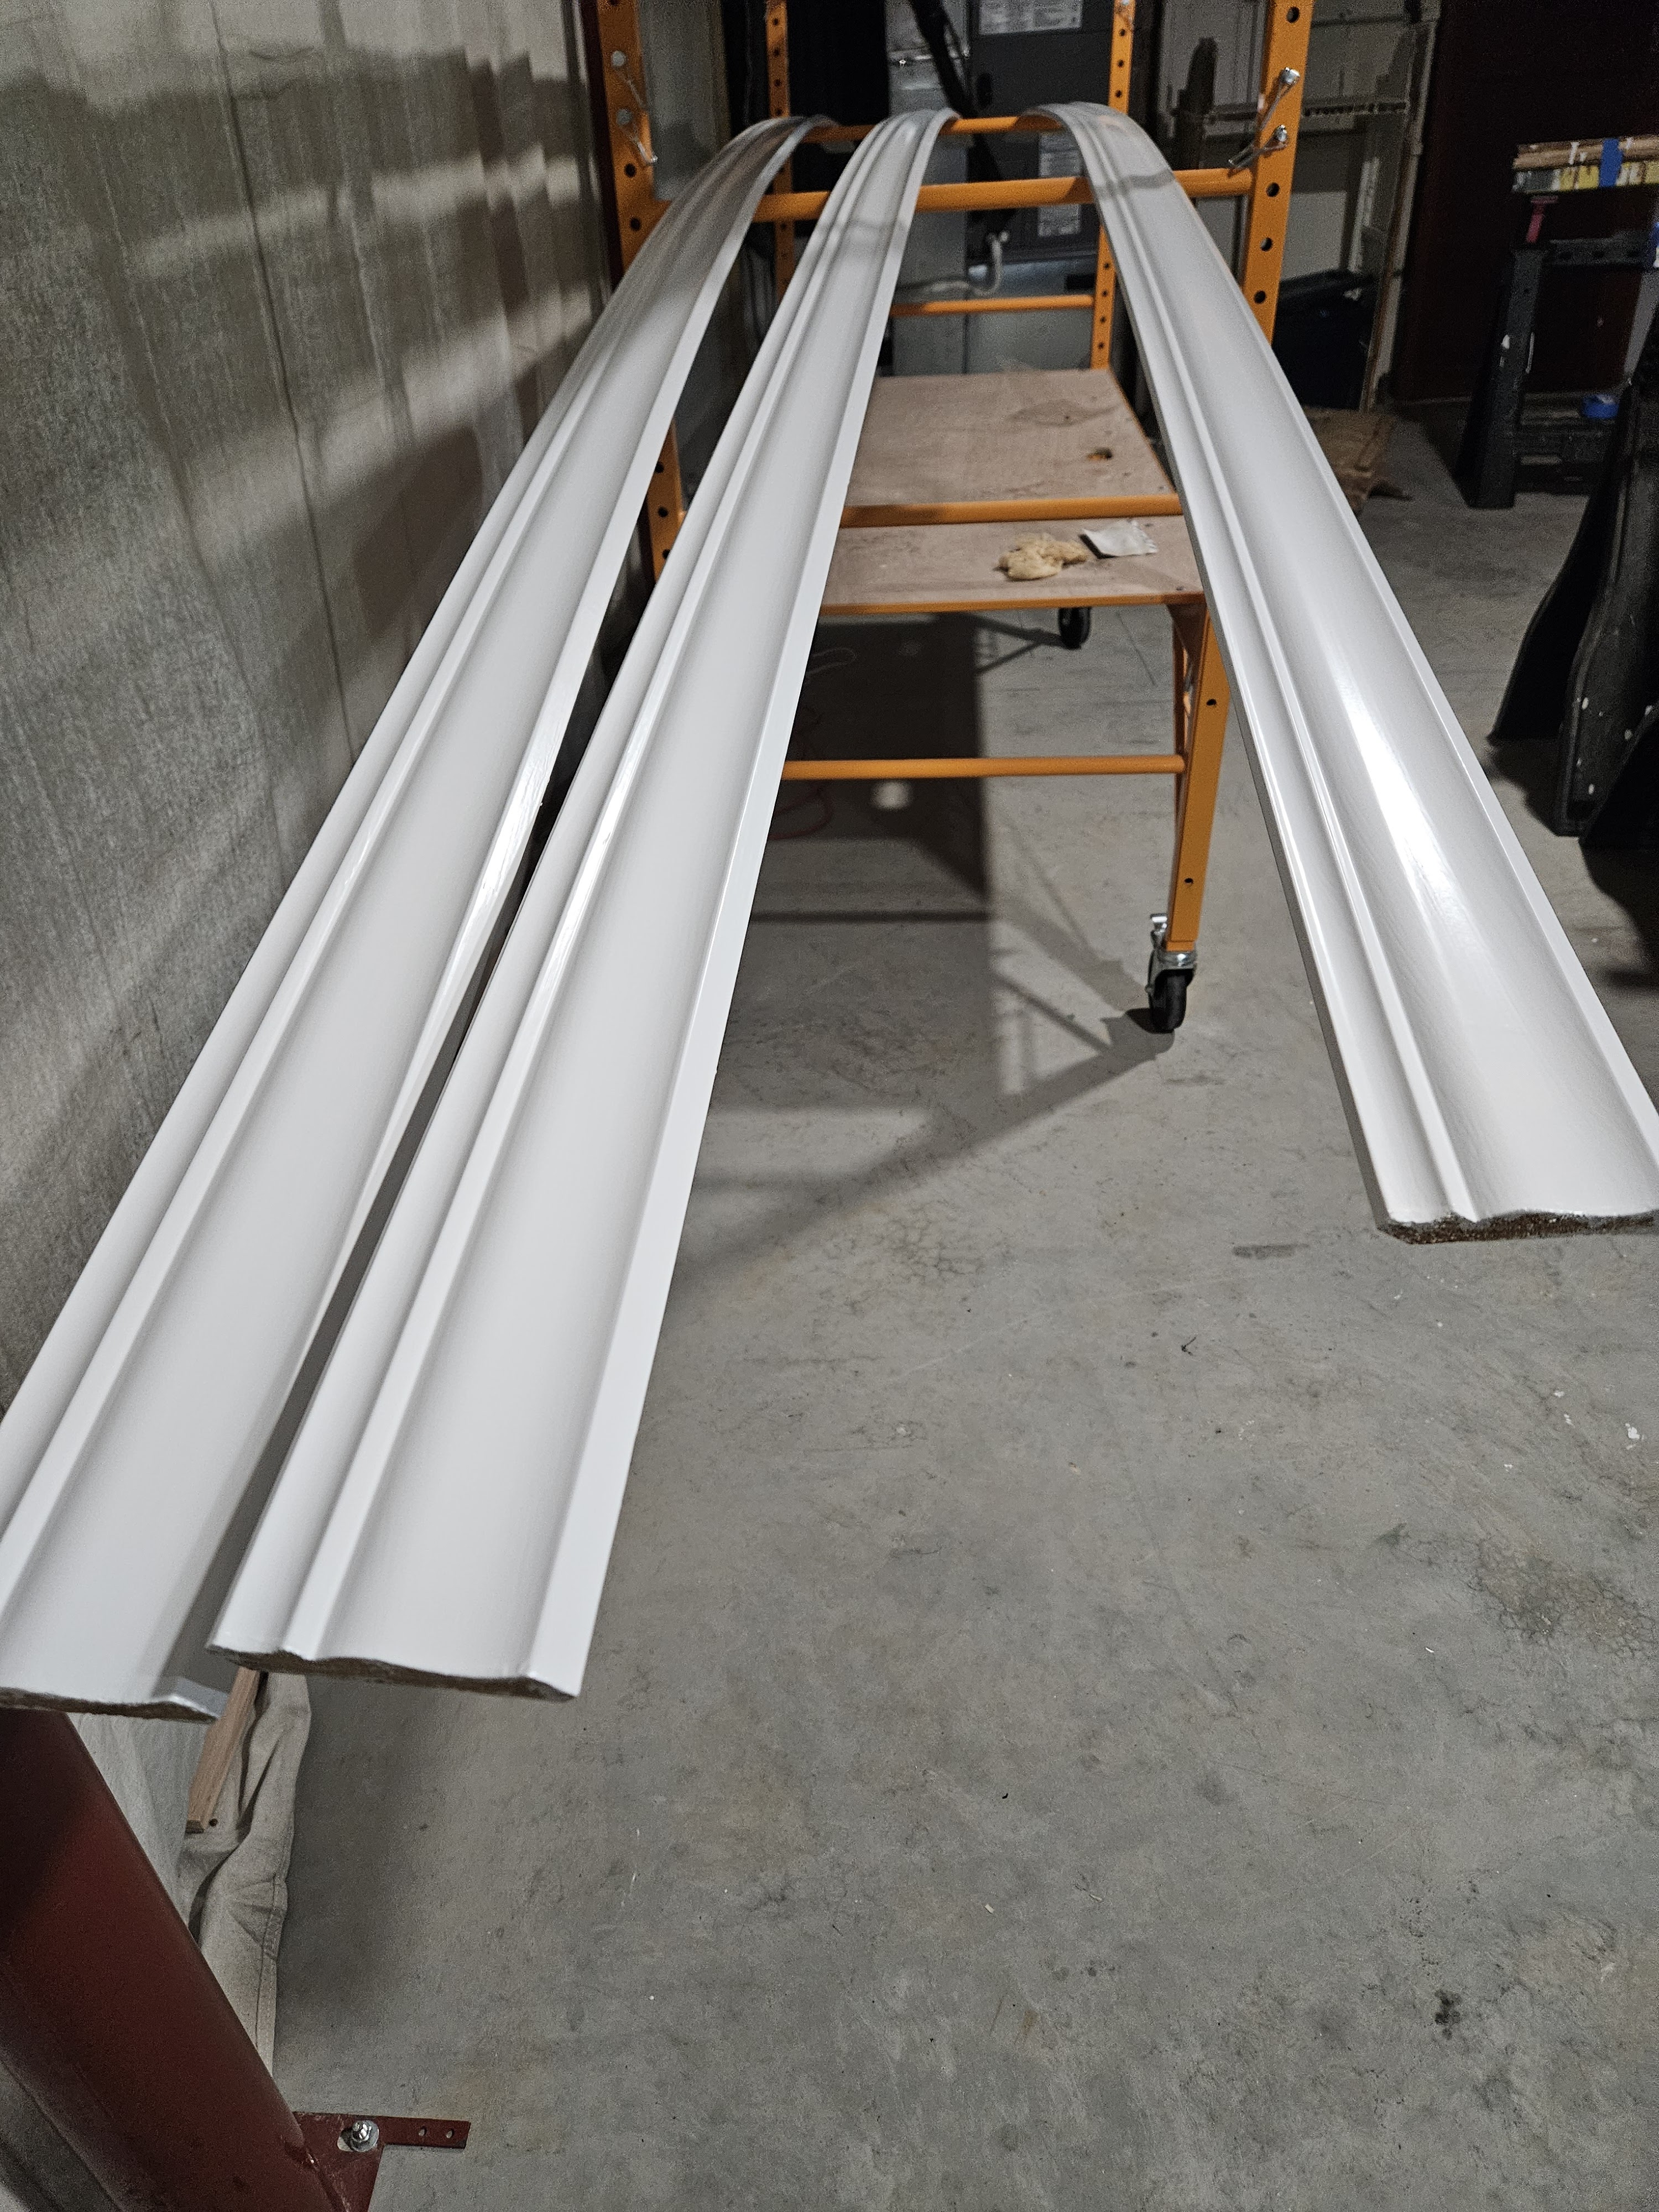
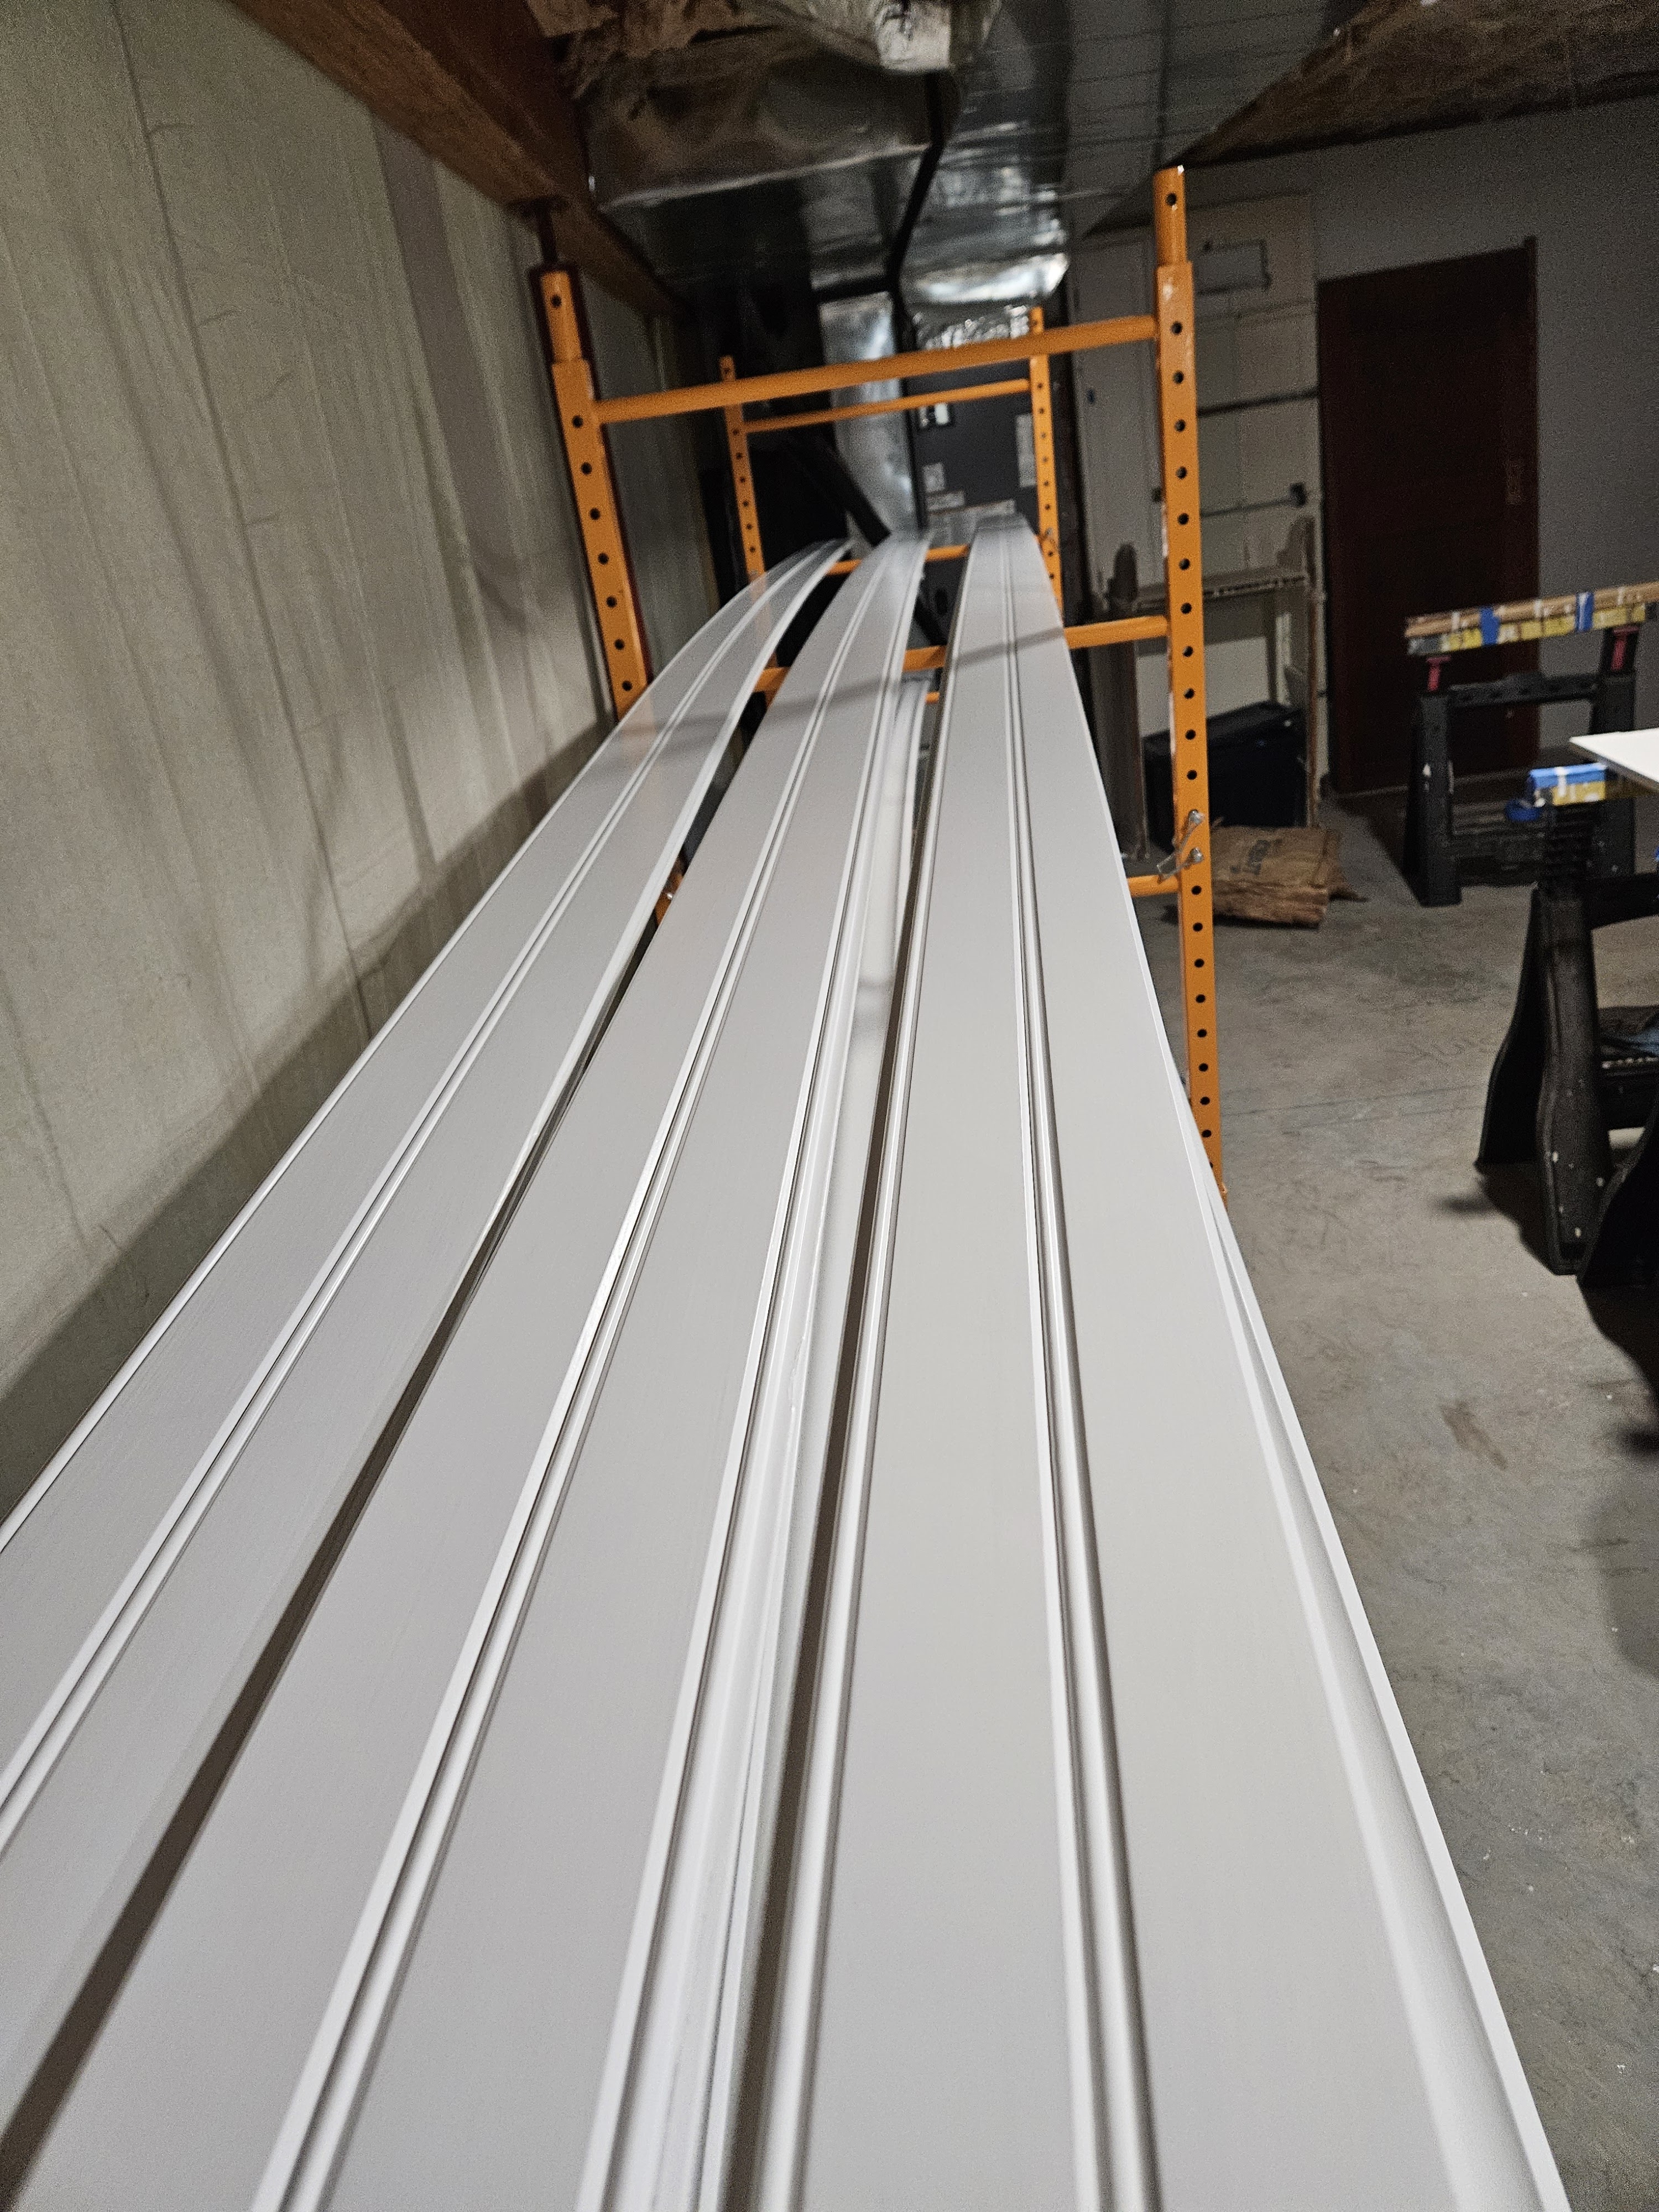
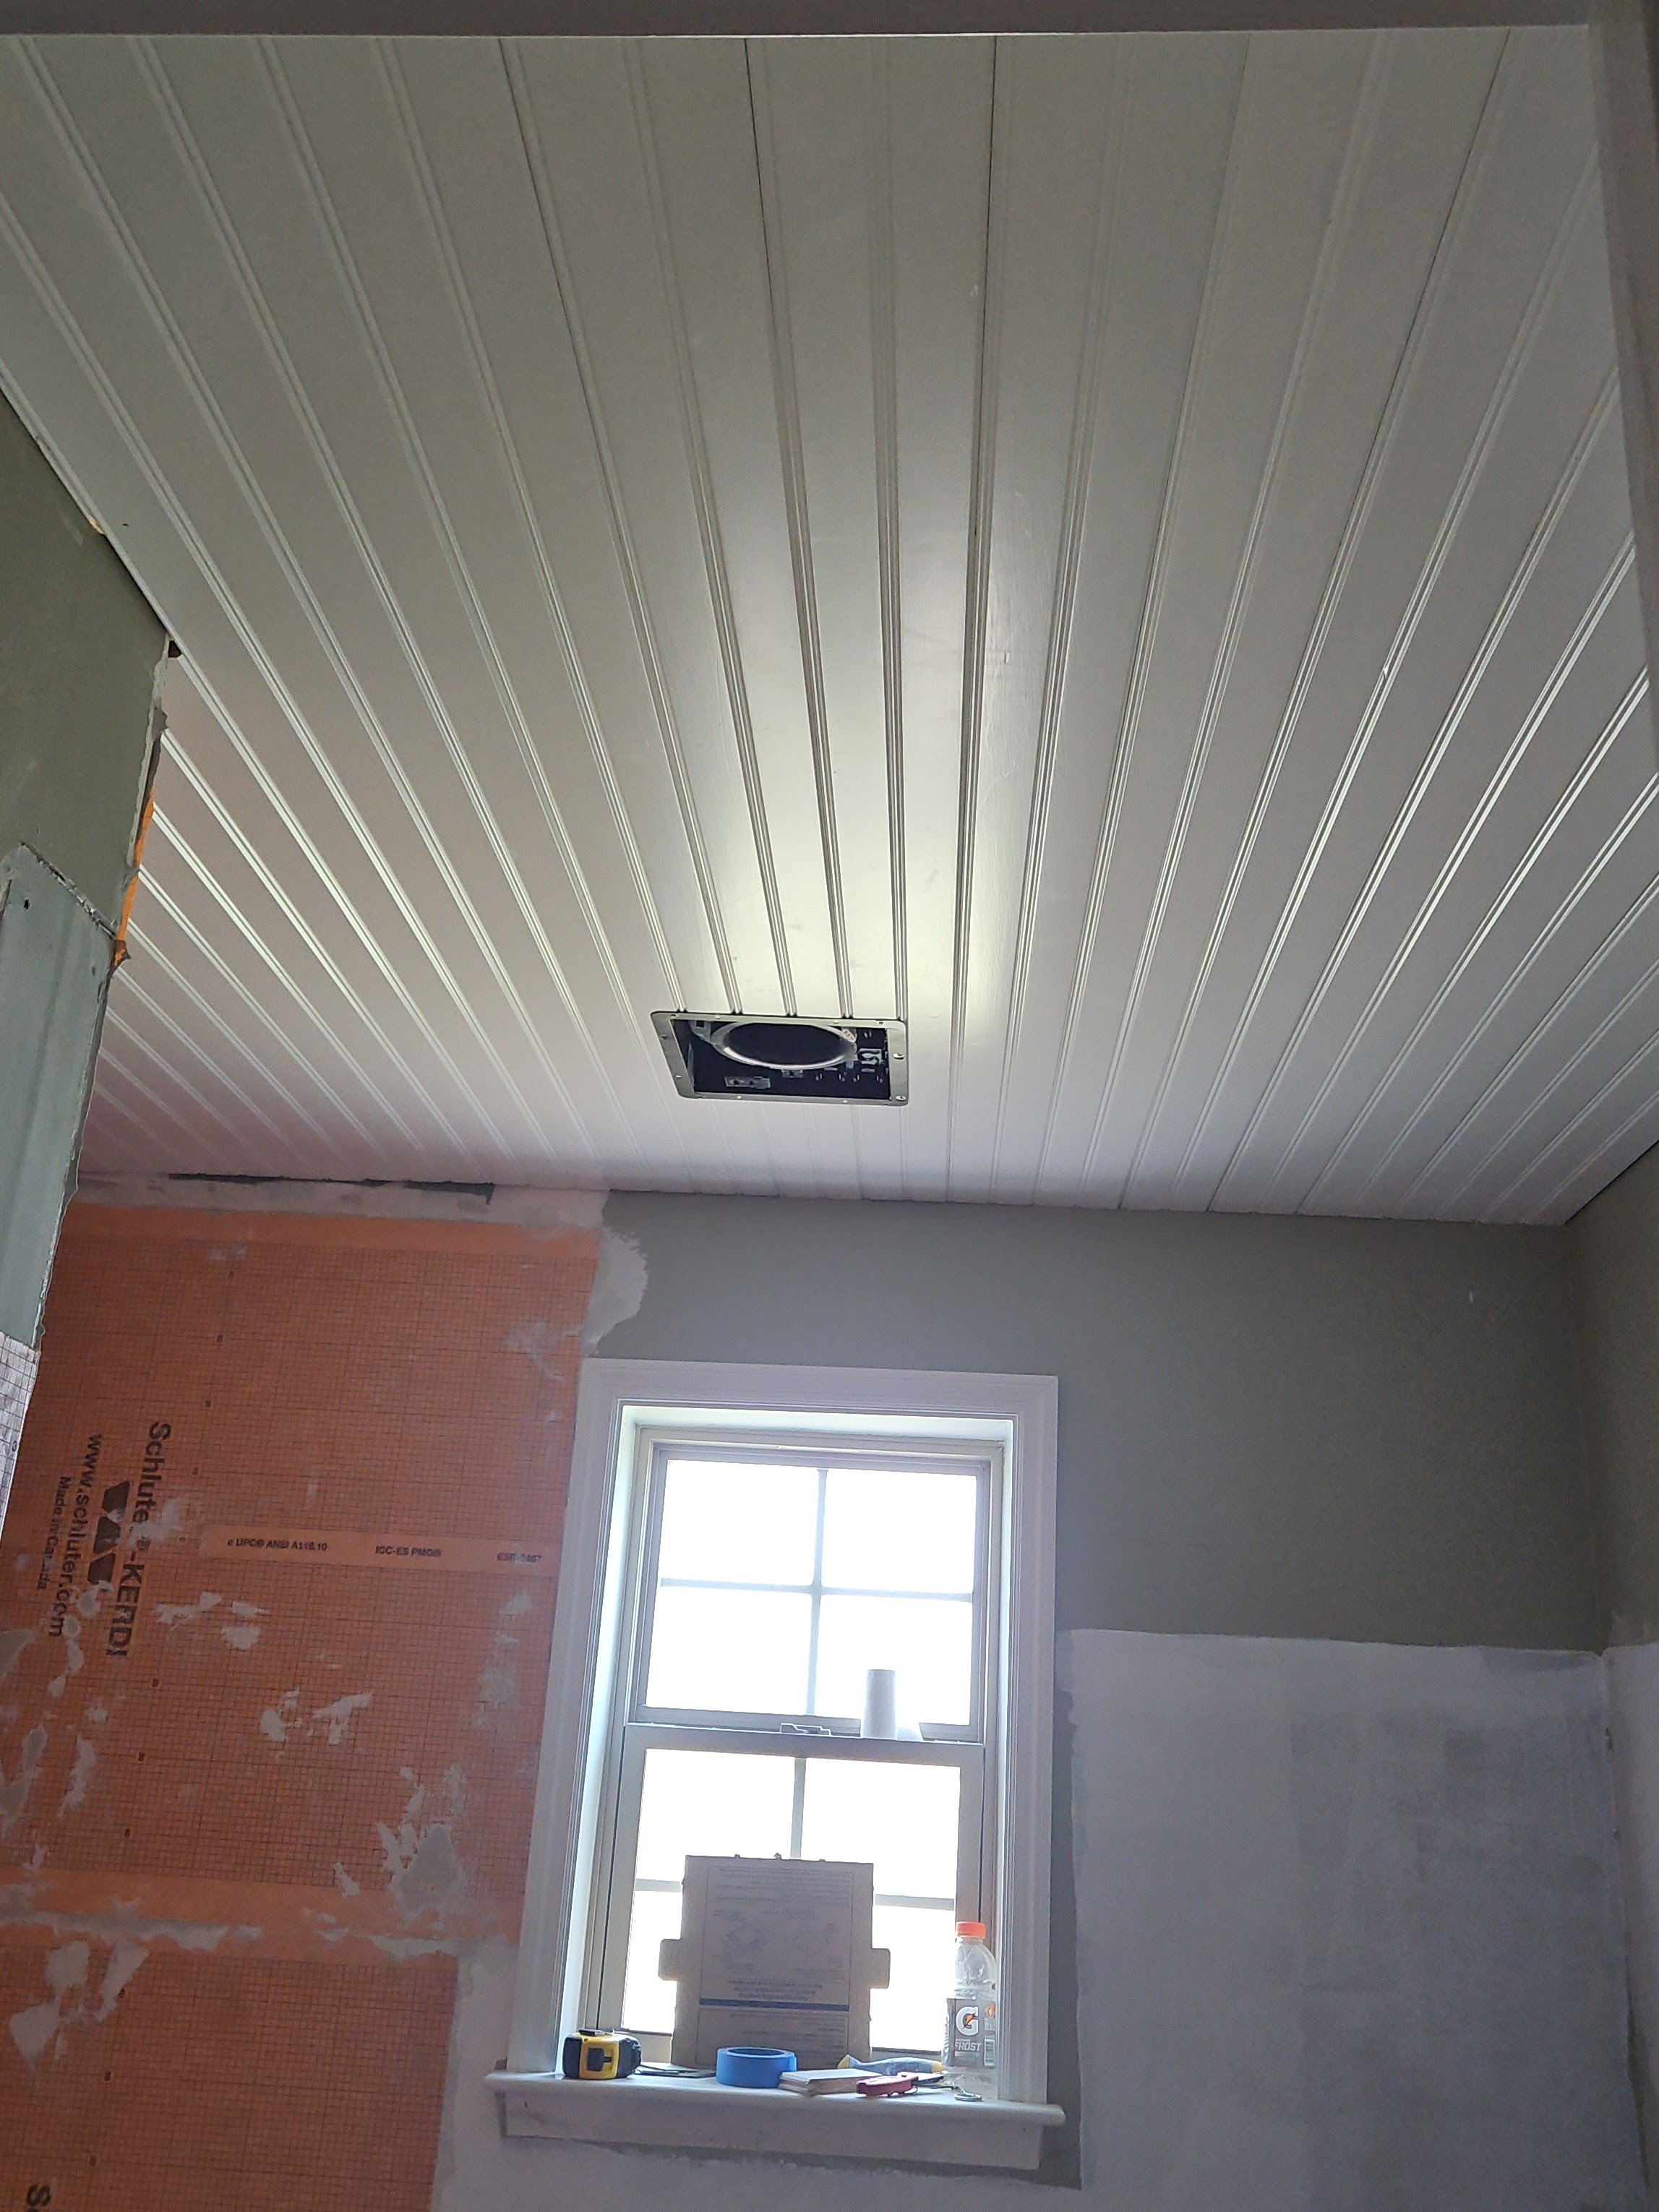
While the guys were waiting for all the Kerdi stuff to dry, they put up the beadboard on the ceiling. This is a tongue and groove material, so the nails are hidden, just like in a hardwood floor.

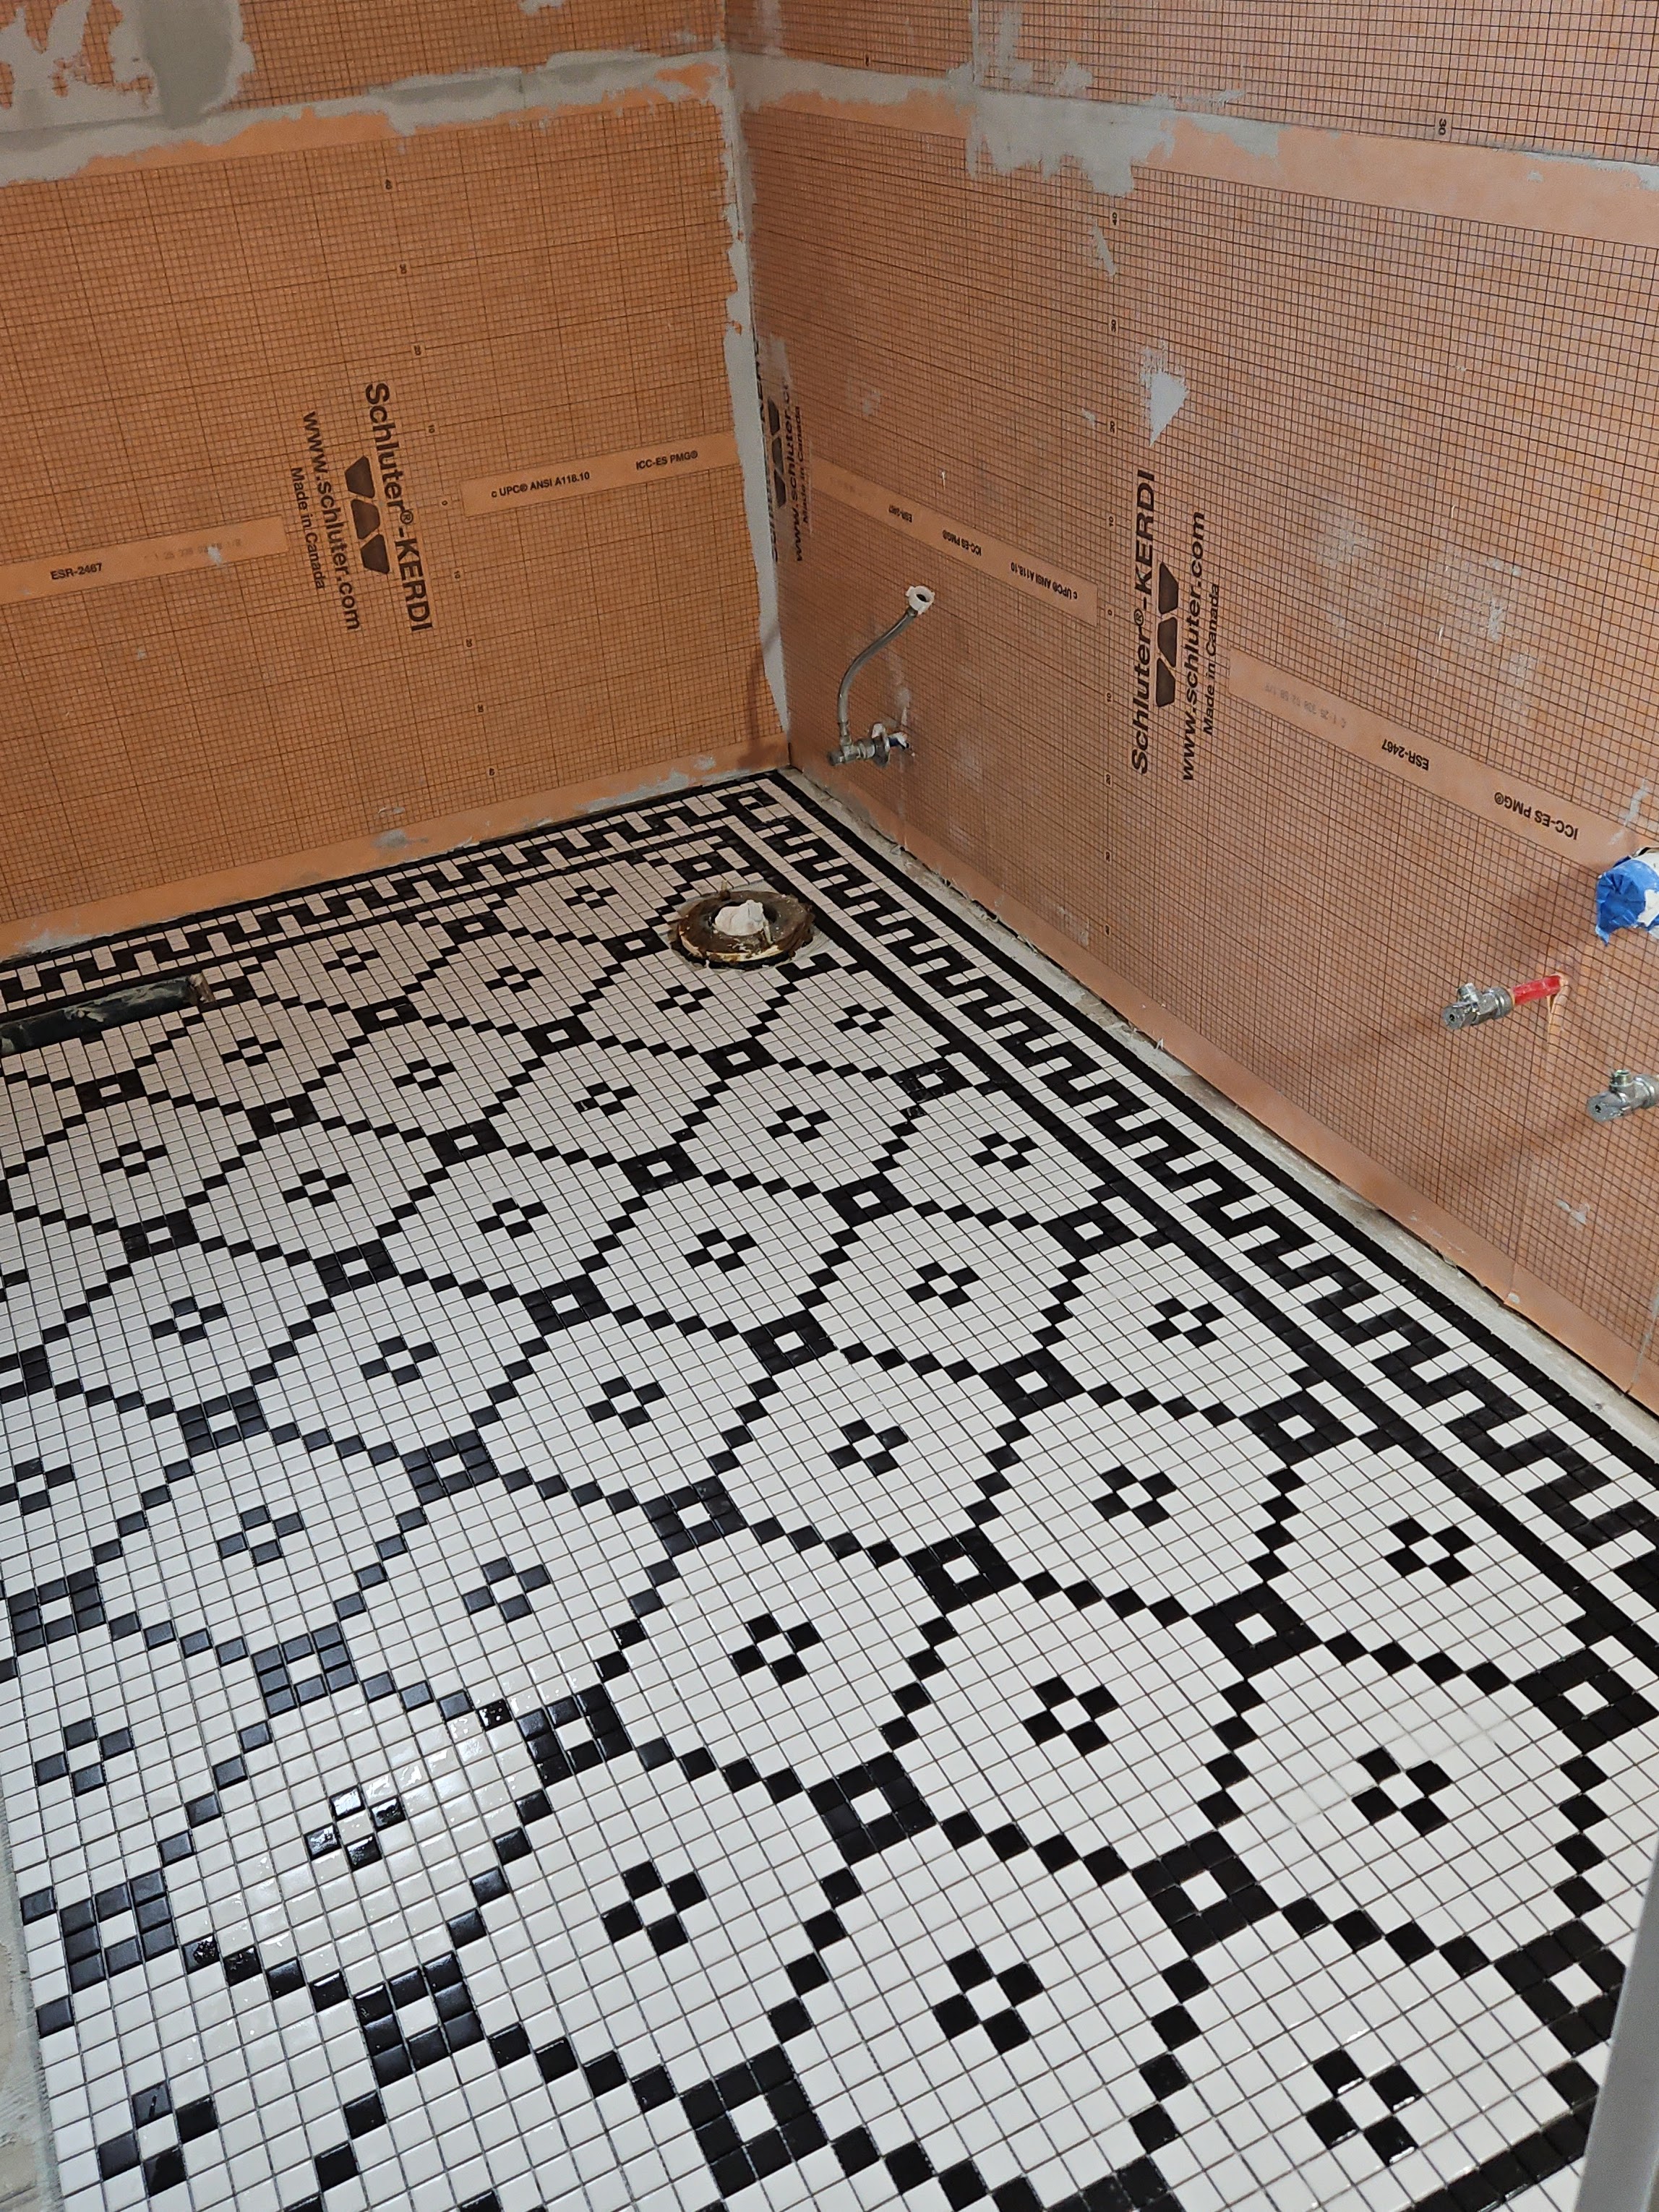
The next step was the floor. We got a matte porcelain tile floor that included a greek key border, and a bow and cross field tile in black and white.
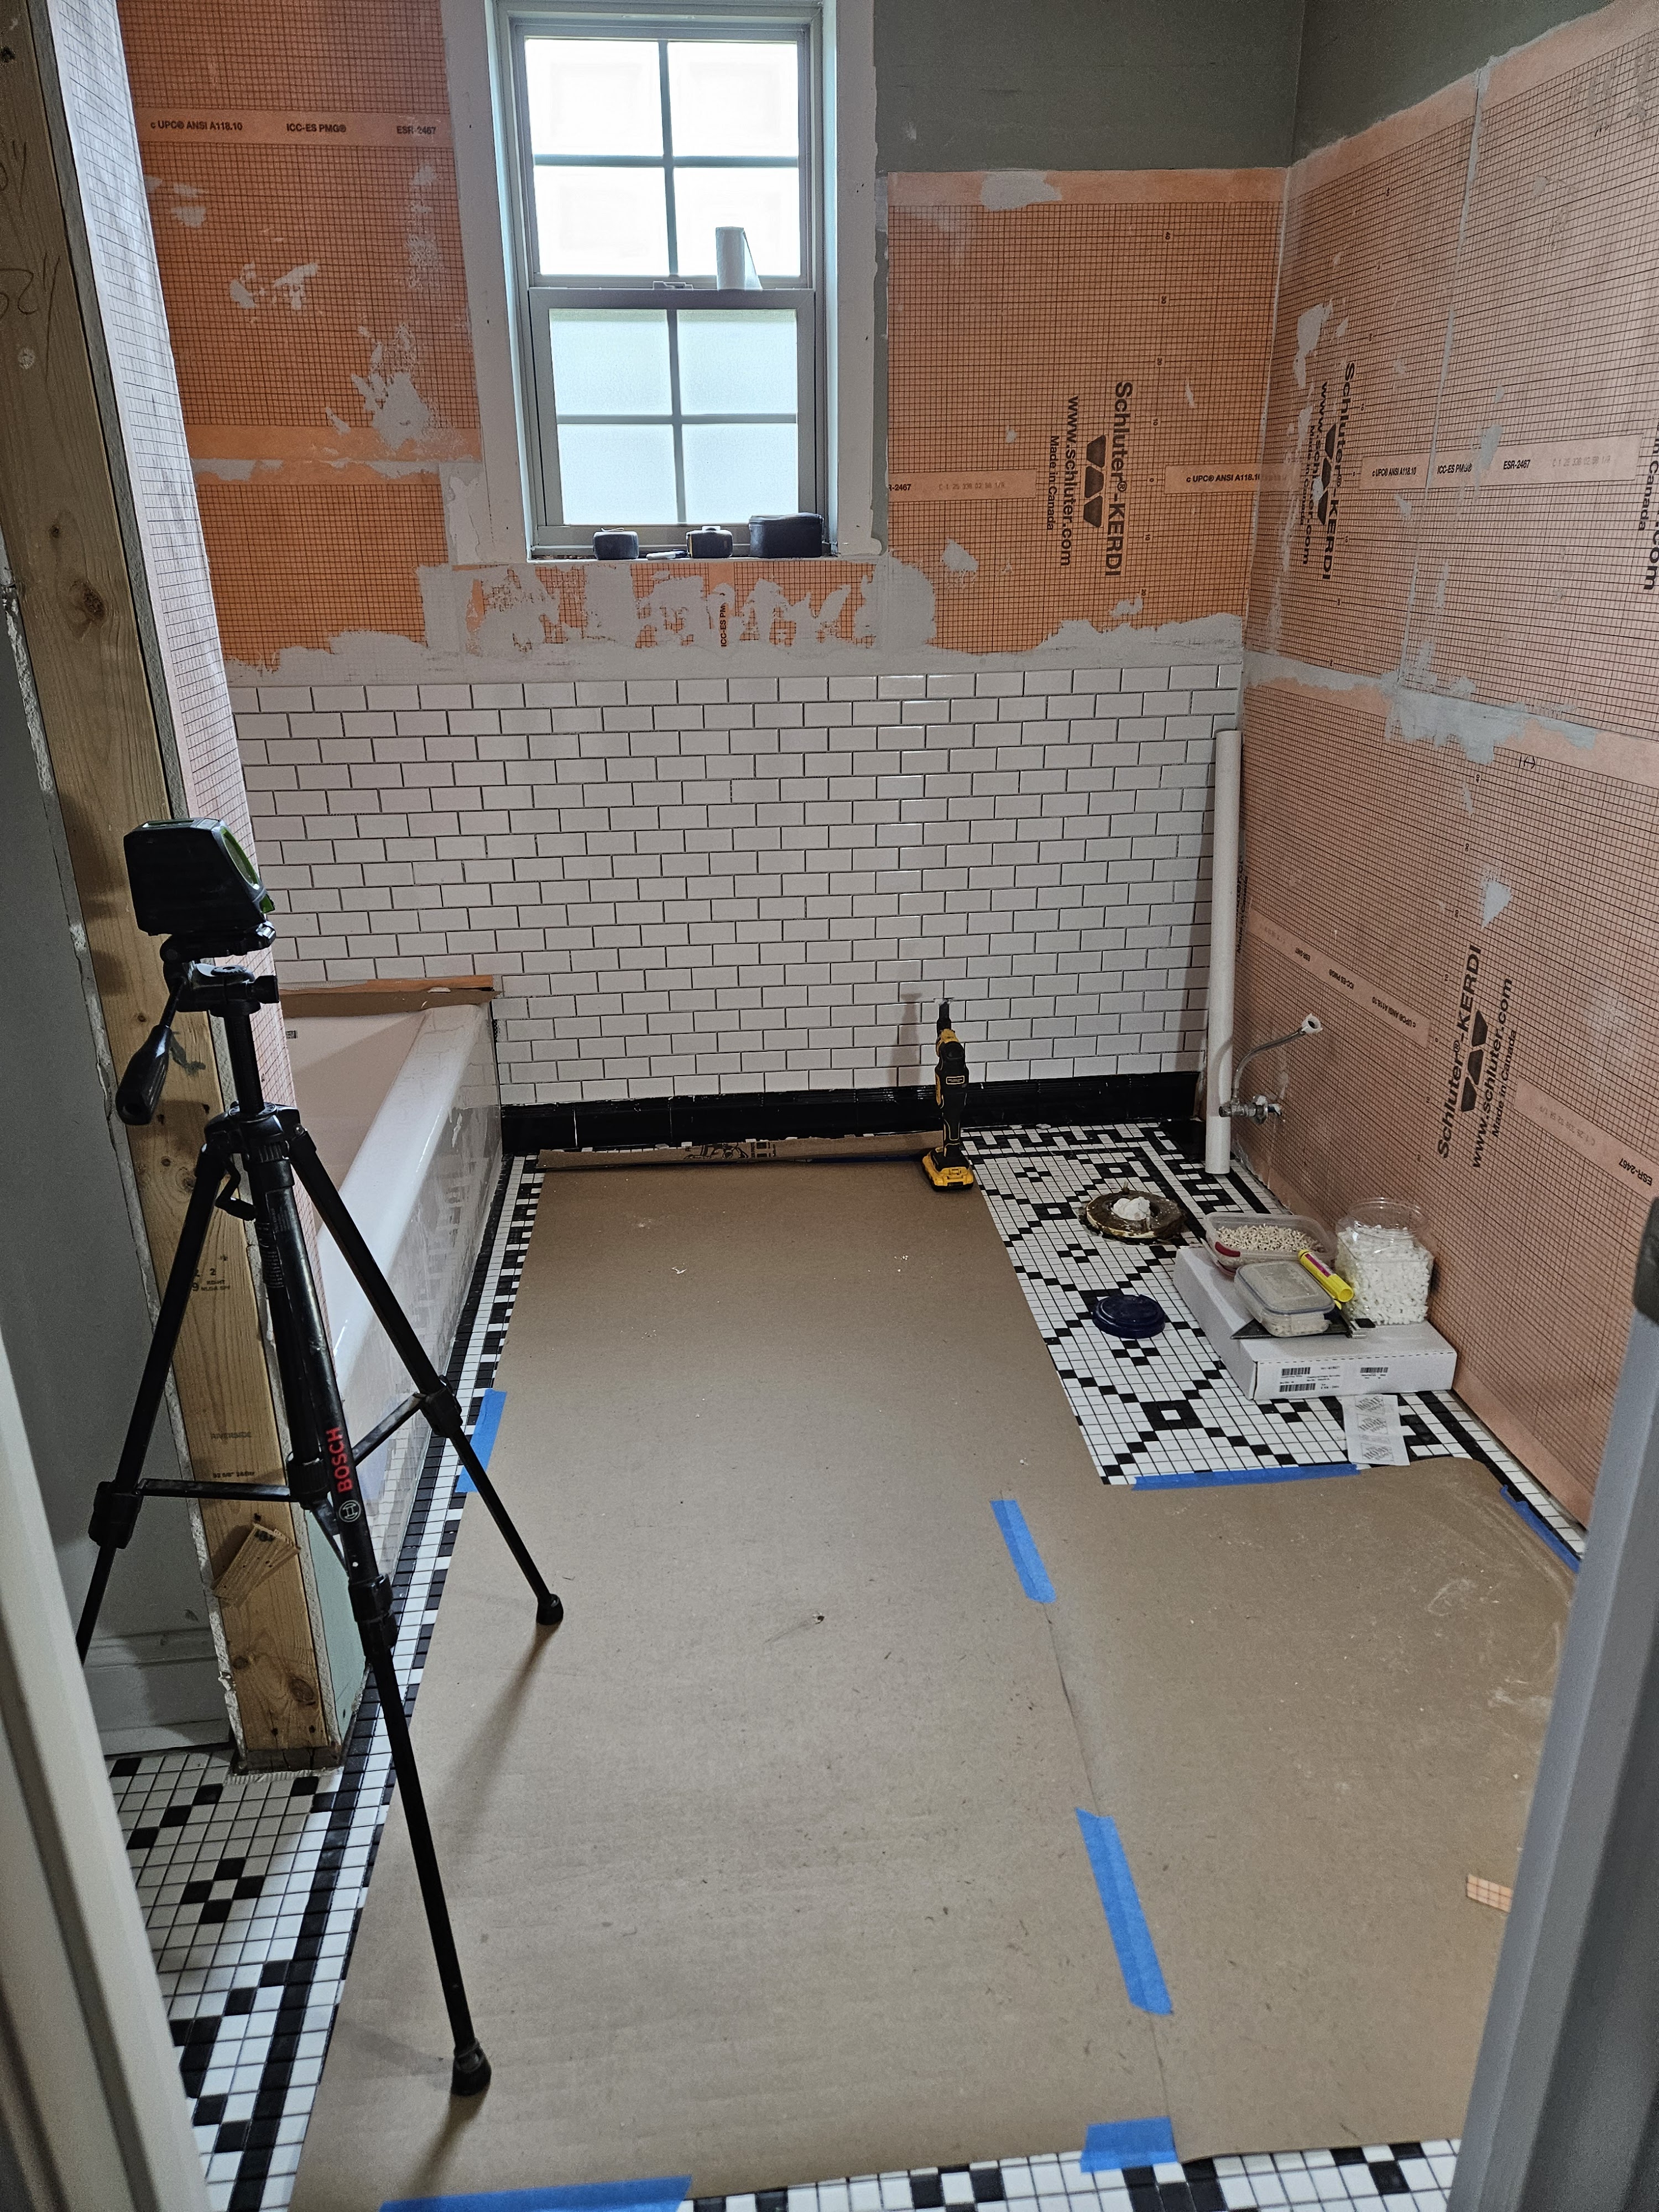
From there, they started with the decorative black ceramic cove base and then the sheeted mosaic wall tiles.

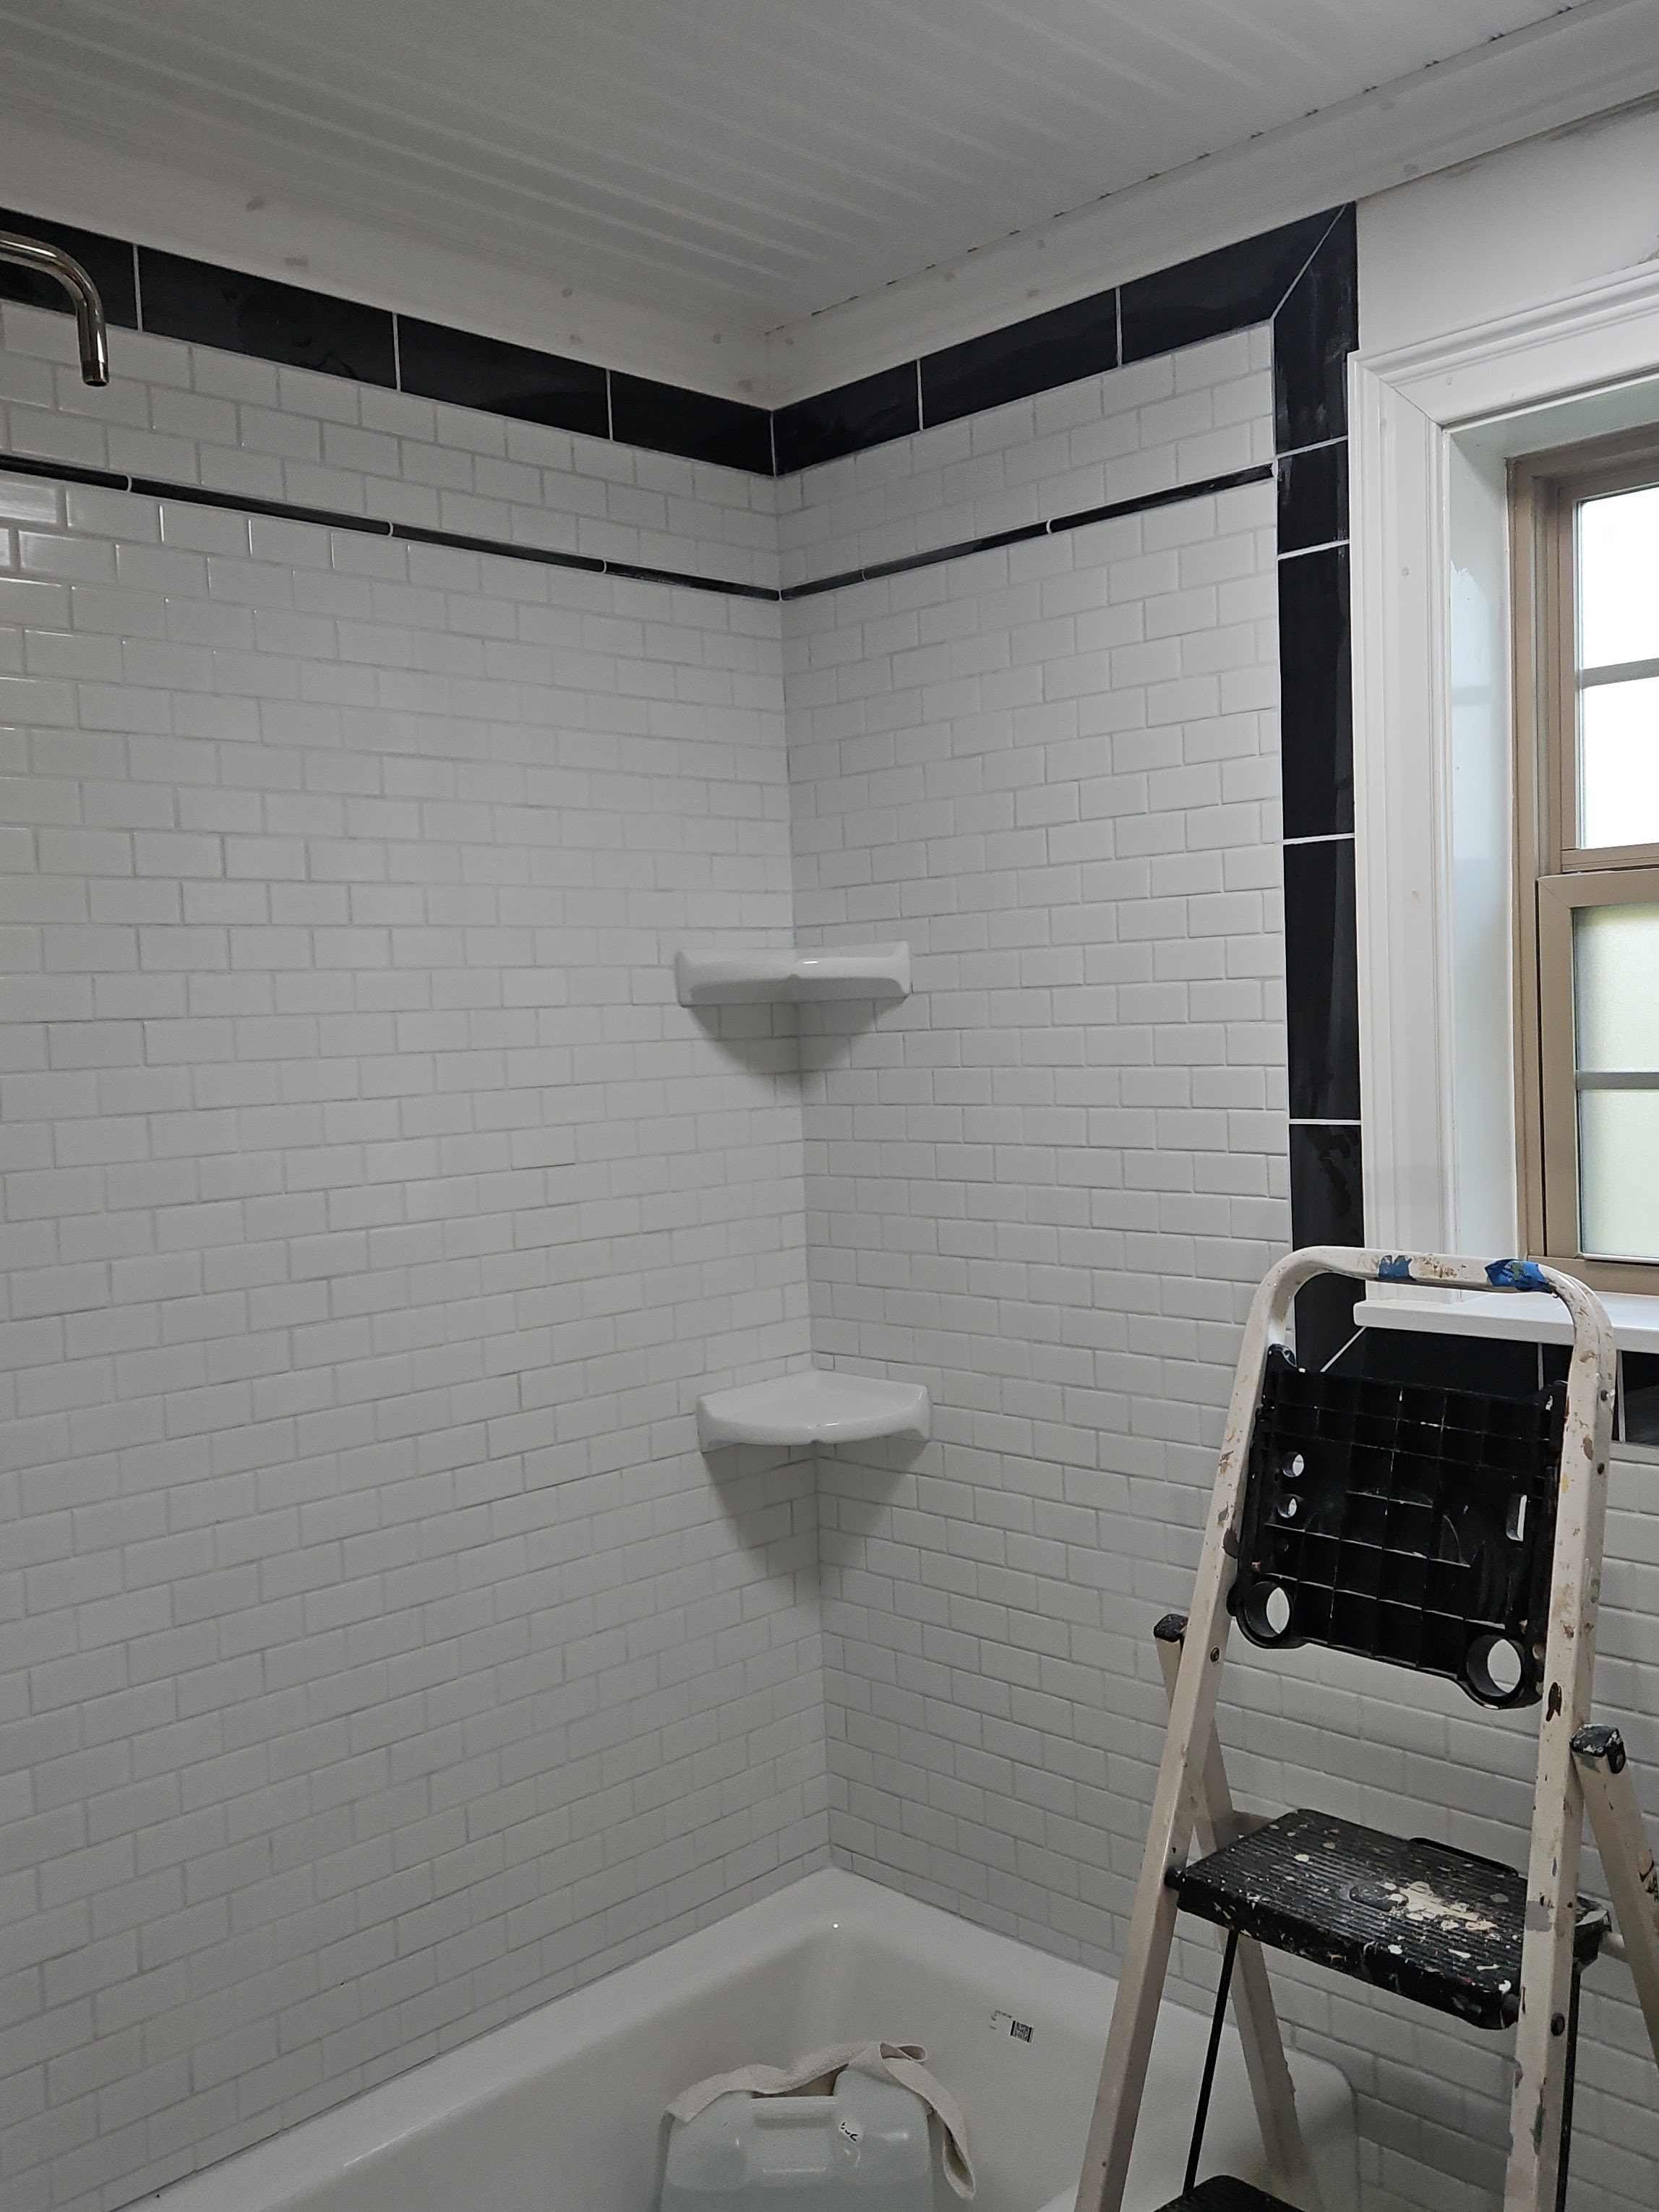
As they worked their way up the wall, we had some design decisions to make. I decided that I didn’t want any window casing below the window sill and we also decided to bring the tile to the ceiling between the window and the tub and finish it with black bullnose tile along the crown molding and the window and then have the tile drop to 72″ on the right side of the window. There was no way to match up the pencil detail in the shower alcove and the rest of the room, so we decided to put the pencil 3 rows of tile below the bullnose.

When they started tiling in the shower, they had to install the crown molding so they knew where to stop. They realized at that point that the bottom of the crown mold wasn’t as thick as the finished tile would be, so they had to fir out the crown mold about 1/4″. If you look closely above the window, you can see a shadow from the crown molding. I also had to decide where the corner shelves would go.
The last thing the guys did before the counter top people came to measure was to install the vanity. We decided to reuse the vanity that we had to help with the timeline and with the budget. We painted it the same color as the doors and trim. Fortunately, the drawer fronts are attached with screws to the drawer box which made painting them MUCH easier and neater. My husband made a new left side of the vanity out of plywood and oak and he also made a new toe kick. I painted both of those before they were installed.
Here’s the cabinet and the toilet installed in the bathroom. We decided to go with a black seat to make it a little more interesting.
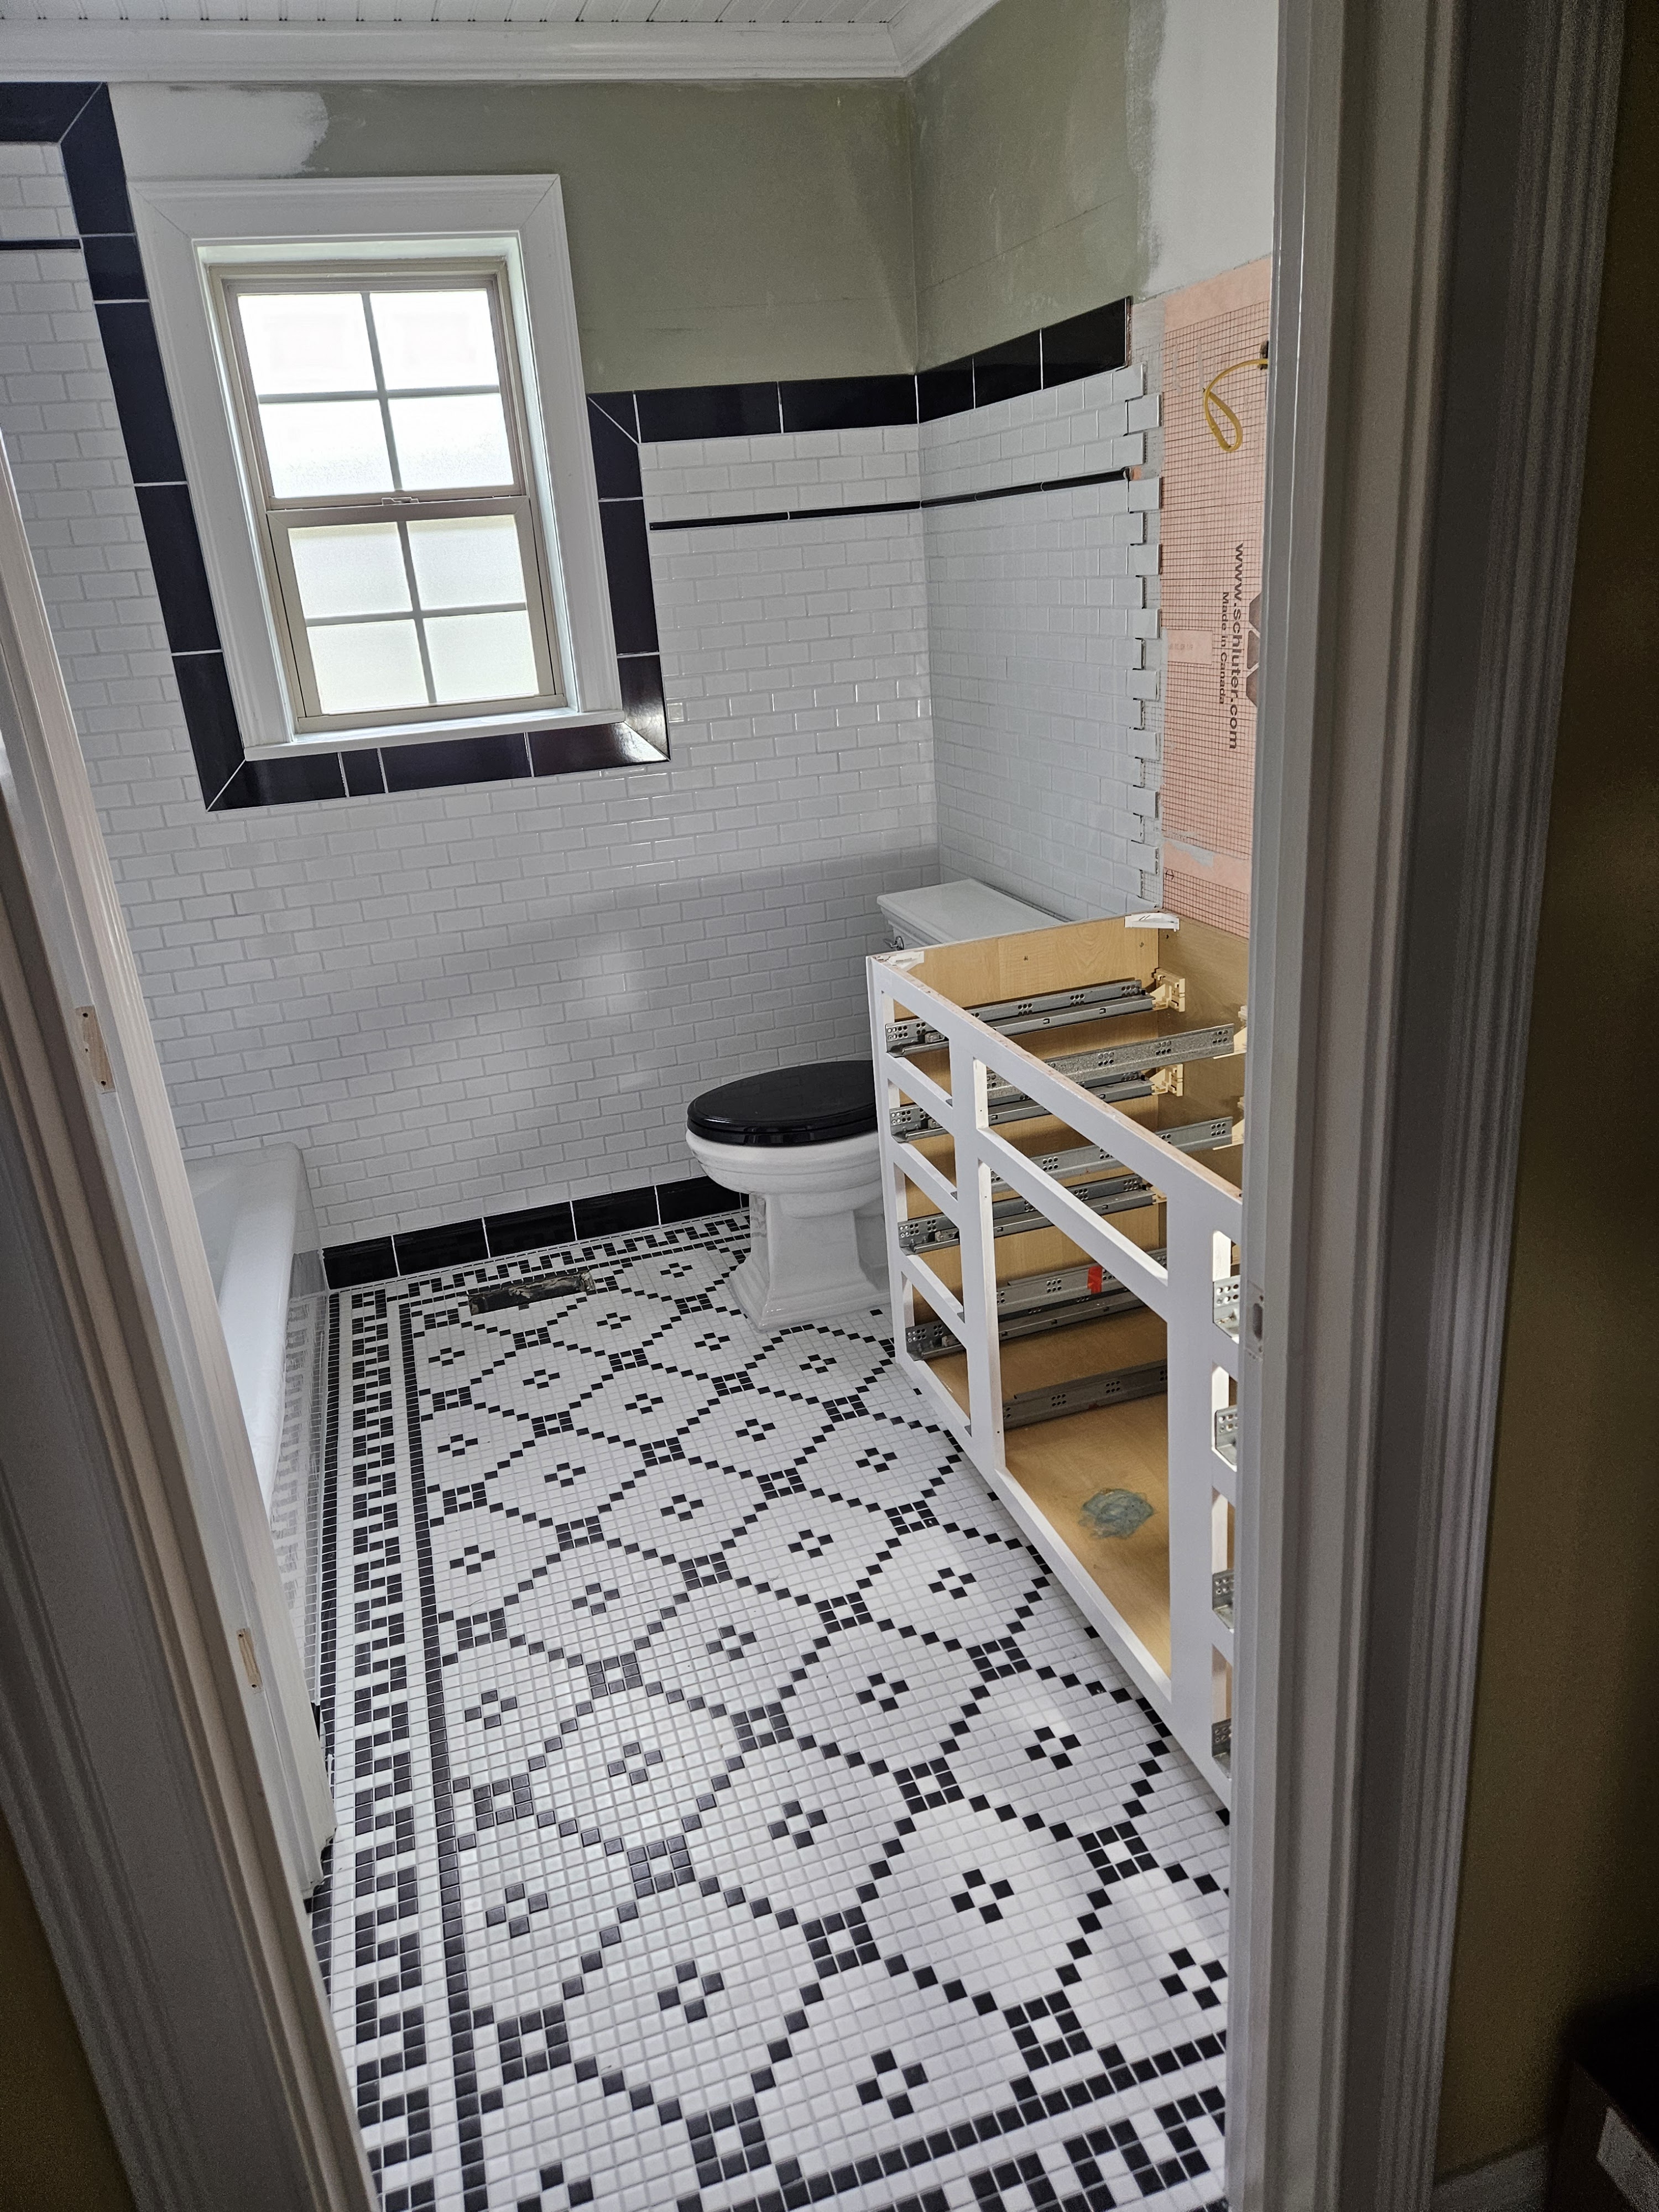
So the guys couldn’t do anything further in the bathroom until the stone top, backsplash and shelf were installed, but there was plenty for my husband and I to do. I painted the closet door and the bathroom side of the door from the hall. We also had to patch, sand, and paint all the trim and sand and prime the patches in the dry wall. As you might imagine, there was a ton of cleaning that was needed between the sanding and the taping and painting. (The photo below is also a good shot of the new vent/light/nightlight which is much brighter and moves a LOT more air.)

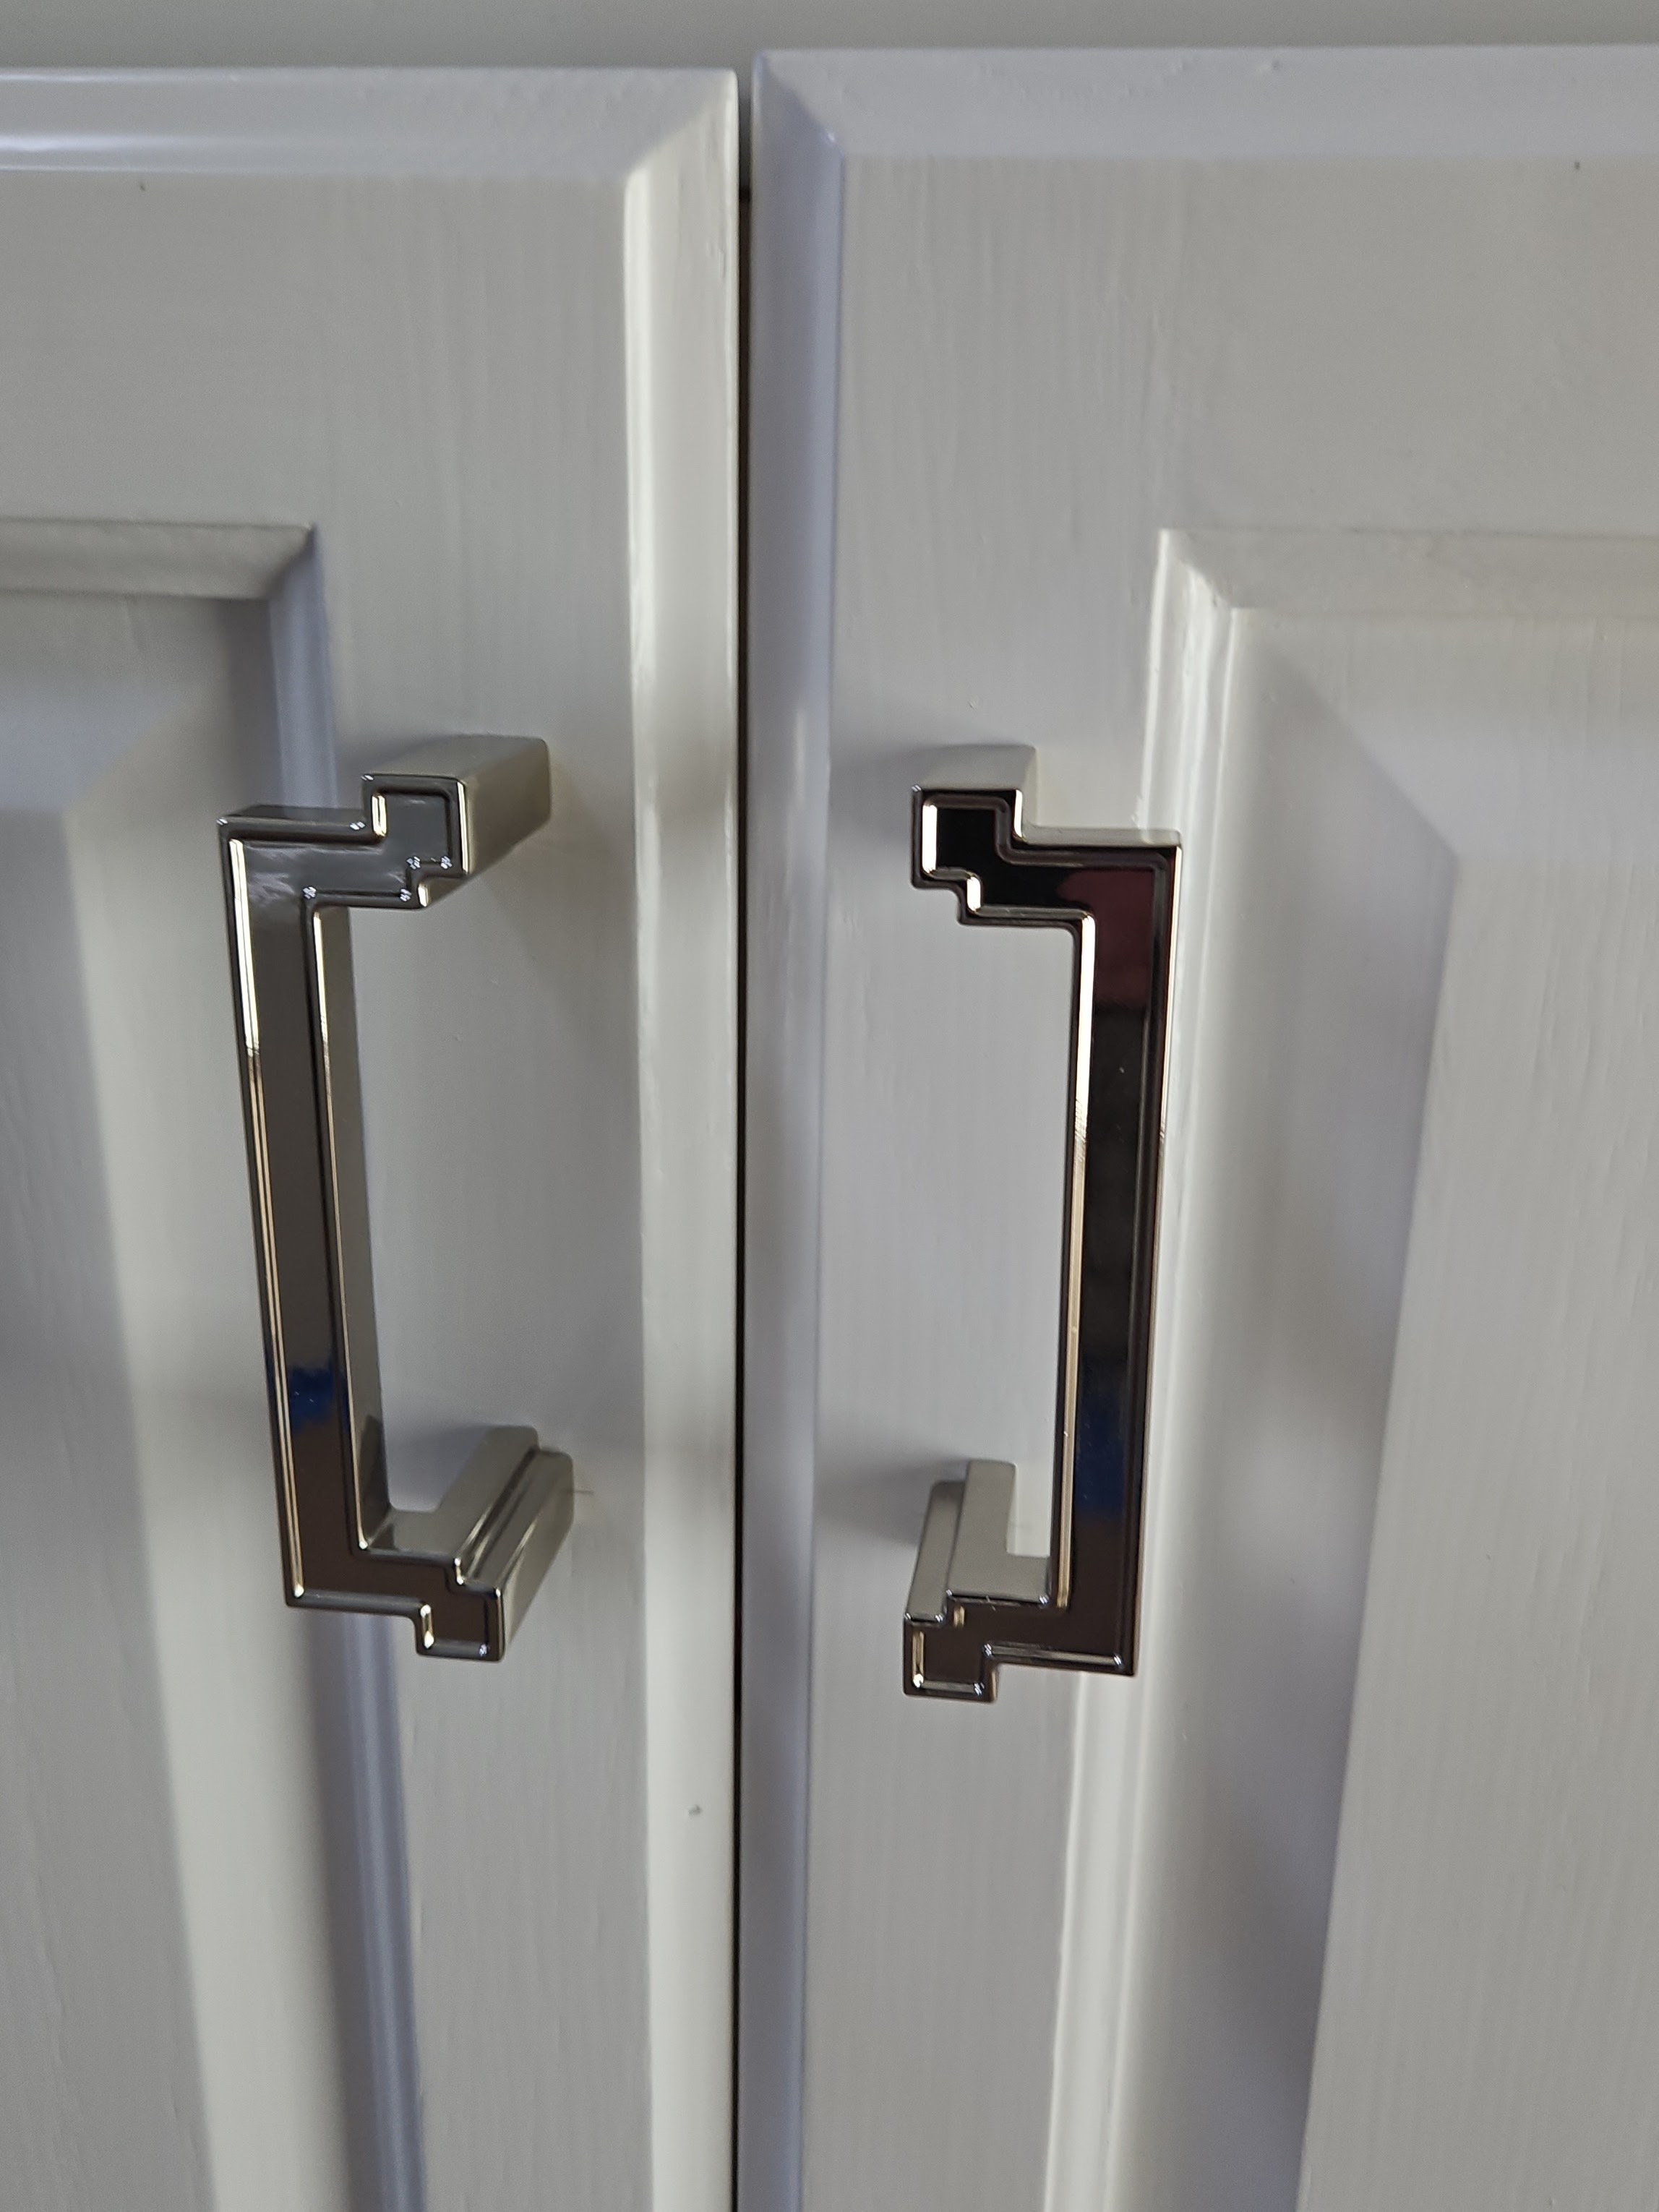
We also decided to go ahead and get the hardware on the cabinets. It took us a minute to figure out that I had installed the drawer fronts upside down, but once we figured that out, it went pretty quick.
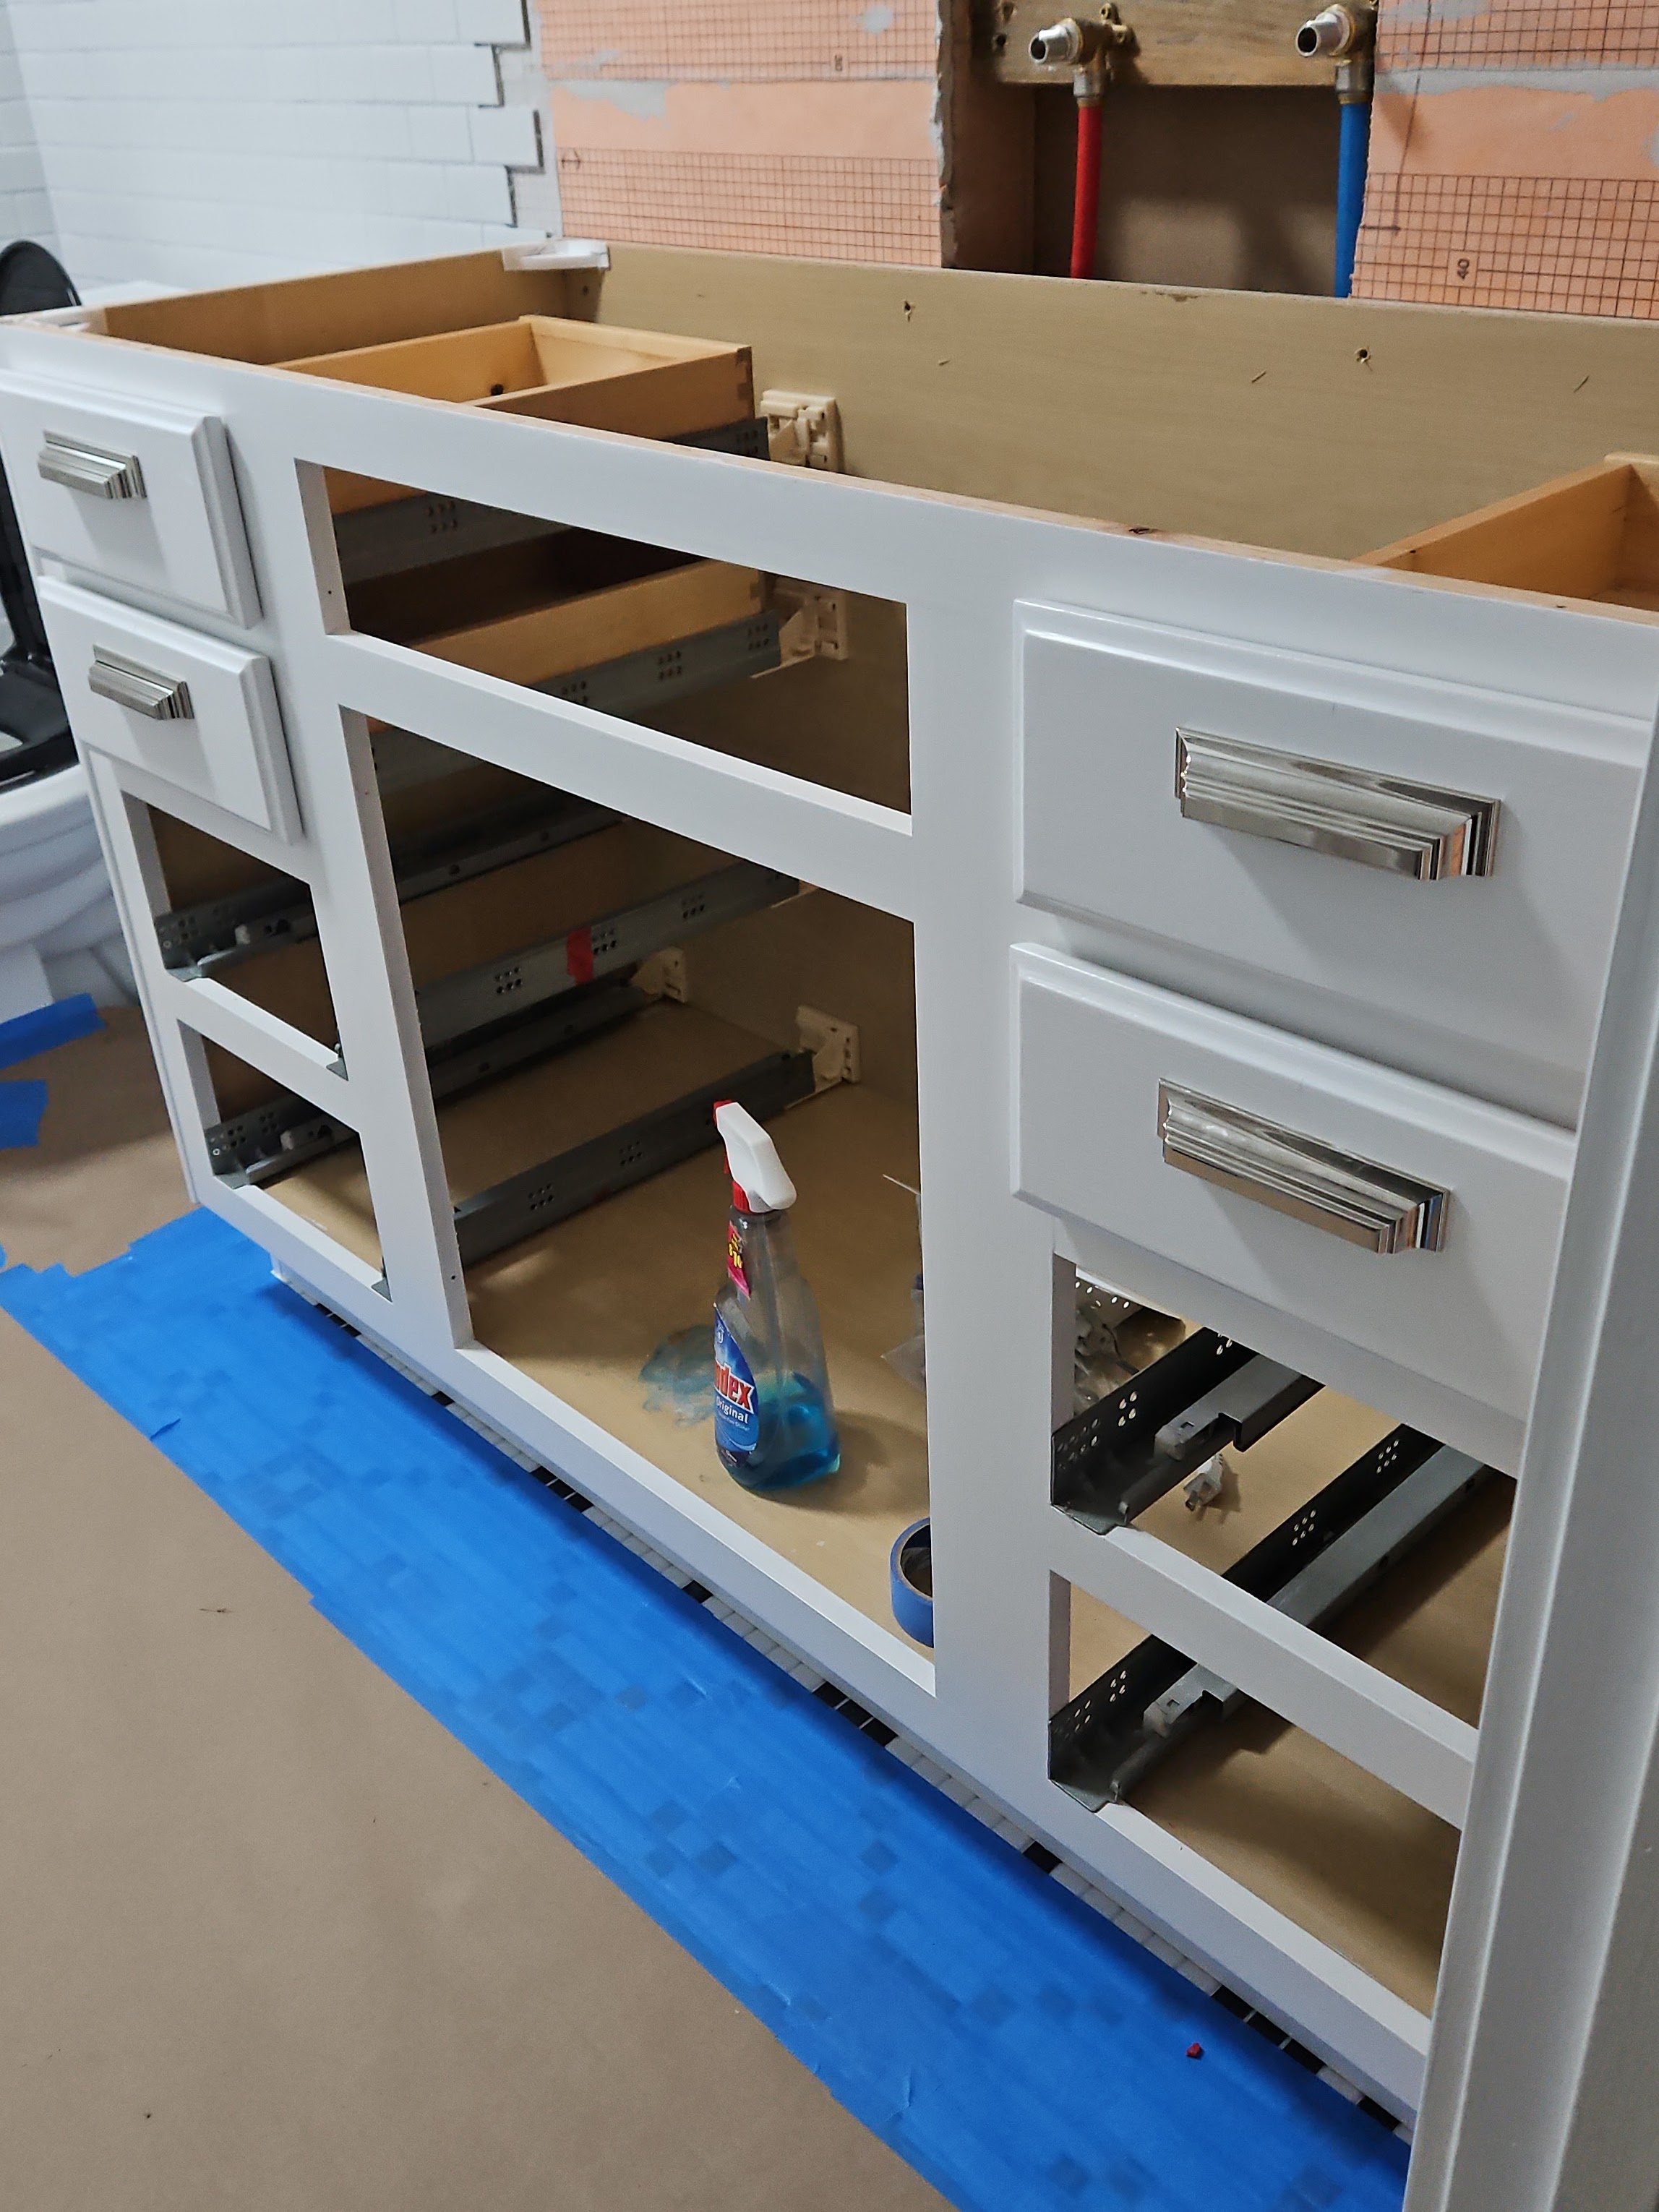

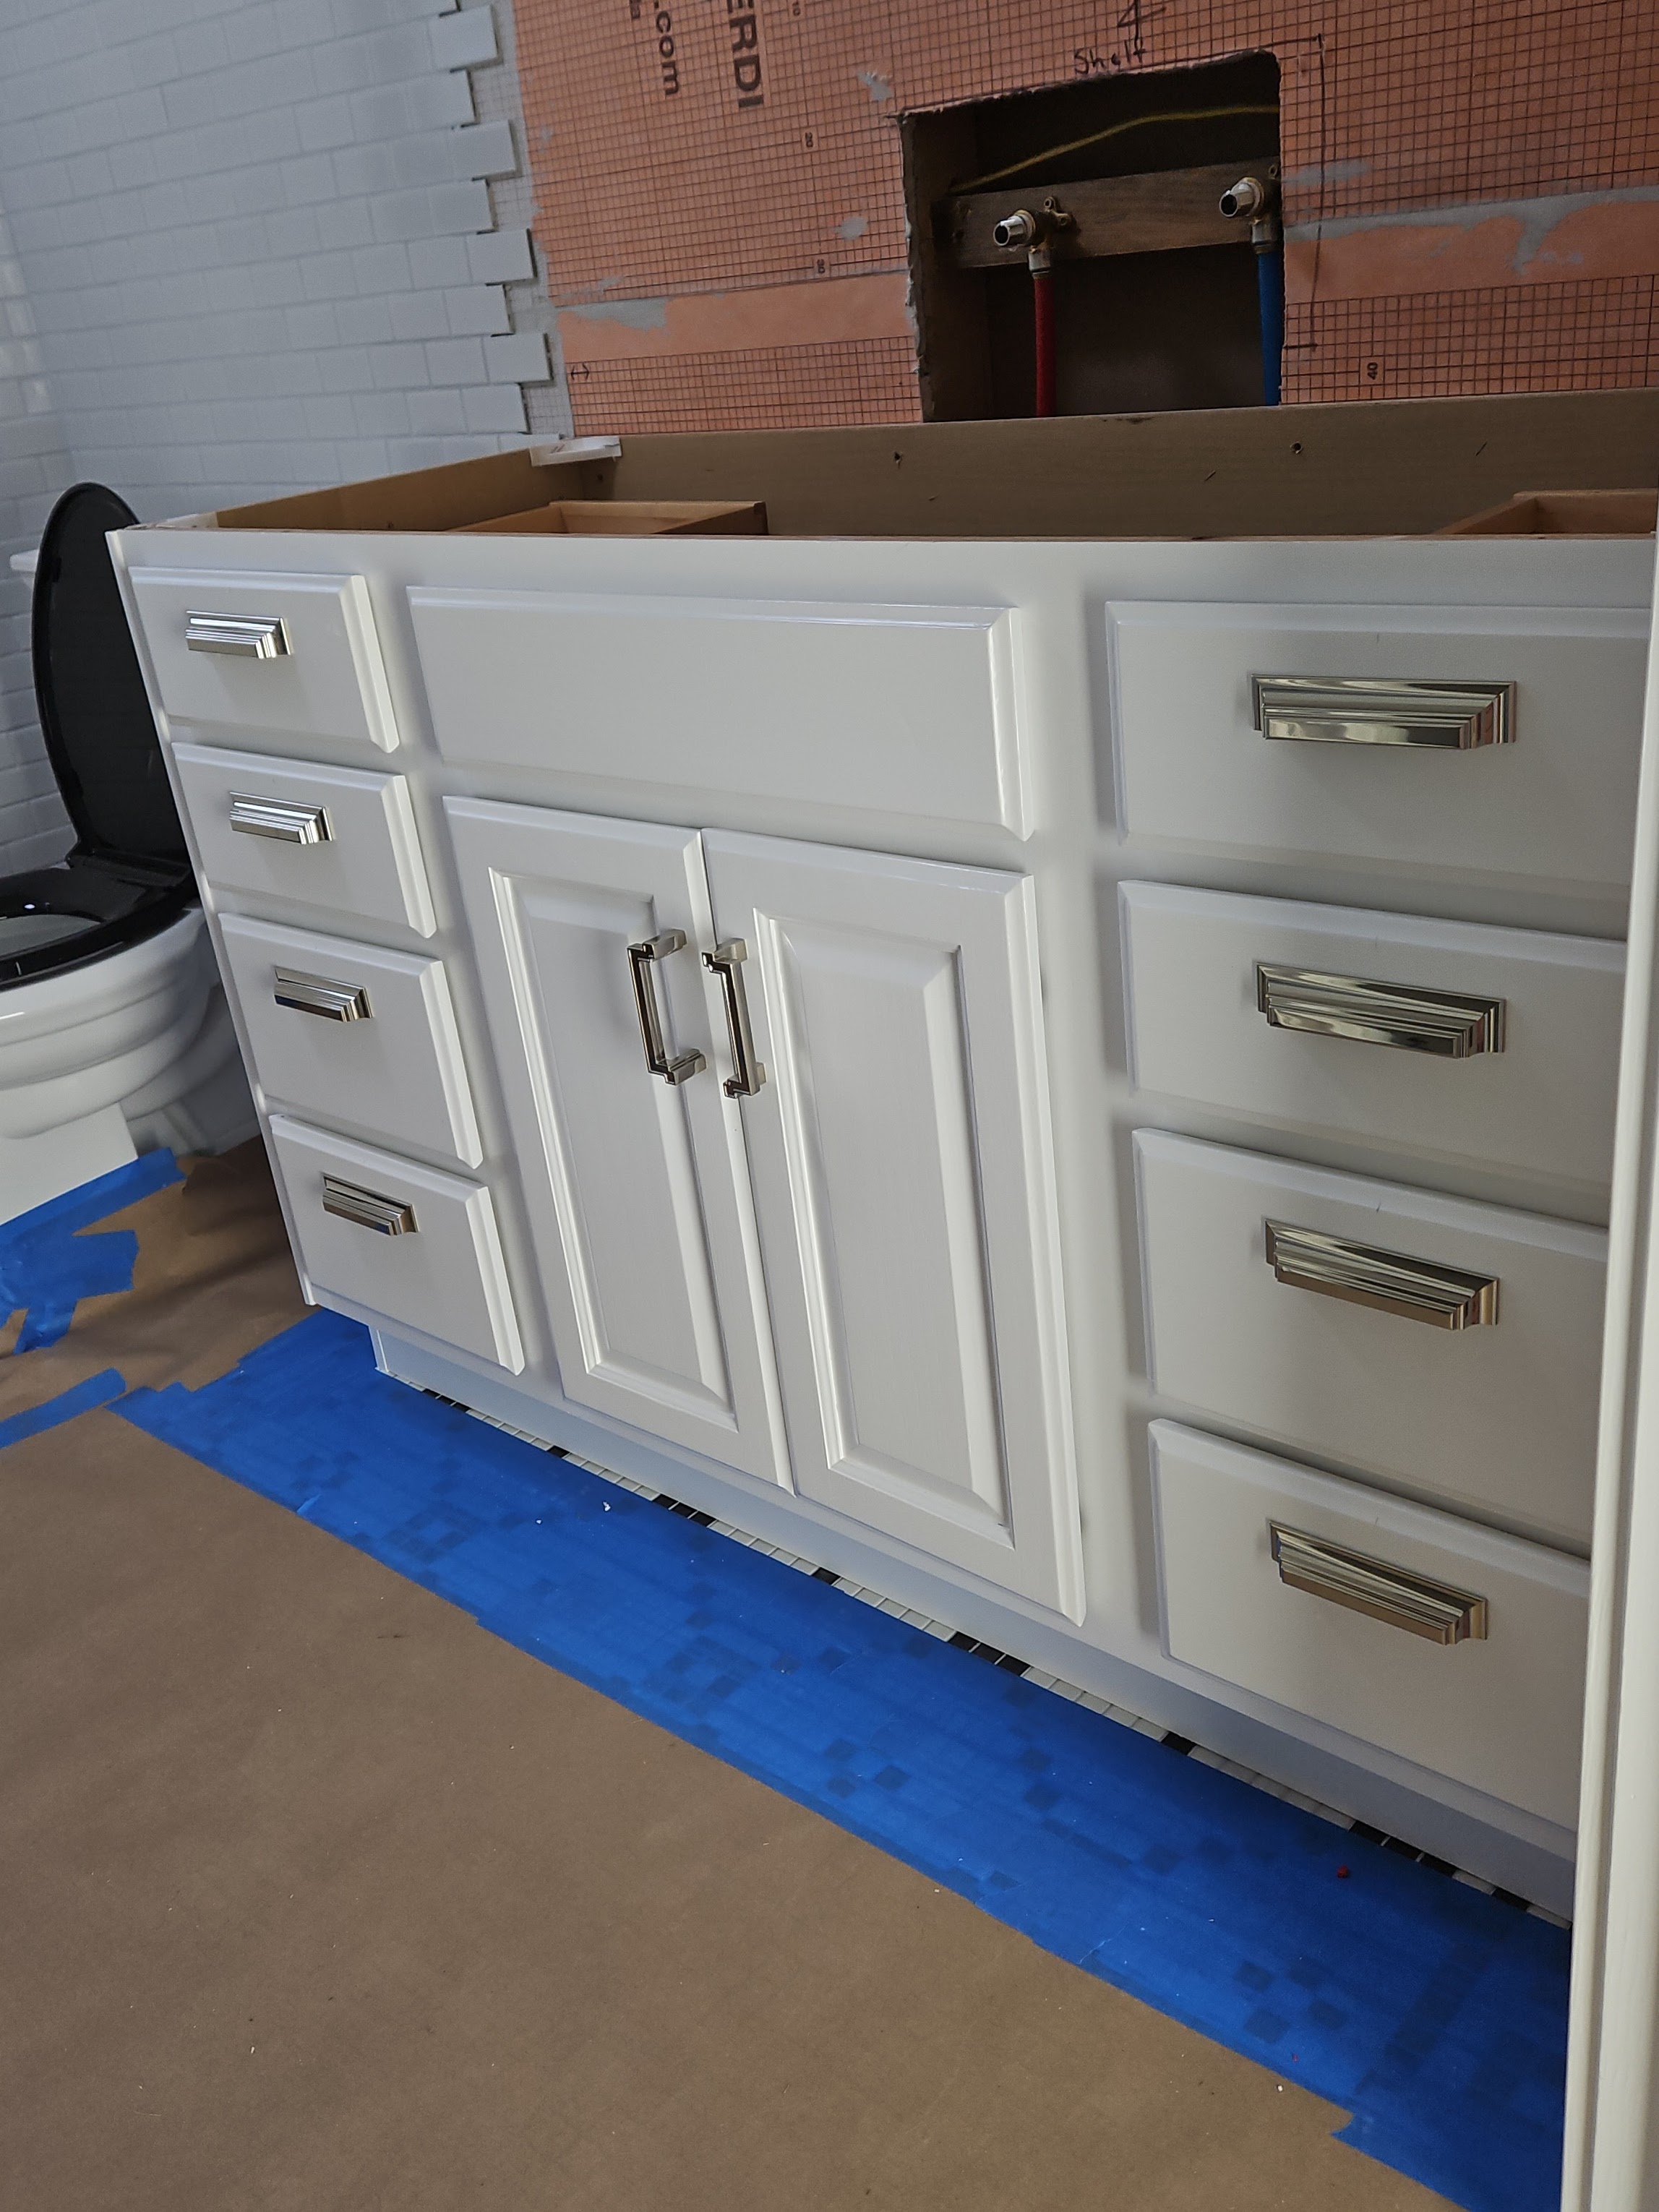
The hardware is all Amrock sold under the Signature hardware brand. I love the door handles which mimic the Greek key design on the floor.
So this is where we are as of today. The stone top, etc. is supposed to be installed later today and then the guys will come back to finish up the rest of the work. We can’t wait to see it finished.

